7
Basic Operations
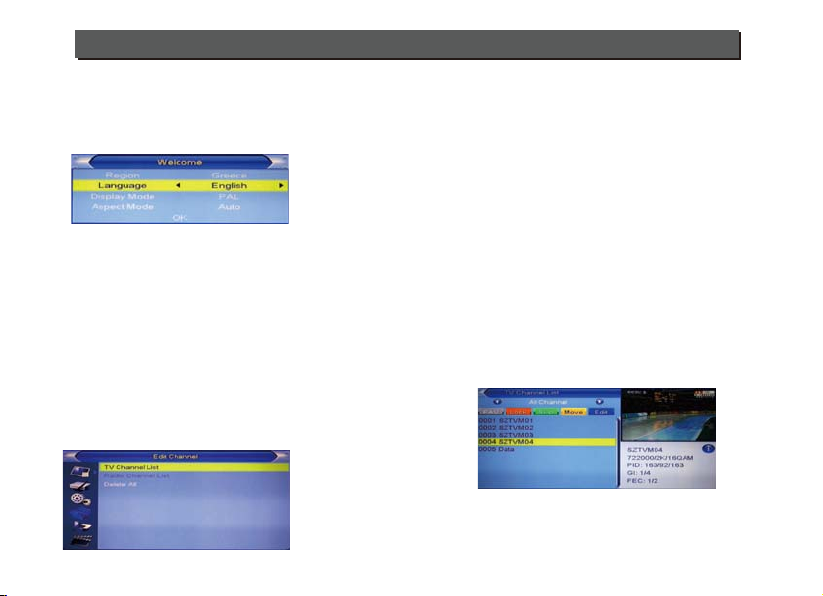
1 Move the highlight by pressing [Channel Up/Channel
Down] key then press [OK] key to preview the
current highlighted program in the preview window.
2 By pressing [Page Up/Page Down] key to execute
the Page Up/Page down function.
3 By pressing the [Volume Up/Volume Down] key to
switch to different Program Group.
4 By pressing the [Menu] or [Exit] keys to go back
to the “Edit Channel” menu.
5 By pressing the color key to execute the
corresponding functions in “Channel List.
5.1.1 Favorite
1 Press the [FAV] key, and then [OK] key to open
the “Favorite” window .
2 Move the highlight among the 8 favorite groups
by pressing [Channel Up/Channel Down] key, and
press [OK] key to make a favorite mark in the left
side of the selected Favorite group.
3 Press [OK] key on the marked Favorite group to
cancel the existing favorite mark.
4 After marking, press [Exit] key to go back to “TV
Channel List”, there will be a favorite mark beside
the marked channel
5.1.2 Lock
1 Press [Red] key to enter the lock mode.
2 Press [Up/Down] key to move the highlight, and press
[OK] key to display a dialogue to ask you to input
password, “0000” is for default. If the correct
password is entered, then a “lock mark” can be seen
on the right side of the highlighted channel.
3 After saving and exiting the menu, the password dialog
will be required while you want to watch the locked
channel.
5.1.3 Skip
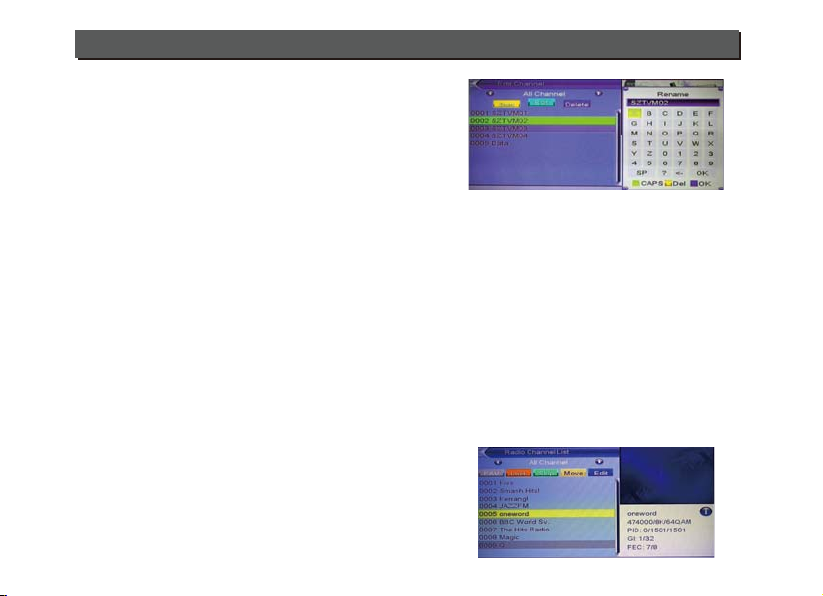
5.1.4 Move
1 Press [Yellow] key, then press [Up/Down] key to
move the highlight and press [OK] key to make
a mark. There will be a “moving mark” in the right side
of the selected channel .
1 Press [Green] key to enter skip mode.
2 Press [Up/Down] key to move the highlight and
press [OK] to make a “skip mark” in the right side of the
highlighted channel.
3 After saving and exiting menu, the channel will be
skipped while user change channel in the full screen