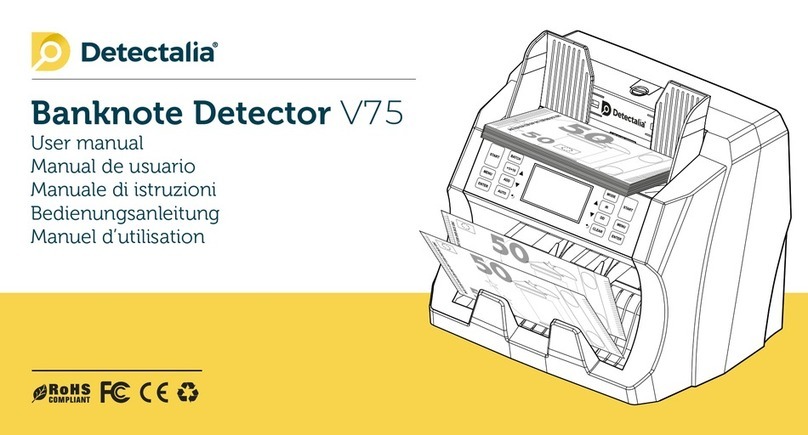
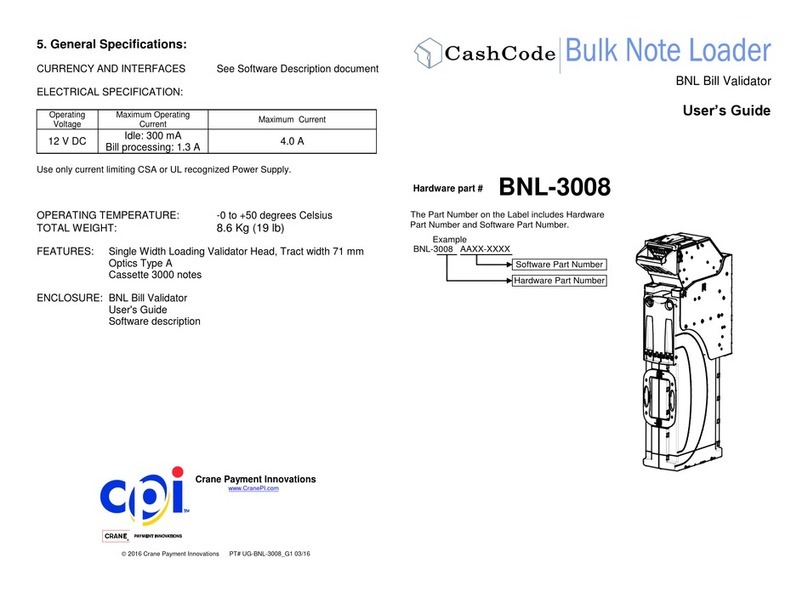
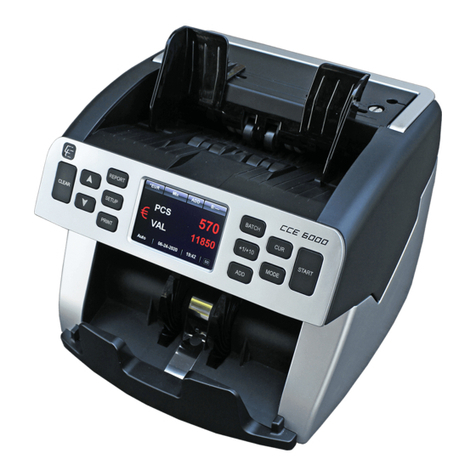
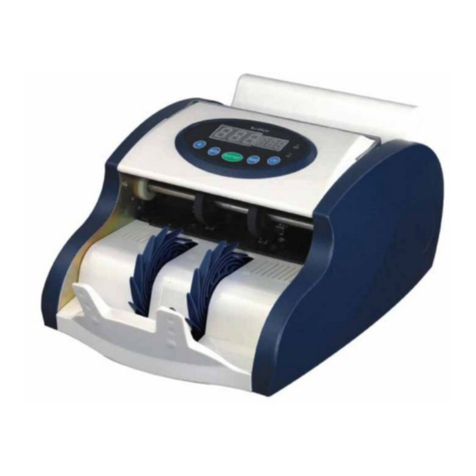
Detectalia V800 User manual

Banknote Detector V800
User Manual
Manual de uso
Manuale d’uso
Manuel d’utilisation
Bedienungsanleitung

2
V800

3
V800
Language
Idioma
Linguaggio
Sprache
Langue
English
Español
Italiano
Deutsch
Français
01
26
48
70
92

4
V800
Preface
Thank you for choosing our products! It is an accurate, reliable multi-currency banknote value
counter, the structure design and performance are more scientific and the operation is extremely
smooth and vibration free. It defines a new standard of banknote counting machines with sorting
functions. In order to make the best use of the accurate banknote counting/sorting capability of the
unit, please read this manual carefully before using and operate as per the procedures stipulated in
the manual.

5
V800
Safety instructions
Please read the safety instructions before use.
Please read all warnings and cautions carefully to avoid damage to the machine and personal injury.
WARNING
1. Do not operate the machine in areas with high temperature or high humidity since it may cause the unit to malfunction.
2. Do not disassemble this product. Incorrect reassembly can cause electric shock. Take it to qualify personnel if repair is required.
3. Before turning on the power, please make sure that there are no objects obstructing the operation of the rollers and wheels.
4. Unplug this product from the outlet before cleaning. Do not use liquid cleaners or aerosol cleaners. Use a damp cloth for cleaning the cover.
5. To prevent shock hazard, do not disconnect when hands are wet.
6. To prevent re or short circuit, unplug the unit if you want to move it to another position.
7. Hold the plug disconnecting the unit from the power outlet, do not pull the cord as it can be damaged.
8. Keep the AC/DC cord from damage. Avoid placing heavy objects on the cord.
!

6
V800
CONTENT
Banknote Counter Detectalia V800
1. The introduction of the main parts 7
2. Features 8
3. Specications 8
4. The introduction of the main display and buttons 9
5. The introduction of the MENU 11
6. Report checking and printing 16
7. Instructions for use 17
8. Counting mode 19
9. Error message display 20
10. Fault code and resolutions 21
11. Precaution for handling the machine 22
12. Maintenance 23

1.
2.
3.
4.
5.
1.
2.
3.
1.
2.
3.
4.
5.
1.
2.
3.
4.
5.
6.
TFT display
Reject pocket
Banknote receiving wheel
Reset sensor-emitting
Stacker
Hopper guide
Buttons
Banknote receiving wheel
Printer
Adjusting screw
START sensor
Banknote twiddling wheel
Hopper
Back cover
SD card slot
External display port
CIS/Main program upgrade USB port
Power switch
Power socket
7
V800
1. The introduction of the main parts
1
1
1
1
2
2
2
2
3
3
3
3
4
4
4
5
556

8
V800
2. Features
3. Specifications
With IR, UV, MG, CIS, DD, DB.
Multi-currency mixed counting. Banknotes can be processed in all four orientations.
With built-in printer: can print out the serial number and the counting report.
High-capacity hopper, stacker and reject pocket.
ADD function, batch function, reporting and printing function are available.
With 5 kinds of counting modes: MIX, SINGLE, FACE, ORIENT, COUNT counting mode.
Easy software upgrade via U drive.
2.1
2.2
2.3
2.4
2.5
2.6
2.7
Voltage - Frequency - Current 100~240V AC 50/60Hz 500mA
Currency EUR, GBP, USD, CHF, MAD
Power Consumption ≤100W
Counting Speed 800, 1000, 1200 banknotes/min
(MIX mode: 800 banknotes/min)
Hopper Capacity 500 banknotes
Stacker Capacity 200 banknotes
Reject Pocket Capacity 50 banknotes
Batching range 1-200 banknotes
Net Weight 10 kg
Dimension L: 280 mm - W: 280 mm - H: 296 mm
Package Size L: 390 mm - W: 325 mm - H: 400 mm

9
V800
4. The introduction of the main display and buttons
4.1 The introduction of the main display
1Currency
2Counting modes: COUNT, FACE, ORIENT, SINGLE, MIX
3ADD: Accumulation function
4Batching number
5Automatic/Manual counting
6Counting number
7Total value
8Suspicious note number
9Serial Number
10 User
11 Time
12 Date
12
3
4
5
6
7
89
10
11 12

10
4.2 The introduction of the buttons
START
|
REPORT
Press this button to select the User 1.
Press this button to save and exit the setting.
In the MENU interface, press this button to conrm.
Press this button to move to the next selection.
REPORT
Press this button to enter into the report interface. (the
rst press is to check the total report, the second press
is to check the detailed report).
PRINT Press this button to print out the current report.
MENU Press this button to enter into the MENU Interface.
ADD Press this button to turn on/off the accumulation function.
When do some setting, press this button to increase “1”.
BATCH
Press this button can turn on/off the batch function, and if press
again, the user can select the batching number among “100, 50,
20, 10, off”.
If the batching number area shows “---”, which means the batch
function is“off”.
When do some setting, press this button to decrease “1”.
+1/+10
In the batching mode, short press this button is to increase “1”;
if long press this button is to increase“10”.
In the MENU interface press this button to return to the
previous interface.
CUR
Press this button to select different currency.
In the Menu Interface, press this button to select the next choice.
When do some setting, press this button to increase “1”.
FACE Press this button to active FACE function.
When do some setting, press this button to decrease “1”.
ORIENT
Press this button to active ORIENT function.
In the MENU interface press this button to return to the pre-
vious interface.
START
||
ENTER
Press this button to select the User 2
Press this button to save and exit the setting.
In the MENU interface, press this button to conrm.
Press this button to move to the next selection.
MODE
In the Main screen, press this button to select the counting
mode. There are ve counting modes: COUNT, FACE, ORIENT,
SINGLE, MIX.
REJECT Press this button to check the information of the suspicious notes.

11
V800
5. The introduction of the MENU
Press MENU to enter into the MENU interface, which including 9 choices (Pic 5-0).
The user can press CUR or ADD and FACE or BATCH to make the selection, then press START |ENTER or START || ENTER to confirm.
1. SPEED: counting speed setting.
2. SERIAL NUMBERS: serial number setting and checking.
3. LEVELS: sensitivity level setting.
4. ALARM SOUND: alarm beep setting.
5. SET TIME: time setting.
6. UPDATE: software upgrade setting.
7. COLLECT: data collection.
8. VERSION: version checking.
9. LANGUAGES: choose language.
Pic 5-1
Pic 5-0
5.1 Speed
In the MENU choose SPEED and press CUR or ADD and FACE or BATCH select a counting speed,
then press START |ENTER or START || ENTER to confirm; at last, press ORIENT or +1/+10 to back to the
previous interface (pic 5-1).

12
V800
5.2 Serial Numbers
In the MENU choose SERIAL NUMBERS (pic 5-2).
5.2.1 SN NO OFF: choose this selection is to turn off the serial number recognition, press START |ENTER
or START || ENTER to save, then press ORIENT or +1/+10 to back to the previous interface.
5.2.2 SN NO ON: choose this selection is to turn on the serial number recognition, press START |ENTER or
START || ENTER to save, then press ORIENT or +1/+10 to back to the previous interface.
5.3 Levels
In the MENU choose LEVELS. Press START |ENTER or START || ENTER to make a selection, then press
CUR or ADD to increase value and FACE or BATCH decrease value. Once finished, press START |ENTER
or START || ENTER to save and it will move to the next sensitivity level setting. If the user do not want to
do other setting, then press ORIENT or +1/+10 to back to the previous interface (pic 5-3).
Pic 5-2
Pic 5-3

13
V800
5.3.1 MG: magnetic sensitivity level setting, “MG--0”is off, “MG--9”is the highest. The default is “MG--5”.
5.3.2 DD: size sensitivity level setting, “DD--0”is off, “DD--9”is the highest. The default is “DD--5”.
5.3.3 DB: double notes sensitivity setting, “DB--0”is off, “DB--9” is the highest. The default is “DB--5”.
5.3.4 UV: ultraviolet sensitivity level setting, “UV--0”is off, “UV--9” is the highest. The default is “UV--5”.
5.3.5 Slope: slope sensitivity level setting, “Slope--0”is off, “Slope--9” is the highest. The default is “Slope--5”.
5.3.6 IR: infrared sensitivity level setting, “IR--0”is off, “IR--9” is the highest. The default is “IR--9”.
5.3.7 AUTO: AUTO/MNL counting setting. “0” is the manual counting and “1” is the automatic counting.
5.3.8 SN_CL: serial number USD, “SN_CL--0” is off, “SN_CL--9” is the highest. The default is “SN_CL--0”.
5.4 Alarm sound
In the MENU choose ALARM SOUND setting (pic 5-4). Pres CUR or ADD and FACE or BATCH to choose, then press START |ENTER or START || ENTER to
save and once finished press ORIENT or +1/+10 to back to the previous interface.
1.SOUND ON :to turn on the alarm beep and button click sound.
2.SOUND OFF: to turn off the alarm beep and button click sound.
Pic 5-4

14
V800
5.5 Set time
In the MENU choose SET TIME (pic 5-5), then press CUR or ADD to increase number and FACE or
BATCH to decrease number.
Press START |ENTER or START || ENTER and to move to the next setting till the display shows
“set ok” after setting, once finished press ORIENT or +1/+10 to back to the previous interface.
5.6.0 CIS update
Please copy the software in the USB drive, then insert the USB drive to the CIS/Main program upgrade USB port. At last, turn on the machine, then the
machine will update the software automatically.
5.6.1 DB Update (display software update)
Insert the SD card (with the software), and pres START |ENTER or START || ENTER to enter into the software upgrade interface, then wait for the updating
finished.
5.6.2 PIC LOGO (picture/logo update)
Insert the SD card(with the software), and press to enter into the software upgrade interface, then wait for the updating finished.
5.6 Update
In the MENU choose UPDATE (pic 5-6). Press CUR or ADD and FACE or BATCH to make a
selection, then press START |ENTER or START || ENTER to confirm (then the display will show
“receive OK”, which means the upgrade is finished. Then press ORIENT or +1/+10 to back to the
previous interface Note: before update, please insert the SD card (with new software) into the SD
card slot, and also should make sure that it shows “SD OK”.
Pic 5-5
Pic 5-6

15
V800
5.6.3 PIC ERR
Insert the SD card (with the software), and press START |ENTER or START || ENTER to enter into the software upgrade interface, then wait
for the updating finished.
Pic 5-7
5.7 Collect (banknote data collection)
Before collect the data, please insert the U drive into the CIS/Main program USB port. Press
MENU to enter in to the menu, then press CUR or ADD and FACE or BATCH to select “7:
COLLECT”, then press START |ENTER or START || ENTER to enter into the collection
interface (pic 5-7). Then the user can count a bundle of notes, after 2-3 mins, the data will
be saved in the U drive automatically (this 2 mins is the collection time for 100 banknotes of
notes counted for A, B, C, D directions.
5.8 Version
Press START |ENTER or START || ENTER to enter into the version checking interface (pic 5-8).
Pic 5-8

16
1. After counting a bundle of notes, press REPORT to check the report (pic 6-1).
2. Press REPORT again to check the serial number (pic 6-2), and press CUR or ADD and FACE or BATCH to check the next page (pic 6-3), then
press ORIENT or +1/+10 to back to the previous interface.
3. Press PRINT to print the current report.
6. Report checking and printing
Pic 6-1 Pic 6-2 Pic 6-3
5.9 Languages
In the MENU choose LANGUAGES (pic 5-9), and CUR or ADD and FACE or BATCH to
select language then, then press press START |ENTER or START || ENTER to enter and
ORIENT or +1/+10 to back to the previous interface.
Pic 5-9

17
V800
7. Instructions for use
The user can select the counting function according to the different requirement. This machine is equipped with the memory function. When turn on the
machine, it will save the previous setting (except the ADD function).
7.1 Turn on/off
The user can press the power switch to turn on/off the machine.
Note: the machine will start self-check after turning on. During the self-check, if there is some problem with the sensor, then it will show the error code
in the display (the details please refer to 9. Error message display / 10. Fault code and resolutions).
7.2 Automatic / manual counting
Press MENU, then to choose “LEVELS” (see Pic 5-4) with CUR or ADD and FACE or BATCH, then press START |ENTER or START || ENTER to go to
“AUTO”. Press CUR or ADD to increase number or and FACE or BATCH to decrease number: “0”is the manual counting and “1” is the automatic counting.
Then press START |ENTER or START || ENTER to confirm and press ORIENT or +1/+10 to back to the previous interface.
Note: in the “AUTO” counting, if the notes are very old or dirty, then it will stain the start sensor and won´t work.
7.3 ADD function
Press ADD to turn on/off the ADD function. When the display show “ADD”, it means the ADD function is on; otherwise, the ADD function is off. The ADD
function can work with Batch function.

18
V800
7.4 Batch function
Press BATCH to turn on the batch function, if the user press this button again, then the user can choose the batch number among
“100”,“50”,“20”,“10” or the user can press +1/+10 to set a batch number.
7.5 Banknote feeding clearance adjustment
When the banknote feeding clearance is too loose, then the machine will come up with the problem of “double note”(error code: DB), “size different”(error
code: DD) and inaccurate counting number, etc. Then the user can rotate the adjusting screw to the anti-clockwise direction little by little until the counting is
smooth. Please noted that do not rotate it too much in case it will break the notes.
When the banknote feeding clearance is too tight, then the machine will have unsmooth counting, and the notes will be deformed and broken. The user
should rotate the adjusting screw to the clockwise direction until the problem solved.
Note: the adjusting screw has been set to a good position before shipping from the factory, so the user is no need to do the adjustment when they
receive the machine. Only when after a long time usage, it may need to do some adjustment.

19
V800
The user can select one counting mode according to the currency and the requirement.
The user can press MODE to choose, and there are five counting modes: COUNT, FACE, ORIENT, SINGLE, MIX.
During the counting, if there is more than 50 banknotes of notes in the reject pocket or there is more than 220 banknotes of notes at the stacker, the machine
will notice the user to remove the notes. when the user remove the notes from the reject pocket, the details of the suspicious notes will be clear automatically
(suggestion: before removing the suspicious notes from the reject pocket, please press REJECT to check the details of the suspicious notes).
1. COUNT mode
With half note, double note, chain note detection.
Press MODE to choose this mode. This mode is counting the number of banknotes.
2. FACE mode
With IR, UV, MG, value discrimination, value sorting and value accumulation detection.
Press FACE to choose this mode. In this mode, the machine will sort the banknotes by “FACE”. All notes which match the face will be in the stacker; others
will be in the reject pocket.
3. ORIENT mode
With IR, UV, MG, value discrimination and value accumulation detection.
Press ORIENT to choose this mode. In this mode, the machine will sort the banknotes by “Orientation”. All notes which match the orientation will be in the
stacker; others will be in the reject pocket.
Note: we suggest you to sort the banknotes by face first and then by orientation.
8. Counting mode

20
V800
4. SINGLE mode
With IR, UV, MG, value discrimination, value sorting and value accumulation detection.
In this mode, the machine will sort the banknotes by “denomination”. All notes which match the first denomination will be in the stacker;
others will be in the reject pocket.
5. MIX mode
With IR, UV, MG, value discrimination and value accumulation detection.
In this mode, the machine can count the mixed banknotes with different denomination of the same currency.
When there is some suspicious notes during the counting, the suspicious notes will be in the reject pocket.
The user should press REJECT to check the error message of the suspicious notes. Please refer to the following diagram.
9. Error message display
Error code Message
UV
Suspicious notes checked by UV detection.
Problem with the UV detection.
MG
Suspicious notes checked by MG detection.
Problem with the MG detection.
IR
Suspicious notes checked by IR detection.
Problem with the IR detection.
Error code Message
DB
Double note.
Problem with the DB detection.
DD Size (width) different note, chain note, half note.
CIS CIS image error.
FACE Different face error.
SIN Different denomination error.
Table of contents
Languages:
Other Detectalia Banknote Counter manuals


