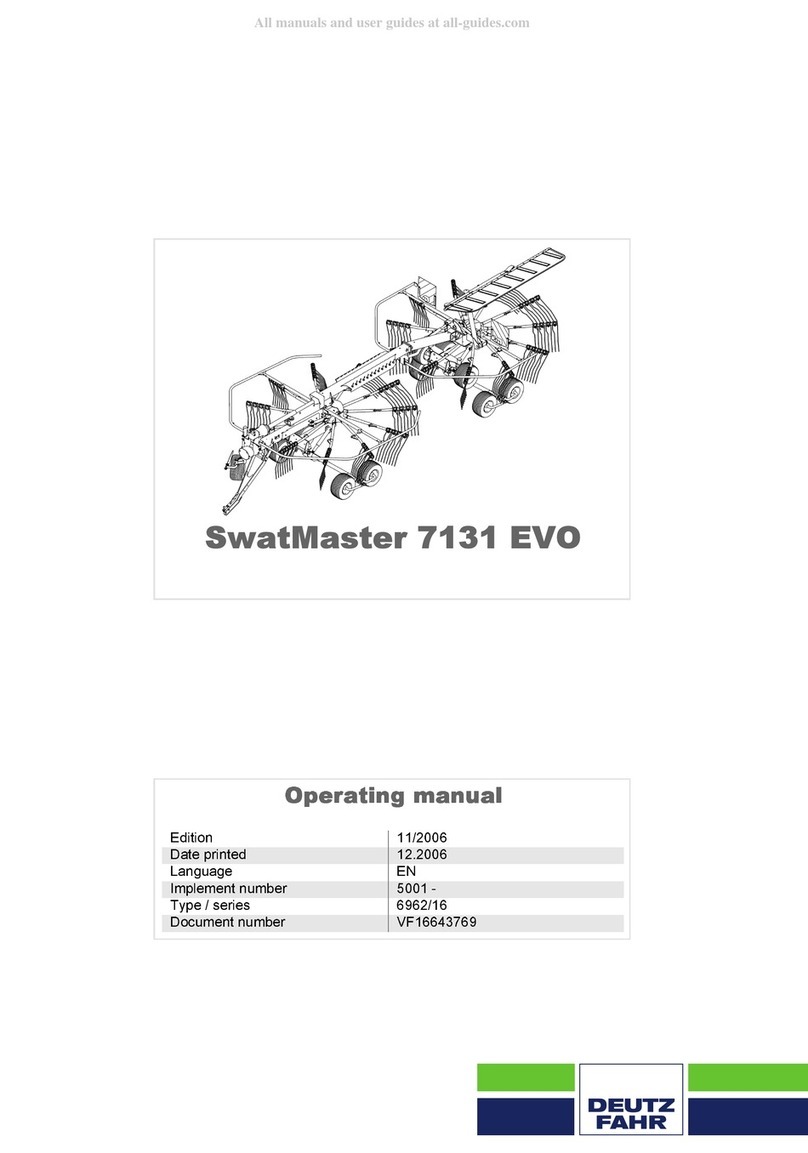
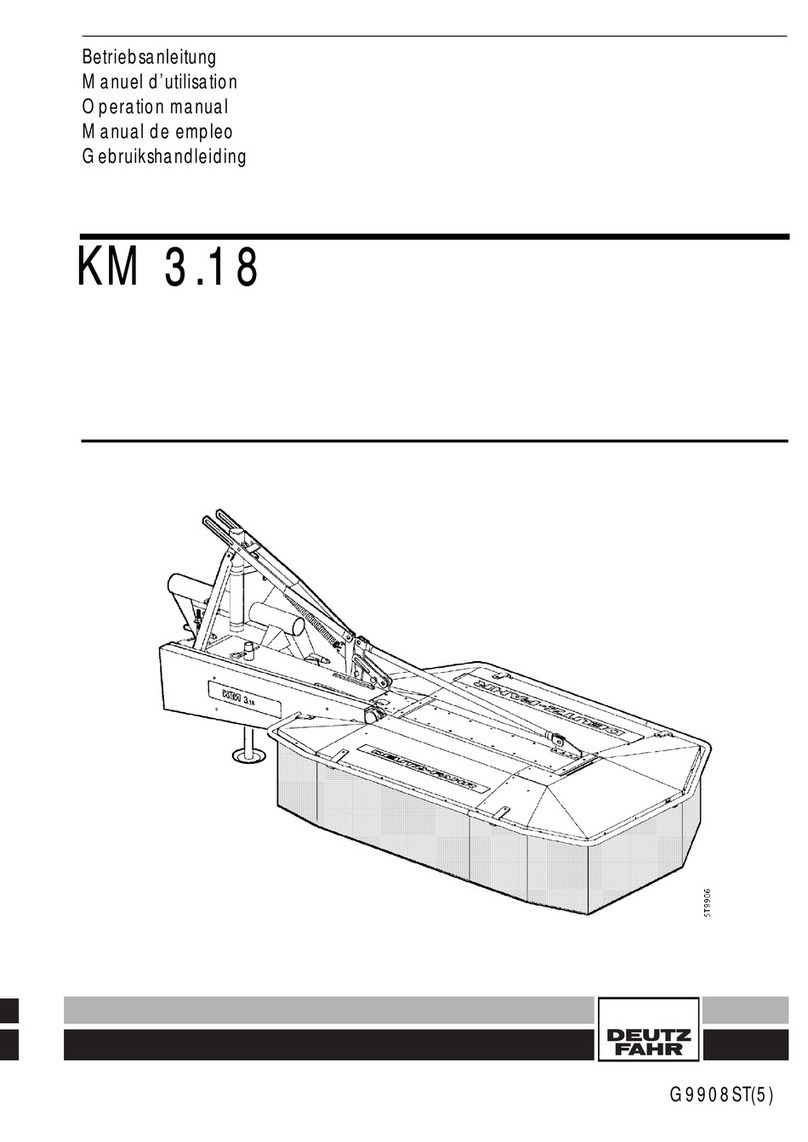
DEUTZ-FAHR CondiMaster 6831 User manual

1662 0451
CondiMaster 6831
7631
Operation manualOperation manual
Operation manualOperation manual
Operation manual ENEN
ENEN
EN


1
EN
EC Declaration of ConformityEC Declaration of Conformity
EC Declaration of ConformityEC Declaration of Conformity
EC Declaration of Conformity
as defined by the EC directivesas defined by the EC directives
as defined by the EC directivesas defined by the EC directives
as defined by the EC directives
- Machines 89/392/EEC (14.06.89) amended by 91/368/EEC (20.06.91) and 93/44/EEC
(14.06.93) and 93/68/EEC (22.07.93)
The machine
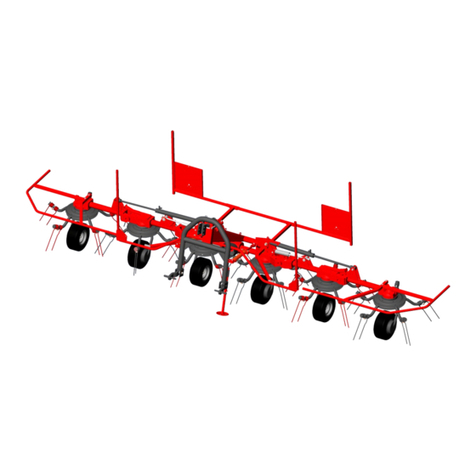
product : Rotary Tedder
type : CondiMaster 6831 / Fanex 683 C / Taarup 8068 C
CondiMaster 7631 / Fanex 763 C / Taarup 8076 C
identity no. : 6910 / 6911
serial no. : 6910 / 11 -
6911 / 11 -
year of construction : 1998
was solely developed, designed and manufactured, in accordance with the aforementioned EC directives,
by
Kverneland Gottmadingen GmbH & Co. KG
Hauptstraße 99
78244 Gottmadingen
Germany.
The following harmonised norms were applied:
- DIN EN 292/1 and EN 292/2, safety of machines, equipment and systems
The complete technical documentation is available.
The machine´s operating instructions are available
- in the original version : German
- in the languages : English, French, Dutch, Italian
Gottmadingen, 21.04.1999
i.V
R. Willburger
Head of Development/Design

2
EN

3
EN
ForewordForeword
ForewordForeword
Foreword
Dear customer!
We would like to congratulate you on the purchase of your Rotary Tedder and thank you for choosing
our product.
These operating instructions provide you with detailed information concerning system set up and
maintenance of your new Rotary Tedder. In addition, the instructions also include safety instructions
which ensure safe employment of the machine. The operating instructions contain descriptions of all the
available equipment, the various models and all of the special and additional pieces of equipment
which are not usually included in the delivery.
These operating instructions are intended to aid you in getting the best possible use out of your new
Rotary Tedder.
The performance of your machine depends to a great extent on correct use and careful maintenance.
For this reason, read the instructions carefully before the first system start up and always keep them
near at hand. By doing so you will avoid accidents, preserve the manufacturer’s warranty and always
enjoy the advantages of an efficient and reliable machine.
The Kverneland company is continuously making every effort to improve their products. The company
reserves the right to make any alterations or improvements to the machines considered necesssary.This
does not, however, obligate the company to modify machines which have been previously delivered.
If you have any questions which are not covered by the operating instructions, please contact your
nearest dealer.
We hope you reap a bountiful harvest with the help of the Rotary Tedder.
Read and observe the operating and safety instructions before system start up!
Kverneland Gottmadingen GmbH & Co. KG
Hauptstraße 99
D-78244 Gottmadingen
Tel. +49-7731-788-0
Fill in your machine details here:
Machine type :....................................................................................
Serial number :....................................................................................
Initial start-up on :....................................................................................

4
EN
Table of contents
1 Safety.............................................................................. 6
1.1 For your safety.................................................................................................. 6
1.2 Safety instructions contained in this manual................................................. 6
1.3 Nameplate ........................................................................................................ 7
1.4 Application as stipulated ................................................................................. 7
1.5 Liability and warranty ...................................................................................... 7
1.6 Safety stickers and warning signs.................................................................. 9
1.7 Authorized operators..................................................................................... 12
1.8 General safety and accident prevention regulations................................ 12
1.8.1 General ................................................................................................ 12
1.8.2 Trailed implements ..............................................................................13
1.8.3 Power take-off operation ...................................................................14
1.8.4 Hydraulics............................................................................................14
1.8.5 Tyres......................................................................................................15
1.9 Safety when implement is not in use or is in storage ................................15
1.10 Maintenance ...................................................................................................15
1.11 Safety instructions for the Rotary Tedder....................................................16
1.12 Regulations for travelling on public roads ................................................. 17
2 Technical data ................................................................ 18
2.1 General............................................................................................................18
2.2 Noise metering ...............................................................................................19
3 Operation...................................................................... 20
3.1 Mounting on the tractor................................................................................ 20
3.2 Adjusting the cardan shaft ............................................................................ 21
3.3 Changing over from working to transport position.................................. 22
3.4 Changing over from transport to working position.................................. 23
3.5 Adjusting the tines ......................................................................................... 24
3.6 Operating the machine................................................................................. 25
3.6.1 General ............................................................................................... 25
3.6.2 Hydraulic setting for clearing the edges of the field .................... 26
3.7 Unhooking from the tractor .......................................................................... 26
3.7.1 Parking in transport position ............................................................ 27
3.7.2 Parking in working position with the chassis lowered.................. 27

5
EN
4 Settings ......................................................................... 28
4.1 Tine setting ...................................................................................................... 28
4.2 Wheels ............................................................................................................ 28
5 Maintenance .................................................................. 29
5.1 Inspection........................................................................................................ 29
5.2 Caring for the cardan shaft ......................................................................... 29
5.3 Winter storage ............................................................................................... 29
5.4 Lubrication ...................................................................................................... 30
6 Special and additional equipment .................................. 32
6.1 Swath gear ..................................................................................................... 32
6.2 Tine loss safeguard ....................................................................................... 32
6.3 Tow bar ........................................................................................................... 32
A Appendix ......................................................................33
A.1 Torque values for international metric thread joints ................................. 33
A.2 Legal provisions concerning the lighting of implements when
using public roads and paths in the Federal Republic of Germany...... 34

6
EN
1 Safety
1.1 For your safety
On delivery, your dealer gave you an explanation of the operation and maintenance of the implement.
Please read these operating instructions before operating the implement for the first time. It is essential
that you observe all of the safety instructions. Parts of the text which are of particular importance are
marked with a pictogram.
This symbol can be found where all the important safety instructions appear in these
operating instructions. Strictly follow these instructions and take special care in these
cases.
This Rotary Tedder is equipped with safety devices and has been controlled by the German
„Landwirtschaftliche Berufsgenossenschaft“ (Agricultural Trade Association) in terms of safety and
accident protection. However, incorrect use or mishandling of the implement can endanger:
zlife and limb of the operator or other persons or animals who are standing within the vicinity
of the implement,
zthe implement and other material assets of the owner or third persons,
zthe performance of the implement.
Anyone who is involved in installation, system start up, operation or maintenance of the implement must
read the following instructions very carefully and observe them at all times.
It’s a question of your safety!It’s a question of your safety!
It’s a question of your safety!It’s a question of your safety!
It’s a question of your safety!
1.2 Safety instructions contained in this manual
Safety alert signs:
Danger!
This sign signalizes the danger of accidents or injury leading to death.If you see this
safety alert sign in the operating instructions, make sure you employ every necessary
and prescribed safety precaution.
Attention!
This alert sign is a warning against the possibility of damage to equipment or of financial
and penal disadvantages (e.g. loss of guarantee rights, product liability etc.).
Note:
Instructions and important information.

7
EN
1.3 Nameplate
The nameplate stating the machine type and serial number is fastened to the bracket on the left.
Note:
Enter the data on the nameplate in the box provided on page 3.
1.4 Application as stipulated
The Rotary Tedder is built solely for use in the field of agricultural work and is intended and suitable for
the processing of blades of grass and haulms which have been mown and are lying on the ground.
Use of the implement for any other purpose is considered as operation which is not in accordance with
specifications and is undertaken as such at the owner’s risk. The manufacturer is not liable for any
resulting damages!
The operation, maintenance and repair work conditions fall under the prescribed application stipulations
laid down by the manufacturer and must be adhered to at all times. The implement may only be operated,
serviced and repaired by personnel who have read and understood these instructions and who have
been thoroughly instructed of the inherent dangers.
All relevant accident prevention regulations, as well as all generally recognized safety, health and
highway regulations, must be complied with.
Attention!
Never carry out changes yourself; otherwise no warranty will be assumed for resulting
damage.
1.5 Liability and warranty
These operating instructions must be read and observed by all personnel who work on or with this
implement. In addition, this implement is to be used solely for the purpose stipulated (see chapt. 1.4).
1. You may only work with this implement according to the instructions in the valid documentation.
This documentation can be made up of the following instruction manuals:
zMounting instructions
zOperating instructions
zSupplement pages

8
EN
2. The following regulations must be observed:
zall applicable local accident prevention regulations,
zall recognized traffic, safety and industrial medical regulations,
zthe system limits and safety instructions listed in the technical manual.
3. Any work on the implement should be carried out using suitable, tools and apparatus in perfect
condition.
4. You may not use any parts (spares, accessories, lubricants etc.) other than those complying with
implement manufacturer’s requirements. All parts must be used according to the regulations (including
the quoted starting torques).
A part complies with the manufacturer’s requirements when either genuine or approved by the
manufacturer.
5. Never carry out changes yourself; otherwise no warranty will be assumed for resulting damage.
Attention!
Those who disregard the regulations mentioned above are acting with gross negligence.
In this case the implement manufacturer’s liability and warranty no longer applies. The
same applies for any resulting damage. The negligent person bears all risks.

9
EN
1.6 Safety stickers and warning signs
Attention!
Real safety means that you know all safety stickers. This means the type and place of
danger, and in particular the relevant safety measures. Always remain alert and be aware
of the danger(s).
This Helipede Rotary Windrower is equipped with warning signs (safety stickers). The stickers with the
corresponding explanations are listed below and illustrated in the main drawing:

10
EN
2. Before proceeding with any maintenance and
repair work, you must read the corresponding
instructions! All maintenance, repair and adjustment
work may only be carried out with the Rotary Tedder
at a standstill. Shut down the engine and remove
the ignition key!
3. Keep away from the rotating unit. No-one may be
in the immediate vicinity of the Rotary Tedder when
the machine is running! Before switching on the
p.t.o shaft, make sure that no-one can be hit by the
rotating unit!
4. Do not exceed the prescribed p.t.o. shaft speed of
nmax = 540 rpm.
1. Read and observe the instruction manual and the
safety instructions before start-up.
5. Never reach into the area where there is a risk of
being crushed until it is certain that no parts can
move.

11
EN
6. Keep clear of the swivel area of the implement.

12
EN
1.7 Authorized operators
Youths under the age of 16 may not operate the Rotary Tedder.
The owner of the implement must provide the operator with the operating instructions and make sure
that they have read and understood them. Only then may the implement be put into operation.
The allocation of responsibilty for the various tasks on the implement must be clearly determined and
complied with. There may be no uncertainties regarding authority, as these could endanger the safety
of the operator.
The owner must ensure that only authorized persons operate/work on the implement. He is responsible
for any third persons within the working area of the Rotary Tedder.
1.8 General safety and accident prevention regulations
Fundamental rule:Fundamental rule:
Fundamental rule:Fundamental rule:
Fundamental rule:
Before the start of every operation check both the implement and the tractor for operation and road
safety! In addition to the instructions in these operating instructions, observe the general safety and
accident prevention regulations.
1.8.1 General
1. The appropriate warning and safety alert signs provide important advice to ensure the safe operation
of the implement. Observe these instructions at all times, for the sake of your own safety!
2. Before operation, make yourself familiar with all elements and controls of the implement, as well as
with their function. Make sure that all protective equipment is correctly mounted!
3. The operator’s clothing should be close fitting. Avoid any loose fitting, wide clothing! Always wear
substantial footware!
4. Keep the implement clean at all times! (Fire precaution)!
5. When travelling on public roads, observe the following:
zall traffic regulations in force in your country,
zthe permissible axle load and total weight of the implement and
zthe permissible transport dimensions,
zand comply with the prescribed transport speed for mounted implements (max. 25 km/h).
Never leave the driver’s seat during the journey!
6. Before any transport on public roads, make sure the implement is in the condition prescribed and
lock it in accordance with the manufacturer’s instructions!
7. Inspect and install all equipment required for transportation such as lighting, warning and protective
devices!
8. All operating devices such as ropes, chains, rods, etc. which act on remote-controlled implement
elements, have to be installed in such a way that any unintentional movement is excluded in all
possible transport and operating positions!

13
EN
9. Couple the implement to the tractor at the prescribed position and secure according to the instructions
given in this manual! Proceed with special care when mounting and removing the implement on/
from the tractor!
10. When mounting or dismounting the support devices, make sure that they are in the appropriate
prescribed position in order to ensure stability! Only deposit the implement on level and solid
ground.
11. Ballast weights are only to be installed to the points designed for this purpose!
12. Do not leave the engine on within closed spaces (indoors)!
13. Before start up and operation, inspect the area around you. Make sure that no-one, (especially
children) is in the danger area! Good visibility is essential!
14. No-one (other than the driver) is allowed on the implement during transport!
15. Always select the speed according to travel conditions. Avoid sudden turns when travelling up-hill,
down-hill or across a slope!
16. Trailed implements and ballast weights, influence the driving of the implement and the steering and
braking performance! Make sure there is sufficient steering and braking capacity!
17. When negotiating curves take notice of the implement’s overhang and/or flywheel mass!
18. Make sure all protective devices are installed and in position before operating the implement!
19. Keep clear of the working and danger area of the implement!
20. Keep clear of the swinging/turning area of the implement!
21. Caution when working on implement elements operated by additional driving systems (e.g.
hydraulics). There are squeezing and shearing points!
22. Secure the implement prior to leaving the tractor. Mounted implements have to be lowered completely
to the ground. Stop the engine and remove the ignition key!
23. No-one is allowed to step between the tractor and implement as long as the vehicle is not secured
against unintentional movement by means of the parking brake and/or wheel chocks!
24. Observe the permissible axle load and total weight of the implement as well as the permissible
transport dimensions!
1.8.2 Trailed implements
1. Prior to coupling or uncoupling implements to/from the tow bar, all controls of the tractor hydraulics
have to be positioned in such a way that any unintentional lifting or lowering of the implement is
ruled out!
2. It is essential that the hitch category of the implement matches that of the tractor!
3. There is danger of squeezing or shearing in the area of the tow bar!

14
EN
1.8.3 Power take-off operation
1. Do not use cardan shafts other than those specified by the manufacturer!
Make sure that the cardan shaft is always properly installed and secured!
The protecting tube as well as the cardan shaft guard must be installed. All guards must be in
perfect condition! Secure the cardan shaft against rotation by fastening the chains to the tractor
and the implement!
Observe the overlap prescribed for cardan shaft tubes, both in transport and working position!
2. When working with the cardan shaft, no-one is allowed to be in the vicinity of the rotating cardan
shaft!
3. Only attach or remove the cardan shaft when the p.t.o. shaft is disengaged, the engine is off and
the ignition key removed!
Place the detached cardan shaft onto its support!
After the cardan shaft has been detached, slide the protective caps over the p.t.o. stub!
4. The p.t.o. shaft guard must be positioned correctly and in perfect condition! Before engaging the
p.t.o. shaft, make sure the selected speed and direction of rotation of the tractor p.t.o. shaft
corresponds with the permissible speed and direction of rotation of the implement! Before engaging
the p.t.o. shaft, make sure that no-one is in the danger area of the implement!
5. Never engage the p.t.o. shaft when the engine is off!
6. Always disengage the p.t.o. shaft if the angle becomes too wide or if the p.t.o. shaft is not needed!
7. Attention! Working elements continue to rotate after the p.t.o. shaft is disengaged. Do not approach
the implement for the duration. Make sure the implement has completely stopped rotating before
carrying out any work on it!
8. Before cleaning, lubricating or adjusting the p.t.o.-driven implement or the cardan shaft, disengage
the p.t.o. shaft, stop the engine and remove the ignition key!
9. Repair any damage prior to working with the implement!
1.8.4 Hydraulics
1. Attention! The hydraulic system is under high pressure!
2. Check the hydraulic hoses at regular intervals and renew them when damaged, at the latest,
however, every 6 years! The spare hoses must comply with the technical requirements laid down
by the manufacturer of the implement! Only use genuine parts!
3. Before working on the hydraulics, lower the implements and aggregates. Then release pressure
from the system and stop the engine.
4. When tracing leakages, use suitable tools. Danger of injury!
5. When connecting hydraulic cylinders, make sure the hydraulic hoses are coupled as prescribed!
Pressure should be released from the system both on the tractor and implement side prior to coupling
hydraulic hoses to the tractor hydraulics!

15
EN
6. In the case of hydraulic connections between tractor and implement, it is advisable to mark the
coupling sleeves and plugs to avoid any incorrect connections!
Should the connections be confused, the function is reversed (e.g. raising/lowering). Danger of
accidents!
7. Hydraulic oil forced out under high pressure can break the skin and cause severe damage! In the
case of injury, report to a doctor immediately as there is a risk of infection!
1.8.5 Tyres
1. Prior to working on the tyres, make sure the Rotary Tedder is standing safely and secured against
rolling away! Wheel chocks!
2. The fitting of tyres and wheels presupposes sufficient knowledge as well as the availability of all
necessary tools!
3. Only skilled workers using appropriate tools may repair or mount tyres and wheels!
4. Check the inflation pressure at regular intervals. Observe the prescribed inflation pressure!
1.9 Safety when implement is not in use or is in storage
1. Store the Rotary Tedder in a safe place.
2. Make sure that no children play on or around the Rotary Tedder.
3. Only couple or uncouple the Rotary Tedder on firm, dry and level ground. This minimizes the
danger of the implement tipping, or sinking into the soft ground or mud.
4. Place the detached cardan shaft onto its support!
5. Use wheel chocks to prevent the Rotary Tedder from rolling away.
6. Only park the Rotary Tedder with the rotary unit lowered (danger of tipping, injury from tines)!
1.10 Maintenance
Directions quoted ("right", "left", "in front","behind") are always taken as being in the direction of travel.
The direction of rotation is defined as follows:
zDirection of rotation right = clockwise,
zDirection of rotation left = anticlockwise,
zRotations around a vertical axis, taken from top to bottom,
zRotations around a horizontal axis, at a right angle to the direction of travel, taken from left to
right,
zRotations of nuts, bolts etc. are always taken from the side from which they are operated.

16
EN
1. As a rule, disengage the driving system, secure the tractor and stop the engine prior to carrying out
any maintenance, servicing, cleaning or repair work! Always remove the ignition key!
2. Check all nuts and bolts at regular intervals and retighten as required! Comply with prescribed
torques!
3. If the Rotary Tedder is raised, prop up the implement with suitable supports before carrying out
maintenance!
4. When changing working elements, use appropriate tools and protective gloves!
5. Dispose of used oil, grease and filters according to regulations!
6. Always disconnect the power suppy before carrying out any work on the electrical system!
7. The protection devices which are subject to wear and tear must be inspected frequently and be
exchanged in good time.
8. The generator and battery cables should be disconnected before any electrical welding is carried
out on the tractor or the mounted Rotary Tedder!
9. Do not clean the Rotary Tedder with aggressive cleaning agents. This can cause corrosion to
polished metal surfaces, e.g. hydraulic cylinders.
1.11 Safety instructions for the Rotary Tedder
1. General safety instructions are contained in this documentation and in the accident prevention
regulations UVV 1.1 §1 of the German "Landwirtschaftliche Berufsgenossenschaft" (Agricultural
Trade Association).
2. Prior to mounting the implement or lifting the implement for the first time, check the space available.
3. Check the cardan shaft before the first operation and adjust it to your tractor, if necessary (see
chapter "Adjusting the cardan shaft")!
4. Check the tyre pressure 1.5 bar (16x6.50-8 4PR) and 2.5 bar (215/65-15) at regular intervals.
5. Before each transport:
zdisengage p.t.o shaft,
zwait until rotary units come to a complete standstill,
zplace the Rotary Tedder in transport position,
zcheck that it is correctly secured,
6. Make sure that no-one is within reach of the implement when raising, lowering, and swivelling in
the rotary unit.
7. Repair work on pre-tensioned energy storers (springs, accumulators etc.) may only be carried out
by specialists using the correct tools which comply with all prescribed standards. All such repairs
may only be carried out in specialist workshops!
8. Before proceeding with any maintenance and repair work, you must read the corresponding
instructions! All maintenance, repair and adjustment work may only be carried out with the Rotary
Tedder at a standstill! Shut down the engine and remove the ignition key!

17
EN
9. Keep away from the rotating unit. No-one may be in the immediate vicinity of the Rotary Tedder
when the implement is running! Before switching on the p.t.o shaft, ensure that no-one can be hit
by the rotating unit!
10. The prescribed p.t.o. shaft speed nmax = 540 rpm must not be exceeded!
11. Do not step between the tractor and the Rotary Tedder. Risk of being squeezed and crushed!
12. When actuating the power lift, stay out of the lifting area of the three-point linkage.
13. Check all bolted joints and, if necessary, tighten them after approx. 5 operating hours. Observe
torque!
14. When parking the implement, place the cardan shaft into the support!
1.12 Regulations for travelling on public roads
Only valid for the Federal Republic of Germany!
The German road traffic licensing regulations (Straßenverkehrs-Zulassungs-Ordnung - StVZO) specify
that all mounted and trailed implements have to be equipped with rear reflectors and electric lighting. In
order to draw attention to the sharp corners and edges, mark the outer edges on the front and rear of
the implement with red and white striped warning boards so that they are clearly visible from the front
and the rear.
When using public roads, the legal provisions on width marking, lighting etc. are to be observed. If the
implement exceeds the prescribed maximum width, special permission is to be applied for.
Also observe the legal provisions in the Instructions for mounted implements (Merkblatt für Anbaugeräte).
These instructions stipulate for example that for each type of load the front axle load must be at least
20 % of the tractor tare weight.

18
EN
2 Technical data
2.1 General
epyT01961196
srotorforebmuN6
htdiwgnikroWm08.6m06.7
"a"noitisopgnikrownihtdiwenihcaMm31.7m98.7
"c"setalpgninrawd
naekoyevitcetorphtiwhtdiwtropsnarT m89.2
"b"noitisopgnikrownihtgneLm01.3m51.3
"c"noitisoptropsnartnihtgneLm
76.3m76.3
"h"thgiehmumixaMm88.3m11.4
smraenitdnasekoyevitcetorphtiw"1h"thgiehmumixaM
nidedlof m05.3m57.3
"d"ht
diwkcarTm05.2m05.2
tuptuorotcartderiuqeRWk73.nimWk54.nim
tfahsnadrachtiwthgieWgk0501gk0111
deepsOTPmumixaM mpr0
45
retemaidOTP 1169NIDmm53Ø
)tinuyrator(seryT )rab5.1(RP68-05.6x61
)sissahc(seryT )rab5.2(51-56/512
This manual suits for next models
1
Table of contents
Other DEUTZ-FAHR Farm Equipment manuals
