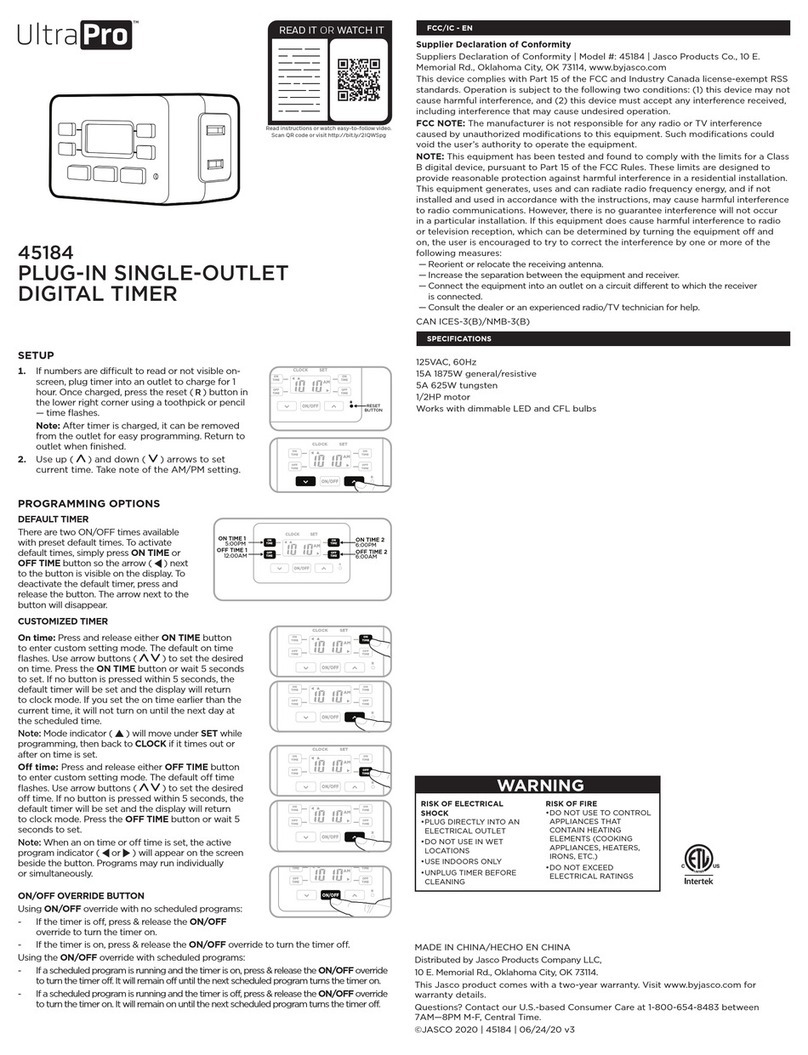
5. Switching Mode Indication
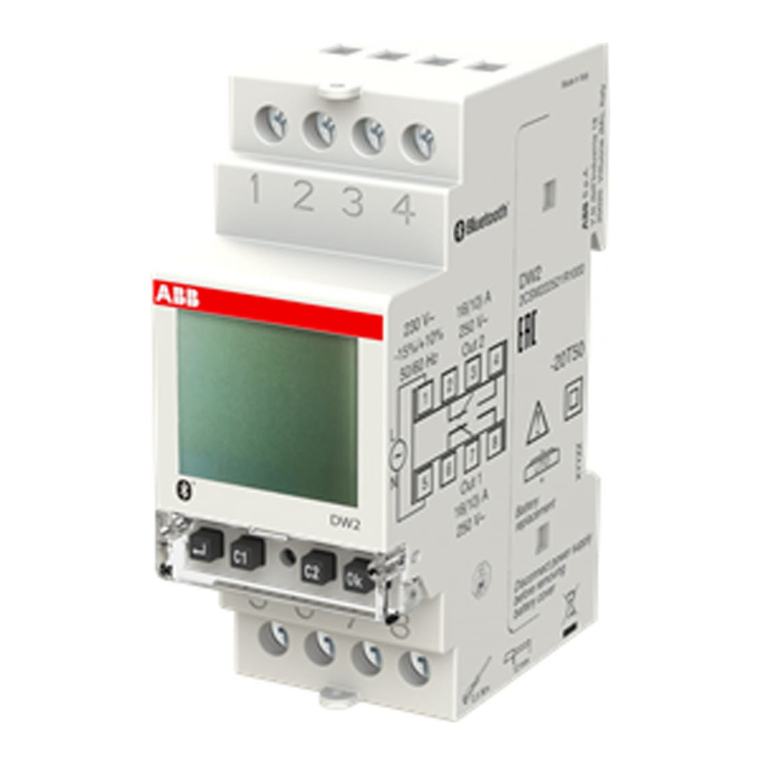
The actual mode is shown on the display as “ON”, “AUTO ON”, “OFF”, or
“AUTO OFF” together with the time of day. Press the “ON/AUTO/OFF”
button to adjust to the desired setting mode.
6. Manual Override Setting
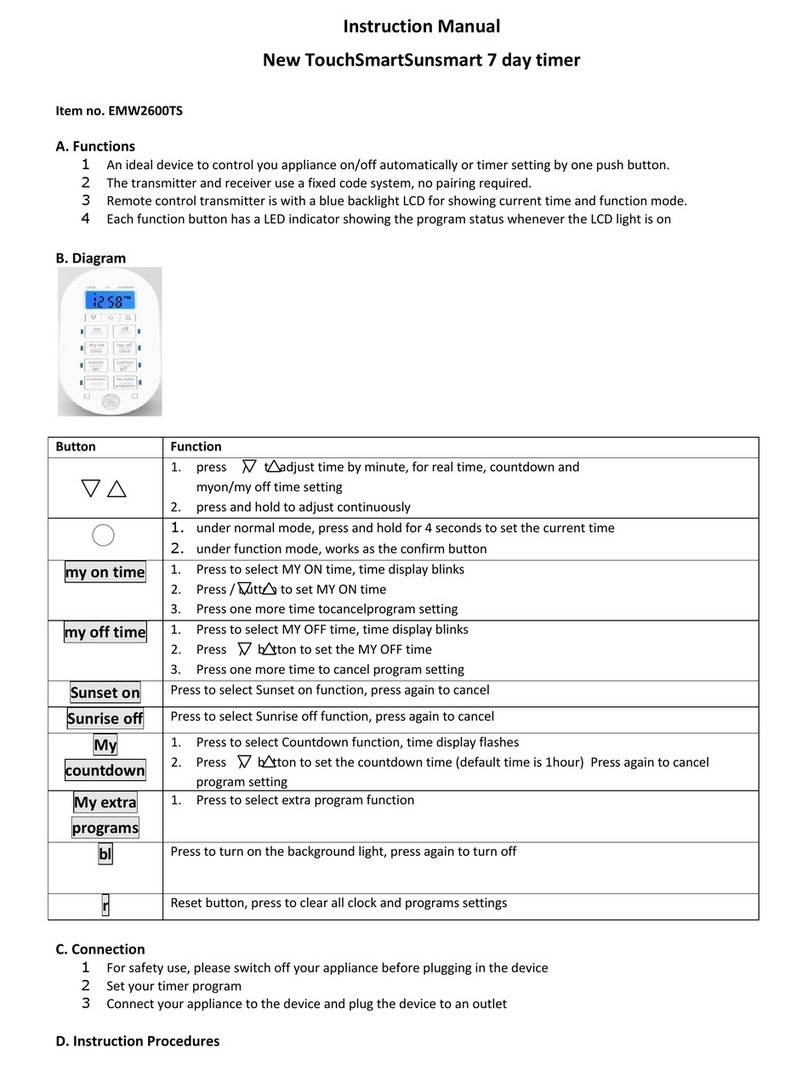
As an independent programming, it is possible at any given time to advance
to the next switching command by constantly pressing the “MANUAL” button,
as shown below:
ON = Always ON;
OFF = Always OFF;
AUTO ON = Timer is ON currently and ON/OFF program is activated.
AUTO OFF = Timer is OFF currently and ON/OFF program is activated.
7. Daylight Saving Time (DST)
Press and hold the “CLOCK” button for 3 seconds to advance to the current
time 1 hour, “+1h” icon will appear on the display. Press and hold the
“CLOCK” button for 3 seconds again to decrease 1 hour and the “+1h” icon
will disappear. See Figure 8.
8. Power Back-up Feature
In the event of a power failure, the timer will retain its settings for an
estimated 3 months if the power backup is fully charged.


