Installation
02
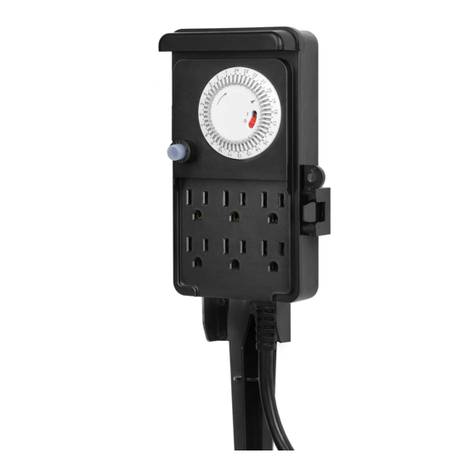
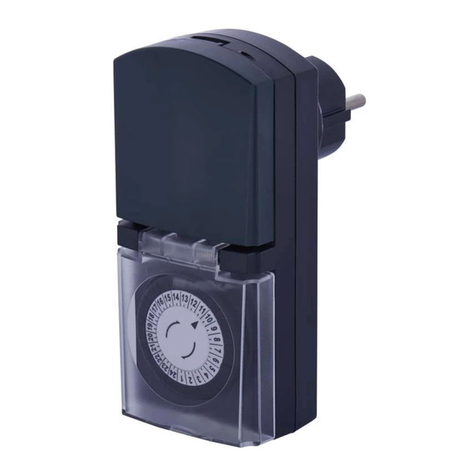
1. Cover
2. Timer dial
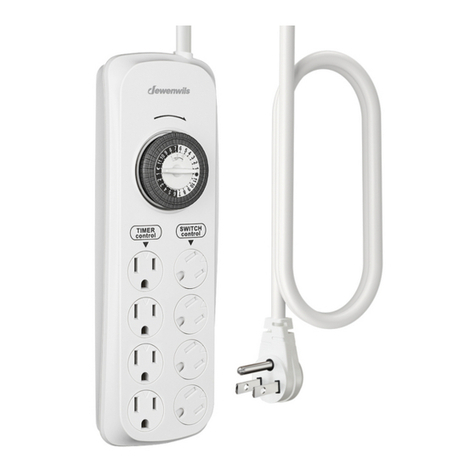
3. Switch:Always ON or Timer Control.
4. Outlet:Plug the lights or devices to be controlled by the timer outlet.
This outdoor mechanical timer has 48 pins with 24 hours daily repeat
function. Full 13 Amp rating will handle lighting and heavy-duty loads.
Operation Instructions
1. Locate an electrical outlet that is close to the device you want to control.
2. Push the “ON / TIMER”switch to “TIMER” position and plug the timer
into the outlet.
3. Set the current time - Turning dial clockwise until the arrow indicates to
present time. The pins (slices around the dial) are in increments of 30
minutes. White semicircle stands for 7am - 6pm and black semicircle
stands for 7pm - 6am.
4. Set your desired time period to keep the timer on by lifting up the pins
around the undesired time period. Pins in down position represents ON
and up position represents OFF.
Notes: Pins indicated by the arrow cannot be pressed down, rotate the dial
to make it work.
5. Plug your electrical device directly into the timer. Make sure the device is
in “ ON ” state so the timer can control it to work properly.
6. You may override operation of the timer by setting the “ON” switch to ON.
Be sure to set switch back to the “TIMER” for proper timer function.
7. If blackout, reset the time of day as indicated in steps 3 above.

