manuals.online logo
Brands
  1. Home
  2. •
  3. Brands
  4. •
  5. Dimplex
  6. •
  7. Heater
  8. •
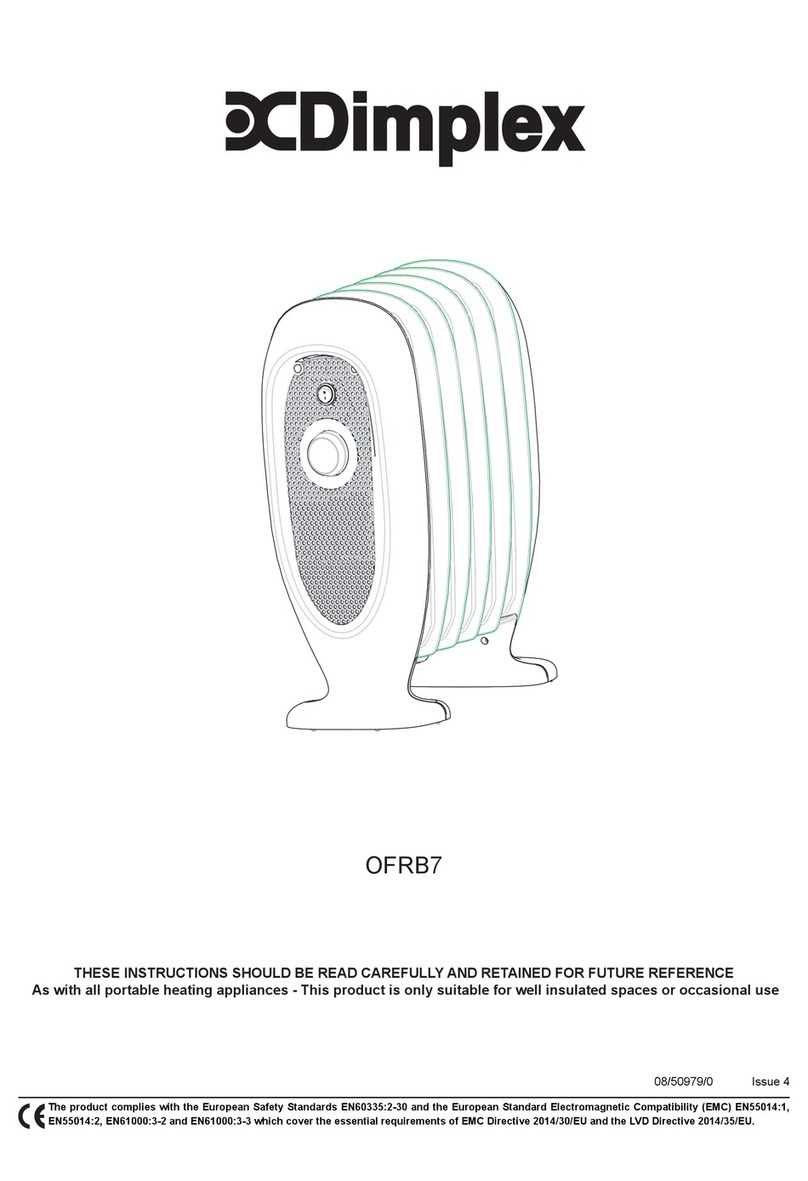
  9. Dimplex B48 User manual

Dimplex B48 User manual

This manual suits for next models

3

Other Dimplex Heater manuals

Dimplex DuoHeat Duo300N User manual

Dimplex

Dimplex DuoHeat Duo300N User manual

Dimplex SmartRad SRX80 Technical manual

Dimplex

Dimplex SmartRad SRX80 Technical manual

Dimplex DGWH4031 User manual

Dimplex

Dimplex DGWH4031 User manual

Dimplex DXW 307 User manual

Dimplex

Dimplex DXW 307 User manual

Dimplex DHCHT20M User manual

Dimplex

Dimplex DHCHT20M User manual

Dimplex BFH24BWSR Manual

Dimplex

Dimplex BFH24BWSR Manual

Dimplex XL6N User manual

Dimplex

Dimplex XL6N User manual

Dimplex QM070 Quantum User manual

Dimplex

Dimplex QM070 Quantum User manual

Dimplex PPC0500 Installation instructions manual

Dimplex

Dimplex PPC0500 Installation instructions manual

Dimplex VFE 20 User manual

Dimplex

Dimplex VFE 20 User manual

Dimplex DHCER24M User manual

Dimplex

Dimplex DHCER24M User manual

Dimplex DXDF20 User manual

Dimplex

Dimplex DXDF20 User manual

Dimplex DXFF30TSN User manual

Dimplex

Dimplex DXFF30TSN User manual

Dimplex LC Series User manual

Dimplex

Dimplex LC Series User manual

Dimplex PFH30 User manual

Dimplex

Dimplex PFH30 User manual

Dimplex EPX 500 User manual

Dimplex

Dimplex EPX 500 User manual

Dimplex OFC1000 User manual

Dimplex

Dimplex OFC1000 User manual

Dimplex Compact Series User manual

Dimplex

Dimplex Compact Series User manual

Dimplex OFC1005 User manual

Dimplex

Dimplex OFC1005 User manual

Dimplex Duo300i User manual

Dimplex

Dimplex Duo300i User manual

Dimplex M2GTS User manual

Dimplex

Dimplex M2GTS User manual

Dimplex FSR 15...35 GW Quick guide

Dimplex

Dimplex FSR 15...35 GW Quick guide

Dimplex PLX 500 User manual

Dimplex

Dimplex PLX 500 User manual

Dimplex DuoHeat Duo300i User manual

Dimplex

Dimplex DuoHeat Duo300i User manual

Popular Heater manuals by other brands

Porter-Cable PCXH80KT Operating instructions and owner's manual

Porter-Cable

Porter-Cable PCXH80KT Operating instructions and owner's manual

Dyna-Glo RA18LPDG user manual

Dyna-Glo

Dyna-Glo RA18LPDG user manual

EOS Herkules XL S120 installation instructions

EOS

EOS Herkules XL S120 installation instructions

Trebs Comfortheat 99209 manual

Trebs

Trebs Comfortheat 99209 manual

Biddle STYLE2 Series Installation operation & maintenance

Biddle

Biddle STYLE2 Series Installation operation & maintenance

Vermont Castings Non-Catalytic Convection Heater 2477CE Installation and operating manual

Vermont Castings

Vermont Castings Non-Catalytic Convection Heater 2477CE Installation and operating manual

Fagor RA-1505 Instructions for use

Fagor

Fagor RA-1505 Instructions for use

THERMAL FLOW Delta 175 Operating instructions manual

THERMAL FLOW

THERMAL FLOW Delta 175 Operating instructions manual

GET G2CH instructions

GET

GET G2CH instructions

ApenGroup PK Series User, installation, and maintenance manual

ApenGroup

ApenGroup PK Series User, installation, and maintenance manual

oventrop Regucor Series quick start guide

oventrop

oventrop Regucor Series quick start guide

Blaze King CLARITY CL2118.IPI.1 Operation & installation manual

Blaze King

Blaze King CLARITY CL2118.IPI.1 Operation & installation manual

ELMEKO ML 150 Installation and operating manual

ELMEKO

ELMEKO ML 150 Installation and operating manual

BN Thermic 830T instructions

BN Thermic

BN Thermic 830T instructions

KING K Series Installation, operation & maintenance instructions

KING

KING K Series Installation, operation & maintenance instructions

Empire Comfort Systems RH-50-5 Installation instructions and owner's manual

Empire Comfort Systems

Empire Comfort Systems RH-50-5 Installation instructions and owner's manual

Well Straler RC-16B user guide

Well Straler

Well Straler RC-16B user guide

EUROM 333299 instruction manual

EUROM

EUROM 333299 instruction manual

manuals.online logo
manuals.online logoBrands
  • About & Mission
  • Contact us
  • Privacy Policy
  • Terms and Conditions

Copyright 2025 Manuals.Online. All Rights Reserved.

INDMEWMK1S Issue 7
The product complies with the European Safety Standards EN60335-2-30 and the European Standard Electromagnetic Compatibility
(EMC) EN55014, EN60555-2 and EN60555-3 which cover the essential requirements of EEC Directives 73/23 and 89/336
MK1 Oil filled Radiator
Models - B48, C412, D416 & E420
93
67
12
34
➬
76
5
8
75mm MIN
‘C’
‘Y’
Model Watts A B C D
B48 750 570 659 405 527
C412 1000 840 659 675 527
D416 1500 1105 659 940 527
E420 2000 1373 659 1208 527
220
shelf
305
min.
B
A
95
65
D
160 min.
C
A
B
a
b
IMPORTANT:THESEINSTRUCTIONSSHOULDBEREADCAREFULLYANDRETAINEDFORFUTUREREFERENCE
Important Safety Advice
WARNING – DO NOT USE UNTILTHE FEETARE FITTED
CORRECTLY OR IT IS WALL MOUNTED USING THE
CORRECT WALL-MOUNTING KIT.
WARNING – THIS RADIATOR MUST ONLY BE USED IN
THE UPRIGHT POSITION.
WARNING – THIS RADIATOR MUST NOT BE LOCATED
IMMEDIATELY BELOWAFIXED SOCKET OUTLET.
WARNING – DO NOT USE THIS RADIATOR IN THE
IMMEDIATE SURROUNDINGS OF A BATH, A SHOWER
ORASWIMMINGPOOL.
IMPORTANT – IF THE RADIATOR IS TO BE USED IN A
BATHROOM OR SIMILAR LOCATION, IT MUST BE WALL
MOUNTED SO THAT NO PART OF IT CAN BETOUCHED
BY ANY PERSON USING A BATH OR SHOWER, AND
WIRED IN ACCORDANCE WITH I.E.E. REGULATIONS
BYA COMPETENT ELECTRICIAN.
WARNING – THIS RADIATOR CARRIESAWARNING ‘DO
NOT COVER’ TO ALERT THE USER TO THE RISK OF
FIRE THAT EXISTS IFTHE RADIATOR ISACCIDENTALLY
COVERED.
DO NOT COVER THE RADIATOR or place material or
garments on it, or obstruct the air circulation around the
radiator, for example with curtains or furniture, as this
could cause overheating and a fire risk.
The radiator complies with stringent safety standards
but to ensure efficient operation SURFACES OF THE
RADIATOR WILL BECOME HOT AND CONTACT WITH
THESEAREAS SHOULD BE AVOIDED.
This appliance is not intended for use by children or
other persons without assistance or supervision if their
physical, sensory or mental capabilities prevent them
from using it safely. Children should be supervised to
ensure that they do not play with the appliance.
If young children, the aged or infirm are likely to be left in
the vicinity of the heater, we advise that adequate
precautions should be taken. We recommend that a
guard be fitted to ensure contact with the heater is
avoided and objects cannot be inserted into the product.
For further information, please contact our guard
supplier direct on Tel. No. 01603 667957, or in case of
difficulty or for further advice contact the Customer
Helpline.
DO NOT use the radiator if it has been dropped or
damaged or the mains lead has been damaged, until it
has been examined by a qualified engineer.
DO NOT use the radiator if it develops an oil leak. Unplug
the radiator and contact your supplier or our Customer
Help Line.
If the radiator is tipped over, unplug it and allow it to cool
before standing it back upright.
DO ENSURE that the mains lead cannot be tripped over.
DO NOT operate the radiator with the mains lead
overhanging the heated surfaces.
If the supply cord is damaged it must be replaced by a
special cord or assembly available from the
manufacturer or its service agent.
Unpacking
Follow any pack operating instructions carefully. Remove the
contents of the carton very carefully. Retain all packaging for
future use.
Preparing for use
The radiator may be used free standing with the feet fitted or
wall mounted.
The necessary feet, screws and wall mounting brackets are
provided, packed with the radiator.
Free Standing on feet (see Fig. 3)
Never use the radiator free standing without the feet fitted.
Lay the radiator on its front on a table or similar and offer each
foot up to its mounting bracket. Place each foot over the
attachment bosses and secure it using the screws and washers
provided.
Insert the four white plastic inserts into the holes in the base of
the feet.
Stand the radiator on its feet and place it in position ready for
use. The heater should always be used on a flat stable surface.
Ensure that there is at least 75mm of clear space around the
radiator and at least 305mm between the radiator and any
overhanging shelf.
Optional castors may be fitted to the feet in place of the plastic
inserts:
Black plastic castors (4) RC9000
Metal ball castors (4) RC0291
Contact your supplier or our Customer Helpline for details.
For overall height with castors add 43mm.
Permanent wall mounting
THERADIATORMUSTONLYBE WALLMOUNTEDUSINGTHE
KITSUPPLIED.
Select a suitable position on a wall, near to a mains power
outlet.
The radiator should not be mounted closer than 75mm from
the floor - see Fig. 4 (to enable cleaning), or adjacent side
walls.
Ensure at least 305mm clear space between the radiator and
any overhanging shelf.
It should not be mounted closer than 1 metre from the ceiling.
STEP 1
Check that you have all the necessary components:
(a) 2 x Bottom Wall brackets
(b) 2 x Top Wall Brackets
(c) 2 x Radiator Securing Brackets
(d) 2 x Screws Self-tapping.
STEP 2
Using a straight edge, draw a horizontal line (see ‘Y’ in Fig. 4)
for the bottom brackets at the required mounting height from
the floor.
NOTE: The bottom of the radiator must not be less than 75mm
from the floor. To achieve this, the top edge of the bottom
brackets must be at least 160mm from the floor – see Fig. 2.
On this line, mark off the fixing centres according to model –
see ‘C’ in the table in Fig. 2 and Fig. 4.
Place the bottom brackets centrally over these centres with the
top row of holes on the line, and mark the fixing hole positions
– see Fig. 4.
STEP 3
Drill the holes and fit wall plugs. Screw the bottom brackets in
position – see Fig. 4.
STEP 4
Measure dimension D in Fig. 2 according to model, from the
top of the bottom brackets and draw a horizontal line. Mark off
the fixing centres for the top brackets in line with the bottom
brackets. Place each top bracket on the line and mark the
fixing holes – see Fig. 5. Drill and plug the wall and fix the top
brackets in place.
STEP 5
Place the radiator on the bottom brackets, then fit each securing
bracket to the top of the radiator and secure it with the self-
tapping screw provided – see Fig. 6.
Check that the radiator is securely fixed to the wall.
DimplexUK Limited
Millbrook House
Grange Drive
Hedge End
Southampton
Hampshire. SO30 2DF
[c] Dimplex UK Limited
All rights reserved. Material contained in this publication may not be reproduced in whole or in part, without prior permission in writing of Dimplex UK Limited.
Using the radiator
WARNING – this radiator carries a warning ‘DO NOT COVER’
toalert theuser tothe riskof overheatingthat existsif theradiator
is accidentally covered.
Operation
When you have completed the installation, plug in and switch
on the power.
Set the thermostat control knob (see ‘a’ in Fig. 8) to position 10
(maximum) and allow the radiator to bring the room to your
desired temperature.
The neon lamp (see ‘b’ in Fig. 8) will light to show that the
radiatorisheating. Now turnthe thermostat controldown slowly
until the neon lamp just goes off. The radiator will now maintain
the chosen temperature.
Note that the radiator may feel cool during operation if the room
temperature is higher than the thermostat setting.
When the radiator is not in use, switch off the power supply and
pull the plug out from the socket.
Cleaning
WARNING - ALWAYS DISCONNECT THE POWER SUPPLY
BEFORECLEANINGTHEHEATER.
Do not use detergents, abrasive cleaning powder or polish of
any kind on the body of the heater.
Allow the heater to cool, then wipe with a dry cloth to remove
dust and a damp cloth (not wet) to clean off stains. Be careful
not to allow moisture in to the heater.
Recycling
For electrical products sold within the European Community.
At the end of the electrical products useful life it
should not be disposed of with household waste.
Please recycle where facilities exist. Check with
your Local Authority or retailer for recycling advice
in your country.
After Sales Service
Your product is guaranteed for one year from the date of
purchase.
Within this period, we undertake to repair or exchange this
product free of charge provided it has been installed and
operated in accordance with these instructions.
Your rights under this guarantee are additional to your statutory
rights, which in turn are not affected by this guarantee.
Should you require after sales service you should contact our
customer services help desk on 0845 600 5111. It would assist
us if you can quote the model number, series, date of purchase,
and nature of the fault at the time of your call.
Please do not return a faulty product to us in the first instance
as this may result in loss or damage and delay in providing you
with a satisfactory service.
The inner panel of this heater is filled with a precise quantity of
special oil. Repairs requiring opening of the oil container are
only to be made by the manufacturer or its service agent. For
further advice if an oil leak is suspected please contact our
Customer Services Helpline. Regulations concerning the
disposal of oil when scrapping the appliance must be followed.
Please retain your receipt as proof of purchase.
UK customer help line 8.00am–5.00pm Mon-Fri and 8:30am-1.00pm Sat (October-March)
Technical Services: Tel. 0845 600 5111
Fax. 01489 773053
e-mail [email protected]
Republic of Ireland Tel. 01 8424833