manuals.online logo
Brands
  1. Home
  2. •
  3. Brands
  4. •
  5. Dimplex
  6. •
  7. Heater
  8. •
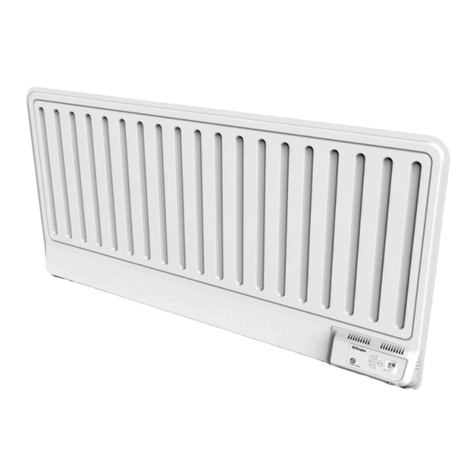
  9. Dimplex DTX Series Installation instructions manual

Dimplex DTX Series Installation instructions manual

This manual suits for next models

4

Other Dimplex Heater manuals

Dimplex FrostWatcher FW600 User manual

Dimplex

Dimplex FrostWatcher FW600 User manual

Dimplex OFC1500TLG User manual

Dimplex

Dimplex OFC1500TLG User manual

Dimplex TRP 100 M User manual

Dimplex

Dimplex TRP 100 M User manual

Dimplex WFE 3TNB User manual

Dimplex

Dimplex WFE 3TNB User manual

Dimplex Quantum User manual

Dimplex

Dimplex Quantum User manual

Dimplex DEP Series User manual

Dimplex

Dimplex DEP Series User manual

Dimplex XLS12N User manual

Dimplex

Dimplex XLS12N User manual

Dimplex DXFF30TSN User manual

Dimplex

Dimplex DXFF30TSN User manual

Dimplex Electric Unit Heaters User manual

Dimplex

Dimplex Electric Unit Heaters User manual

Dimplex OFCB5 User manual

Dimplex

Dimplex OFCB5 User manual

Dimplex H 260/4 User manual

Dimplex

Dimplex H 260/4 User manual

Dimplex DXUF2T User manual

Dimplex

Dimplex DXUF2T User manual

Dimplex OFRC10 User manual

Dimplex

Dimplex OFRC10 User manual

Dimplex Longbourn LBN20 User manual

Dimplex

Dimplex Longbourn LBN20 User manual

Dimplex BY 802 S User manual

Dimplex

Dimplex BY 802 S User manual

Dimplex QM070 Quantum User manual

Dimplex

Dimplex QM070 Quantum User manual

Dimplex PFH30 User manual

Dimplex

Dimplex PFH30 User manual

Dimplex OFRB7 User manual

Dimplex

Dimplex OFRB7 User manual

Dimplex 3082S User manual

Dimplex

Dimplex 3082S User manual

Dimplex WH 6100770000 User manual

Dimplex

Dimplex WH 6100770000 User manual

Dimplex FXL18N User manual

Dimplex

Dimplex FXL18N User manual

Dimplex ML2TS User manual

Dimplex

Dimplex ML2TS User manual

Dimplex RFF Series User manual

Dimplex

Dimplex RFF Series User manual

Dimplex EvoRad2BTA User manual

Dimplex

Dimplex EvoRad2BTA User manual

Popular Heater manuals by other brands

Porter-Cable PCXH80KT Operating instructions and owner's manual

Porter-Cable

Porter-Cable PCXH80KT Operating instructions and owner's manual

Dyna-Glo RA18LPDG user manual

Dyna-Glo

Dyna-Glo RA18LPDG user manual

EOS Herkules XL S120 installation instructions

EOS

EOS Herkules XL S120 installation instructions

Trebs Comfortheat 99209 manual

Trebs

Trebs Comfortheat 99209 manual

Biddle STYLE2 Series Installation operation & maintenance

Biddle

Biddle STYLE2 Series Installation operation & maintenance

Vermont Castings Non-Catalytic Convection Heater 2477CE Installation and operating manual

Vermont Castings

Vermont Castings Non-Catalytic Convection Heater 2477CE Installation and operating manual

Fagor RA-1505 Instructions for use

Fagor

Fagor RA-1505 Instructions for use

THERMAL FLOW Delta 175 Operating instructions manual

THERMAL FLOW

THERMAL FLOW Delta 175 Operating instructions manual

GET G2CH instructions

GET

GET G2CH instructions

ApenGroup PK Series User, installation, and maintenance manual

ApenGroup

ApenGroup PK Series User, installation, and maintenance manual

oventrop Regucor Series quick start guide

oventrop

oventrop Regucor Series quick start guide

Blaze King CLARITY CL2118.IPI.1 Operation & installation manual

Blaze King

Blaze King CLARITY CL2118.IPI.1 Operation & installation manual

ELMEKO ML 150 Installation and operating manual

ELMEKO

ELMEKO ML 150 Installation and operating manual

BN Thermic 830T instructions

BN Thermic

BN Thermic 830T instructions

KING K Series Installation, operation & maintenance instructions

KING

KING K Series Installation, operation & maintenance instructions

Empire Comfort Systems RH-50-5 Installation instructions and owner's manual

Empire Comfort Systems

Empire Comfort Systems RH-50-5 Installation instructions and owner's manual

Well Straler RC-16B user guide

Well Straler

Well Straler RC-16B user guide

EUROM 333299 instruction manual

EUROM

EUROM 333299 instruction manual

manuals.online logo
manuals.online logoBrands
  • About & Mission
  • Contact us
  • Privacy Policy
  • Terms and Conditions

Copyright 2025 Manuals.Online. All Rights Reserved.

7212830100R01
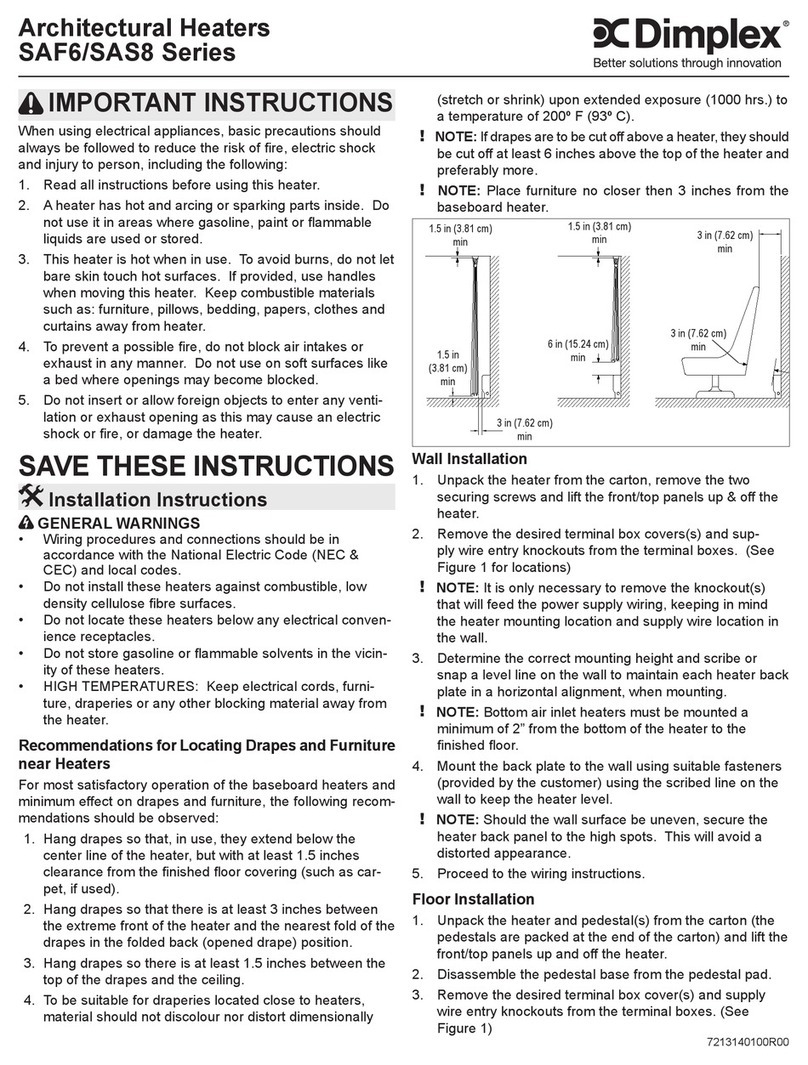
Electronic Convector
DTX Series
WARNING: Do not install the heater where the controls
can be reached by a person bathing or showering.
CAUTION: The heater must not be located directly be-
neath a wall socket outlet.
CAUTION: The supplied hanging components are de-
signed for use with this heater only. Improper use, or use
for purposes other than intended, may cause damage or
injury.
1. If desired, before mounting the electronic convector the
thermostat slider can be set to limit the available range.
(Figure 1)
□Remove the two plastic pins.
□Insert the pins in the preferred holes to limit the slider
range.
2. Remove the mounting bracket from the back of the con-
vector.
3. Using the mounting bracket as a guide determine the lo-
cation of the convector, see Figure 2 for minimum clear-
ances.
4. Attach the mounting bracket securely to the wall using
the appropriate hardware (not included) for the mounting
surface.
5. Mount the convector to the mounting bracket.
!NOTE: Ensure that the air can enter and leave the heater
freely, through the inlets at the bottom and the outlets at the
top.
Electrical Connection
WARNING: Heater and controls should be installed by a
Installation Instructions
IMPORTANT INSTRUCTIONS
When using electrical appliances, basic precautions should
always be followed to reduce the risk of re, electric shock
and injury to person, including the following:
1. Read all instructions before using this heater.
2. Do not operate any heater after it malfunctions. Discon-
nect power at the service panel and have the heater
inspected by a reputable electrician before reusing.
3. To disconnect the heater, turn the controls to the OFF
position, and turn off the power to the heater circuit at the
main disconnect panel.
4. Do not insert or allow foreign objects to enter any ventila-
tion or exhaust opening, as this may cause an electric
shock or re, or damage the heater.
5. To prevent a possible re, do not block the air intakes or
exhaust in any manner.
6. A heater has hot and arcing or sparking parts inside. Do
not use it in areas where gasoline, paint, or ammable
vapors or liquids are used or stored.
7. Use this heater only as described in this manual. Any
other use not recommended by the manufacturer may
cause re, electric shock, or injury to persons.
8. This heater is hot when in use. To avoid burns, do not let
bare skin touch hot surfaces. Keep combustible materi-
als, such as furniture, pillows, bedding, papers, clothes,
etc. and curtains at least 3 ft. (0.9 m) from the front and
sides of the heater.
9. Extreme caution is necessary when any heater is used
by or near children or invalids, and whenever the heater
is left operating and unattended.
10. Do not use outdoors.
11. Changes or modications not expressly approved by the
party responsible for compliance could void the user’s
authority to operate the equipment.
SAVE THESE INSTRUCTIONS
5.9"
(150 mm)
MIN
A
4.6"
(118 mm)
10"
(255 mm)
MIN
5.9"
(150 mm)
MIN
16.9"
(430 mm)
5.9"
(150 mm)
MIN
7.25"
(184mm)
2.5"
(64 mm)
16.9"
(430 mm)
4.1"
(105 mm)
Figure 2
Model A
DTX0500 4.6 in. (116 mm)
DTX1000 11.2 in. (285 mm)
DTX1500 14.0 in. (356 mm)
DTX2000 20.7 in. (526 mm)
‘x’
Figure 1
In keeping with our policy of continuous product improvement, we reserve the right to make changes without notice.
© 2013 Dimplex North America Limited
1367 Industrial Road Cambridge ON Canada N1R 7G8
1-888-346-7539 www.dimplex.com
Warranty
The Manufacturer warrants the convector heater and components of the
enclosed product against any defect in material or workmanship for a period
of two years from the date of purchase, with the exception of the elements
which are warranted to be free from defect in material and workmanship
for ten years. In full satisfaction of any claims under this Warranty the
Manufacturer will repair or replace without charge, in its factory or in the eld
as it alone may decide, any parts which in its opinion are defective.
The Manufacturer shall not be responsible for any transportation or shipping
costs in relation to such repair or replacement except as specically
assumed by it. Misuse of this product or repairs by persons other than the
Manufacturer’s authorized personnel without the Manufacturer’s written
approval, will void this Warranty.
This Warranty is in lieu of all other warranties or conditions whether
expressed or implied including but not limited to those of merchantability or
tness for purpose and shall constitute the sole remedy of the Purchaser
and the sole liability of the Manufacturer in respect of the sale of the product,
whether in the nature of breach or breach of fundamental term, or of
negligence or otherwise.
The Manufacturer shall not be liable for any special, indirect or consequential
damages or for any damages resulting from removal or replacement of
a convector heater subject to warranty claim without the Manufacturer’s
authorization.
Any claims under this Warranty must be submitted in writing to the Service
Manager, Dimplex North America Ltd., 1367 Industrial Rd., Cambridge,
Ontario N1R 7G8, Canada.
WARNING: Disconnect power and allow the unit to com-
pletely cool before attempting any maintenance or clean-
ing to reduce the risk of re, electric shock, or damage to
persons.
CAUTION: The heater should not be operated with an
accumulation of dust or dirt on or in the unit, as this can
cause a build up of heat and eventual damage. For this
reason the heater must be inspected regularly, depending
upon conditions and at least at yearly intervals.
The outer surface can be wiped with a soft damp cloth.
!NOTE: Do not use scouring powder or furniture polish,
as these can damage the surface.
Dust that collects within the unit can be removed from the
outside using a vacuum cleaner.
Maintenance
WARNING: A minimum distance of 3 ft. (0.9 m) must be
maintained in front of the heater.
WARNING: This heater must be properly installed before
it is used.
The manual controls are located on the right hand side, at
the top of the appliance.
1. Press the power button to power on the unit. An indica-
tor light beside the power button shows when the unit is
powered on.
2. The indicator light below the heat symbol is illuminated
when the elements are actually heating.
!NOTE: Should the heater overheat, an automatic ther-
mal cut out will turn the heater off. The heater will reactivate
once the heater has cooled.
Controlling the temperature
The heater is tted with an adjustable thermostat, enabling
the room temperature to be controlled by adjusting the slider
accordingly.
1. The frost protector setting (*) represents a room tem-
perature of approximately 5 °C (41 °F) and may be used
for protection against frost.
2. The MAX setting represents a room temperature of ap-
proximately 30 °C (86 °F).
3. Adjust the slider to your individual comfort level. When
the room temperature has reached the desired level, the
power to the elements will be reduced. The heater will
then maintain the room temperature at the chosen level.
Operation
Wiring Diagram
qualied contractor. Wiring procedures and connections
should be in accordance with the National Electric Code
(CEC & NEC) and local codes.
Connect the supply wire into a properly rated recess box.
!NOTE: Consult your local electrical code for applicable
wire gauge.
Connect L1 from the power supply to the L1 labelled wire
from the unit, connect the L2 wire from the power supply to
the L2 labelled wire from the unit, and connect the ground to
the ground screw on the unit.
MAX
*
Figure 3
L2
L1
Ground
Thermal Cutout
Temperature
Sensor