manuals.online logo
Brands
  1. Home
  2. •
  3. Brands
  4. •
  5. Dimplex
  6. •
  7. Heater
  8. •
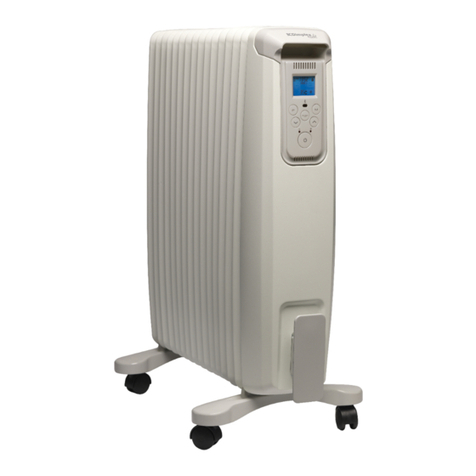
  9. Dimplex DuoHeat Duo300i User manual

Dimplex DuoHeat Duo300i User manual

This manual suits for next models

5

Other Dimplex Heater manuals

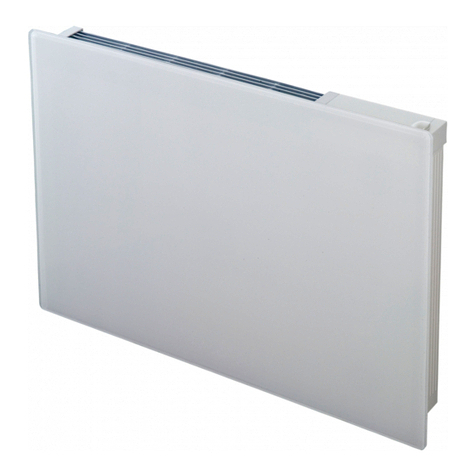
Dimplex Studio G DXSTG25 User manual

Dimplex

Dimplex Studio G DXSTG25 User manual

Dimplex PLXE Series User manual

Dimplex

Dimplex PLXE Series User manual

Dimplex AC3RE User manual

Dimplex

Dimplex AC3RE User manual

Dimplex AC6RN User manual

Dimplex

Dimplex AC6RN User manual

Dimplex XLE Series User manual

Dimplex

Dimplex XLE Series User manual

Dimplex SAF6 Series User manual

Dimplex

Dimplex SAF6 Series User manual

Dimplex XLE Series User manual

Dimplex

Dimplex XLE Series User manual

Dimplex RSH Series User manual

Dimplex

Dimplex RSH Series User manual

Dimplex RFI815D31 Guide

Dimplex

Dimplex RFI815D31 Guide

Dimplex FutuRad FutG2BT User manual

Dimplex

Dimplex FutuRad FutG2BT User manual

Dimplex FX 20VE User manual

Dimplex

Dimplex FX 20VE User manual

Dimplex XL6N User manual

Dimplex

Dimplex XL6N User manual

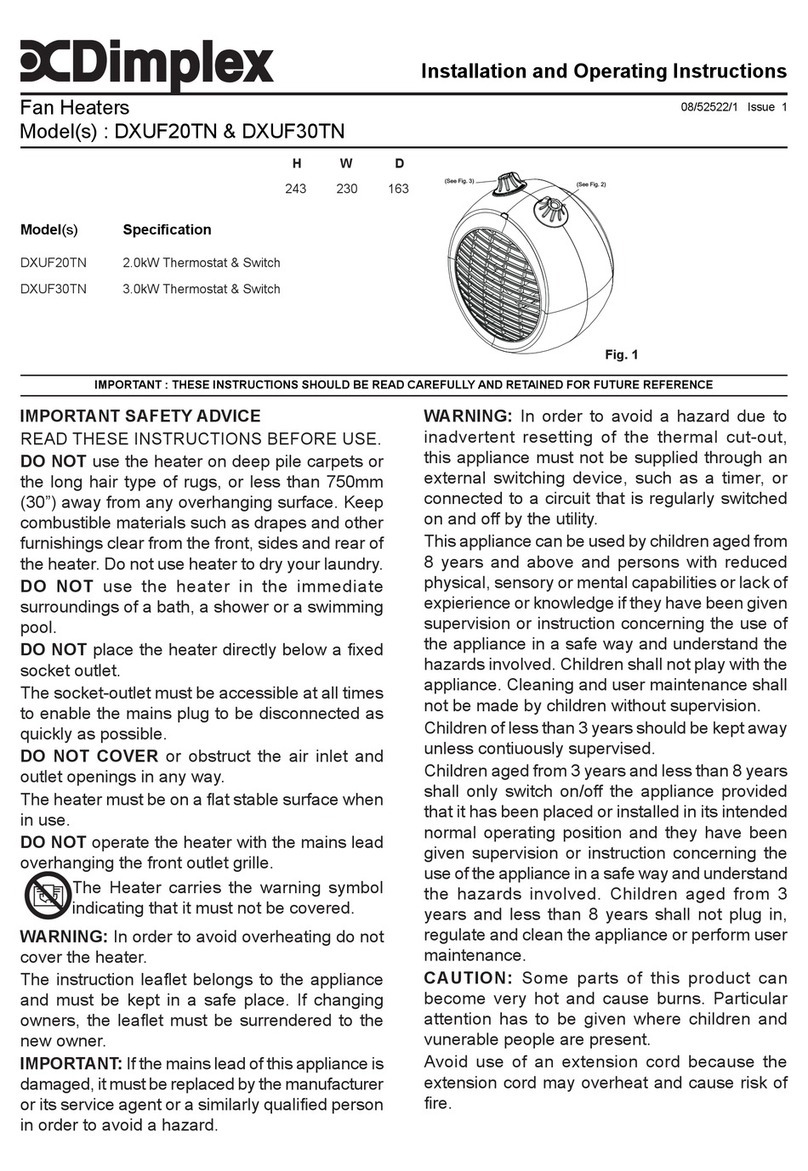
Dimplex DXUF 20TN User manual

Dimplex

Dimplex DXUF 20TN User manual

Dimplex H 260E User manual

Dimplex

Dimplex H 260E User manual

Dimplex CABR User manual

Dimplex

Dimplex CABR User manual

Dimplex QUBEFAN Q2BT User manual

Dimplex

Dimplex QUBEFAN Q2BT User manual

Dimplex QM070 Quantum User manual

Dimplex

Dimplex QM070 Quantum User manual

Dimplex Apollo APL100 Owner's manual

Dimplex

Dimplex Apollo APL100 Owner's manual

Dimplex BEETHOVEN User manual

Dimplex

Dimplex BEETHOVEN User manual

Dimplex PLX 500 User manual

Dimplex

Dimplex PLX 500 User manual

Dimplex EWA-C Series User manual

Dimplex

Dimplex EWA-C Series User manual

Dimplex CAB Series User manual

Dimplex

Dimplex CAB Series User manual

Dimplex EUH-B Series User manual

Dimplex

Dimplex EUH-B Series User manual

Dimplex DXC20 User manual

Dimplex

Dimplex DXC20 User manual

Popular Heater manuals by other brands

Porter-Cable PCXH80KT Operating instructions and owner's manual

Porter-Cable

Porter-Cable PCXH80KT Operating instructions and owner's manual

Dyna-Glo RA18LPDG user manual

Dyna-Glo

Dyna-Glo RA18LPDG user manual

EOS Herkules XL S120 installation instructions

EOS

EOS Herkules XL S120 installation instructions

Trebs Comfortheat 99209 manual

Trebs

Trebs Comfortheat 99209 manual

Biddle STYLE2 Series Installation operation & maintenance

Biddle

Biddle STYLE2 Series Installation operation & maintenance

Vermont Castings Non-Catalytic Convection Heater 2477CE Installation and operating manual

Vermont Castings

Vermont Castings Non-Catalytic Convection Heater 2477CE Installation and operating manual

Fagor RA-1505 Instructions for use

Fagor

Fagor RA-1505 Instructions for use

THERMAL FLOW Delta 175 Operating instructions manual

THERMAL FLOW

THERMAL FLOW Delta 175 Operating instructions manual

GET G2CH instructions

GET

GET G2CH instructions

ApenGroup PK Series User, installation, and maintenance manual

ApenGroup

ApenGroup PK Series User, installation, and maintenance manual

oventrop Regucor Series quick start guide

oventrop

oventrop Regucor Series quick start guide

Blaze King CLARITY CL2118.IPI.1 Operation & installation manual

Blaze King

Blaze King CLARITY CL2118.IPI.1 Operation & installation manual

ELMEKO ML 150 Installation and operating manual

ELMEKO

ELMEKO ML 150 Installation and operating manual

BN Thermic 830T instructions

BN Thermic

BN Thermic 830T instructions

KING K Series Installation, operation & maintenance instructions

KING

KING K Series Installation, operation & maintenance instructions

Empire Comfort Systems RH-50-5 Installation instructions and owner's manual

Empire Comfort Systems

Empire Comfort Systems RH-50-5 Installation instructions and owner's manual

Well Straler RC-16B user guide

Well Straler

Well Straler RC-16B user guide

EUROM 333299 instruction manual

EUROM

EUROM 333299 instruction manual

manuals.online logo
manuals.online logoBrands
  • About & Mission
  • Contact us
  • Privacy Policy
  • Terms and Conditions

Copyright 2025 Manuals.Online. All Rights Reserved.

- 1 -
Dimplex DuoHeat Radiator
Models: Duo300i, Duo400i and Duo500i
Installation Instructions
85702 Issue 9
THESE INSTRUCTIONS SHOULD BE READ CAREFULLY AND RETAINED FOR FUTURE REFERENCE
NOTE ALSO THE INFORMATION GIVEN ON THE APPLIANCE
These instructions should not be left with the user, as this would invite the dismantling and servicing by unqualified persons.
There is a separate instruction leaflet which should be left with the user explaining how the radiator should be operated.
IMPORTANT SAFETY ADVICE
WARNING - This radiator is VERY HEAVY. In order to maintain stability and to ensure its future safety in use, it is essential
that the radiator is FIXED SOUNDLY TO A WALL and that the feet are mounted on a FIRM, LEVEL SURFACE. Care should
be taken to avoid irregular surfaces, such as may result from tiled surrounds partially protruding under the radiator. It is
important that the following instructions are strictly followed.
WARNING – It is important that the fixing device chosen is appropriate to the wall material to which the radiator is being
fixed. Some modern internal building materials are very low density block and require specialised fixing devices to
provide a safe, secure installation.
WARNING – If during any reassembly of the radiator, a part of the thermal insulation shows damage or deterioration which
may impair safety, it should be replaced with an identical part.
WARNING – This radiator must not be located below a fixed socket outlet.
Suggested Wall Fittings (see page 7 for further information)
Solid brick/block: No. 10 Rawlplug fibre inserts (provided). 5.5mm drill bit. Drill 8mm deeper than rawlplug length.
Plasterboard: If possible locate studding and use No. 10 woodscrews directly into the wood, otherwise M5 intersets.
For other wall types seek specialist advice.
WARNING - in order to avoid overheating, do not cover the radiator.
DO NOT COVER OR OBSTRUCT the surfaces of the appliance.
DO NOT POSITION under windows where curtains may contact the radiator (see minimum clearances above).
DO NOT PLACE OBJECTS in contact with the radiator.
Model Height
AWidth
BDepth
C
Duo300i 712mm 600mm 130mm+10mm
Duo400i 712mm 830mm 130mm+10mm
Duo500i 712mm 1060mm 130mm+10mm
Wall, Curtains or Furniture
Curtains Shelf or Overhang
Furniture
or other
obstruction
110mm
150mm
min.
250mm
min.
75mm
min.
75mm
min. A
BC
TO ENSURE THIS APPLIANCE IS OPERATING CORRECTLY, IT IS ESSENTIAL TO PERFORM THE CHECK PROCEDURE DETAILED
ON THE BACK PAGE OF THIS INSTRUCTION. THIS MUST BE COMPLETED BEFORE NORMAL OPERATION COMMENCES.
Dimensions (including clearances diagram)
(millimetres)
Models Specification Rated Charge
300i 1.3kW / 0.28kW 9.1kWh
400i 1.95kW / 0.34kW 13.65kWh
500i 2.6kW / 0.39kW 18.2kWh
- 12 -
This appliance complies with the European Standards EN 60 335-1, EN 60 335-2-61, EN 61000-3-2,
EN 61000-3-3, EN 55014 and EN55104 for Safety & Electromagnetic Compatibility.
These standards cover the requirement of the EMC Directives 89/336 & 73/23
Glen Dimplex UK Limited
Millbrook House
Grange Drive
Hedge End
Southampton
Hampshire SO30 2DF
DuoHeat has two heat output modes Comfort (Radiant Heat)
and Background (Retained Heat) . Under normal operation
the temperature control display will always operate the radiant
panel, (Comfort).
Note:- Front Panel should be fully installed onto radiator
and only Peak supply is switched on, with red bar(s)
showing on the temperature control display, before
starting the check procedure.
1. (i) Adjust the “off peak” control setting (Background
heat) to position no. 10 as follows; press and hold
down the +button on the temperature control display
until 10 red bars are illuminated, continue to hold
the +button for a further 7 seconds and a single
red bar will flash. Use the +button to move the
flashing red bar to the right hand side i.e. the No. 10
position (shown below).
After 20 seconds the temperature control display
will return to the Comfort control mode.
(ii) Ensure “Off Peak” supply is in the Off position.
Unscrew the spur from the wall. Check the
continuity on the storage side of the spur.. If the
circuit is closed this will confirm that the “off peak”
storage circuit (background heat) is operational.
(iii) If the “off peak” circuit shows open circuit and room
temperature is below 25°C, switch off the “peak”
front panel electricity supply and check if the circuit
has closed. If off peak circuit is still open, check all
electrical connections are secure, only then phone
customer help line.
Reconnect spur and switch on radiator.
CHECK PROCEDURE FOR INSTALLERS FOLLOWING INSTALLATION
2. To check the radiant panel operation (comfort heat).
(i) Adjust the temperature control display as follows;
press down the +button until 10 red bars are
illuminated (shown below). After 2 minutes the
front panel should now feel warm, this will confirm
correct operation.
(ii) If the front panel does not heat up and room
temperature is below 25°C, remove front panel and
ensure there is no damage to front panel or radiant
element and that all electrical connections are
secure. If front panel is still not heating up, phone
customer help line.
NOTE: If room temperature is above 25°C, radiator will
not operate.
IMPORTANT
Once radiator has been confirmed as fully
operational, use the “Quick Start Guide” to
set up initial customer settings.
Please ensure the “Quick Start Guide” and
the “Operating Instructions” are left with the
radiator for user information.
THIS CHECK PROCEDURE SHOULD BE CARRIED OUR BY A COMPETENT INSTALLER ONLY. A QUICK START GUIDE AND
OPERATING INSTRUCTIONS ARE AVAILABLE FOR END USERS.
© Glen Dimplex UK Limited
All rights reserved. Material contained in this publication may not be reproduced in whole or part, without prior permission in writing from Glen Dimplex UK Limited.
Customer Help Line 0845 600 5111
8am–5pm Mon–Fri and 8:30am–1pm Sat (Autumn–Winter only)
Fax 01489 773 050
Web-site www.dimplex.co.uk
e-mail [email protected]
Republic of Ireland 01 842 4833