manuals.online logo
Brands
  1. Home
  2. •
  3. Brands
  4. •
  5. Dimplex
  6. •
  7. Indoor Fireplace
  8. •
  9. Dimplex Diamantique User manual

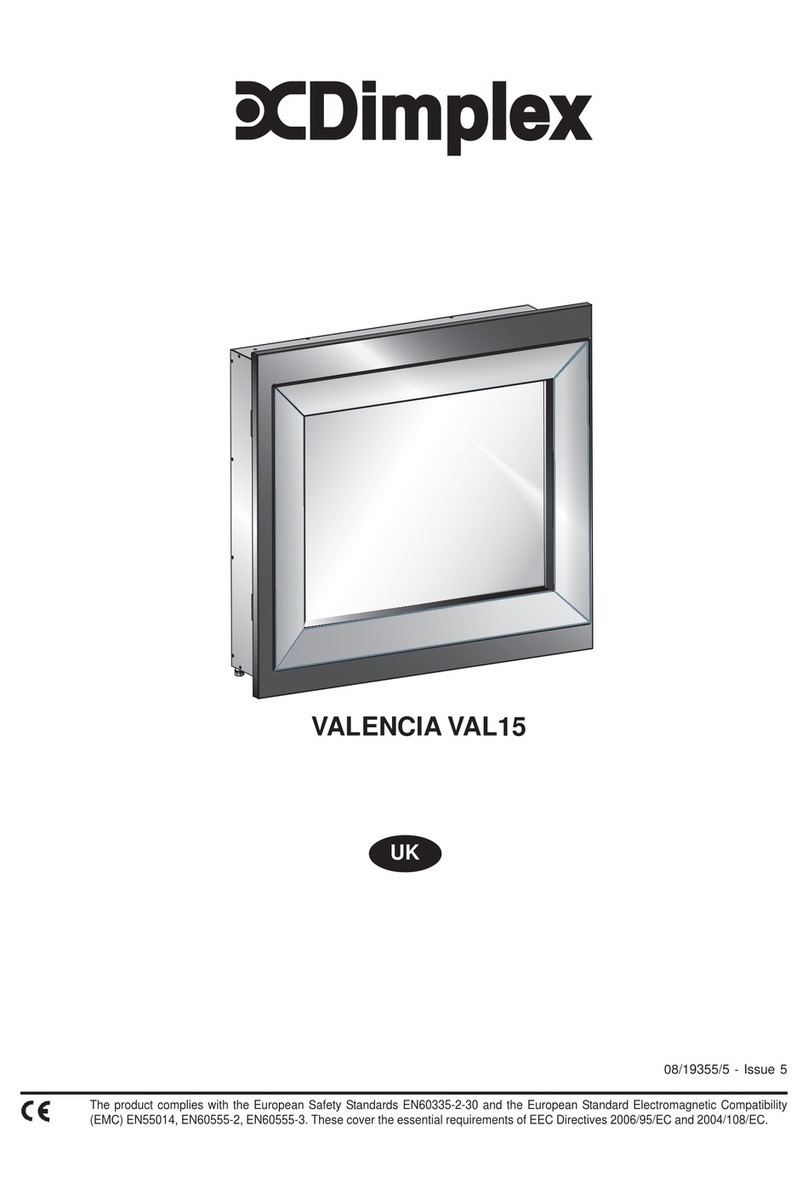
Dimplex Diamantique User manual

08/ 53178/2 Issue 2
The product complies with the European Safety Standards EN60335-2-30 and the European Standard Electromagnetic Compatibility (EMC)
EN55014, EN60555-2 and EN60555-3. These cover the essential requirements of EEC Directives 2006/95/EC and 2004/108/EC
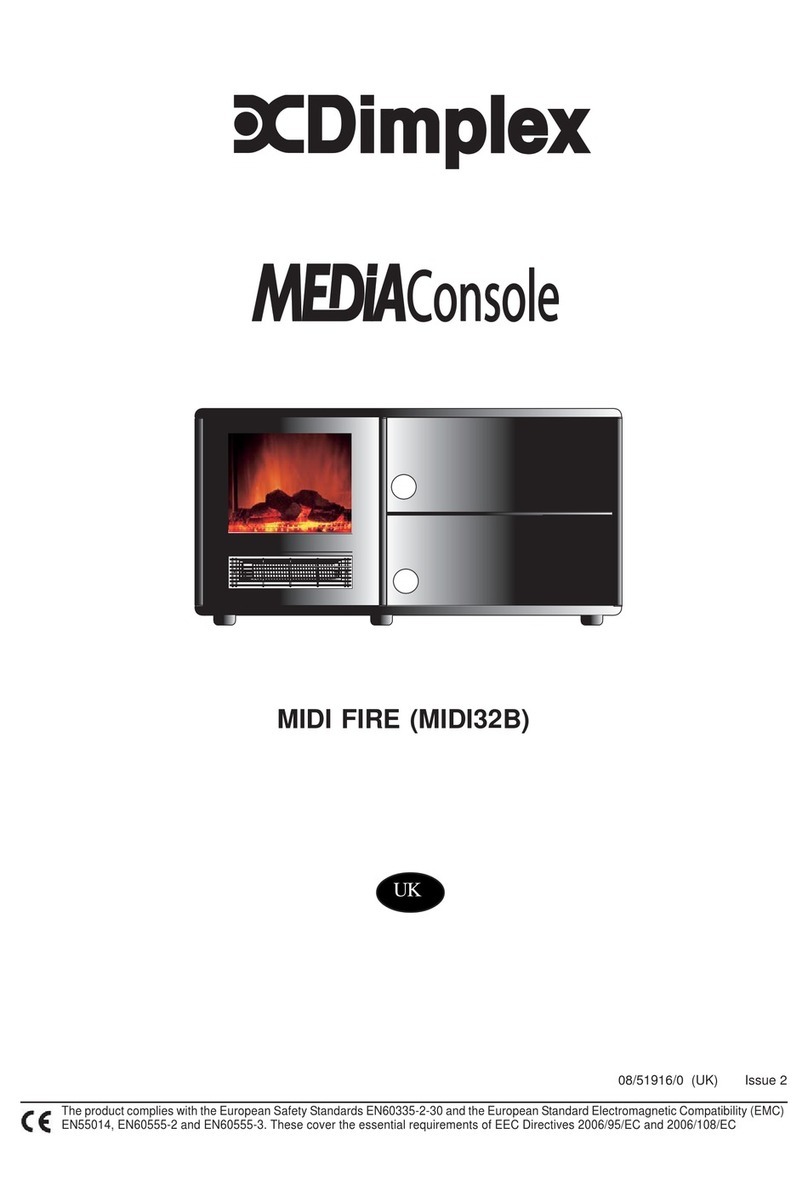
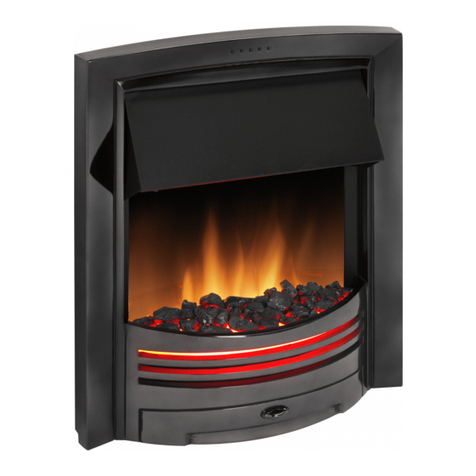
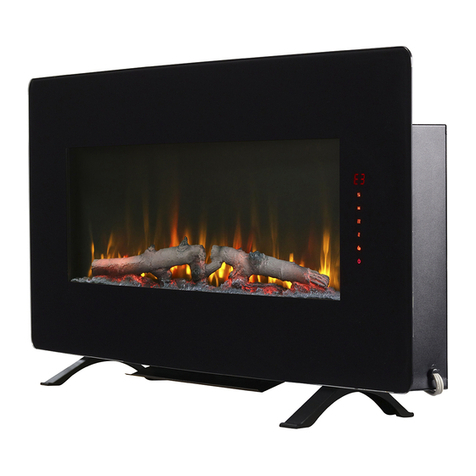
DIAMANTIQUE
Mirrored Wall Fire
UK
1
4
2
3
65
Important Safety Advice
When using electrical appliances, basic
precautions should always be followed to reduce
the risk of re, electrical shock and injury to
persons, including the following:
If the appliance is damaged, check with the
supplier before installation and operation.
Do not use outdoors.
Do not use in the immediate surroundings of a
bath, shower or swimming pool.
Do not locate the appliance immediately below a
xed socket outlet or connection box.
The appliance carries the Warning symbol
DO NOT COVER, indicating that it must
not be covered.
This appliance can be used by children aged from
8 years and above and persons with reduced
physical, sensory or mental capabilities or lack
of experience and knowledge if they have been
given supervision or instruction concerning use
of the appliance in a safe way and understand the
hazards involved. Children shall not play with the
appliance. Cleaning and user maintenance shall
not be made by Children without supervision.
Children of less than 3 years should be kept
away unless continuously supervised. Children
aged from 3 years and less than 8 years shall
only switch on/off the appliance provided that
it has been placed or installed in its intended
normal operating position and they have been
given supervision or instruction concerning use
of the appliance in a safe way and understanding
the hazards involved. Children aged from 3
years and less than 8 years shall not plug in,
regulate and clean the appliance or perform user
maintenance.
Do not use this appliance in series with a
thermal control, a program controller, a timer
or any other device that switches on the heat
automatically, since a re risk exists when the
appliance is accidentally covered or displaced.
Ensure that furniture, curtains or other
combustible material are positioned no closer
than 1 metre from the appliance.
In the event of a fault unplug the appliance.
Unplug the appliance when not required for long
periods.
Although this appliance complies with safety
standards, we do not recommend its use on deep
pile carpets or on long hair type of rugs.
The appliance must be positioned so that the
plug is accessible.
If the supply cord is damaged it must be replaced
by the manufacturer or service agent or a
similarly qualied person in order to avoid a
hazard.
Keep the supply cord away from the front of the
appliance.
Warning: In order to avoid overheating, do not
cover the appliance. Do not place material or
garments on the appliance, or obstruct the air
circulation around the appliance, for instance
by curtains or furniture, as this could cause
overheating and a re risk.
Warning: In order to avoid a hazard due to
inadvertent resetting of the thermal cut-out,
Diamantique
IMPORTANT: THESE INSTRUCTIONS SHOULD BE READ CAREFULLY AND RETAINED FOR FUTURE REFERENCE
this appliance must not be supplied through an
external switching device, such as a timer, or
connected to a circuit that is regularly switched
on and off by the utility.
CAUTION - Some parts of this product can
become very hot and cause burns. Particular
attention has to be given where children and
vulnerable people are present.
This instruction can be found at:
www.dimplex.co.uk
General
Unpack the heater carefully and retain the packaging for
possible future use, in the event of moving or returning the re
to your supplier. The re incorporates a ame effect, which can
be used with or without heating, so that the comforting effect
may be enjoyed at any time of the year. Using the ame effect
on its own only requires little electricity.
Before connecting the heater check that the supply voltage is
the same as that stated on the heater.
Please note: Used in an environment where background noise
is very low, it may be possible to hear a sound which is related
to the operation of the ame effect. This is normal and should
not be a cause for concern.
Electrical connection
WARNING – THIS APPLIANCE MUST BE EARTHED
This heater must be used on an AC ~ supply only and the
voltage marked on the heater must correspond to the supply
voltage. Before switching on, please read the safety warnings
and operating instructions.
Fitting Product - see Fig. 4, 5 & 6
WARNING: DO NOT ALLOW CHILDREN TO CLIMB OR
HANG FROM THE PRODUCT, AS A FALLING APPLIANCE
CAN CAUSE INJURY OR DEATH. THIS APPLIANCE MUST
BE INSTALLED A MINIMUM OF 850MM FROM THE FLOOR,
THIS IS TO KEEP THE FUEL BED PIECES OUT OF THE
REACH OF YOUNG CHILDREN TO WHOM THEY MAY POSE
A CHOKING HAZARD.
NOTE: Wall xings provided are for a block wall only, tting to
a wall or partition of a different construction will require special
xings that are not provided with this product. The installation
of the product requires a reasonable level of DIY skills. Please
read this guide thoroughly before commencing the installation
and if in doubt, seek help from a competent person.
Please follow the steps below.
1. Remove the wall hanging bracket from the product as
shown in Fig. 4.
2. Take the wall hanging bracket and place it against the wall
in the location where you wish to t the product and mark
the wall with a pencil through the holes of the bracket.
3. Remove the bracket and drill two holes where you marked
in ‘Step 2’ (the ttings provided require holes to be 6mm in
diameter and 35mm deep)
4. Inset the wall plugs ensuring they are ush with the surface
of the wall, then hold the wall bracket over the holes and
x in place with the screws provided, as shown in Fig. 5.
5. Hang the product onto the bracket.
6. Look under the product and see the ‘L-Bracket’ shown in
Fig. 6. Mark the wall through the hole in the ‘L-Bracket’ and
remove the product.
7. Drill the hole marked out in ‘Step 6’ and insert a wall plug,
then rehang the product on to the wall hanging bracket.
(the ttings provided require holes to be 6mm in diameter
and 35mm deep)
8. Secure the product by xing the ‘L-Bracket’ to the wall with
the screw provided. as shown in Fig. 5. Drilling the holes
for the bracket at 1190mm above oor level will leave the
body of the product 850mm above oor level. This can be
increased if desired.
9. Check to product to ensure it is secure.
10. Open the ‘Fuel Bed’ media and place on the fuel bed of
the product.
UK

Remote Control - continued
1. To activate the remote control remove the battery isolation
strip, which is used to ensure your remote control reaches you
fully charged. See Fig. 3
2. To replace the remote control battery, turn over the remote
control, and follow the diagram embossed on the remote control.
3. Only use CR2025 or CR2032 size of batteries.
Disable Heat
If desired the heater on the unit can be disabled. The unit will
operate in the same fashion, with the remainder of the controls.
Pressing the Heat button ( )and Lower Theromostat Contol
button ( ) on the unit together for 2 seconds will disable or
enable the heater.
NOTE: When the heater has been disabled and either the
Thermostat buttons are pressed( ,)the oating display
will indicate “--”.
Thermal Safety Cut-out
A thermal safety cut-out is incorporated in the heater to
prevent damage due to overheating. This can happen if
the heat outlet was restricted in any way. The heater will
switch on once the obstruction has been removed and
the heater has cooled. If the cut-out continues to operate
intermittently, the heater should be switched off and a service
agent contacted.
Maintenance
WARNING: ALWAYS DISCONNECT FROM THE POWER
SUPPLY BEFORE ATTEMPTING ANY MAINTENANCE.
LED lamps
This re is tted with LED (Light Emitting Diode) bulbs in place
of traditional incandescent bulbs. These generate the same
light levels as traditional bulbs, but use a fraction of the energy
consumed.
Cleaning
WARNING – ALWAYS DISCONNECT FROM THE POWER
SUPPLY BEFORE CLEANING THE HEATER.
For general cleaning use a soft clean duster – never use
abrasive cleaners. The glass viewing screen and mirror fascia
should be cleaned carefully with a soft cloth. DO NOT use
proprietary glass cleaners.
To remove any accumulation of dust or uff the soft brush
attachment of a vacuum cleaner should occasionally be used
to clean the outlet grille of the fan heater.
After Sales Service
Should you require after sales service or should you need to
purchase any spares, please contact the retailer from whom
the appliance was purchased or contact the service number
relevant to your country on the warranty card.
Please do not return a faulty product to us in the rst instance
as this may result in loss or damage and delay in providing
you with a satisfactory service. Please retain your receipt as
proof of purchase.
Recycling
For electrical products sold within the European
Community. At the end of the electrical
products useful life it should not be disposed
of with household waste. Please recycle where
facilities exist. Check with your Local Authority
or retailer for recycling advice in your country.
Controls - see Fig. 2 & 3
The ve controls shown below are found on both the product
and the remote control:
On/Standby Button.
Heat Cycle Button- Cycles the unit sequentially through
the 3 settings: Low Heat, High Heat and Off. The heat
setting will be indicated by an icon in the oating display
see Fig.1.
This icon in the oating display indicates Low Heat
has been selected.
This icon in the oating display indicates High Heat
has been selected.
When the ame effect is on the oating display will turn
off after 5 seconds, however if the heater is being used
independantly of the ame effect the low heat or high
heat icon will appear continuously in the oating display.
Thermostat Control Buttons- Adjust the temperature set
point to your individual requirements. Once the desired
set temperature is reached the heater will cycle on
and off to maintain the desired set temperature. The
default temperature is 22°C, the range of temperature
is between 5-32°C. The set temperature can be seen
for 5 seconds after selection in the oating display
shown in Fig.1.
NOTE: Holding the ( ) button one the unit and then
pressing ( )on the unit will change the temperature
from °C to °F, or vice versa.
Theme Change Button- each time you press this button
you will scroll through the available theme options.
There are 7 standard themes 1-7 each of which have a
High and Low level which you can switch between using
the brightness button on the remote control. Theme 8
is a ‘Theme Cycle Mode’ which will scroll through the
full range of colours. The ‘Theme’ number selected can
be seen for 5 seconds after it is selected in the oating
display as shown in Fig. 1.
Remote Control - see Fig. 3
In addition to the previously mentioned controls, the remote
control also has the following three controls:
Brightness Button- Changes the brightness of the fuel
bed media between ‘H’ (High) or ‘L’ (Low). Also note that
pressing the Brightness button while in Theme 8 ‘Theme
Cycle Mode’ will freeze the cycle ‘F’ will indicate the cycle
is frozen and ‘U’ will indicate it is Unfrozen. The ‘H, L, F
& U’ can be seen for 5 seconds after they are selected in
the oating display as shown in Fig. 1.
Flame On/Off Button- This cycles the ame effect ‘On’ or
‘Off’. Please note the heater can be used independently
of the ame effect.
Sleep Timer Button- to set the product to automatically
shut off after a pre-set amount of time (from 30minutes
to 8 hours) Pressing the timer button will increase the
length of time until the product shuts off by increments of
30minutes. The ‘Sleep Timer’ icon and timer can be seen
for 5 seconds after selection in the oating display as
shown in Fig 1. NOTE: The Sleep Timer can be cancelled
by repeatedly pressing the ‘Sleep Timer Button’ until the
timer displays nothing.
The maximum range of use for the remote control is approximately
7 metres. Warning: It takes time for the receiver to respond to
the transmitter. Do not press the buttons more than once within
two seconds for correct operation.
Dimplex
Millbrook House
GrangeDrive
HedgeEnd
Southampton
 TEL: 0844 879 3588
FAX: 0844 879 3583
WEBSITE: www.dimplex.co.uk
Republic of Ireland 01 8424833
[c] GDC Group Ltd,
All rights reserved. Material contained in this publication may not be reproduced in whole or in part, without prior permission in writing of Dimplex.
A division of GDC Group Ltd,
UK

Other Dimplex Indoor Fireplace manuals

Dimplex OMWFC20 User manual

Dimplex

Dimplex OMWFC20 User manual

Dimplex SIL48 User manual

Dimplex

Dimplex SIL48 User manual

Dimplex CFP49449BW User manual

Dimplex

Dimplex CFP49449BW User manual

Dimplex DFG3033 User manual

Dimplex

Dimplex DFG3033 User manual

Dimplex DLW1500B12 User manual

Dimplex

Dimplex DLW1500B12 User manual

Dimplex Rome User manual

Dimplex

Dimplex Rome User manual

Dimplex EF3003-230 User manual

Dimplex

Dimplex EF3003-230 User manual

Dimplex PF2325 User manual

Dimplex

Dimplex PF2325 User manual

Dimplex DFB4047 Quick start guide

Dimplex

Dimplex DFB4047 Quick start guide

Dimplex LEE DE LUXE User manual

Dimplex

Dimplex LEE DE LUXE User manual

Dimplex Revillusion Osbourne User manual

Dimplex

Dimplex Revillusion Osbourne User manual

Dimplex X40003BK User manual

Dimplex

Dimplex X40003BK User manual

Dimplex Montclair User manual

Dimplex

Dimplex Montclair User manual

Dimplex THWG XLF50 User manual

Dimplex

Dimplex THWG XLF50 User manual

Dimplex DWF1215 User manual

Dimplex

Dimplex DWF1215 User manual

Dimplex MULTIFIRE DF3015 User manual

Dimplex

Dimplex MULTIFIRE DF3015 User manual

Dimplex BLF50-UK User manual

Dimplex

Dimplex BLF50-UK User manual

Dimplex DF2608-INT User manual

Dimplex

Dimplex DF2608-INT User manual

Dimplex LIBERTY SUITE LBY15-AU User manual

Dimplex

Dimplex LIBERTY SUITE LBY15-AU User manual

Dimplex ENG56-400 Technical manual

Dimplex

Dimplex ENG56-400 Technical manual

Dimplex SP420 User manual

Dimplex

Dimplex SP420 User manual

Dimplex Mini Mozart User manual

Dimplex

Dimplex Mini Mozart User manual

Dimplex CLEMENT CMT20BL User manual

Dimplex

Dimplex CLEMENT CMT20BL User manual

Dimplex DF3033ST User manual

Dimplex

Dimplex DF3033ST User manual

Popular Indoor Fireplace manuals by other brands

Xaralyn Levico manual

Xaralyn

Xaralyn Levico manual

Firecraft P30G FXL01 Installation and user instructions

Firecraft

Firecraft P30G FXL01 Installation and user instructions

Astria Ladera-BK Installation and operation instructions

Astria

Astria Ladera-BK Installation and operation instructions

Modern Flames RS-2621-EU owner's manual

Modern Flames

Modern Flames RS-2621-EU owner's manual

Planika FLA 3 XL installation manual

Planika

Planika FLA 3 XL installation manual

Napoleon BGD36CFNTR Installation and operation manual

Napoleon

Napoleon BGD36CFNTR Installation and operation manual

FireplaceXtrordinair 564 E user manual

FireplaceXtrordinair

FireplaceXtrordinair 564 E user manual

SEI FA1157159 Assembly

SEI

SEI FA1157159 Assembly

Regency Fireplace Products P36-NG4 Natural Gas Owners & installation manual

Regency Fireplace Products

Regency Fireplace Products P36-NG4 Natural Gas Owners & installation manual

RUSTA NARVIK 906512320101 manual

RUSTA

RUSTA NARVIK 906512320101 manual

Wonderfire AF 18XL Installation & servicing manual

Wonderfire

Wonderfire AF 18XL Installation & servicing manual

Lennox Hearth Products Merit Series HCI-36-H installation instructions

Lennox Hearth Products

Lennox Hearth Products Merit Series HCI-36-H installation instructions

Travis Industries 864 ST GS installation manual

Travis Industries

Travis Industries 864 ST GS installation manual

Majestic MARQ42STIN owner's manual

Majestic

Majestic MARQ42STIN owner's manual

Glow Fire Lessing Assembly instructions

Glow Fire

Glow Fire Lessing Assembly instructions

FMI VTFB32: VTFB32H: VTFB36: VTFB36H: VTFB42:... OWNER'S OPERATION AND INSTALLATION MANUAL

FMI

FMI VTFB32: VTFB32H: VTFB36: VTFB36H: VTFB42:... OWNER'S OPERATION AND INSTALLATION MANUAL

elco VECTRON G 03.240 DUO PLUS operating instructions

elco

elco VECTRON G 03.240 DUO PLUS operating instructions

e-Flame USA EF-BLT10 Operation manual

e-Flame USA

e-Flame USA EF-BLT10 Operation manual

manuals.online logo
manuals.online logoBrands
  • About & Mission
  • Contact us
  • Privacy Policy
  • Terms and Conditions

Copyright 2025 Manuals.Online. All Rights Reserved.