manuals.online logo
Brands
  1. Home
  2. •
  3. Brands
  4. •
  5. Dimplex
  6. •
  7. Stove
  8. •
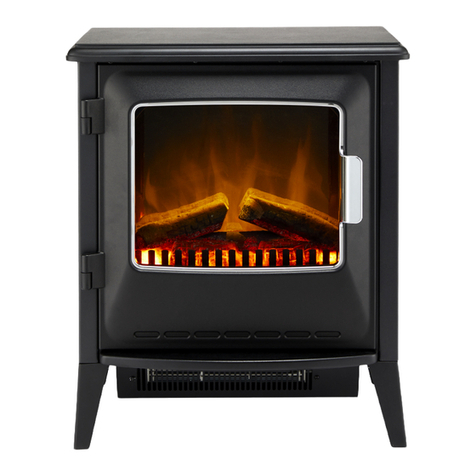
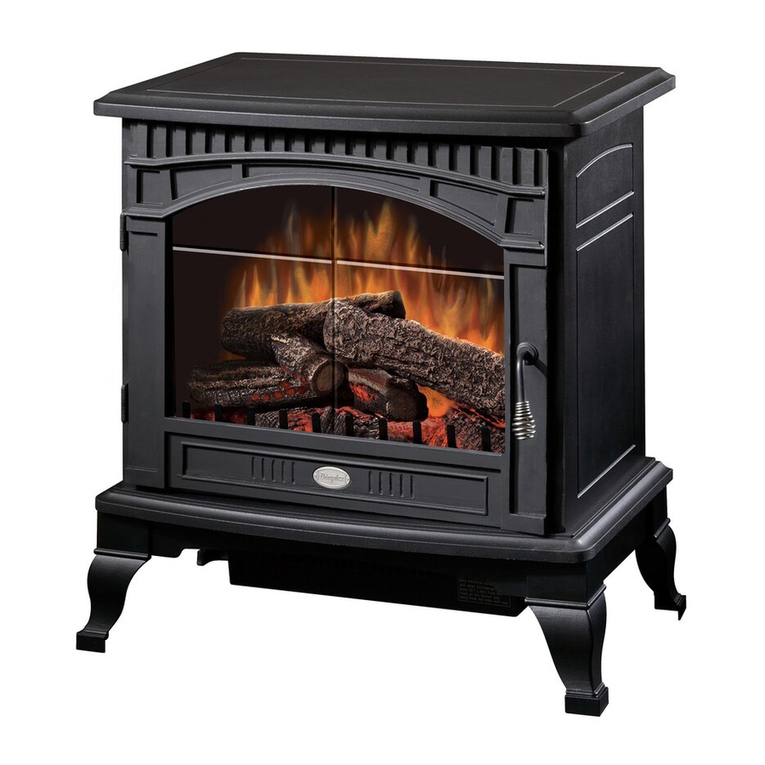
  9. Dimplex 143041WT User manual

Dimplex 143041WT User manual



ContactDetails

Pleasenotethatsomeofthecontactdetailson
thisPDFdocumentmaynotbecurrent.

Pleaseusethefollowingdetailsifyouneedto
contactus:

Telephone:08448793588
Email:[email protected]


Thecustomersupportsectionofourwebsitealsofeaturesawide
rangeofinformationwhichmaybeofusetoyouandisavailable
24hoursaday.Itincludes:

•Operatingandinstallationinstructions
•Easy‘Howtouse’guidesforstorageheaters
•Serviceandrepairs
•Wheretobuyourproducts
•Literaturedownloads
•Heatingrequirementcalculator

Visit‐www.dimplex.co.uk/support
A division of GDC Group Ltd
Millbrook House Grange Drive Hedge End Southampton SO30 2DF
www.dimplex.co.uk
Re
g
istered No: 1313016 En
g
land
VAT GB 287 1315 50004
EEE Producer Registration Number –
WEE/GE0057TS
Paper from sustainable sources
08/50188/2 (UK) Issue 2
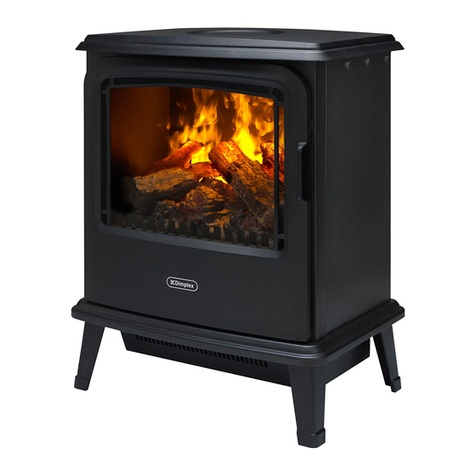
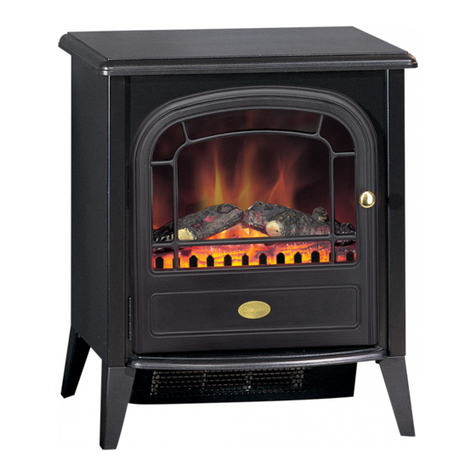
CLUB
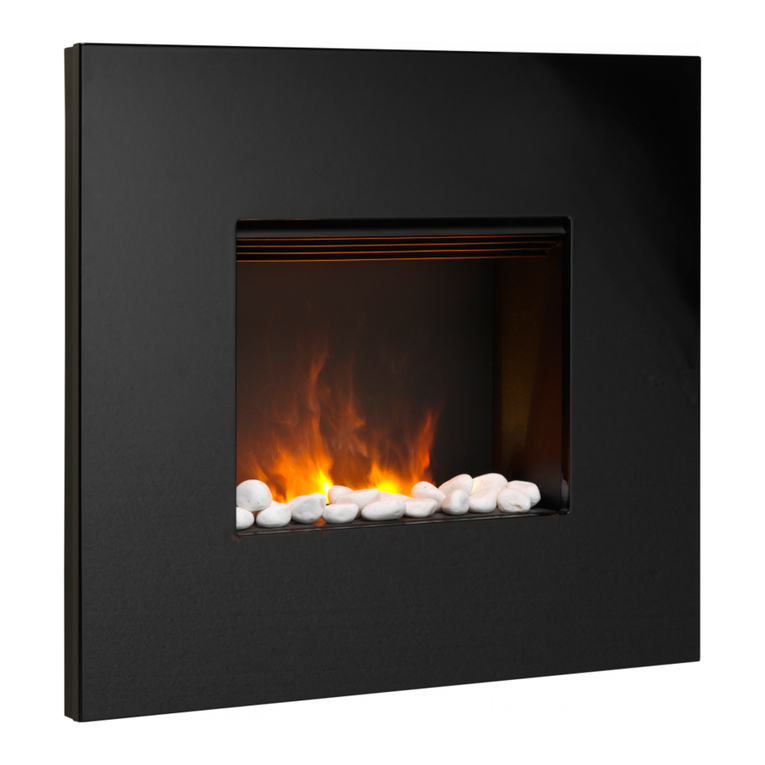
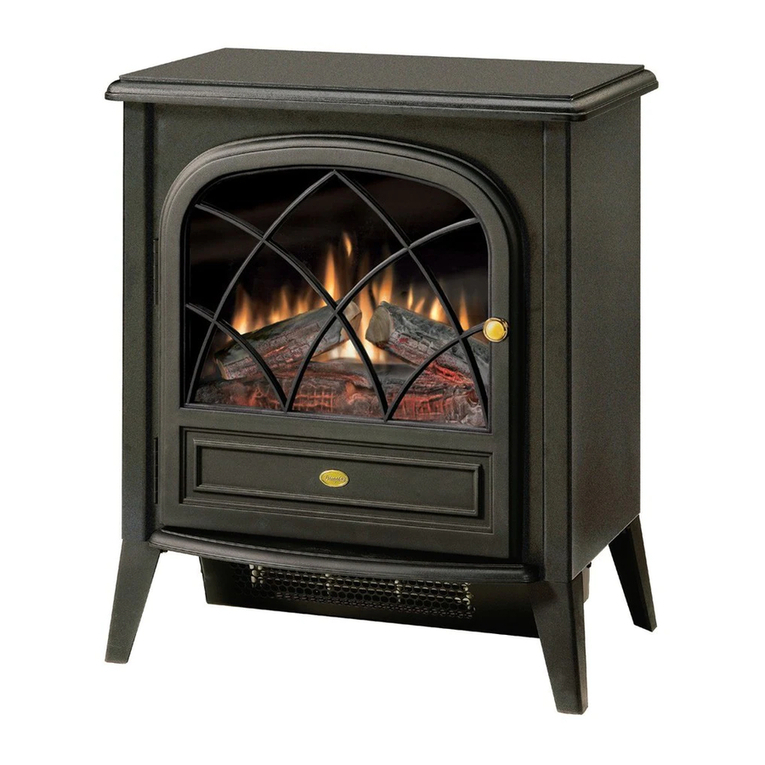
COURCHEVEL
The product complies with the European Safety Standards EN60335-2-30 and the European Standard Electromagnetic Compatibility (EMC)
EN55014, EN60555-2 and EN60555-3. These cover the essential requirements of EEC Directives 2006/95/EC and 2006/108/EC
UK
1
4
5
2 3
6
510 340
597
I
12
3
I
II
II
Important Safety Advice
When using electrical appliances, basic precautions should
always be followed to reduce the risk of fire, electrical shock
and injury to persons, including the following:
If the appliance is damaged, check with the supplier before
installation and operation.
Do not use outdoors.
Do not use in the immediate surroundings of a bath, shower
or swimming pool.
Do not locate the heater immediately below a fixed socket
outlet or connection box.
Do not cover the heater. Do not place material or garments
on the heater, or obstruct the air circulation around the heater,
for instance by curtains or furniture, as this could cause
overheating and a fire risk.
This appliance is not intended for use by children or other
persons without assistance or supervision if their physical,
sensory or mental capabilities prevent them from using it
safely. Children should be supervised to ensure that they do
not play with the appliance. Do not use this heater in series
with a thermal control, a program controller, a timer or any
other device that switches on the heat automatically, since a
fire risk exists when the heater is accidentally covered or
displaced.
Ensure that furniture, curtains or other combustible material
are positioned no closer than 1 metre from the heater.
In the event of a fault unplug the heater.
Unplug the heater when not required for long periods.
Although this heater complies with safety standards, we do
not recommend its use on deep pile carpets or on long hair
type of rugs.
The appliance must be positioned so that the plug is
accessible.
If the supply cord is damaged it must be replaced by the
manufacturer or service agent or a similarly qualified person
in order to avoid a hazard.
Keep the supply cord away from the front of the heater.
This heater is not equipped with a device to control the
room temperature. Do not use this heater in small rooms
when they are occupied by persons not capable of leaving
the room on their own, unless constant supervision is
provided.
Warning: In order to avoid a hazard due to inadvertent
resetting of the thermal cut-out, this appliance must not be
supplied through an external switching device, such as a
timer, or connected to a circuit that is regularly switched on
and off by the utility.
General
Unpack the heater carefully and retain the packaging for possible
future use, in the event of moving or returning the fire to your supplier.
These models are designed to be free standing and are normally
positioned against a wall.
The fire incorporates a flame effect, which can be used with or without
heating, so that the comforting effect may be enjoyed at any time of
theyear.Usingtheflameeffectonitsownonlyrequireslittleelectricity.
A choice of 1kW or 2kW heat output is provided by the fan heater,
which is located at the bottom of the unit.
Before connecting the heater check that the supply voltage is the
same as that stated on the heater.
Please note: Used in an environment where background noise is very
low, it may be possible to hearasoundwhichisrelatedtotheoperation
of the flame effect. This is normal and should not be a cause for
concern.
Electrical connection
WARNING – THIS APPLIANCE MUST BE EARTHED.
This heater must be used on an AC ~ supply only and the voltage
marked on the heater must correspond to the supply voltage. Before
switching on, please read the safety warnings and operating
instructions.
IMPORTANT: THESE INSTRUCTIONS SHOULD BE READ CAREFULLY AND RETAINED FOR FUTURE REFERENCE
Controls - see Fig. 2
These switches provide a choice of heat settings, The appliance is in
standby mode when the mainslead is plugged in. This is indicated by
the red neon behind the flame effect screen.
The two selector switches are in the ON position when the side with
the markings on (i.e. I, or II) is pushed in.
Selector switch 1 (0) Controls the electricity supply to the
heater and flame effect. Press for ‘ON’ and
‘Standby’. If both selector switches 2 and 3
are in the OFF position, the product works
on flame effect only.
Selector Switch 2 (I) Provides 1kW heat output
Selector Switch 3 (II) Provides 2kW output with switch 2
Remote control - see Fig. 6
The maximum range of use is ~ 15metres.
Warning: It takes time for the receiver to respond to the transmitter.
Donotpressthebuttonsmorethanoncewithin two seconds for correct
operation.
Battery information - see Fig. 6
1. Slide open the battery cover onthe back of the remote control
2. Install AAA batteries into the remote control
3. Replace the battery cover.
Discard leaking batteries
Dispose of batteries in the proper manner according to provincial and
local regulations.
Any battery may leak electrolyte if mixed with a different battery type,
if inserted incorrectly, if all the batteries are not replaced at the same
time, if disposed of in a fire, or if an attempt is made to charge a
battery not intended to be recharged.
Lamp Replacement - see Fig. 3, Fig. 4 and Fig. 5
The lamps are located behind the back panel. To gain access to the
lamps, the screws indicated in Fig. 3 which secure the back panel,
must be removed.
Remove and slide out panel as indicated on Fig. 4.
Remove the defective lamp by unscrewing it as shown in Fig. 5.
Replace with a 60W E14 SES Clear candle lamp. Take care not to
over-tighten the lamp.
Refit the back panel and secure with the screws.
Thermal Safety Cut-out
The built-in overheat cut-out switches off the appliance automatically
in the event of a fault. If this occurs switch off the appliance or
disconnect the mains plug from the socket.After a short cooling down
phase, the appliance is ready for use again. If the fault should occur
again, see your local dealer.
Maintenance
WARNING: ALWAYS DISCONNECT FROM THE POWER SUPPLY
BEFORE ATTEMPTING ANY MAINTENANCE.
Cleaning
WARNING – ALWAYS DISCONNECT FROM THE POWER SUPPLY
BEFORE CLEANING THE HEATER.
For general cleaning use a soft clean duster – never use abrasive
cleaners. The glass viewing screen should be cleaned carefully with
a soft cloth. DO NOT use proprietary glass cleaners.
To remove any accumulation of dust or fluff the soft brush attachment
of a vacuum cleaner should occasionally be used to clean the outlet
grille of the fan heater.
RecyclingFor electrical products sold within the European
Community.
At the end of the electrical products useful life it should
notbedisposedofwithhouseholdwaste.Pleaserecycle
where facilities exist. Check with your LocalAuthority or
retailer for recycling advice in your country.
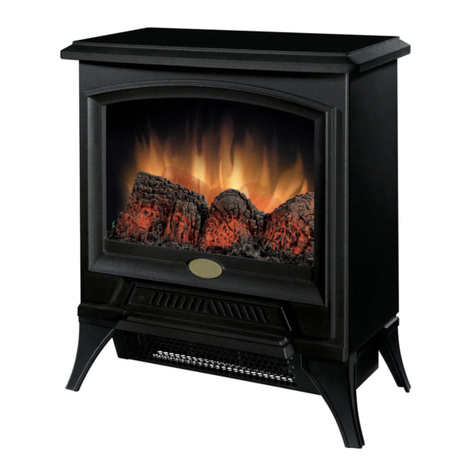
- Club, CLB20R
- Courchevel, CVL20 UK
- Club, CLB20R
- Courchevel, CVL20
IMPORTANT: THESE INSTRUCTIONS SHOULD BE READ CAREFULLY AND RETAINED FOR FUTURE REFERENCE
After Sales Service
Your product is guaranteed for one year from the date of purchase.
Within this period, we undertake to repair or exchange this product
free of charge (excluding lamps & subject to availability) provided it
has been installed and operated in accordance with these instructions.
Your rights under this guarantee are additional to your statutory rights,
which in turn are not affected by this guarantee.
Should you require after sales information or assistance with this prod-
uct please go to www.dimplex.co.uk where you will find our self help
guide by clicking on “After Sales” or ring our helpdesk on 0845 600
5111 (UK) or 01 842 4833 (R.O.I.) .
Spare parts are also available on the website
www.dimplex.co.uk
Please retain your receipt as proof of purchase.
Dimplex
Millbrook House
GrangeDrive
HedgeEnd
Southampton
Hampshire.SO30 2DF
TEL: 0845 600 5111
FAX: 01489 773050
WEBSITE: www.dimplex.co.uk
Republic of Ireland Tel. 01 8424833
[c] GDC Group Ltd,
All rights reserved. Material contained in this publication may not be reproduced in whole or in part, without prior permission in writing of Dimplex, a division of
GDC Group Ltd.
UK UK

This manual suits for next models

2

Other Dimplex Stove manuals

Dimplex VLT-OV User manual

Dimplex

Dimplex VLT-OV User manual

Dimplex DS7420 Quick start guide

Dimplex

Dimplex DS7420 Quick start guide

Dimplex WLL20-AU User manual

Dimplex

Dimplex WLL20-AU User manual

Dimplex Westcott 5 User manual

Dimplex

Dimplex Westcott 5 User manual

Dimplex Optiflame Electric Fireplace Instruction Manual

Dimplex

Dimplex Optiflame Electric Fireplace Instruction Manual

Dimplex Club CLB20R User manual

Dimplex

Dimplex Club CLB20R User manual

Dimplex LEE User manual

Dimplex

Dimplex LEE User manual

Dimplex Brayford BFD20 User manual

Dimplex

Dimplex Brayford BFD20 User manual

Dimplex Bellingham BLM4iSE User manual

Dimplex

Dimplex Bellingham BLM4iSE User manual

Dimplex Burgate User manual

Dimplex

Dimplex Burgate User manual

Dimplex Stockbridge 2.0 User manual

Dimplex

Dimplex Stockbridge 2.0 User manual

Dimplex MCFSTV12AU User manual

Dimplex

Dimplex MCFSTV12AU User manual

Dimplex Opti-myst Gosford Quick start guide

Dimplex

Dimplex Opti-myst Gosford Quick start guide

Dimplex Club Stove User manual

Dimplex

Dimplex Club Stove User manual

Dimplex CS33116A User manual

Dimplex

Dimplex CS33116A User manual

Dimplex Brayford BFD20 User manual

Dimplex

Dimplex Brayford BFD20 User manual

Dimplex Log Stove MIR40 User manual

Dimplex

Dimplex Log Stove MIR40 User manual

Dimplex DCS19W User manual

Dimplex

Dimplex DCS19W User manual

Dimplex DCS19W User manual

Dimplex

Dimplex DCS19W User manual

Dimplex DS5598 User manual

Dimplex

Dimplex DS5598 User manual

Dimplex OMWFC20 User manual

Dimplex

Dimplex OMWFC20 User manual

Dimplex Westcott WST4i User manual

Dimplex

Dimplex Westcott WST4i User manual

Dimplex Westcott 5 WST5SE User manual

Dimplex

Dimplex Westcott 5 WST5SE User manual

Dimplex ROTHESAY RSY20BR User manual

Dimplex

Dimplex ROTHESAY RSY20BR User manual

Popular Stove manuals by other brands

Harman Allure50 owner's manual

Harman

Harman Allure50 owner's manual

EdilKamin LILIA Installation, use and maintenance

EdilKamin

EdilKamin LILIA Installation, use and maintenance

Lopi heritage bay owner's manual

Lopi

Lopi heritage bay owner's manual

Morsø 7110 Instructions for installation and use

Morsø

Morsø 7110 Instructions for installation and use

Penman Collection Helios 8 Installation and operating instructions

Penman Collection

Penman Collection Helios 8 Installation and operating instructions

EdilKamin Toronto Installation, use and maintenance

EdilKamin

EdilKamin Toronto Installation, use and maintenance

NORDIC FIRE Rosanna User and installation manual

NORDIC FIRE

NORDIC FIRE Rosanna User and installation manual

VARDE OVNE Thurø 1 Installation and user guide

VARDE OVNE

VARDE OVNE Thurø 1 Installation and user guide

Opus Calypso Operation and installation manual

Opus

Opus Calypso Operation and installation manual

Aito AK-68 installation instructions

Aito

Aito AK-68 installation instructions

Country Flame Corn & Pellet Brochure & specs

Country Flame

Country Flame Corn & Pellet Brochure & specs

Morso 3600 Series Installation and operating instructions

Morso

Morso 3600 Series Installation and operating instructions

Arada AX user guide

Arada

Arada AX user guide

Even Temp Element-MF Installation & operation manual

Even Temp

Even Temp Element-MF Installation & operation manual

Heat-N-Glo Tiara I Owner's instruction manual

Heat-N-Glo

Heat-N-Glo Tiara I Owner's instruction manual

Oak Stoves ZETA5PW Operation & installation manual

Oak Stoves

Oak Stoves ZETA5PW Operation & installation manual

Vermont Castings Encore installation instructions

Vermont Castings

Vermont Castings Encore installation instructions

Royal Alida Air 120 manual

Royal

Royal Alida Air 120 manual

manuals.online logo
manuals.online logoBrands
  • About & Mission
  • Contact us
  • Privacy Policy
  • Terms and Conditions

Copyright 2025 Manuals.Online. All Rights Reserved.