manuals.online logo
Brands
  1. Home
  2. •
  3. Brands
  4. •
  5. Dimplex
  6. •
  7. Stove
  8. •
  9. Dimplex Club Stove User manual

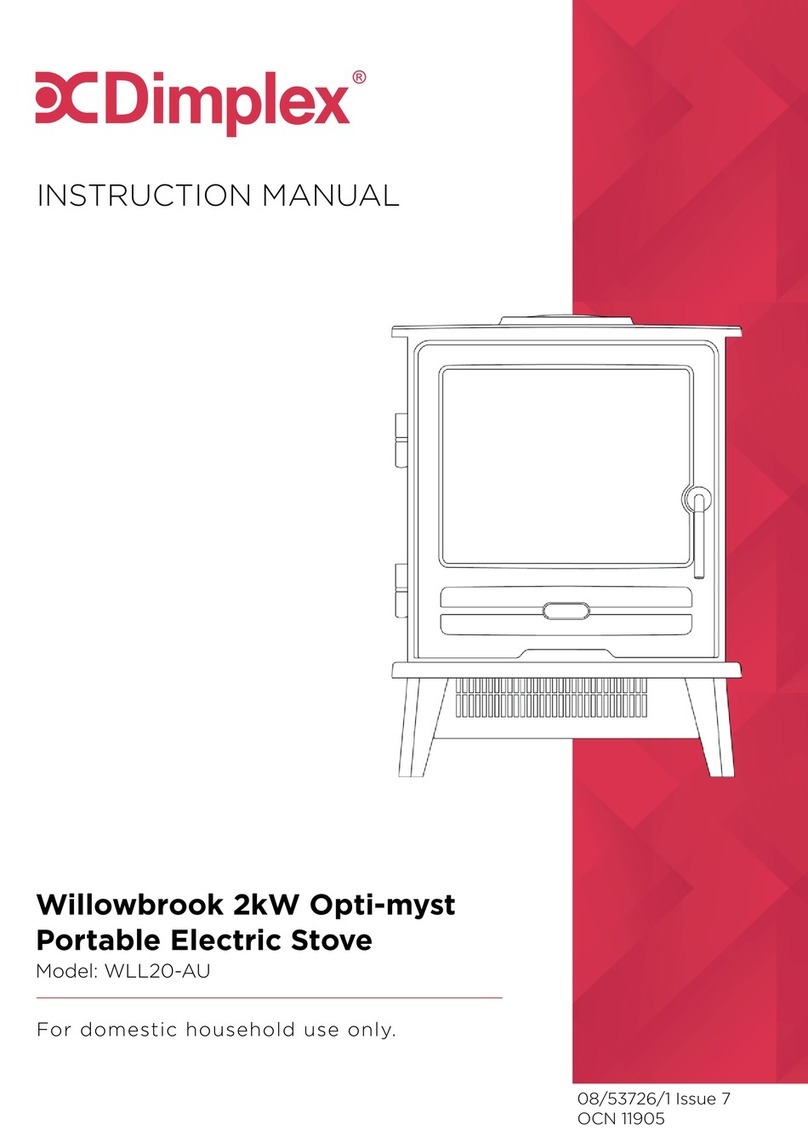
Dimplex Club Stove User manual

08/192790 (AUS/NZ) Issue 6
The product complies with the European Safety Standards EN60335-2-30 and the European Standard Electromagnetic Compatibility (EMC)
EN55014, EN60555-2 and EN60555-3. These cover the essential requirements of EEC Directives 2006/95/EC and 2006/108/EC
AUS NZ
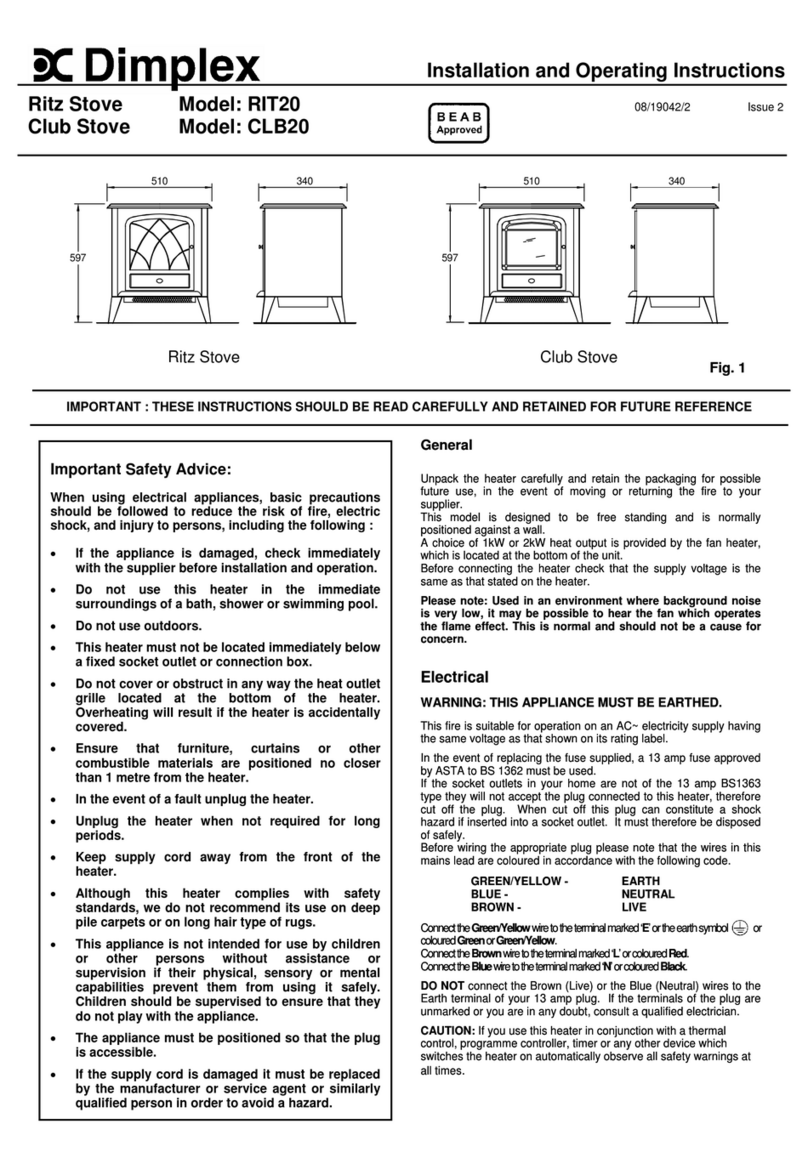
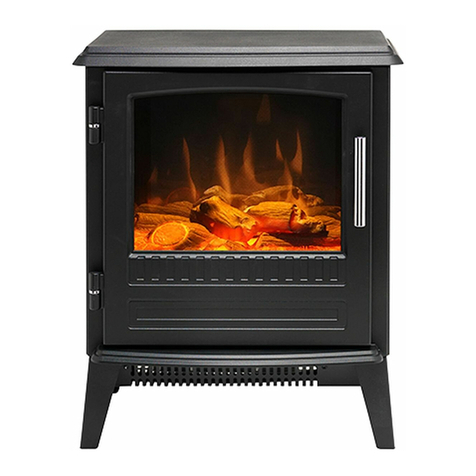
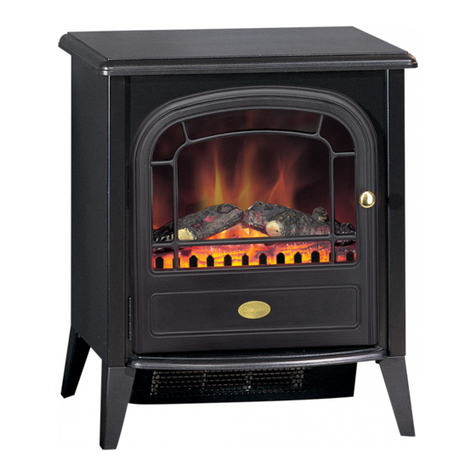
Ritz Stove
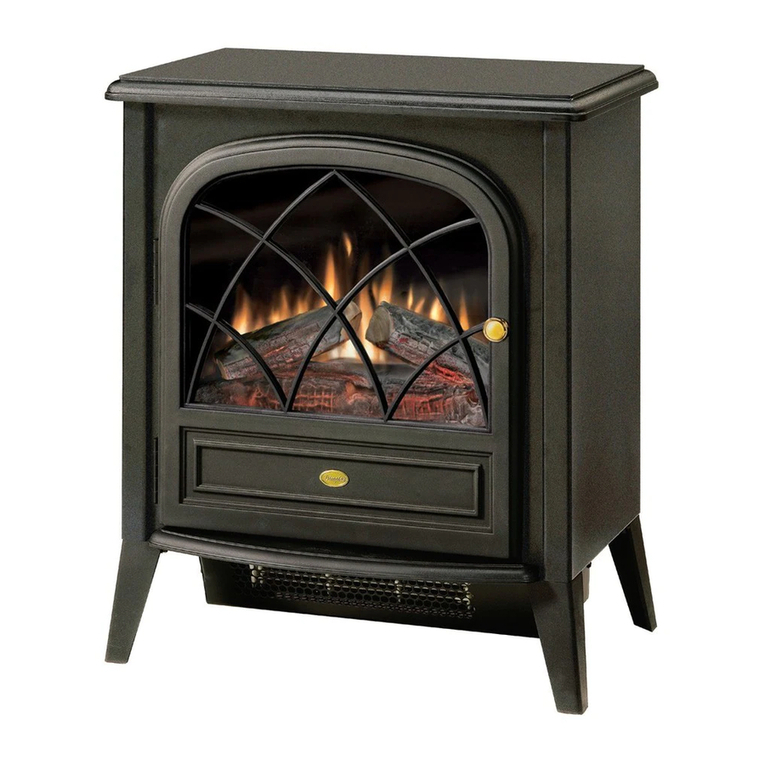
Club Stove &
Courchevel Stove
Important Safety Advice
When using electrical appliances, basic precautions
should be followed to reduce the risk of re, electric
shock, and injury to persons, including the following:
If the appliance is damaged, check immediately with
the supplier before installation and operation.
Do not use this appliance in the immediate surround-
ings of a bath, shower or swimming pool.
Do not use outdoors.
This appliance must not be located immediately
above or below a xed socket outlet or connection
box.
WARNING : The appliance carries the
Warning Symbol indicating that it must not be
covered or has a Do not cover label. Do not
cover or obstruct in any way the heat outlet
grille located underneath the appliance Overheating
will result if the appliance is accidentally covered. Do
not place material or garments on the appliance, or
obstruct the air circulation around the appliance, for
instance by curtains or furniturne, as this could cause
overheating and a re risk.
In the event of a fault unplug the heater.Unplug the
appliance when not required for long periods.The
supply cord must be placed on the right hand side of
the heater away from the heat outlet underneath the
appliance.
Although this appliance complies with safety stand-
ards, we do not recommend its use on deep pile
carpets or on long hair type of rugs.
This appliance can be used by children aged form 8
years and above and persons with reduced physical,
sensory or mental capabilities or lack of experinence
and knowledge if they have been given supervision or
instruction concerning use of the appliance in a safe
way and understand the hazards involved. Children
shall not play with the appliance. Cleaning and user
maintaince shall not be made by Children without
supervision.
Children of less than 3 years should be kept away
unless continuously supervised. Children aged from
3 years and less than 8 years shall only switch on/
off the appliance provided that it has been placed or
installed in its intended normal operating position and
they have been given supervision or instruction con-
cerning use of the appliance in a safe way and under-
standing the hazards involved. Children aged from 3
years and less than 8 years shall not plug in, regulate
and clan the appliance or perform user maintaince.
The appliance must be positioned so that the plug is
accessible.
If the supply cord is damaged it must be replaced by
the manufacturer or service agent or similarly quali-
ed person in order to avoid a hazard.
CAUTION: In order to avoid a hazard due to
inadvertent resetting of the thermal cut-out, this
appliance must not be supplied through an external
switching device, such as a timer, or connected to a
General
Unpack the heater carefully and retain the packaging for possible
future use, in the event of moving or returning the re to your supplier.
These models are designed to be free standing and are normally
positioned against a wall.
The re incorporates a ame effect, which can be used with or without
heating, so that the comforting effect may be enjoyed at any time of
the year. Using the ame effect on its own only requires little electricity.
A choice of 1kW or 2kW heat output is provided by the fan heater,
which is located at the bottom of the unit.
Before connecting the heater check that the supply voltage is the same
as that stated on the heater.
Please note: Used in an environment where background noise is
very low, it may be possible to hear a sound which is related to the
operation of the ame effect. This is normal and should not be a
cause for concern.
Electrical connection
WARNING – THIS APPLIANCE MUST BE EARTHED.
This heater must be used on an AC ~ supply only and the voltage
marked on the heater must correspond to the supply voltage.
Before switching on, please read the safety warnings and operating
instructions.
Controls - see Fig. 2
These switches provide a choice of heat settings, The appliance
is in standby mode when the mainslead is plugged in. This
is indicated by the red neon behind the flame effect screen.
The two selector switches are in the ON position when the side with
the markings on (i.e. I, or II) is pushed in.
Selector switch 1 (0) Controls the electricity supply to the
appliance and ame effect. Press for ‘ON’
and ‘Standby’. If both selector switches 2 and
3 are in the OFF position, the product works
on ame effect only.
Selector Switch 2 (I) Provides 1kW heat output
Selector Switch 3 (II) Provides 2kW output with switch 2
Remote control - see Fig. 6
The maximum range of use is ~ 6metres.
Warning: It takes time for the receiver to respond to the transmitter.
Do not press the buttons more than once within two seconds for
correct operation.
Battery information - see Fig. 6
1. Slide open the battery cover on the back of the remote
control
2. Install AAA batteries into the remote control
3. Replace the battery cover.
Discard leaking batteries
Dispose of batteries in the proper manner according to provincial and
local regulations.
Any battery may leak electrolyte if mixed with a different battery type,
if inserted incorrectly, if all the batteries are not replaced at the same
time, if disposed of in a re, or if an attempt is made to charge a battery
not intended to be recharged.
IMPORTANT: THESE INSTRUCTIONS SHOULD BE READ CAREFULLY AND RETAINED FOR FUTURE REFERENCE
1
4
5
23
6
- Club Stove, CLB20 -Courchevel Stove, CVL20
- Ritz Stove, RIT20 NZ
AUS
circuit that is regularly switched on and off by the
utility.
This appliance is not equipped with a device to
control the room. Do not use this heater in small
rooms when they are occupied by persons not
capable of leaving the room on their own, unless
constant supervision is provided.
The appliance must not to be located beneath a
socket outlet.
CAUTION - Some parts of this product can become
very hot and cause burns. Particular attention has
to be given where children and vulnerable people
are present.
Maintenance
WARNING: ALWAYS DISCONNECT FROM THE POWER SUPPLY
BEFORE ATTEMPTING ANY MAINTENANCE.
Cleaning
WARNING – ALWAYS DISCONNECT FROM THE POWER SUPPLY
BEFORE CLEANING THE HEATER.
For general cleaning use a soft clean duster – never use abrasive
cleaners. The glass viewing screen should be cleaned carefully with
a soft cloth. DO NOT use proprietary glass cleaners.
To remove any accumulation of dust or uff the soft brush attachment
of a vacuum cleaner should occasionally be used to clean the outlet
grille of the fan heater.
Recycling
For electrical products sold within the European
Community.
At the end of the electrical products useful life it should
not be disposed of with household waste. Please
recycle where facilities exist. Check with your Local
Authority or retailer for recycling advice in your country.
After Sales Service
Please see the separate warranty leaet for details of your Warrantee
& After Sales Service including contact details. Should you require
After Sales Services, please get in touch with the supplier through
whom you purchased the appliance, or the contact number on your
warranty leaet.
Glen Dimplex Australia
Unit 1, 21 Lionel Road,
Mount Waverley VIC 3149
Australia
Ph: 1300 556 816
Fax: 1800 058 900
Email: [email protected]
Web: www.dimplex.com.au
Glen Dimplex Austrasia Ltd
38 Harris Road,
East Tamaki, Auckland
New Zealand
Ph : 09 274 8265
Fax: 09 274 8472
Email: [email protected]
Web: www.dimplex.co.nz
Specication subject to change without pior notics
NZ
Lamp Replacement - see Fig. 3, Fig. 4 and Fig. 5
The lamps are located behind the back panel. To gain access to the
lamps, the screws indicated in Fig. 3 which secure the back panel, must
be removed.
Remove and slide out panel as indicated on Fig. 4.
Remove the defective lamp by unscrewing it as shown in Fig. 5.
Replace with a 60W E14 SES Clear candle lamp. Take care not to over-
tighten the lamp.
Ret the back panel and secure with the screws.
Thermal Safety Cut-out
The built-in overheat cut-out switches off the appliance automatically in
the event of a fault. If this occurs switch off the appliance or disconnect
the mains plug from the socket. After a short cooling down phase, the
appliance is ready for use again. If the fault should occur again, see
your local dealer.
AUS

This manual suits for next models

5

Other Dimplex Stove manuals

Dimplex DS7420 User manual

Dimplex

Dimplex DS7420 User manual

Dimplex CDS8515 User manual

Dimplex

Dimplex CDS8515 User manual

Dimplex Opti-V 360 User manual

Dimplex

Dimplex Opti-V 360 User manual

Dimplex CS33116A User manual

Dimplex

Dimplex CS33116A User manual

Dimplex TDS8515T User manual

Dimplex

Dimplex TDS8515T User manual

Dimplex DS5629 User manual

Dimplex

Dimplex DS5629 User manual

Dimplex ELECTRALOG CS3311 User manual

Dimplex

Dimplex ELECTRALOG CS3311 User manual

Dimplex Bellingham 8kW User manual

Dimplex

Dimplex Bellingham 8kW User manual

Dimplex Willowbrook WLL20 Instruction Manual

Dimplex

Dimplex Willowbrook WLL20 Instruction Manual

Dimplex Bayport BYP20 Instruction Manual

Dimplex

Dimplex Bayport BYP20 Instruction Manual

Dimplex ELECTRALOG CS4416 User manual

Dimplex

Dimplex ELECTRALOG CS4416 User manual

Dimplex ELECTRALOG CS1205 User manual

Dimplex

Dimplex ELECTRALOG CS1205 User manual

Dimplex ELECTRALOG CS1205 User manual

Dimplex

Dimplex ELECTRALOG CS1205 User manual

Dimplex Purifire Electric Stove User manual

Dimplex

Dimplex Purifire Electric Stove User manual

Dimplex BFD20 User manual

Dimplex

Dimplex BFD20 User manual

Dimplex DS5603 Quick start guide

Dimplex

Dimplex DS5603 Quick start guide

Dimplex ELECTRIC PATIO STOVE User manual

Dimplex

Dimplex ELECTRIC PATIO STOVE User manual

Dimplex Westcott 5 User manual

Dimplex

Dimplex Westcott 5 User manual

Dimplex COURCHEVEL CVL20E Instruction Manual

Dimplex

Dimplex COURCHEVEL CVL20E Instruction Manual

Dimplex 143041WT User manual

Dimplex

Dimplex 143041WT User manual

Dimplex CELESTE User manual

Dimplex

Dimplex CELESTE User manual

Dimplex Opti-myst Gosford Quick start guide

Dimplex

Dimplex Opti-myst Gosford Quick start guide

Dimplex Westcott 5 WST5SE User manual

Dimplex

Dimplex Westcott 5 WST5SE User manual

Dimplex EOSM-2007 User manual

Dimplex

Dimplex EOSM-2007 User manual

Popular Stove manuals by other brands

Texsport 14205 Instructions for use

Texsport

Texsport 14205 Instructions for use

GSI Outdoors PINNACLE 4 SEASON instruction manual

GSI Outdoors

GSI Outdoors PINNACLE 4 SEASON instruction manual

Metal-Fach SMART PELLET WF PRO Technical and Operational Documentation

Metal-Fach

Metal-Fach SMART PELLET WF PRO Technical and Operational Documentation

Ravelli SARA 700 Use and maintenance manual

Ravelli

Ravelli SARA 700 Use and maintenance manual

Zibro SRE 231 E operating manual

Zibro

Zibro SRE 231 E operating manual

MBM E2A77 operating instructions

MBM

MBM E2A77 operating instructions

Cadac 1150 User instructions

Cadac

Cadac 1150 User instructions

MonsterShop Chimenea instruction manual

MonsterShop

MonsterShop Chimenea instruction manual

Olymberyl HF-217 BabyGabrie user guide

Olymberyl

Olymberyl HF-217 BabyGabrie user guide

Petromax rf33 user manual

Petromax

Petromax rf33 user manual

Vogelzang International BK150E owner's manual

Vogelzang International

Vogelzang International BK150E owner's manual

Timberwolf Economizer EPA 2300 Installation and operating instructions

Timberwolf

Timberwolf Economizer EPA 2300 Installation and operating instructions

United States Stove CSSU owner's manual

United States Stove

United States Stove CSSU owner's manual

Jøtul Wood Stove Installation and operating instructions

Jøtul

Jøtul Wood Stove Installation and operating instructions

Camplux JK-5330 Instructions for installation and use

Camplux

Camplux JK-5330 Instructions for installation and use

Henley Stoves Sherwood 12 Installation & operating instructions

Henley Stoves

Henley Stoves Sherwood 12 Installation & operating instructions

Horse Flame HF-317 Artemis user guide

Horse Flame

Horse Flame HF-317 Artemis user guide

RAIS/attika 2:1 user manual

RAIS/attika

RAIS/attika 2:1 user manual

manuals.online logo
manuals.online logoBrands
  • About & Mission
  • Contact us
  • Privacy Policy
  • Terms and Conditions

Copyright 2025 Manuals.Online. All Rights Reserved.