manuals.online logo
Brands
  1. Home
  2. •
  3. Brands
  4. •
  5. Directed Electronics
  6. •
  7. Automobile Accessories
  8. •
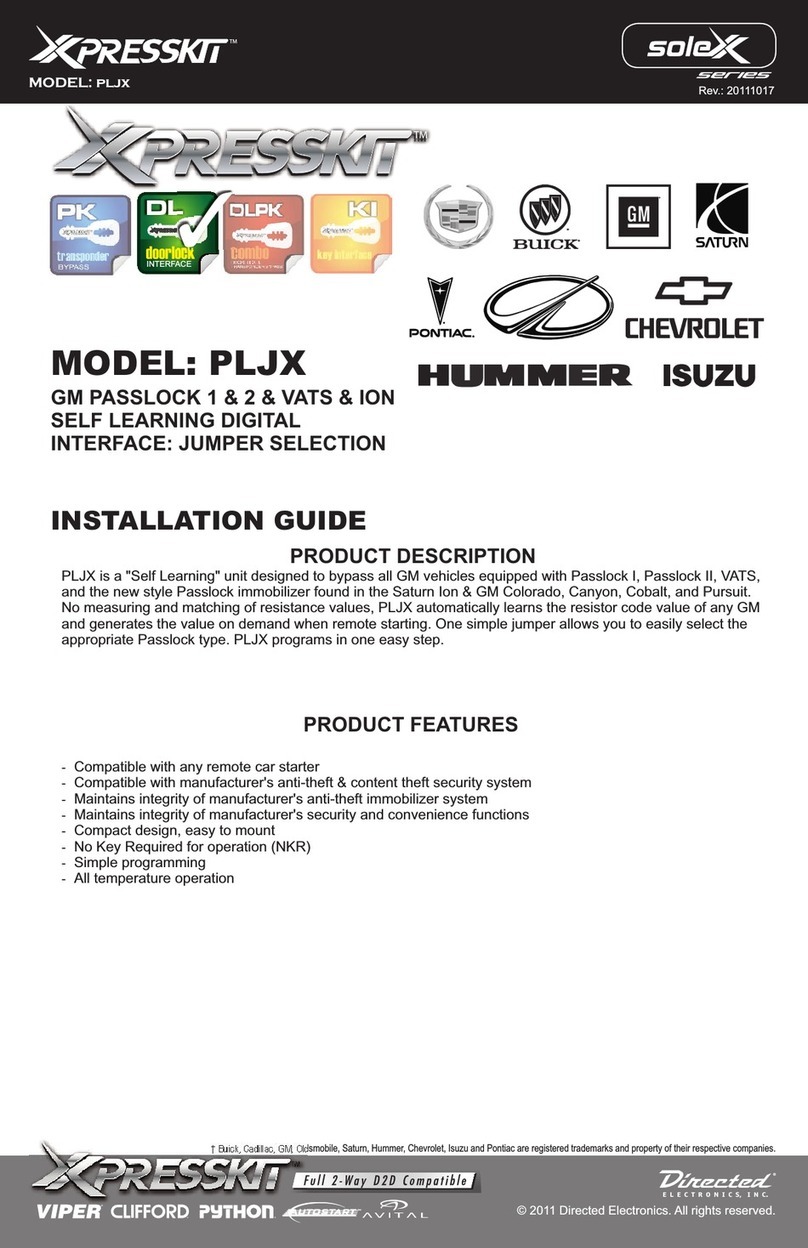
  9. Directed Electronics XPRESSKIT DLPKCHG1-CHRY2 User manual

Directed Electronics XPRESSKIT DLPKCHG1-CHRY2 User manual

INSTALLATION GUIDE
Downloadable Firmware for Platform
DLPKCHG1: CHRY2, CHRY3, CHRY4, CHRY6+
UPGRADEABLE DOORLOCK INTERFACE +
1st Gen. SENTRY KEY TRANSPONDER BYPASS
PRIMARY PRODUCT FUNCTIONS
Transponder Override, Lock/Unlock, Unlock Driver’s Priority, OEM Security Arm/Disarm, Trunk/Hatch Release, Left
and Right Power Sliding Doors, 2nd Starter (MUX) Activation, Entry Point Status (Door Trigger). *Additional
functionality is achieved when this kit is connected with a D2D enable remote start /alarm system.
PRODUCT DESCRIPTION
Platform DLPKCHG1 is a combination kit which features an upgradeable door lock & alarm interface section plus an
integrated 1st generation Chrysler Sentry Key transponder bypass. Design to operate with Chrysler, Dodge or Jeep
vehicles, this kit combines the best of the best in upgradeable data bus door lock & alarm interface technology with
the proven reliability of an original equipment Chrysler 1st Gen. Sentry Key transponder to bypass the factory
immobilizer when remote starting. Includes D2D (data to data) port for internet upgrades and firmware changes as
well as enhanced vehicle interface functionality & security with D2D compatible remote starter systems. Remote
control systems that are D2D enabled can securely communicate with Platform DLPKCHG1 to transmit & receive
data commands which initiate specific vehicle functions such as door lock/unlock, immobilizer override and/or
request information from the vehicle such as status of entry points doors, hood & trunk. With D2D the system can
even detect if the factory remote transmitter is being used and synchronize the arming and disarming of both the
factory systems as well as the aftermarket remote start/alarm system.
-
-
-D2D (data to data) communication protocol enabled for automatic firmware updating via Window PC & internet
-D2D com port speeds installation while expanding features & functions
-Compact design combines two technologies in one easy to mount module
-Compatible with manufacturer's anti-theft system
-Maintains integrity of manufacturer's anti-theft system
-Compatible with manufacturer's security and convenience functions
-Maintains integrity of manufacturer's security and convenience functions
-Eliminates need for additional resistors or relays
-Easy programming (system uses OE programming protocol)
-No extra key required for operation + includes 1st Generation Chrysler Sentry transponder (RFID)
PRODUCT FEATURES
Upgradeable door lock alarm interface firmware for Chrysler, Dodge or Jeep
combo
DLPK
DOORLOCK &
TRANSPONDER BYPASS
Update Alert: Firmware updates are posted to the web on a
regular basis. We recommend you check for firmware and/or
install guide updates prior to installation of this product.
† Chrysler, Dodge and Jeep are registered trademarks and property of their respective companies.
Page 1 to 5
Vehicle compatibility chart
Installation diagram
Transponder programming mode .....................................................................................................
........................... .................
......................................................................................................................... 02
03
User settings .................................................................................................................................... 03
Warranty............................................................................................................................................ 04
...........................................
INDEX
TECHNICAL SUPPORT / INFORMATION
web resources:
www.xpresskit.com
www.xpressvip.com
www.directechs.com
www.xpresskit.com
Rev.: 20100224
© 2010 Directed Electronics. All rights reserved.
DLPKCHG1-CHRY2
1 8
169
*Brown
INPUT (-)
*Black *Chassis Ground
INPUT (-)
INPUT (-)
*Blue
*Unlock
INPUT (-)
*Green
*Lock
INPUT (-)
Pink N/C
*Pink/White
*Door Sense Trigger
(-)
Violet/White
(-)
Violet
DATA
Data
Programming
Button
*Red
*(+)12 Volt Constant
INPUT
(+)
10 PINHARNESS
*Ground when running (status)
OUTPUT
*Orange
OUTPUT
Internet
USBADAPTOR
USB CABLE
USB PORT
Doorlocks/Alarm Activation
*Trunk
Diagnostic plug (Face view) Under
dash driver side Position 2
Option A
Firmware Upgrades
Option B
Data 2 Data connections
with remote starter
main system
Remote starter
D2D
main system
Remote starter
D2D
UPGRADEABLE
www.xpressdownload.com
4 PIN DATA TO
DATA (D2D) CABLE
NOTES
- Doorlocks / Alarm system activation wire:
For Sebring & Stratus sedan: White/Dark Green at BCM
All other models: Light Green/Orange at BCM
- BCM Located Behind Fuse Box on Driver Side
IMPORTANT VEHICLE INFORMATION:
Please note that this module is not
compatible with Mitsubishi built vehicles.
IMPORTANT INSTALL INFORMATION:
- 3 or 5 turns of loop is required.
- You can program the transponder only once.
- Do not install on metal surface.
Page 2 to 5
= These wires are not required
when connected in D2D mode.
Rev.: 20100224
© 2010 Directed Electronics. All rights reserved.
DLPKCHG1-CHRY2
STEP #2: TRANSPONDER PROGRAMMING MODE
(You will need 2 valid keys)
Page 3 to 5
STEP #3 USER SETTINGS
(Optional programming. Only MODES 6, 7 & 8 are available)
STEP #1 MODULE PROGRAMMING
1
2
3
4
5
Release programming button, LED
will identify the MODE selection
with a slow flash pattern (6, 7 or 8
slow flashes) and then will identify
OPTION selection with a fast flash
pattern. (1 or 2 fast flashes)
To change MODE, press
and release the
programming button once,
LED will confirm MODE with
a slow flash pattern (6, 7 or 8
slow flashes).
To change OPTION SELECTION
within a MODE, press LOCK or
UNLOCK button on the aftermarket
remote control system. The LED
will identify option selection with
either one or two fast flashes.
To save and exit programming,
press and hold programming
button until LED flashes once
rapidly, showing end of MODE &
OPTION programming.
IGN
ON
OFF
KEY
PRESS AND
HOLD 2 SEC FLASH 2 SEC
THEN
PRESS & HOLD FLASH ONCE
RAPIDLY
UNTIL
6 TIMES = MODE 6
7 TIMES = MODE 7
8 TIMES = MODE 8
SLOW FLASH:
SLOW FLASH
(MODE)
THEN
FAST FLASH:
ONCE = OPTION 1
TWICE = OPTION 2
FAST FLASH
(OPTION)
PRESS 1x
or
(
(
THEN
RELEASE SLOW FLASH
(MODE)
FAST FLASH
(OPTION)
THEN THEN
Insert key into ignition at the “OFF”
position. Press and hold
programming button for 2 seconds,
LED will flash rapidly for 2 seconds.
1Connect module to the 10-pin harness and
4-pin D2D (if installed in D2D mode), LED
will go ON to confirm correct connection.
Insert the key and turn to the ON position
(without starting the engine). When the LED turns
off, the module is programmed, remove the key.
2
UPGRADEABLE
www.xpressdownload.com
ON
THEN
THEN THEN
IGN
ON
OFF
KEY
OFF
IGN
ON
OFF
KEY
MODE 7 - Vehicle with or without alarm
Option 1: Vehicle with alarm (default)
Option 2: Vehicle without alarm
MODE 6 - Lock when remote starter stops
Option 1: Activate (default)
Option 2: Deactivate
Modes & Options list
MODE 8 - Reset
Option 1: No reset (default)
Option 2: Complete reset of option and module
PRESS & RELEASE
A) P
ound the vehicle's ignition
cylinder as shown.
B) Plug the 2 pin loop antenna
ring connector into the 2 pin
connector of the module.
lace the loop antenna ring
ar Note: Move antenna
loop as close to the
front of the ignition
cylinder (factory
receiver ring) as
possible.
2
Turn the ignition switch OFF and remove the first key.
4
After 10 seconds a chime will sound and the security light will begin
to flash. Turn the ignition switch OFF and remove the second key.
6
7
8
IGN
ON
OFF
KEY#2
Security
Within 5 seconds insert the second valid key and turn
the ignition switch ON.
5
IGN
ON
OFF
KEY#1
IGN
ON
OFF
KEY#1
IGN
ON
OFF
KEY#2
Insert the first valid key into the ignition switch and turn it
ON for at least 5 seconds, but no longer than 15 seconds.
3
Brake
pedal
Set the remote starter in diesel engine type.
1
DIESEL
9To complete the installation, program the remote starter to the
desired engine type (gas or diesel) and then test your installation.
DIESEL
Within thirty (30) seconds, press the remote start button and the
remote starter will turn the ignition ON but will not crank.
The security light will turn ON, then start flashing; it will come ON again for
2 seconds then turn OFF to confirm the transponder is now programmed.
You can now apply brakes to disable the remote starter sequence.
Rev.: 20100224
© 2010 Directed Electronics. All rights reserved.
DLPKCHG1-CHRY2
LIMITED ONE-YEAR CONSUMER WARRANTY
For a period of ONE YEAR from the date of purchase of a Directed Electronics remote start or security
product, Directed Electronics. (“DIRECTED”) promises to the original purchaser, to repair or replace
with a comparable reconditioned piece, the security or remote start accessory piece (hereinafter the
“Part”), which proves to be defective in workmanship or material under normal use, provided the
following conditions are met: the Part was purchased from an authorized DIRECTED dealer; and the
Part is returned to DIRECTED, postage prepaid, along with a clear, legible copy of the receipt or bill of
sale bearing the following information: consumer’s name, address, telephone number, the authorized
licensed dealer’s name and complete product and Part description.
This warranty is nontransferable and is automatically void if the Part has been modified or used in a
manner contrary to its intended purpose or the Part has been damaged by accident, unreasonable
use, neglect, improper service, installation or other causes not arising out of defect in materials or
construction.
TO THE MAXIMUM EXTENT ALLOWED BY LAW, ALL WARRANTIES, INCLUDING BUT NOT
LIMITED TO EXPRESS WA R R A N T Y, IMPLIED WARRANTY, WA R R A N T Y O F
MERCHANTABILITY, FITNESS FOR PARTICULAR PURPOSE AND WARRANTY OF NON
INFRINGEMENT OF INTELLECTUAL PROPERTY, ARE EXPRESSLY EXCLUDED; AND
DIRECTED NEITHER ASSUMES NOR AUTHORIZES ANY PERSON OR ENTITY TO ASSUME
FOR IT ANY DUTY, OBLIGATION OR LIABILITY IN CONNECTION WITH ITS PRODUCTS.
DIRECTED HEREBY DISCLAIMS AND HAS ABSOLUTELY NO LIABILITY FOR ANY AND ALL
ACTS OF THIRD PARTIES INCLUDING DEALERS OR INSTALLERS. IN THE EVENT OF A CLAIM
OR A DISPUTE INVOLVING DIRECTED OR ITS SUBSIDIARY, THE PROPER VENUE SHALL BE
SAN DIEGO COUNTY IN THE STATE OF CALIFORNIA. CALIFORNIA STATE LAWS AND
APPLICABLE FEDERAL LAWS SHALL APPLY AND GOVERN THE DISPUTE. THE MAXIMUM
RECOVERY UNDER ANY CLAIM AGAINST DIRECTED SHALL BE STRICTLY LIMITED TO THE
AUTHORIZED DIRECTED DEALER’S PURCHASE PRICE OF THE PART. DIRECTED SHALL NOT
BE RESPONSIBLE FOR ANY DAMAGES WHATSOEVER, INCLUDING BUT NOT LIMITED TO,
ANY CONSEQUENTIAL DAMAGES, INCIDENTAL DAMAGES, DAMAGES FOR THE LOSS OF
TIME, LOSS OF EARNINGS, COMMERCIAL LOSS, LOSS OF ECONOMIC OPPORTUNITY AND
THE LIKE. NOTWITHSTANDING THE ABOVE, THE MANUFACTURER DOES OFFER A LIMITED
WARRANTY TO REPLACE OR REPAIR AT DIRECTED’S OPTION THE PART AS DESCRIBED
ABOVE.
Some states do not allow limitations on how long an implied warranty will last or the exclusion or
limitation of incidental or consequential damages. This warranty gives you specific legal rights and
you may also have other rights that vary from State to State. DIRECTED does not and has not
authorized any person or entity to create for it any other obligation, promise, duty or obligation in
connection with this Part.920-0007 07-06
This Interface kit / Data Bus Interface part has been tested on the listed vehicles. Other vehicles will be
added to the select vehicle list upon completion of compatibility testing. Visit website for latest vehicle
application guide. DISCLAIMER: Under no circumstances shall the manufacturer or the distributors
of the bypass kit / data bus interface part(s) be held liable for any consequential damages sustained
in connection with the part(s) installation. The manufacturer and it’s distributors will not, nor will they
authorize any representative or any other individual to assume obligation or liability in relation to the
interface kit / data bus interface part(s) other than its replacement. N.B.:Under no circumstances shall
the manufacturer and distributors of this product be liable for consequential damages sustained in
connection with this product and neither assumes nor authorizes any representative or other person
to assume for it any obligation or liability other than the replacement of this product only.
PROTECTED BY U.S. PATENTS:5,719,551; 6,011,460 B1 *;6,243,004 B1; 6,249,216 B1; 6,275,147 B1;
6,297,731 B1; 6,346,876 B1; 6,392,534 B1; 6,529,124 B2; 6,696,927 B2; 6,756,885 B1; 6,756 ,886
B2; 6,771,167 B1; 6,812,829 B1; 6,924,750 B1; 7,010,402 B1; 7,015,830 B1; 7 , 0 3 1 , 8 2 6 B 1 ;
7,046,126 B1; 7,061,137 B1; 7,068,153 B1; 7,205,679 B1; CDN. PATENT:2,320,248; 2 , 4 1 4 , 9 9 1 ;
2,415,011; 2,415,023; 2,415,027; 2,415,038; 2,415,041; 2,420,947; 2,426,670; 2 , 4 5 4 , 0 8 9
EUROPEAN PATENT:1,053,128 PAT. PENDING:2,291,306; MADE IN CANADA
Page 5 to 5
Rev.: 20100224
© 2010 Directed Electronics. All rights reserved.
DLPKCHG1-CHRY2
Other Directed Electronics Automobile Accessories manuals

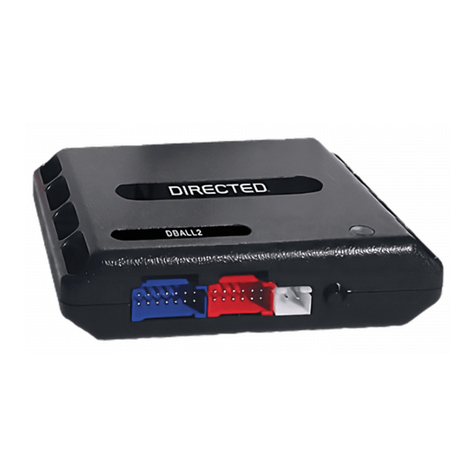
Directed Electronics DB3 User manual

Directed Electronics

Directed Electronics DB3 User manual

Directed Electronics Honda/Acura SIRIUS Interface HON-SC1 User manual

Directed Electronics

Directed Electronics Honda/Acura SIRIUS Interface HON-SC1 User manual

Directed Electronics VIPER 9252 User manual

Directed Electronics

Directed Electronics VIPER 9252 User manual

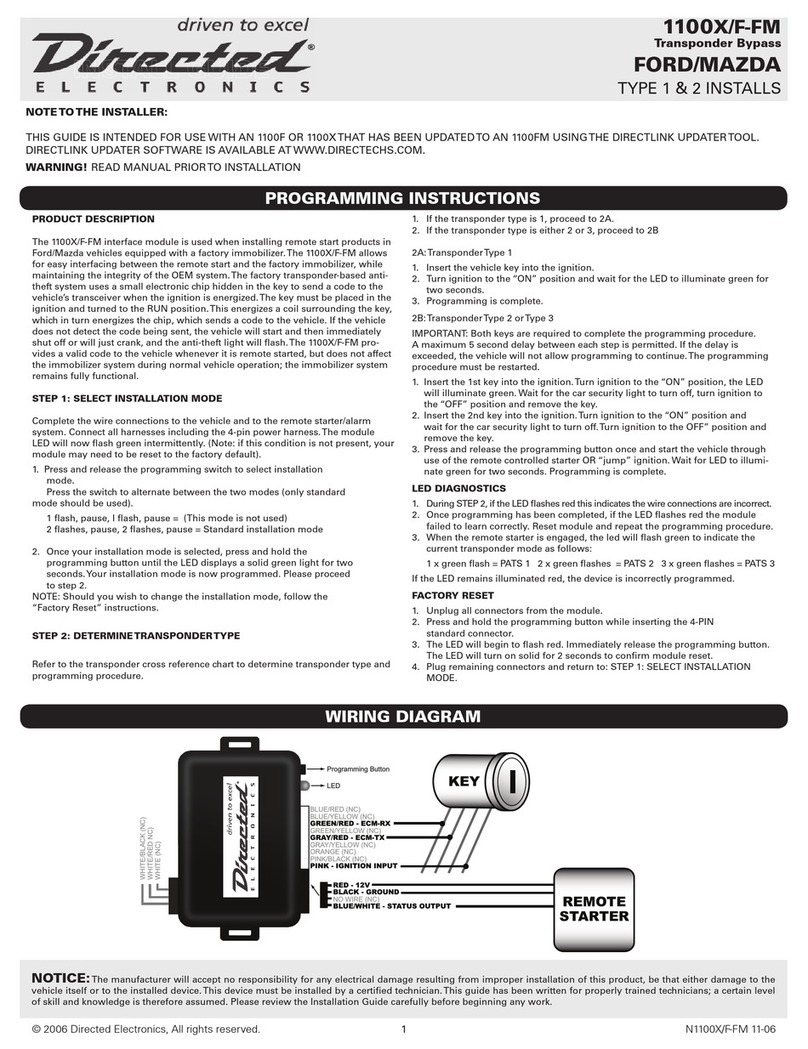
Directed Electronics 1100X/F-FM User manual

Directed Electronics

Directed Electronics 1100X/F-FM User manual

Directed Electronics Xpresskit DBALL User manual

Directed Electronics

Directed Electronics Xpresskit DBALL User manual

Directed Electronics TOY-SC1 User manual

Directed Electronics

Directed Electronics TOY-SC1 User manual

Directed Electronics DB3 User manual

Directed Electronics

Directed Electronics DB3 User manual

Directed Electronics PYTHON 872 User manual

Directed Electronics

Directed Electronics PYTHON 872 User manual

Directed Electronics Xpresskit DBALL User manual

Directed Electronics

Directed Electronics Xpresskit DBALL User manual

Directed Electronics Xpresskit SoleX Series User manual

Directed Electronics

Directed Electronics Xpresskit SoleX Series User manual

Directed Electronics Xpresskit Solex PLJX User manual

Directed Electronics

Directed Electronics Xpresskit Solex PLJX User manual

Popular Automobile Accessories manuals by other brands

Rola PMX169 Fitting instructions

Rola

Rola PMX169 Fitting instructions

Racepak 250-DS-IQ3SL installation manual

Racepak

Racepak 250-DS-IQ3SL installation manual

JCROffroad XJRC Install instructions

JCROffroad

JCROffroad XJRC Install instructions

Aries S225044 installation manual

Aries

Aries S225044 installation manual

Sprout SWLCHG300BSR product manual

Sprout

Sprout SWLCHG300BSR product manual

AMP Research Power Step installation guide

AMP Research

AMP Research Power Step installation guide

AUTOTECH 10.430.217K-218K installation instructions

AUTOTECH

AUTOTECH 10.430.217K-218K installation instructions

Crux Sightline RVCCH-75E quick start guide

Crux

Crux Sightline RVCCH-75E quick start guide

Serene House Sparkler instruction manual

Serene House

Serene House Sparkler instruction manual

Bestop Bikini installation instructions

Bestop

Bestop Bikini installation instructions

Evenflo 630422 manual

Evenflo

Evenflo 630422 manual

AA Products X39-SC BOX2 BLK instruction manual

AA Products

AA Products X39-SC BOX2 BLK instruction manual

Kolpin Outdoors 15-0070 Assembly & owners manual

Kolpin Outdoors

Kolpin Outdoors 15-0070 Assembly & owners manual

ZOpid HC-ZB323V user manual

ZOpid

ZOpid HC-ZB323V user manual

3Built RES126VX quick start guide

3Built

3Built RES126VX quick start guide

Whelen Engineering Company UNECE Mini Justice installation guide

Whelen Engineering Company

Whelen Engineering Company UNECE Mini Justice installation guide

Possl Campster instruction manual

Possl

Possl Campster instruction manual

Safe Fleet Prime Design FBM-1012 manual

Safe Fleet

Safe Fleet Prime Design FBM-1012 manual

manuals.online logo
manuals.online logoBrands
  • About & Mission
  • Contact us
  • Privacy Policy
  • Terms and Conditions

Copyright 2025 Manuals.Online. All Rights Reserved.