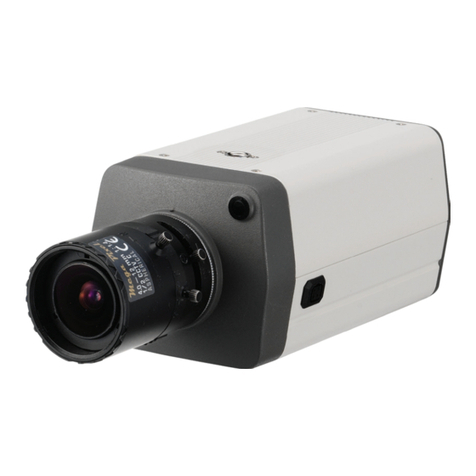
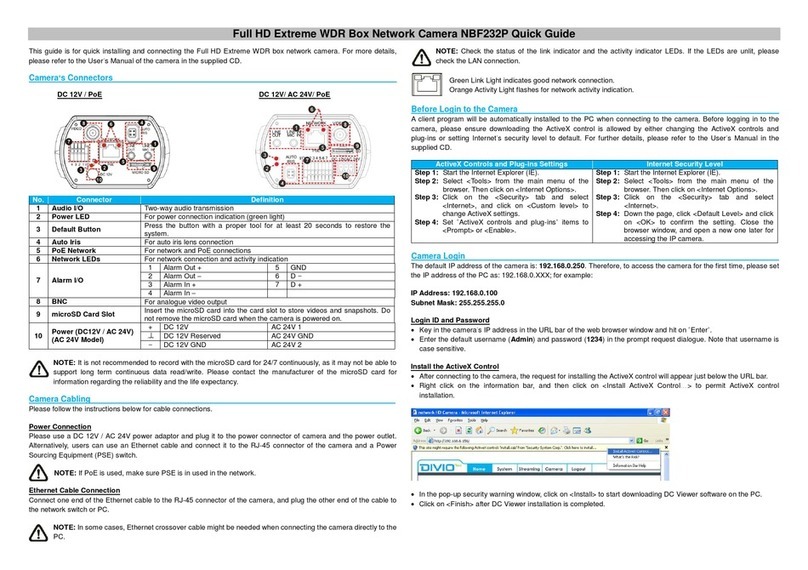
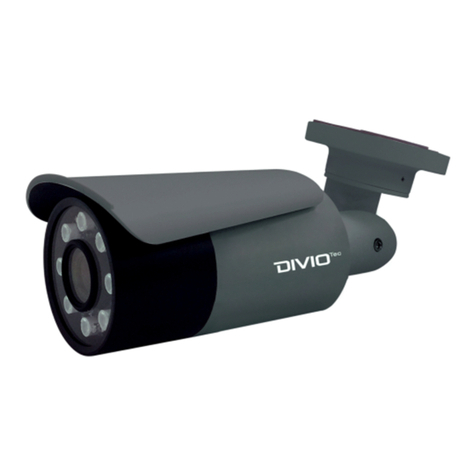
DivioTec NBR124 User manual

User Manual
Network Camera
The manual is applied to the following model:
Model no. Resolution Lens
NBR124 2MP@30fps 2.8-12mm varifocal lens
Note: The manual is subject to change without notice.

II
Content
CONTENTS
PREFACE
Regulatory Compliance Statements............................................................................. iv
Declaration of Conformity ............................................................................................... iv
Safety Information .............................................................................................................. iv
Installation Recommendations ....................................................................................... v
Conventions Used in this Manual................................................................................... v
Package Contents................................................................................................................ vi
CHAPTER 1: PRODUCT INTRODUCTION
Overview ................................................................................................................................. 1
NBR124 ................................................................................................................................ 1
Cables................................................................................................................................... 1
Hardware Specications .................................................................................................... 2
Hardware Installation..........................................................................................................3
CHAPTER 2: CAMERA CONGURATION
Accessing the Camera’s Conguration Menu (Graphical User Interface)......... 4
Installing Cam Finder Software.............................................................................. 4
Cam Finder..................................................................................................................... 7
Web Browser (Internet Explorer) ........................................................................... 8
Conguring the Camera’s Setting ................................................................................10
Browsing Through the Conguration Menu........................................................11
Video - Video Stream.........................................................................................................12
Basic Settings..............................................................................................................12
Camera Name.............................................................................................................12
Primary Stream 1.......................................................................................................12
Secondary Stream (Stream 2) ...............................................................................13
Third Stream (Stream 3)..........................................................................................13
Video - Exposure.................................................................................................................15
Auto Exposure ............................................................................................................15
Manual Exposure.......................................................................................................15
ICR Control (IR Cut Filter) ........................................................................................16
BLC (Backlight Compensation).............................................................................16
Digital WDR (Wide Dynamic Range) ..................................................................16
Save................................................................................................................................16
Video - White Balance.......................................................................................................17
White Balance Mode................................................................................................17
Save................................................................................................................................17
Video - Basic Settings........................................................................................................18
Brightness ....................................................................................................................18
Contrast ........................................................................................................................18
Saturation.....................................................................................................................18
Sharpness.....................................................................................................................18
Default All Image Parameters...............................................................................18
Video - ROI ............................................................................................................................19
Basic Settings..............................................................................................................19
Video - Privacy Mask..........................................................................................................20
Basic Settings..............................................................................................................20
Network - Basic....................................................................................................................21
DHCP..............................................................................................................................21
Static IP Address ........................................................................................................21
HTTP Port .....................................................................................................................21
Save ...............................................................................................................................21
Network - FTP ......................................................................................................................22
FTP Server IP ..............................................................................................................22

III
Content
FTP Server Port...........................................................................................................22
User Name ...................................................................................................................22
Password ......................................................................................................................22
File Upload Path.........................................................................................................22
Save ...............................................................................................................................22
Network - SMTP
...................................................................................................................23
My Server Requires Authorization .....................................................................23
SMTP Server IP............................................................................................................23
User Name ...................................................................................................................23
Password ......................................................................................................................23
Sender ...........................................................................................................................23
Receiver ........................................................................................................................23
Save ...............................................................................................................................23
Network - NTP
......................................................................................................................24
NTP Server ...................................................................................................................24
Time Zone....................................................................................................................24
DST .................................................................................................................................24
Save ...............................................................................................................................24
Network - RTSP....................................................................................................................25
Stream 1 to 3 RTSP Port ..........................................................................................25
Save ...............................................................................................................................25
System - Date & Time ........................................................................................................26
Current Time ...............................................................................................................26
New Time......................................................................................................................26
Save................................................................................................................................26
System - Maintenance ......................................................................................................27
Current Version Description ..................................................................................27
Specify the Firmware to Update ..........................................................................27
Restart Camera...........................................................................................................27
Factory Default
...........................................................................................................27
Hardware Factory Default ......................................................................................27
System - User Management ...........................................................................................28
User List ........................................................................................................................28
Add/Modify User .......................................................................................................28
Access Level.................................................................................................................28
System - Log.........................................................................................................................29
Log..................................................................................................................................29
Clear Log File...............................................................................................................29
Download Log File....................................................................................................29
Events - Motion Detection ..............................................................................................30
Setting up Motion Detection................................................................................30
Save................................................................................................................................30
Event - Tampering Detection .........................................................................................31
Tampering Detection...............................................................................................31
Sensitivity.....................................................................................................................31
Action ............................................................................................................................31
Save ...............................................................................................................................31
Recording - Video File .......................................................................................................32
AVI Format ...................................................................................................................32
Save ...............................................................................................................................32
Recording - FTP...................................................................................................................33
FTP Networking .........................................................................................................33
Storage Setting ..........................................................................................................33
Save ...............................................................................................................................33

IV
Preface
PREFACE
REGULATORY COMPLIANCE STATEMENTS
This section provides the FCC compliance statement for Class A devices and
describes how to keep the system CE compliant.
DECLARATION OF CONFORMITY
FCC
This equipment has been tested and veried to comply with the limits for
a Class A digital device, pursuant to Part 15 of FCC Rules. These limits are
designed to provide reasonable protection against harmful interference when
the equipment is operated in a commercial environment. This equipment
generates, uses, and can radiate radio frequency energy and, if not installed
and used in accordance with the instructions, may cause harmful interference
to radio communications. Operation of this equipment in a residential area
(domestic environment) is likely to cause harmful interference, in which case
the user will be required to correct the interference (take adequate measures)
at their own expense.
CE
The product(s) described in this manual complies with all applicable European
Union (CE) directives if it has a CE marking. For computer systems to remain CE
compliant, only CE-compliant parts may be used. Maintaining CE compliance
also requires proper cable and cabling techniques.
SAFETY INFORMATION
Before installing and using the device, note the following precautions:
ƒRead all instructions carefully.
ƒFollow all warnings and cautions in this manual.
ƒDo not place the unit on an unstable surface, cart, or stand.
ƒDo not use the camera in extreme temperature conditions. Please use the
camera within -20ºC to 50ºC. Air vent is required at high temperature.
ƒDo not use or store the camera in humid environment. It may cause poor
image quality.
ƒDo not use the camera in unstable lighting conditions. Inconsistent lighting
or ickering may cause poor image.
ƒNever use the camera close to gas or oil leak. It may not operate properly.
ƒDo not disassemble the camera. There is no user serviceable part inside.
ƒDo not drop the camera or apply force on it. It may cause a malfunction.
ƒAvoid using the system near water, in direct sunlight, or near a heating
device.
ƒNever face the camera to strong light for long periods of time. It may
damage the CMOS sensor.
External power supply cannot be used with PoE simultaneously
or it will damage the camera.
When this camera is installed near wireless communication
devices that emit strong electromagnetic eld, irregularity
such as noise may appear in the image.

V
Preface
INSTALLATION RECOMMENDATIONS
Ensure you have a stable, clean working environment. Dust and dirt can get
into components and cause a malfunction. Use containers to keep small
components separated.
Adequate lighting and proper tools can prevent you from accidentally
damaging the internal components. Most of the procedures that follow
require only a few simple tools, including the following:
ƒA Philips screwdriver
ƒA at-tipped screwdriver
ƒA grounding strap
ƒAn anti-static pad
Using your ngers can disconnect most of the connections. It is recommended
that you do not use needle-nose pliers to disconnect connections as these can
damage the soft metal or plastic parts of the connectors.
CONVENTIONS USED IN THIS MANUAL
Warning:
Information about certain situations, which if not observed,
can cause personal injury. This will prevent injury to yourself
when performing a task.
T
T
T
T
T
O
IO
N
N!
T
T
T
T
T
UT
UT
T
T
T
U
U
C
C
C
C
C
C
C
U
U
CA
A
CA
A
A
A
U
U
U
U
U
U
O
C
O
T
T
T
T
T
T
T
I
I
I
I
I
I
I
I
O
O
O
O
O
O
O
N
N
N
N
N!
N
N
!
!
!
!
!
CAUTION!CAUTION! Caution:
Information to avoid damaging components or losing data.
Note:
Provides additional information to complete a task easily.

VI
Preface
PACKAGE CONTENTS
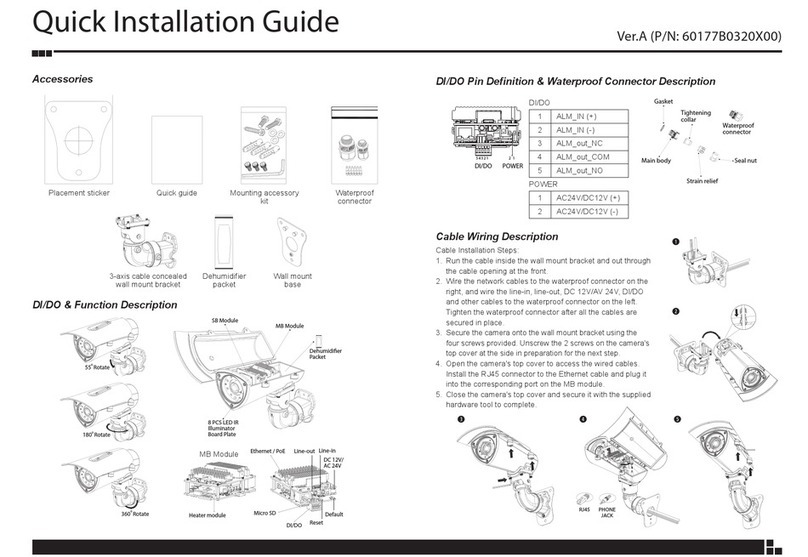
The IR Indoor Mini Dome IP Camera package contains the following accessories:
NAME QUANTITY
IP camera 1
Quick installation guide 1
Accessory pack 1

1
Chapter 1: Product Introduction
Overview
Cable
No. Name Functional Description
1Waterproof
LAN (RJ45)
Connect to a router or switch on your network
using RJ45 Ethernet cable (Cat5e or better).
100Mbps connection. PoE supported (class 3 PoE
switch required).
n
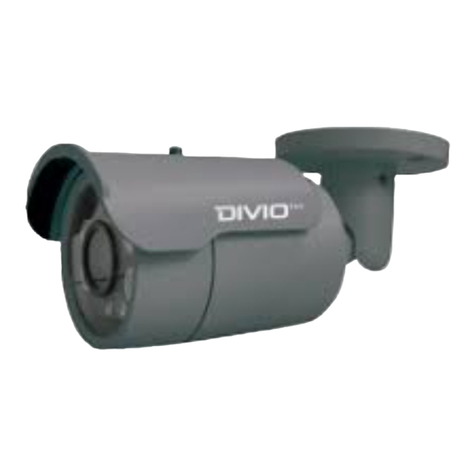
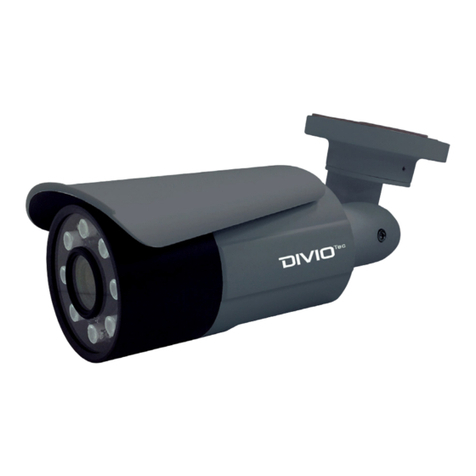
NBR124

2
Chapter 1: Product Introduction
Hardware Specications
Camera
ƒImage sensor: 1/2.8” 2MP Sony STARVIS CMOS progressive sensor
ƒMinimum resolution: 1920(H) x 1080(V)
ƒLens: Vari-focal Lens 2.8-12mm F1.4
ƒIR eective distance: 25M
ƒSupport Smart IR function
ƒDay and night: Auto ICR
ƒMinimum Illumination: Color 0.05 LUX/F1.4, B/W 0 LUX/F1.4
ƒElectronic shutter speed: Auto/Manual 1/3.75~1/10000
ƒGain control: Auto/Manual
ƒBacklight compensation: Yes
ƒWhite balance mode: Auto/Manual
ƒPrivacy masking: 1 area
ƒImage settings:
– Brightness, Contrast, Saturation, Sharpness, Mirror and Flip
Video
ƒVideo compression: H.264/MJPEG
ƒVideo streaming: triple streaming,
H.264 stream 1/ H.264 stream 2/ MJPEG stream 3
ƒVideo resolution: 1080P (1920x1080), SXVGA (1280x960),
720P (1280x720), XGA (1024x768), SVGA (800x600), D1 (720x480),
VGA (640X480), 2CIF (704x240), CIF (352x240)
ƒFrame rate
– 1920 x 1080 @ 30 fps
– 1280 x 960 @ 30 fps
– 1280 x 720 @ 30 fps
– 1024 x 768 @ 30fps
– 800 x 600 @ 30 fps
– 720 x 480 @ 30 fps
– 640 x 480 @ 30 fps
– 704 x 240 @ 30 fps
– 352 x 240 @ 30 fps
ƒBit rate: H.264: 500K~8Mbps
Network
ƒInterface: 10/100 Mbps Ethernet, RJ-45
ƒSupported protocols: IPv4, HTTP, SSL, TCP/IP, UDP, UPnP, RTSP, RTP, SMTP,
NTP, DHCP, FTP, IPv6, HTTPS, Zero Congure
ƒONVIF: Prole S, Q
ƒUsers: Live viewing/Administrator for up to 10 clients
ƒBrowsers: IE
Event Management
ƒEvent trigger: Motion detection 5x5 areas/ Tampering detection
ƒNotications: Send message via email or FTP, record to JPG/ AVI
General
ƒPower supply: PoE 802.3af
ƒWeight: 900g
ƒDimension: 96.58mm x 91.78mm x 300.11mm
ƒOperating Temp.: -20°C ~ 50°C
ƒHumidity: 10% ~ 90%RH (no condensation)
ƒCertication: CE/FCC class A
ƒWeatherproof: IP66
ƒApplication: SDK available for application development

3
Chapter 1: Product Introduction
Hardware Installation
Description: The mounting surface for the bracket installation needs to
withstand at least three times the total weight of the bracket and IP camera.
1. Position the placement sticker at the desired installation location (wall or
ceiling).
2. Drill the three mounting holes on the sticker.
3. Use the expansion bolts included in the accessory bag and insert the bolts
into the drilled holes.
No. Name
1 IP camera
2 Mounting screws
3 Expansion bolts
4 Placement sticker
5 Wall or ceiling surface
4. Align the IP camera to the expansion bolts then secure the camera to the
surface with the screws included in the accessory bag.
5. Connect the external cables to the IP camera according to the usage
requirements.
6. To adjust the camera angle to the desired eld of view, loosen the hex
screws on the camera using a hex wrench. (Please refer to the gure below).
7. After adjusting the camera angle, screw the hex screws back into place to
secure the camera.

4
Chapter 2: Camera Conguration
Accessing the Camera’s Conguration Menu
(Graphical User Interface)
The camera’s default IP address is 192.168.0.250, make sure the IP address of
the computer accessing the camera is on the same network subnet before
proceeding.
You can access the camera via a web browser or CAM-FINDER software. The
following information outlines the instructions for each method.
Installing CAM-FINDER Software
1. Download the CAM-Finder installer le.
2. Unzip the CAM-FINDER le to a location on the hard drive.
3. Once unzipped, double click on the setup le to start the installation
program.
4. Click the Next button on the welcome screen to continue.
Next button
Note: If CAM-FINDER is already installed, you can skip this section and continue
to the next section CAM-FINDER on page 7.

5
Chapter 2: Camera Conguration
5. Conrm the directory that the program will be installed on. To specify a
dierent folder, please click on the Browse button and locate the desired
installation folder.
Next button
Browse button
Disk Cost
button
User accounts
8. Click on the Next button to continue.
6. To check the available drives you can install the software to and their
available and required disk space, please click on the Disk Cost button.
7. Specify which user accounts on the computer can access the program, the
options are Everyone and Just me.

6
Chapter 2: Camera Conguration
Next button
9. Click on the Next button to begin installation.
Close button
10. Once the installation process is complete, click on the Close button to
nish. A shortcut will be created on the desktop.

7
Chapter 2: Camera Conguration
CAM-FINDER
1. Locate and open the CAM-FINDER software shortcut on the desktop.
Camera
List
4. You can access the menu by double clicking the camera’s IP address under
Camera List. The IE will be opened automatically.
2. When the program is launched, it will begin searching the network for IP
cameras automatically (the search will last for up to 90 seconds). You can
also manually search cameras by clicking on the Search button.
3. Once the camera is discovered, it will show the following information:
ƒModel Name
ƒIP address
ƒMAC address
ƒUUID
ƒSerial Number
ƒVersion

8
Chapter 2: Camera Conguration
Admin
1234
1. Locate and open one of the web browsers (such as Internet Explorer,
Chrome, Firefox, etc.) shortcut on the desktop.
2. In the address bar, type 192.168.0.250 (default IP address of the camera)
and then press the Enter button.
3. You will be prompted with a pop-up window asking for login information,
type in “Admin” (default login name) and
“1234” (default password)
4. Once logged in, you will see the main screen.
Web Browser

9
Chapter 2: Camera Conguration
SetupViewerSnapshot Start/StopLive view Snapshot
Takes a image snapshot from the camera, you will be prompted to store the
image le onto the computer’s hard drive.
Start/Stop
Press to stop the live video, press again to restart.
Viewer
Views the live video of the camera.
Setup
Options for conguring the IP camera.

10
Chapter 2: Camera Conguration
Conguring the Camera’s Setting
1. To congure the camera’s setting, click on the Setup button on the main
screen to enter the conguration menu.
Setup

11
Chapter 2: Camera Conguration
Browsing Through the Conguration Menu
The layout of the conguration menu is split into two sections. All the camera
settings are located on the left hand side of the interface, clicking on them will
open their corresponding sub-menu on the right.
The following are the camera settings available on the left hand side:
ƒVideo
– Video Stream
– Exposure
– White Balance
– Basic Settings
–ROI
– Privacy Mask
ƒNetwork
– Basic
– FTP
–SMTP
– NTP
–RTSP
ƒSystem
– Date & Time
– Maintenance
– User Management
–Log
ƒEvents
– Motion Detection
– Tampering Detection
ƒRecording
– Video File
– FTP

12
Chapter 2: Camera Conguration
Basic Settings
This section adjusts the image settings of the camera.
Camera Name
Specify a name for the camera. The name will be displayed in the upper left
corner on the live video stream of the camera.
Primary Stream 1
Codec
Congures the format of the video stream, the options are H.264 and MJPEG.
Resolution
Congures the resolution of the video stream. The available options are
1920x1080(1080P), 1280x960(SXVGA), 1280x720(720P), 1024x768(XGA),
800x600(SVGA) and 720x480(D1).
Bit Rate
Congures the bit rate manually, the range is 500~8000kbps.
Frame Rate
Adjusts the frame rate of the video stream, the range is 1~30FPS if H.264 is
selected as the codec. However, if MJPEG is selected, the range is 1~10FPS.
GOP Length
Congures the GOP length of the stream. The options are 0.5, 1, 2, 3 and 4,
setting “0.5 seconds” will yield the best video quality.
Video - Video Stream

13
Chapter 2: Camera Conguration
Codec
Options to disable or enable stream 2 as H.264. Select OFF to disable stream 2.
Resolution
Congures the resolution of the video stream. The available options
are 1280x720(720P), 720x480(D1), 640x480(VGA), 704x240(2CIF) and
352x240(CIF).
Bit Rate
Congures the bit rate manually, the range is 500~4000kbps.
Frame Rate
Adjusts the frame rate of the video stream, the range is 1~30FPS.
GOP Length
Congures the GOP length of the stream. The options are 0.5, 1, 2, 3 and 4,
setting “0.5 seconds” will yield the best video quality.
Codec
Options to disable or enable stream 3 as MJPEG. Select OFF to disable stream
3.
Resolution
Congures the resolution of the video stream. The available options are
640x480(VGA) and 352x240(CIF).
Quality
Congures the video quality of the stream. The options are High, Normal
and Low.
Frame Rate
Adjusts the frame rate of the video stream, the range is 1~30FPS.
Note:
Please make sure to enable Stream 2 (Codec is ON) and select
resolution at 640x480(VGA), 704x240(2CIF) or 352x240(CIF) in
order to view the image on the NVR which you purchased from
us.
Note:
If you enable streams 1~3 simultaneously, the frame rate
range will be 1~15FPS for each stream.
If stream 1 and stream 2 are set to 720p resolution, stream 3
must be disabled (Codec is OFF).
SecondaryStream(Stream2)
T
hird Stream(Stream3)

14
Chapter 2: Camera Conguration
Mirror
Flips the image horizontally or vertically. If you select Both, the image will be
ipped horizontally then vertically.
Rate Control
Congures the Rate Control mode as VBR (variable bit rate), or CBR
(constant bit rate) for the stream.
Save
Save button to apply the congurations, click on this button once all the
settings are conrmed for the new changes to take eect.
Other manuals for NBR124
1
Table of contents
Other DivioTec Security Camera manuals

DivioTec
DivioTec NDR153P User manual

DivioTec
DivioTec NDR154P User manual

DivioTec
DivioTec NBR126PA User manual

DivioTec
DivioTec NBR123 User manual

DivioTec
DivioTec NBF232P User manual

DivioTec
DivioTec TBR927 User manual

DivioTec
DivioTec TDR751 User manual

DivioTec
DivioTec NBR225P User manual

DivioTec
DivioTec NBR125C User manual

DivioTec
DivioTec TBR722 User manual