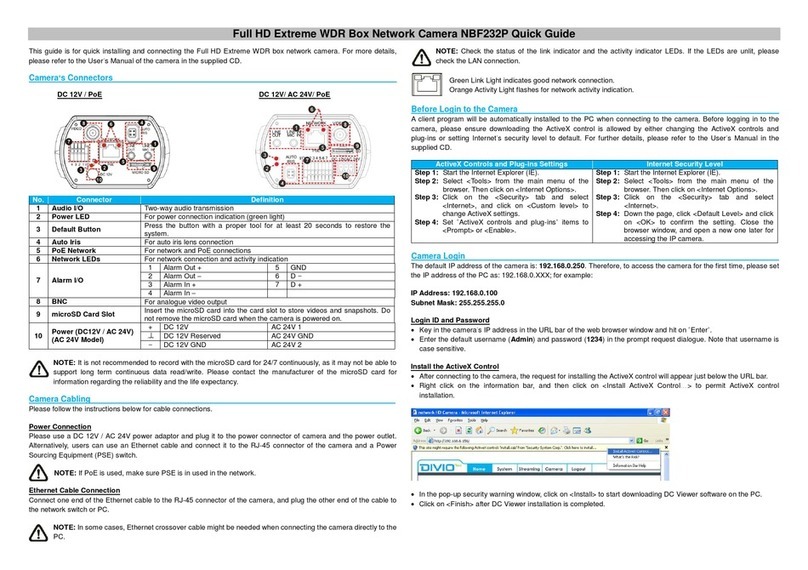
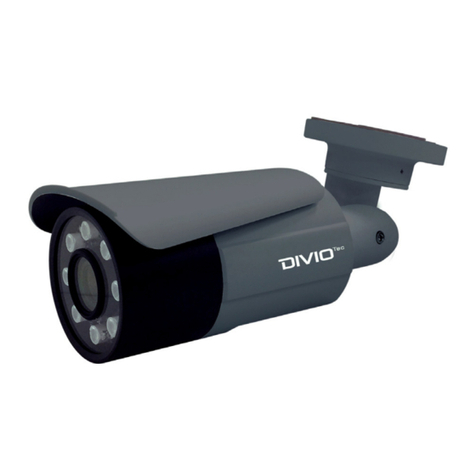
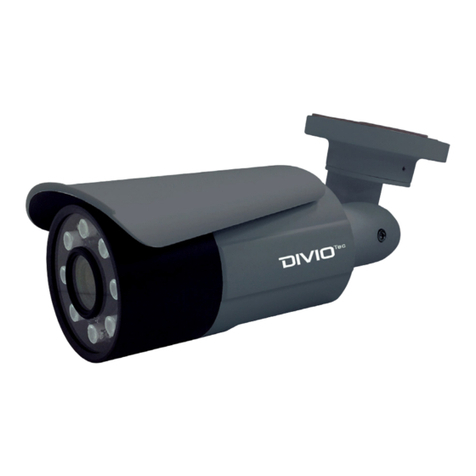
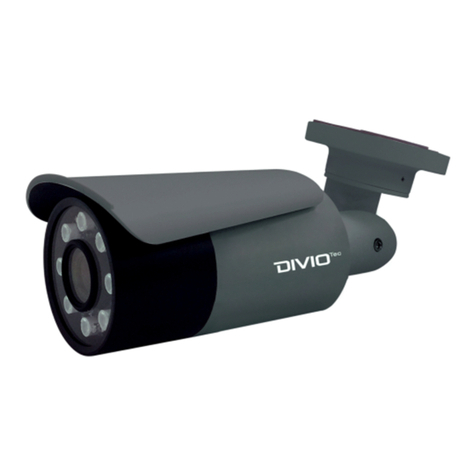
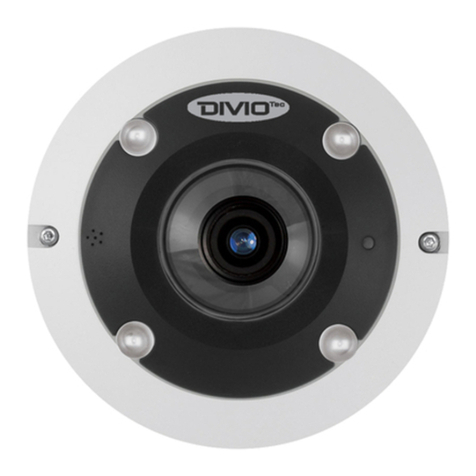
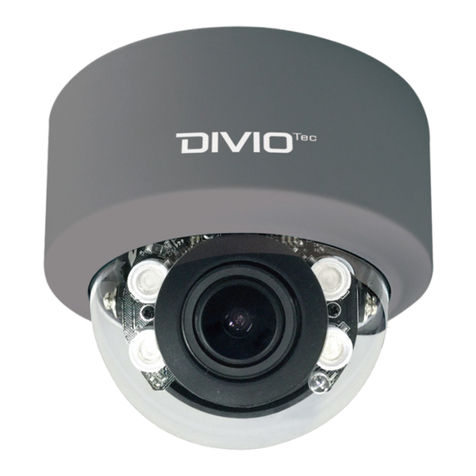
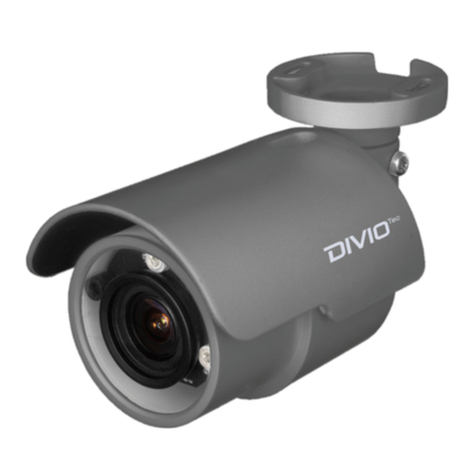
DivioTec TBR922 User manual

Released on 2018.07.02
Note: The manual is subject to change without notice
Transportation Network Camera
TBR922 and TBR923
User Manual

Contents
Chapter 1: Product Introduction 1
Overview ................................................................................................1
DI/O & Function Description....................................................................2
DI/O Pin Definition & Waterproof Connector Description.........................2
Cable Wiring Description ........................................................................3
Cable Outlet Description.........................................................................4
Hardware Installation ..............................................................................4
3-axis Angle Adjustment.........................................................................5
Recommended Installation Guideline For License Plate Capture...............7
License Plate Capture Distance and Vehicle Speed...................................7
Chapter 2: Camera Configuration 8
Accessing the Camera’s Configuration Menu (Graphical User Interface) ..8
Installing CAM-FINDER Software ......................................................8
CAM-FINDER..................................................................................11
Introduction to the CAM-FINDER User Interface .............................12
Button Functions............................................................................12
Web Browser .................................................................................13
Motorized Lens ..............................................................................14
Configuring the Camera’s Setting .........................................................15
Browsing Through the Configuration Menu.......................................16
Video - Video Configuration .................................................................17
Primary Stream 1............................................................................17
Secondary Stream ..........................................................................18
Third Stream ..................................................................................19
Video - Audio Configuration.................................................................20
Audio Settings ...............................................................................20
Video - Digital Zoom.............................................................................21
Configurations...............................................................................21
Image - SmatCatch Settings..................................................................22
Scenario.........................................................................................22
Configurations - Advance Settings .................................................22
Day Night Setting...........................................................................24
Configurations - LPR Mode ............................................................26
Image - Basic Settings ...........................................................................28
Orientation ....................................................................................28
Digital Processing ...........................................................................28
Image - ROI...........................................................................................30
Configurations...............................................................................30
Image - Privacy Zone.............................................................................31
Configurations...............................................................................31
Image - OSD .........................................................................................32
General Settings.............................................................................32
Text Overlay ...................................................................................32
Image-Pixel Counter..............................................................................33
Pixel Counter .................................................................................33
Network - Basic.....................................................................................34
IPv4 Settings ..................................................................................34
System Settings..............................................................................34
IPv6 Settings ..................................................................................34
RTMP Settings................................................................................35
Network - FTP.......................................................................................36
Configurations...............................................................................36

Network - SSL.......................................................................................37
SSL Configurations.........................................................................37
Certificate......................................................................................37
Network - SSH ......................................................................................38
SSH Configurations........................................................................38
Network - 802.1x..................................................................................39
802.1x Configurations ...................................................................39
Network - SNMP...................................................................................40
SNMP Configurations.....................................................................40
Network - Firewall.................................................................................41
Firewall Configurations ..................................................................41
Network - LDAP....................................................................................42
LDAP Configurations......................................................................42
Network - DDNS ...................................................................................43
DDNS Configurations.....................................................................43
Network - RTSP.....................................................................................44
RTSP Configurations.......................................................................44
Multicast (Stream 1 to Stream 3) ....................................................45
Network - GB28181..............................................................................47
GB28181 Configurations ...............................................................47
System - Date/Time...............................................................................48
Date/Time Configurations ..............................................................48
Time Setting ..................................................................................48
Time Zone Setting..........................................................................48
System - Maintenance...........................................................................49
System Information........................................................................49
Firmware Update ...........................................................................49
Backup...........................................................................................50
Restore ..........................................................................................50
Video System .................................................................................50
System - User Management ..................................................................51
Admin Setting................................................................................51
User List.........................................................................................51
User Information............................................................................52
Event - Alarm Handler...........................................................................53
Alarm Handler Configurations........................................................53
Alarm Schedule Settings.................................................................53
Event - Motion Detection......................................................................54
Motion Configurations...................................................................54
Zone1 to Zone5 Setup....................................................................54
Motion Schedule Settings...............................................................55
Event - Sabotage Detection...................................................................56
Sabotage Detection Configurations................................................56
Sabotage Schedule Settings ...........................................................56
Event - Object Detection .......................................................................57
Object Detection Configurations ....................................................57
Object Schedule Settings................................................................60
Event - FTP Upload................................................................................61
FTP Upload Handler Configurations................................................61
Remote Server................................................................................61
Event - SMTP Notification......................................................................62
SMTP Notification Handler Configurations......................................62
Trigger Event..................................................................................62
SMTP Server...................................................................................63
Recipient List..................................................................................63
Event - Network Storage.......................................................................64
Network Storage Configurations....................................................64
Trigger Event..................................................................................64
Recipient Setup..............................................................................64
Login Certificate.............................................................................65
Mount and Remove Network Storage ...........................................65
Event - Relay Handler............................................................................66
Relay Handler Configurations.........................................................66
Event - SD Record Handler ....................................................................67
SD Record Handler Configurations .................................................67
SD Information...............................................................................67
Alarm/Motion/Sabotage/Object Detection Settings .........................68
Record Type Selected: Snapshot ....................................................68
Alarm/Motion/Sabotage/Object Detection Settings .........................69
Record Type Selected: Video ..........................................................69

1
Chapter 1: Product Introduction
Chapter 1: produCt IntroduCtIon
Overview

2
Chapter 1: Product Introduction
DI/O & Function Description DI/O Pin Definition & Waterproof
Connector Description
DI/O
Pin Description
1 ALM_IN (+)
2 ALM_IN (-)
3 ALM_out_NC
4 ALM_out_COM
5 ALM_out_NO
Power
Pin Description
1 AC24V/DC12V (+)
2 AC24V/DC12V (-)
DI/O POWER
54321 2 1
Gasket
Tightening
collar Waterproof
connector
Seal nut
Strain relief
Main body
DI/O POWER
54321 2 1
Gasket
Tightening
collar Waterproof
connector
Seal nut
Strain relief
Main body
SB Module
MB Module
8 PCS LED IR
Illuminator
Board Plate
Dehumidier
Packet
Line-out Line-in
Ethernet / PoE
Micro SD
DI/DO
Reset
Default
DC 12V
/
AC 24V
Heater module
55O Rotate
180O Rotate
360O Rotate

3
Chapter 1: Product Introduction
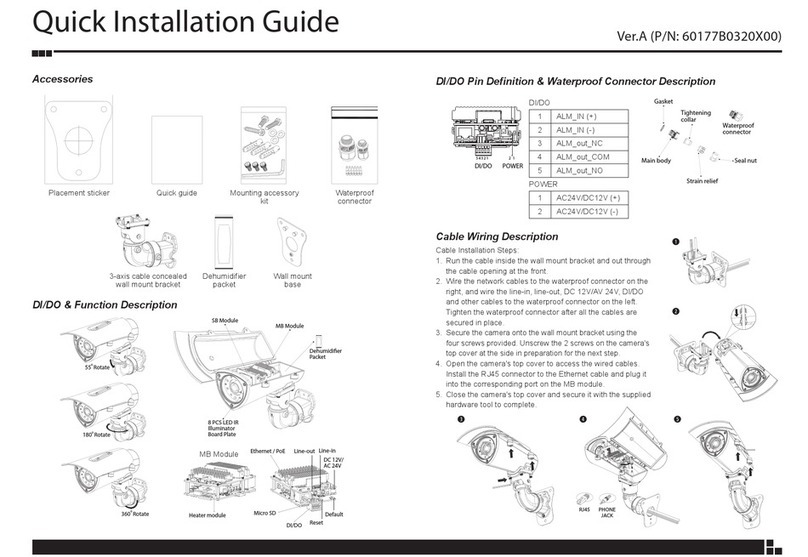
Cable Wiring Description
Cable Installation Steps:
1. Run the cable inside the wall mount bracket and out through the cable
opening at the front.
2. Wire the network cables to the waterproof connector on the right, and
wire the line-in, line-out, DC 12V/AV 24V, DI/DO and other cables to
the waterproof connector on the left. Tighten the waterproof connector
after all the cables are secured in place.
3. Secure the camera onto the wall mount bracket using the four screws
provided. Unscrew the 2 screws on the camera’s top cover at the side in
preparation for the next step.
4. Open the camera’s top cover to access the wired cables. Install the RJ45
connector to the Ethernet cable and plug it into the corresponding port
on the MB module.
5. Close the camera’s top cover and secure it with the supplied hardware
tool to complete.
qw
e r
PHONE
JACK
RJ45
t

4
Chapter 1: Product Introduction
Cable Outlet Description
1. The camera features two waterproof connectors, the right one in the
diagram is for PoE connection, while the left one is for line-in, line-out,
DC 12V/AC 24V and DI/O connections.
2. The left one features four wire holes. Please cover unused holes with
sealing plugs to prevent water from entering.
3. Applicable cable diameter:
* Ø 1.8~2.5mm (Left)
* Ø 4.7~6.9mm (Right)
Line-out
Line-in
DC12V/AC24V
DI/O
Ethernet/
PoE
Hardware Installation
1. Position the placement sticker at the desired installation location and use
a driller to drill the holes on the sticker.
2. Insert three screw anchors into the holes then place the wall mount base
on top of them with the mounting holes aligned.
3. Wire the required cables through the cable opening on the front of the
wall mount bracket. Then, attach and secure the wall mount bracket to
the wall mount plate with two M5 screws. Next, install the waterproof
connectors onto the cables on the front of the wall mount bracket.

5
Chapter 1: Product Introduction
Dehumidier
packet
4. Secure the camera to the wall mount bracket with the four screws and
hex wrench. Open the camera’s cover and connect the cables to their
corresponding ports on the MB module. Then, glue the dehumidifier
packet onto the metal bracket using the adhesive sticker on its back,
as depicted in the diagram below. Quickly close the camera’s cover and
ensure the clip is locked in position to prevent the dehumidifier packet
from losing its effectiveness.
5. Secure the top cover to finish the installation.
3-axis Angle Adjustment
1. The vertical tilt angle of the camera can be adjusted up or down within
an angle of 55°. Loosen the left and right screws depicted below to
adjust the vertical tilt angle and then tighten the screws after finishing
the adjustment.
55° Rotate
2. The horizontal tilt angle of the camera can be adjusted left or right within
an angle of 180°. Loosen the left and right screws depicted below to
adjust the horizontal tilt angle and then tighten the screws after finishing
the adjustment.
180° Rotate

6
Chapter 1: Product Introduction
3. The rotatable axis can be rotated in 360°. Loosen the left and right screws
depicted below to adjust the 360-degree position and then tighten the
screws after finishing the adjustment.
360° Rotate

7
Chapter 1: Product Introduction
Recommended Installation Guideline For
License Plate Capture
The ANPR/LPR camera series are specially designed to capture high-quality
images of vehicle license plates. They are able to overcome varied light
conditions and capture license plates clearly without overexposure. They
are ideal for monitoring parking lots and public areas (city surveillance),
and for controlling vehicle access in vehicle identification and license plate
recognition applications.
The following recommended installation guideline would be helpful to
attain an optimized image result.
Angle
The maximum mounting angle of an ANPR/LPR camera to a vehicle is 30
degrees for both horizontal and vertical views.
Vertical angle
Capture distance
Capture distance
Horizontal angle
≤30°
≤30°
Figure 1. Recommended Vertical and Horizontal Mounting Angles
License Plate Capture Distance and
Vehicle Speed
Each model in the ANPR/LPR camera series has a recommended license
plate capture distance and the relative vehicle speed as shown in the table
below.
Model No. License Plate
Capture Distance Vehicle Speed
TBR922 5m-15m (16ft ~ 49ft) 200km/h (124mph) max.
TBR923 15m-50m (49ft ~ 164ft) 200km/h.(124mph) max.
Note:
If the actual installation distance is over 20m (66ft), please
consider to add an external IR illuminator as an auxiliary tool
to enhance IR light.

8
Chapter 2: Camera Configuration
Chapter 2: Camera ConfIguratIon
Accessing the Camera’s Configuration
Menu (Graphical User Interface)
The camera’s default IP address is 192.168.0.250, make sure the IP address
of the computer accessing the camera is on the same network subnet
before proceeding.
You can access the camera via a web browser or CAM-FINDER software.
The following information outlines the instructions for each method.
Installing CAM-FINDER Software
1. Download the CAM-FINDER installer file. Please access: http://www.
diviotec.com/index.php?tid=1603&pid=31&cid=50
2. Unzip the CAM-FINDER file to a location on the hard drive.
3. Once unzipped, double click on the setup file to start the installation
program.
4. Click the Next button on the welcome screen to continue.
Next button
Note: If CAM-FINDER is already installed, you can skip this section and
continue to the next section CAM-FINDER on page 12.

9
Chapter 2: Camera Configuration
5. Confirm the directory that the program will be installed on. To specify
a different folder, please click on the Browse button and locate the
desired installation folder.
Next button
Browse button
Disk Cost
button
User accounts
8. Click on the Next button to continue.
6. To check the available drives you can install the software to and their
available and required disk space, please click on the Disk Cost button.
7. Specify which user accounts on the computer can access the program,
the options are Everyone and Just me.

10
Chapter 2: Camera Configuration
Next button
9. Click on the Next button to begin installation.
Close button
10. Once the installation process is complete, click on the Close button to
finish. A shortcut will be created on the desktop.

11
Chapter 2: Camera Configuration
CAM-FINDER
1. Locate and open the CAM-FINDER software shortcut on the desktop.
Camera
List
4. You can access the menu by double clicking the camera’s IP address
under Camera List. The IE will be opened automatically.
2. When the program is launched, it will begin searching the network for
IP cameras automatically (the search will last for up to 90 seconds). You
can also manually search cameras by clicking on the Search button.
3. Once the camera is discovered, it will show the following information:
▪Model Name
▪IP address
▪MAC address
▪UUID
▪Serial Number
▪Version

12
Chapter 2: Camera Configuration
Introduction to the CAM-FINDER User Interface Button Functions
Preview
Camera List
Control Bar
Information
Device Mark
UI Block Description
Control Bar Contains [Search], [Assign IP], [Home Page] and [Firmware
Upgrade] buttons.
Preview Displays the selected camera image.
Information Displays the selected camera information such as Model Name,
IP, MAC, UUID, SN and Version.
Camera List
Lists the cameras discovered by the search function. Each camera
shows the “IP”, “Status”, “Model Name” and “Device
Mark”. Users can also click the column headers to sort the list.
Device Mark Asterisk sign indicates that this device has “Preview”, “Assign
IP” and “Firmware Upgrade” functions.
Function Button Description
Search Discovers IP cameras available on the network.
Assign IP Changes the IP address of the camera.
Home Page Opens the web browser to the home page of
the camera.
Firmware
Upgrade Upgrades the camera firmware.
Search
When the [Search] button is clicked, the application will start searching
cameras on the network. To stop searching, click the [Done] button.
Assign IP
When the [Assign IP] button is clicked, a pop-up window “IP Address
Configuration” will appear, providing options to use DHCP or static IP address.
Home Page
To view the home page of a particular camera, double click on the camera in
the list, the web browser will open and redirect to the home page. To access
the home page of two or more cameras, tick the box of the cameras you
wish to view and click on the [Home Page] button.
Firmware Upgrade
To update the camera firmware, tick the box of the cameras you wish to
update and click on the [Firmware Upgrade] button. Follow the on-screen
prompts to complete the upgrade. If the camera does not support firmware
upgrade, a pop-up window will be displayed.
NOTE: Different IP camera models use different firmwares, please do NOT
update the firmware of different models using the same firmware.

13
Chapter 2: Camera Configuration
Admin
1234
1. Locate and open one of the web browsers (such as Internet Explorer,
Chrome, Firefox, etc.) shortcut on the desktop.
2. In the address bar, type 192.168.0.250 (default IP address of the camera)
and then press the Enter button.
3. You will be prompted with a pop-up window asking for login
information, type in “Admin” (default login name) and
“1234” (default password)
4. Once logged in, you will see the main screen.
Web Browser
5. If no video is displayed on the screen, please make sure you have VLC
Media Player installed on the computer. If not, please download and
install it first, then you can see the video from the web browser.
Note: The recommended browsers to use are Internet Explorer,
Safari, Firefox and Chrome. However, Chrome only supports
the viewing of the web Setup menu; Live View
of the video stream is not supported.

14
Chapter 2: Camera Configuration
Setup
ViewerSnapshot Start/StopLive view Motorized Lens
Zoom Control
Buttons used to control zooming function.
Button Description
Returns the camera back to default position.
Adjusts the camera to zoom in or out.
Zoom Position
Adjusts the camera’s zoom level. Move the zoom slider bar left or right to
adjust the zoom level. The value of the zoom position will be reflected in
the text field. However, the zoom position cannot be manually entered in
the text field.
Focus Control
Adjusts the camera’s focus. To adjust the focus automatically, press the Auto
Focus button. To set the focus manually, press the to focus far objects,
and to focus near objects. The focus can also be adjusted through the
slider bar.
To fine tune the focus manually, drag the slider bar. For a finer level of
adjustment, click on the directional arrows as many times as needed,
till the image on the screen renders the needed result.
Zoom
Control
Focus
Control
Snapshot
Takes an image snapshot from the camera, you will be prompted to store
the image file onto the computer’s hard drive.
Start/Stop
Press to stop the live video, press again to restart.
Viewer
Views the live video of the camera.
Setup
Options for configuring the IP camera.

15
Chapter 2: Camera Configuration
Configuring the Camera’s Setting
1. To configure the camera’s setting, click on the Setup button on the
main screen to enter the configuration menu.
Setup

16
Chapter 2: Camera Configuration
Browsing Through the Configuration Menu
The layout of the configuration menu is split into two sections. All the
camera settings are located on the left hand side of the interface, clicking
on them will open their corresponding sub-menu on the right. The following are the camera settings available on the left hand side:
▪Video
– Video Configuration
– Audio Configuration
– Digital zoom
▪Image
– SmartCatch Settings
– Basic Settings
– ROI
– Privacy Zone
– OSD
▪Network
– Basic
– FTP
– SSL
– SSH
– 802.1x
– SNMP
– Firewall
– LDAP
– DDNS
– RTSP
– GB28181
▪System
– Date/Time
– Maintenance
– User Management
▪Event
– Alarm Handler
– Motion Detection
– Tampering Alarm
– Object Detection
– FTP Upload
– SMTP Notification
– Network Storage
– Relay Handler
– SD Record Handler
This manual suits for next models
5
Table of contents
Other DivioTec Security Camera manuals

DivioTec
DivioTec NBF232P User manual

DivioTec
DivioTec TBR927 User manual

DivioTec
DivioTec TBR925 User manual

DivioTec
DivioTec TBR722 User manual

DivioTec
DivioTec NBR125C User manual

DivioTec
DivioTec TBR721 User manual

DivioTec
DivioTec NDR154P User manual

DivioTec
DivioTec NDR153P User manual

DivioTec
DivioTec NBR126PA User manual

DivioTec
DivioTec NBR123 User manual
Popular Security Camera manuals by other brands

Canon
Canon VB-M50B installation guide

Bosch
Bosch LTC 0465 Series Installation and operation manual

Dahua Technology
Dahua Technology A83AR6 quick start guide

Teledelta
Teledelta HD1100 Quick Start And Operation Guide

TP-Link
TP-Link TL-SC3171G Quick installation guide

Perenio
Perenio PEIFC01 quick start guide