You will need a pencil, tape measure, drill, screwdriver, pliers, and appropriate fasteners.
ZEBRA
INSTALLATION INSTRUCTIONS
2
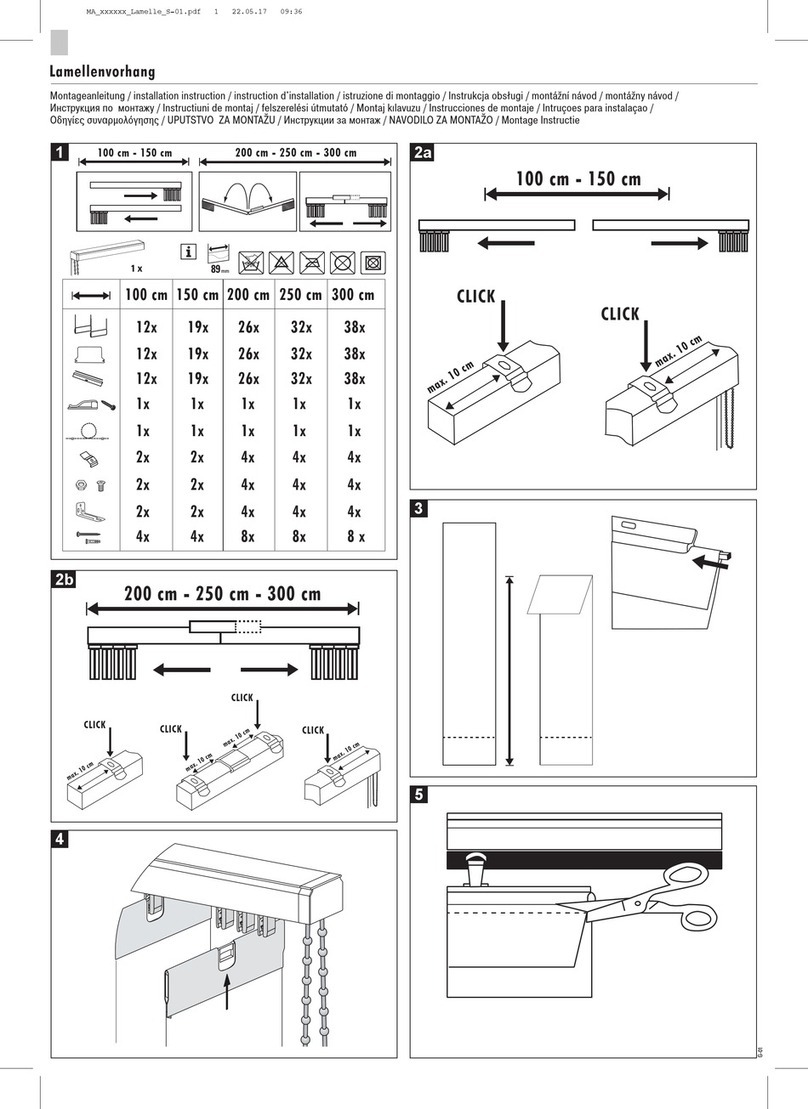
Step 1: MOUNTING HARDWARE INCLUDED
PLEASE FOLLOW THESE INSTALLATION INSTRUCTIONS
Step 2: mount the brackets
INSIDE MOUNTING
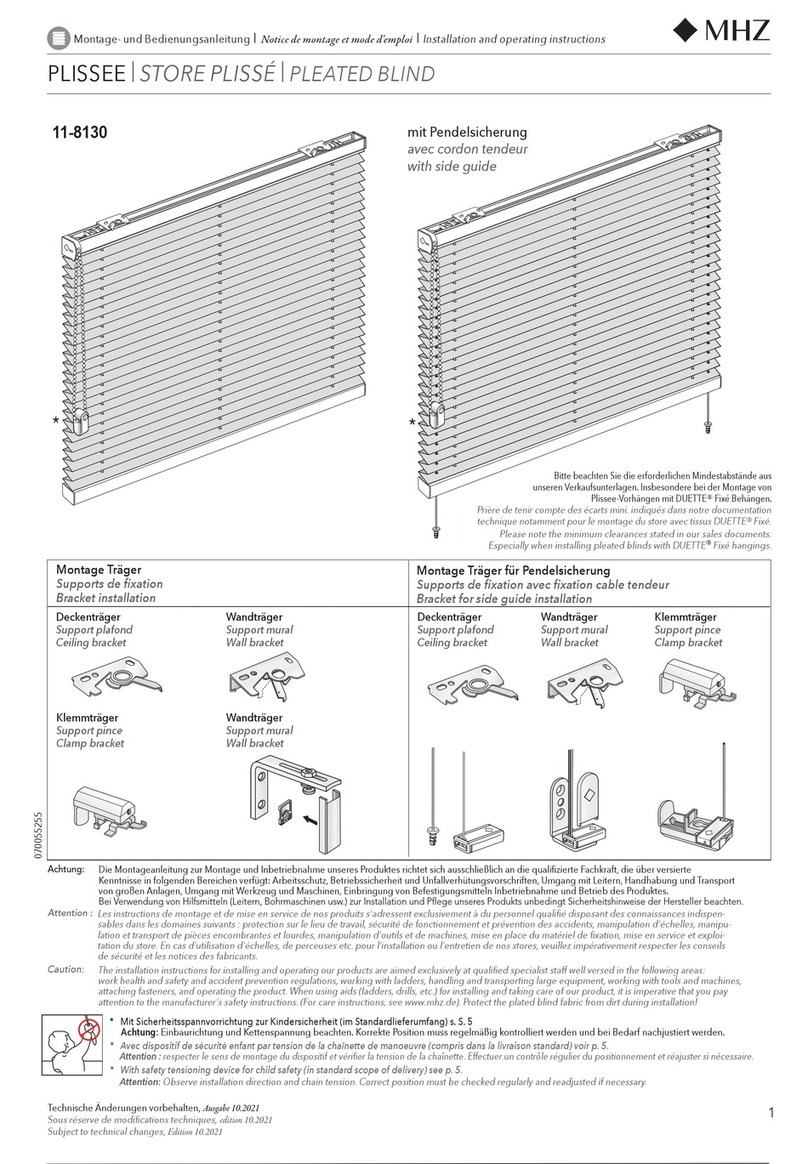
One bracket should be positioned about 2” to 6” from each end of the head rail. For wider shades that
require three or four brackets, these should be spaced evenly between the two outermost brackets.
Attach each bracket to the inner top of the window opening using the screws provided. Pre-drill the
screw holes using a 5/64” drill bit. e extension brackets are not used for inside mounts.
For ush inside mounts, attach the brackets to the head rail rst (see drawings and attachment
instructions below), and then position the shade in the window opening as desired. en make pencil
marks at the back of each bracket. Remove the brackets by pressing on the plastic tab. Align the
brackets with the pencil marks, and then screw them in place as described above.
PART QUANTITY
Mounting Brackets 2 for shades up to 45” wide
3 for shades up to 72” wide
Extension Brackets (for outside mounts) 2 for shades up to 45” wide
3 for shades up to 72” wide
Screws 4 for shades up to 45” wide
6 for shades up to 72” wide
Wall Anchors 4 for shades up to 45” wide
6 for shades up to 72” wide
OUTSIDE MOUNTING
Attach the Extension Brackets to the wall or window framing. One bracket should be positioned about
2” to 6” from each end of the head rail. For wider shades that require three or four brackets, these
should be spaced evenly between the two outermost brackets. Pre-drill the screw holes using a 5/64”
drill bit. e brackets must be level – use a Spirit Level if necessary to assure proper alignment.
en attach a Mounting Bracket to each Extension Bracket using the nut and bolt pre-attached to each
Extension Bracket.

