GERMAN ITALIAN FRENCH
1
2
3a
3b
4
5a
5b
5c
6a
6b
7a
7b
VOR GEBRAUCH DES KORSETTS BITTE DIE GEBRAUCHSANWEISUNG
SORGFÄLTIG DURCHLESEN. DIE EINWANDFREIE FUNKTION DES KORSETTS
IST NUR BEI RICHTIGEM ANLEGEN GEWÄHRLEISTET.
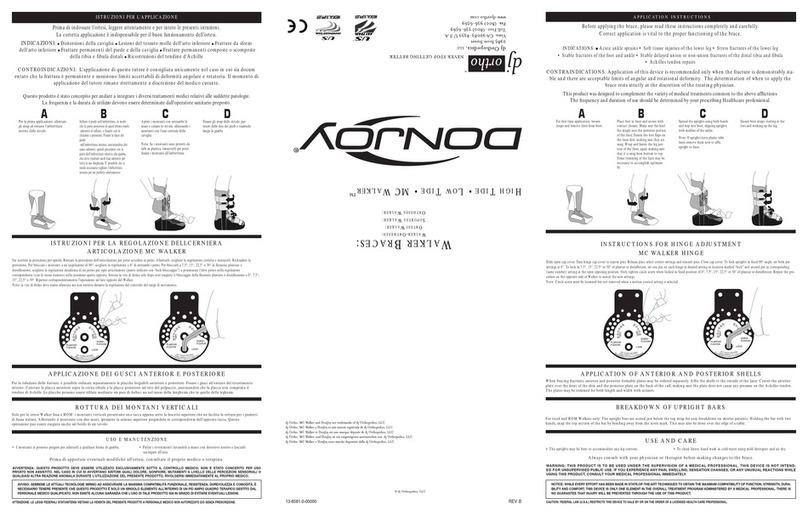
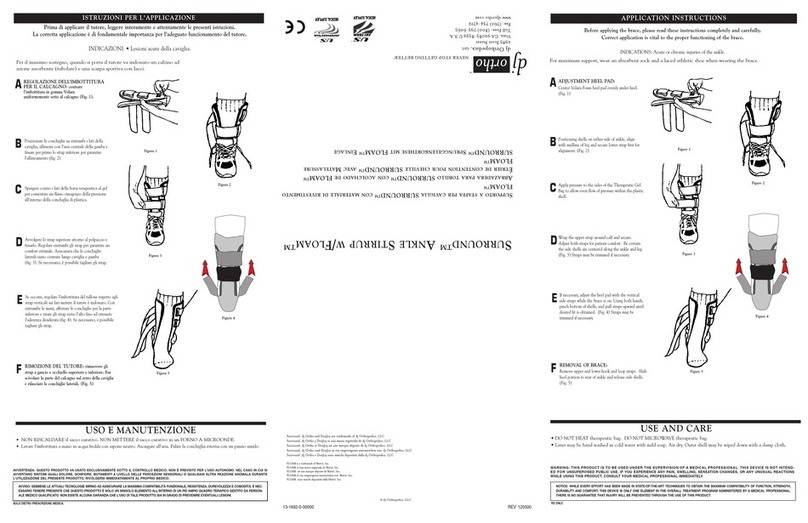
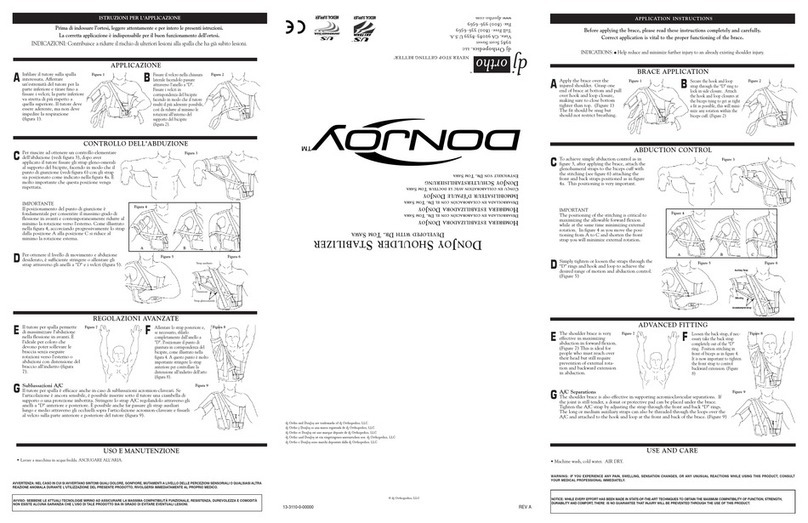
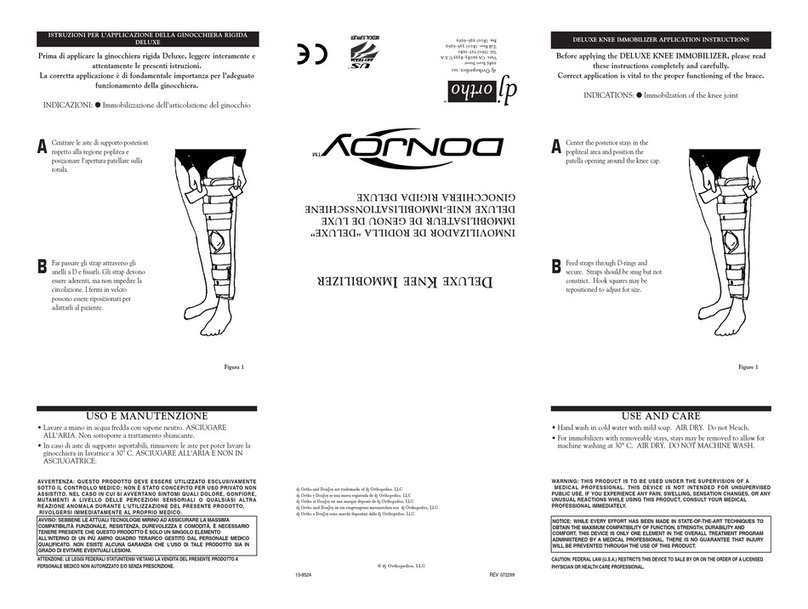
ANWENDUNG/INDIKATIONEN: Akute und chronische Kreuzschmerzen, postoperative
Stützung, bewegungsbedingte Kreuzschmerzen und Bandscheibenvorfall.
KONTRAINDIKATIONEN: Schwangerschaft sowie Kreislauf-, Lungen-, Herz-Kreislauf- oder
Skeletterkrankungen, bei denen die Anwendung von Kompression bzw. Druck Komplikationen
hervorrufen könnte.
WARNHINWEISE UND VORSICHTSMASSNAHMEN: Sollten beim Gebrauch Schmerzen,
Schwellungen, Empfindungsänderungen oder ungewöhnliche Reaktionen auftreten, ist
der behandelnde Arzt zu konsultieren. Bei Anzeichen von Verschleiß oder Schäden an der
Schnürung ist der Gebrauch des Korsetts einzustellen.
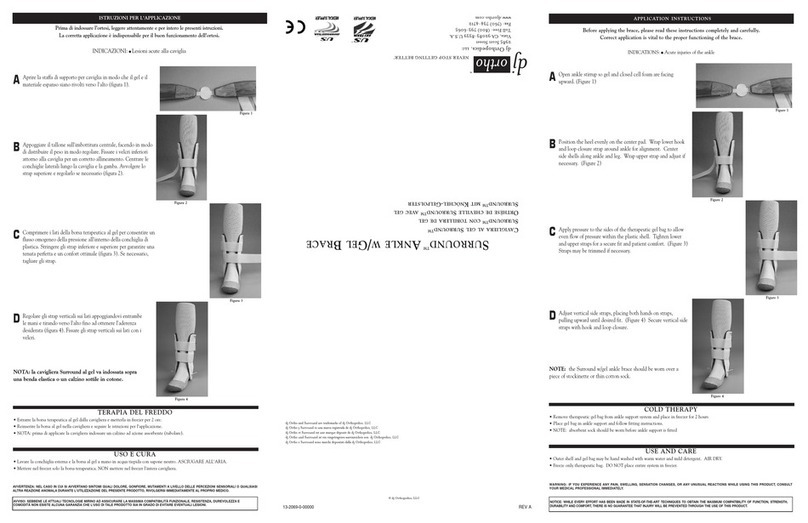
ANLEGEN DES KORSETTS:
1) Platzieren Sie den Ziehgriff so nahe wie möglich an den Kompressionsteilen und fixieren
Sie ihn. Lockern Sie anschließend die Schnürung vollständig. (Abb. 1)
2) Befestigen Sie mithilfe des Klettverschlusses das Vorderteil an der Innenseite des Korsetts.
Für einen korrekten Sitz sollte das Kompressionsteil etwa 13 cm (5“) über das Ende des
Korsetts hinausragen. (Abb. 2)
3) Legen Sie das Korsett unter Beachtung des daran befestigten Etiketts um die Taille und
befestigen Sie es. Der Ziehgriff muss sich auf der linken Seite befinden. Das gepolsterte
Futter muss am Körper anliegen. (Abb. 3a und 3b)
4) Das Korsett muss symmetrisch um die Taille angelegt werden, mit der Wirbelsäule in der
Mitte der beiden Seitenteile, damit es richtig sitzt und ordnungsgemäße Kompression
bietet. (Abb. 4)
5) Um Druck anzuwenden, ziehen Sie den Ziehgriff nach rechts. Wenn der gewünschte
Kompressionsgrad erreicht ist, befestigen Sie den Ziehgriff am Kontaktstreifen an der
Seite. (Abb. 5a, Abb. 5b und Abb. 5c)
6) Befestigen des Korsetts am starren Rahmen (Stuhllehnenstütze)
A. Platzieren Sie den Ziehgriff so nahe wie möglich an den Kompressionsteilen und fixieren
Sie ihn. Lockern Sie anschließend die Schnürung vollständig. (Abb. 1)
B. Öffnen Sie die Gurte an den Seiten des starren Rahmens. Legen Sie das Korsett um
den starren Rahmen und richten Sie es mittig aus. Fixieren Sie das Korsett, indem Sie die
Gurte am starren Rahmen festziehen. (Abb. 6a)
C. Legen Sie das Korsett mit Rahmen um die Taille und wiederholen Sie die oben bes-
chriebenen Schritte 3 und 4. (Abb. 6b)
7) Anbringen der Lordose-Schaumstoffeinsätze
Schieben Sie den jeweiligen Einsatz (7°, 10° bzw. 12°) in die elastischen Taschen an der
Innenseite der Seitenteile. Das Korsett so einstellen, dass es bequem sitzt. (Abb. 7a und
7b)
HINWEISE ZUR REINIGUNG: In einer milden, kalten Seifenlauge von Hand waschen.
An der Luft trocknen lassen. Hinweis: Seifenrückstände können Hautreizungen oder
Materialverschleiß verursachen.
GEWÄHRLEISTUNG: dj Orthopedics, LLC übernimmt die Reparatur oder den Ersatz des
Produkts, eines Teils des Produkts und des entsprechenden Zubehörs bis zu sechs Monate ab
Kaufdatum, wenn ein Material- oder Herstellungsfehler vorliegt.
Zum Patent angemeldet.
Das Produkt ist nur für einen Patienten vorgesehen.
HINWEIS: OBWOHL ALLE ANSTRENGUNGEN UNTERNOMMEN WURDEN, UNTER EINSATZ MODERNSTER
VERFAHREN MAXIMALE KOMPATIBILITÄT VON FUNKTION, FESTIGKEIT, HALTBARKEIT UND OPTIMALEM
SITZ ZU ERZIELEN, KANN DIESE VORRICHTUNG NUR EIN TEIL EINER GGF. ERFORDERLICHEN ÄRZTLICHEN
GESAMTBEHANDLUNG SEIN. ES KANN NICHT GEWÄHRLEISTET WERDEN, DASS DURCH DIE VERWENDUNG
DIESES PRODUKTS VERLETZUNGEN VERMIEDEN WERDEN.
PRIMA DELL’USO, LEGGERE INTERAMENTE E ATTENTAMENTE QUESTE
ISTRUZIONI. LA CORRETTA APPLICAZIONE È DI FONDAMENTALE IMPORTANZA
PER UN FUNZIONAMENTO CORRETTO.
USO PREVISTO/INDICAZIONI: dolore lombare acuto e cronico, supporto post-operatorio,
dolore lombare subordinato ad attività fisica, ed ernia al disco.
CONTROINDICAZIONI: gravidanza e condizioni circolatorie, polmonari, cardiovascolari o sche-
letriche che potrebbero peggiorare a causa di compressione e/o pressione.
AVVERTENZE E PRECAUZIONI: nel caso in cui si avvertano sintomi quali dolore, gonfiore,
mutamenti a livello della sensibilità o qualsiasi altra reazione anomala durante l’utilizzo del
prodotto, rivolgersi immediatamente al medico. Interrompere l’uso del dispositivo se si nota
che il cordoncino è logorato o deteriorato.
INFORMAZIONI PER L’APPLICAZIONE
1) Posizionare e fissare l’anello di trazione il più vicino possibile ai pannelli compressivi ed
estendere completamente il cordoncino(fig. 1).
2) Fissare il pannello anteriore al tutore facendo combaciare tra loro le fascette del sistema
di chiusura a ganci e anelli presenti sul pannello e all’interno del tutore. Per poter essere
indossato correttamente, il pannello deve estendersi di 13 cm (5”) oltre la fine del tutore
(fig. 2).
3) Facendo riferimento all’apposita etichetta indicante il corretto orientamento del tutore,
posizionare il tutore attorno alla vita e fissarlo. L’anello di trazione si trova ora sul lato
sinistro. L’imbottitura si trova ora contro il corpo (fig. 3a e fig. 3b).
4) Per indossare correttamente il tutore e garantire l’adeguata compressione, porre due pan-
nelli laterali ai lati della colonna vertebrale e posizionarli simmetricamente sulla vita (fig.
4).
5) Per applicare la compressione, afferrare l’anello di trazione e tirarlo verso destra. Dopo aver
ottenuto il livello di compressione desiderato, fissare l’anello di trazione alla fascetta per
chiusura a pressione sul lato del pannello (fig. 5a, fig. 5b e fig. 5c).
6) Fissaggio del tutore al telaio rigido (telaio dorsale)
A. Posizionare e fissare l’anello di trazione il più vicino possibile ai pannelli compressivi ed
estendere completamente il cordoncino (fig. 1).
B. Aprire le fascette ai lati del telaio rigido. Collocare il tutore attorno al telaio rigido
facendo attenzione a centrarlo su di esso. Chiudere le fascette sul telaio rigido per fissare
il tutore (fig. 6a).
C. Applicare la combinazione tutore/telaio attorno alla vita e ripetere i precedenti punti 3
e 4 (fig. 6b).
7) Uso degli inserti in materiale espanso per il ripristino della lordosi
Infilare gli inserti corretti (da 7, 10 o 12 gradi) nelle tasche in elastico situate all’interno dei
pannelli laterali. Regolarli per garantire il massimo comfort (fig. 7a e fig. 7b).
ISTRUZIONI PER LA PULIZIA: lavare a mano in acqua fredda con sapone neutro.
Asciugare all’aria. Nota: se non risciacquati perfettamente, i residui di sapone possono provo-
care irritazioni cutanee e danneggiare il materiale.
GARANZIA: dj Orthopedics, LLC si impegna a riparare o sostituire il prodotto e i relativi acces-
sori, per intero o in parte, in caso di eventuali difetti di materiali o di lavorazione per un periodo
di sei mesi dalla data di acquisto.
Brevetto in corso di registrazione.
Per esclusivo uso su un singolo paziente.
AVVISO: SEBBENE LE ATTUALI TECNOLOGIE MIRINO AD ASSICURARE LA MASSIMA COMPATIBILITÀ
FUNZIONALE, RESISTENZA, DUREVOLEZZA E COMODITÀ, È NECESSARIO TENERE PRESENTE CHE QUESTO
PRODOTTO È SOLO UN SINGOLO ELEMENTO ALL’INTERNO DI UN PIÙ AMPIO QUADRO TERAPICO GESTITO
DAL PERSONALE MEDICO QUALIFICATO. NON ESISTE QUINDI ALCUNA GARANZIA CHE IL SUO USO SIA IN
GRADO DI EVITARE EVENTUALI LESIONI.
LIRE ATTENTIVEMENT LA TOTALITÉ DES INSTRUCTIONS SUIVANTES
AVANT D’UTILISER LE DISPOSITIF. UNE MISE EN PLACE CORRECTE EST
INDISPENSABLE AU BON FONCTIONNEMENT DU DISPOSITIF.
UTILISATION PRÉVUE/INDICATIONS : Lombalgie aiguë ou chronique, maintien postopéra-
toire, lombalgie liée à une activité physique, hernie discale.
CONTRE-INDICATIONS : Grossesse, troubles circulatoires, pulmonaires, cardiovasculaires ou
squelettiques pouvant être aggravés par une compression et/ou une pression.
AVERTISSEMENTS ET PRÉCAUTIONS : Consulter votre professionnel de la santé en cas de
toute douleur, enflure, altération de la sensation ou toute autre réaction inhabituelle lors de
l’utilisation de ce produit. Arrêter le port du corset en cas d’usure ou d’effilochement des
cordons.
INSTRUCTIONS DE MISE EN PLACE :
1) Placer et attacher la poignée aussi près que possible des panneaux de compression, puis
tirer le cordon au maximum (figure 1).
2) Fixer à l’aide des bandes de velcro le panneau antérieur à la face intérieure du corset. Pour
un ajustement correct, le panneau doit dépasser d’environ 13 cm (5 po) de l’extrémité
du corset (figure 2).
3) Orienter correctement le corset selon les indications de l’étiquette, puis le mettre en place
autour de la taille et l’attacher. La poignée doit être à gauche, face douce rembourrée
contre le corps (figures 3a et 3b).
4) Pour un ajustement et une compression adéquats, centrer la colonne vertébrale entre les
deux panneaux latéraux et disposer le corset symétriquement sur la taille (figure 4).
5) Pour exercer une compression, tirer la poignée vers la droite. Lorsque le degré de com-
pression souhaité est atteint, fixer la poignée sur le côté du panneau à l’aide du velcro
(figures 5a, 5b et 5c).
6) Utilisation du corset avec le cadre rigide (dossier)
A. Placer et attacher la poignée aussi près que possible des panneaux de compression,
puis tirer le cordon au maximum (figure 1).
B. Ouvrir les sangles situées sur les côtés du cadre rigide. Placer et centrer le corset autour
du cadre rigide. Attacher les sangles sur le cadre rigide afin de fixer le corset (figure 6a).
C. Appliquer l’ensemble corset/cadre rigide autour de la taille, puis suivre les étapes 3 et
4 ci-dessus (figure 6b).
7) Utilisation des coussinets en mousse
Placer le coussinet approprié (7, 10 ou 12 degrés) dans les poches élastiques situées sur la
face intérieure des panneaux latéraux. Ajuster pour un confort optimal (figures 7a et 7b).
INSTRUCTIONS DE NETTOYAGE : Laver à la main à l’eau froide et au savon doux. Laisser
sécher à l’air libre. Remarque : Si le rinçage est insuffisant, le savon résiduel peut irriter la
peau et détériorer le matériau.
GARANTIE : dj Orthopedics, LLC réparera ou remplacera tout ou partie du dispositif et de
ses accessoires en cas de tout défaut de matière ou de façon constaté dans les six mois de
la date de vente.
Brevet en instance.
Pour une utilisation sur un seul patient.
AVIS : MALGRÉ L’UTILISATION DE TOUTES LES TECHNIQUES DE POINTE AFIN D’OBTENIR LA MEILLEURE
ADÉQUATION ENTRE FONCTIONNALITÉ, RÉSISTANCE, DURABILITÉ ET CONFORT, CE PRODUIT
NE CONSTITUE QUE L’UN DES ÉLÉMENTS DU PROGRAMME DE TRAITEMENT ADMINISTRÉ PAR UN
PROFESSIONNEL DE LA SANTÉ. IL N’EST PAS GARANTI QUE L’UTILISATION DE CE PRODUIT PRÉVIENDRA
TOUT PRÉJUDICE CORPOREL.
