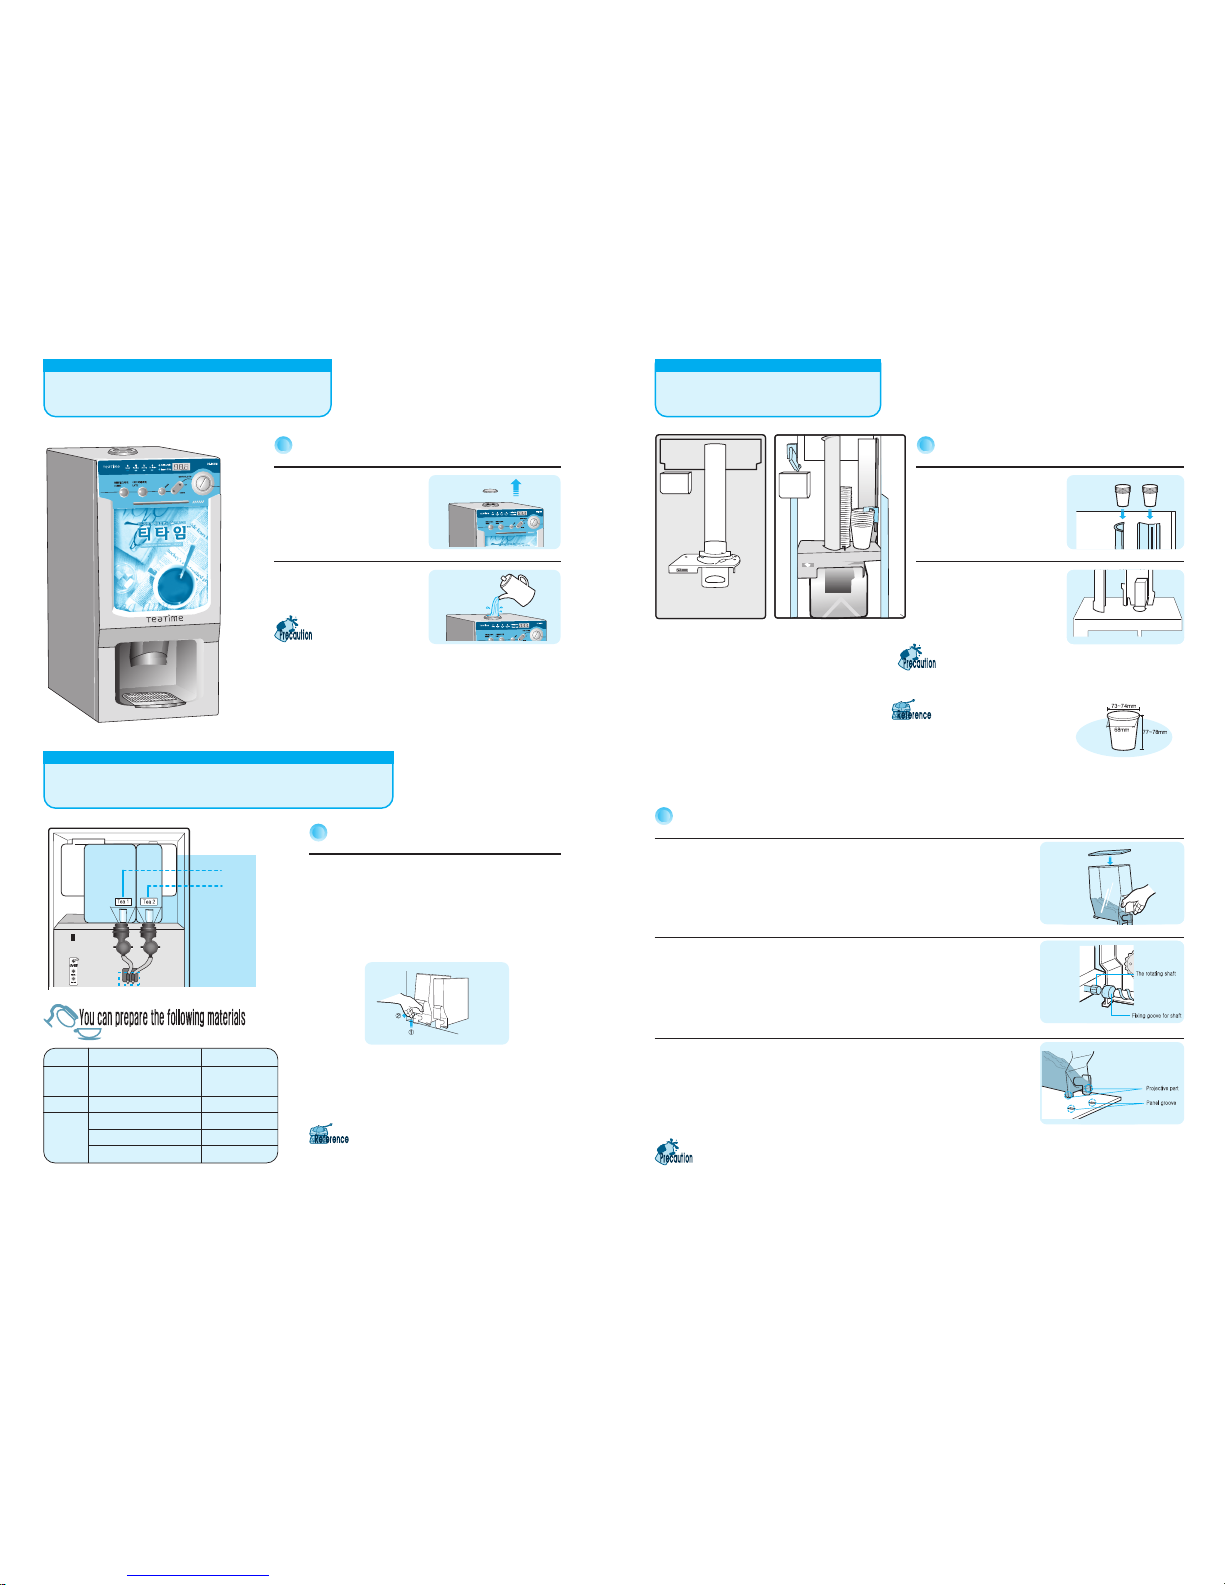
1Clean the product
completely
·Clean inside, outside and raw
material barrel completely.
2Establish the product on
the flat place with 10cm
distance from the wall
·It may cause any noise if installing
on the unflat place
3Put water gutter on the
specified position 4Check the make sure to use
the product with 220vol.
(option) exclusive power supply
·This product is a 220V(option) exclusive
product(Above 2kw of rated capacity)
·Use ground-adapted electric outlet
necessarily (All of the power
· supply of this product are grounded)
1
Features
Table contents
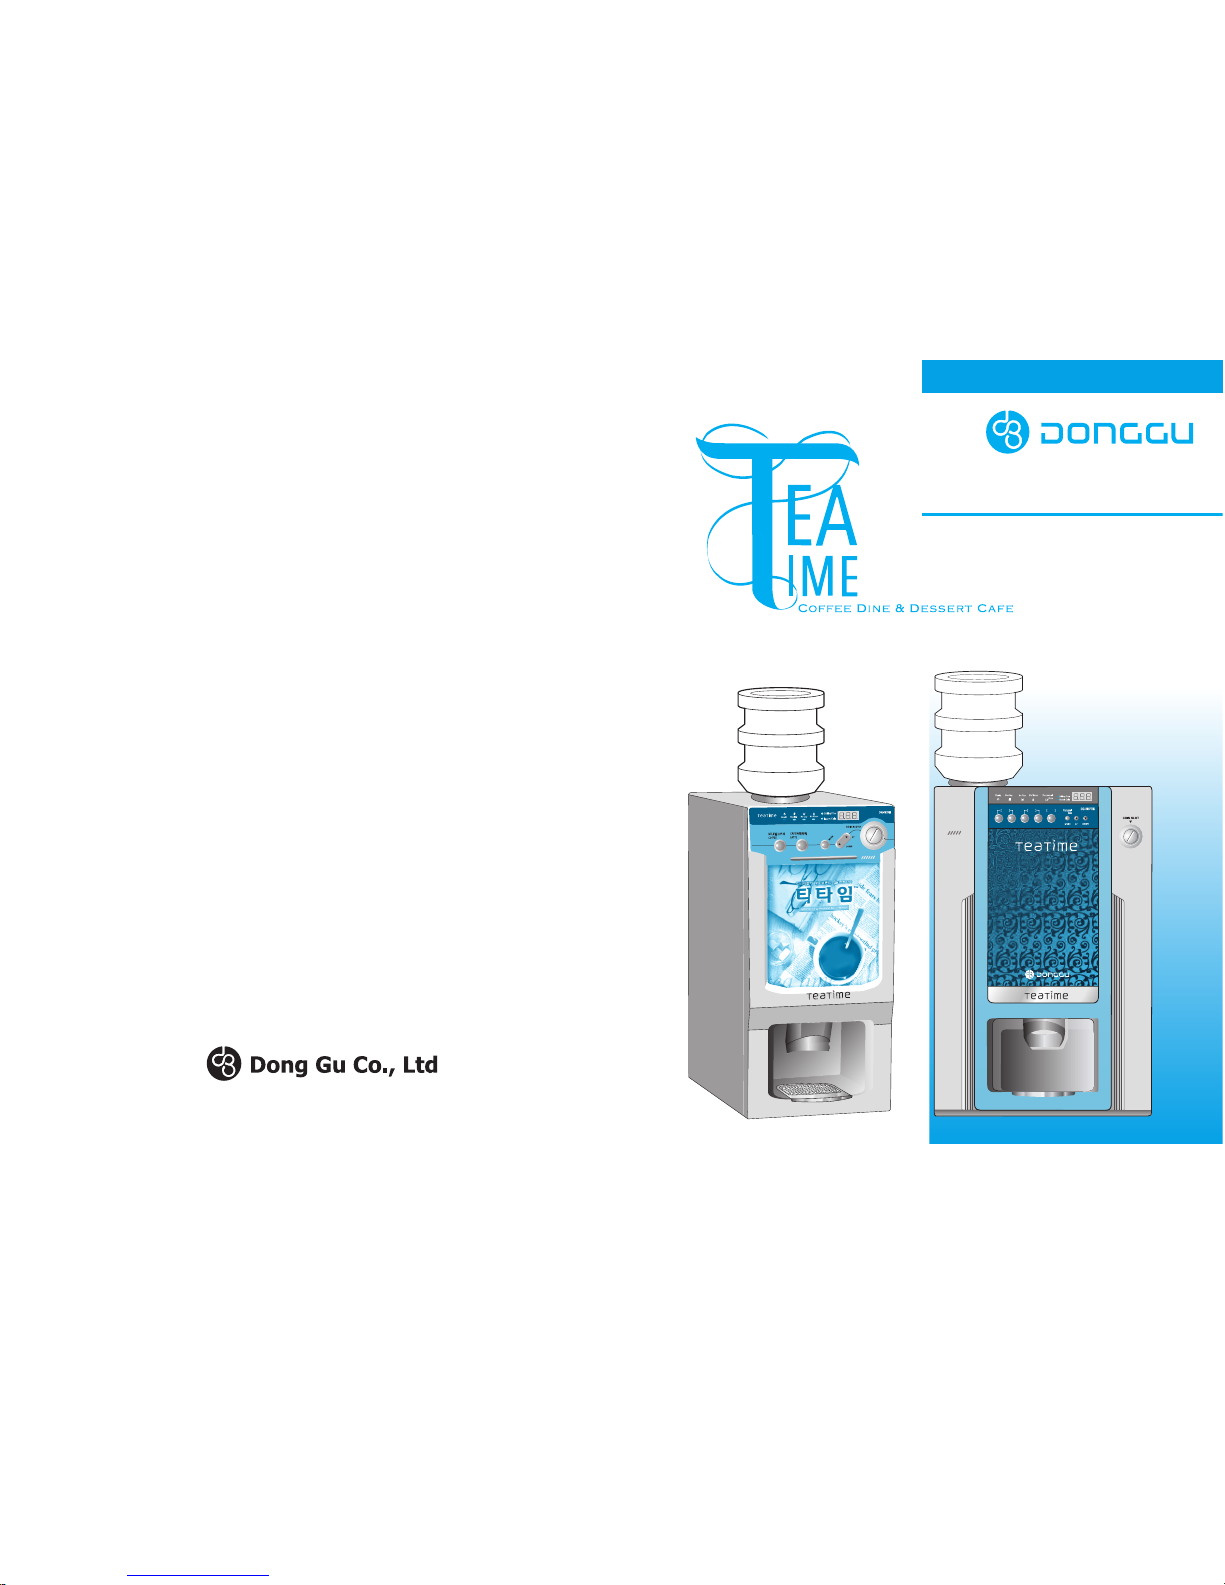
1Refined design
As the most beautiful vending
machine with european style, it show
at the best advantage in any places.
2Automatic Micom System
The micom system can be controlled
every function, when you press
button.
3Mountable water tank
Water tank can be mounted on top of
the cabinet to remove inconvenience
to supply water appropriately.
4Various menu choice for
your taste
Customers can select 1,100kind of
tastes by adjusting the volume of raw
materials and the amount of the water.
5My cup use for
environment protection
My cup use function as a substitute
paper cup is realized environment
protection reduce by one time cup use.
6Various temperature
adjustment system for
your taste control.
You can enjoy various taste by easy
temperature adjustment controller.
1. Features / Contents………………………………………………………………………………………… 1
2. Before using …………………………………………………………………………………………………… 2
3. Description of each section …………………………………………………………………………… 3
4. How to supply water/How to supply materials ……………………………………………… 5
5. How to cup test ……………………………………………………………………………………………… 6
6.
How to clean the connection tubes/How to use mountable water bottle
………………… 7
7. How to install and operate……………………………………………………………………………… 8
8. How to adjust the taste control & water volume(DG-707FM) …………………… 9
9. How to adjust the taste control & water volume(DG-808F3M) ………………… 10
10.
How to adjust the temporary taste control of the front door(FOR USER)
………… 11
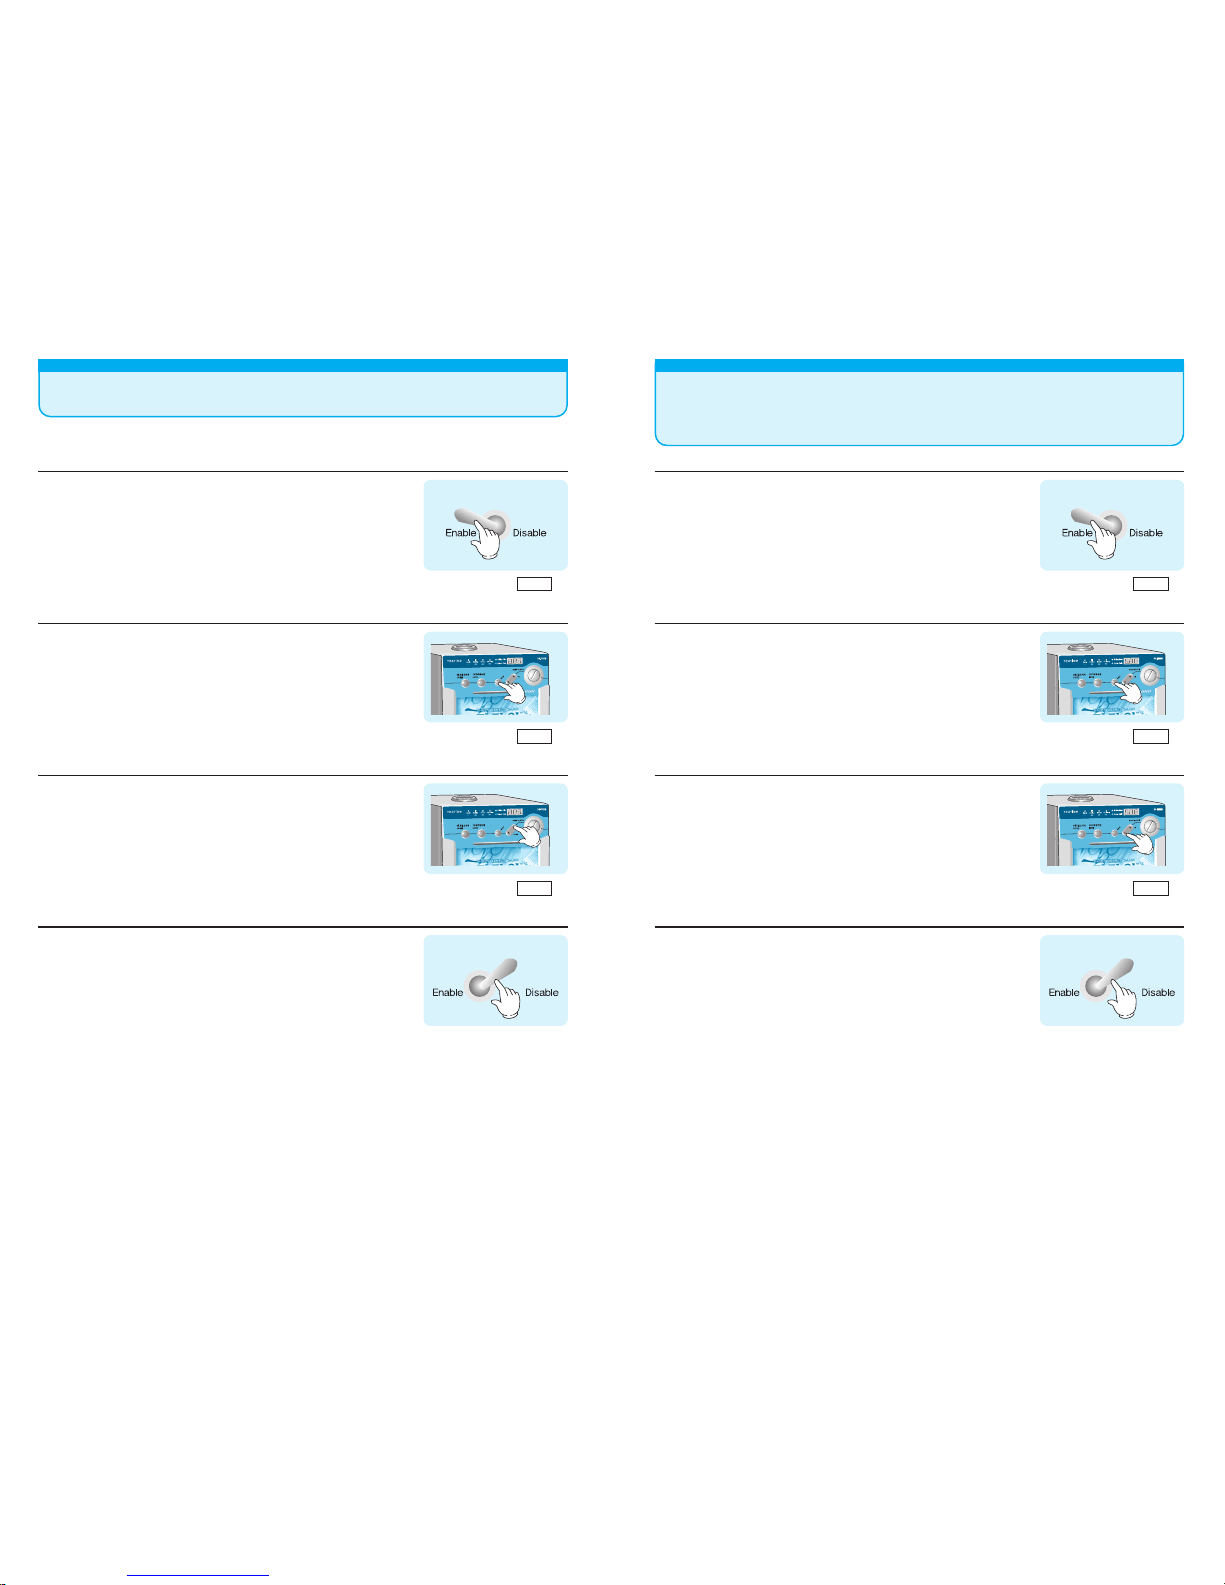
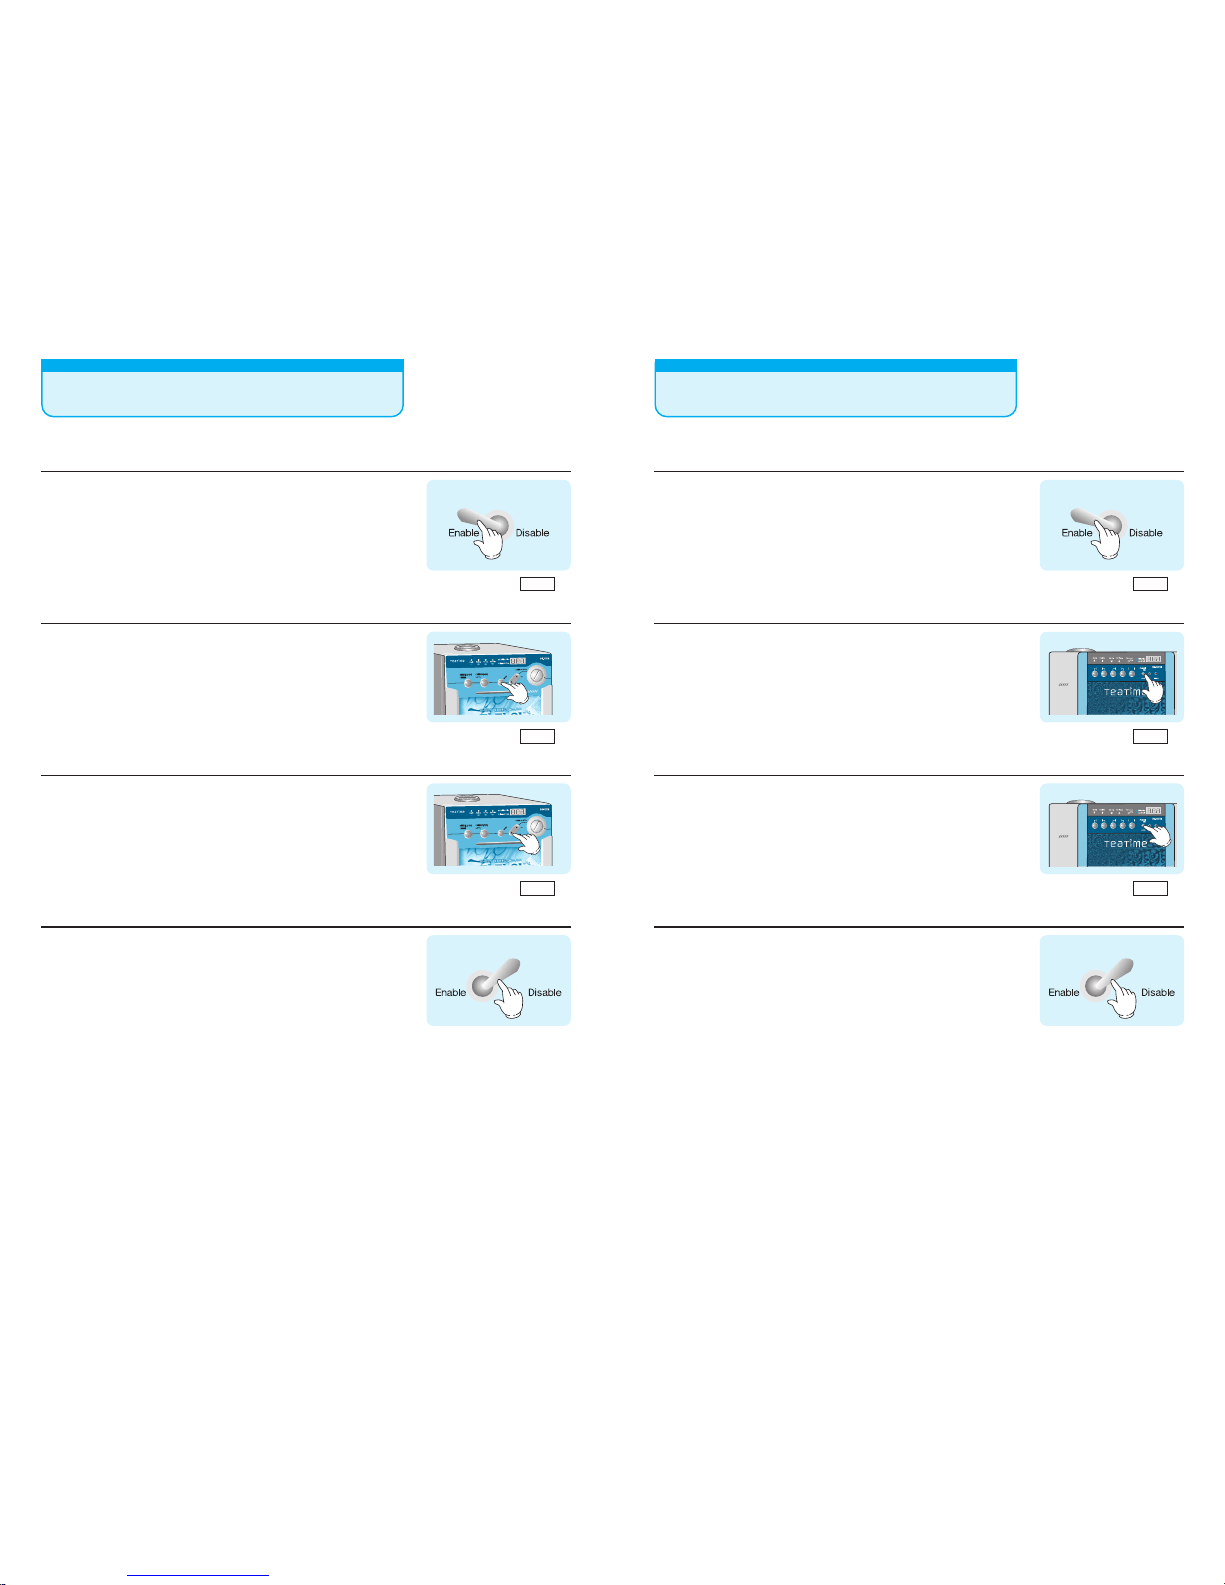
11.
How to adjust the temporary taste control function Enable & Disable of the front door(FOR USER)
…… 12
12. How to set price(DG-707FM) ……………………………………………………………………… 13
13. How to set price(DG-808F3M) …………………………………………………………………… 14
14. How to check your selling cups(DG-707FM)……………………………………………… 15
15. How to check your selling cups(DG-808F3M) …………………………………………… 16
16. The function for My cup(Individual cup) use(DG-707FM) ………………………… 17
17. he function for My cup(Individual cup) use(DG-808F3M) ………………………… 18
18. How to the adjustment of water temperature ……………………………………………… 19
19. How to the operation test(DG-707FM / DG-808F3M) ……………………………… 20
20. How to the cleaning ……………………………………………………………………………………… 21
21. How to disassemble parts …………………………………………………………………………… 23
22. How to replace fuse ……………………………………………………………………………………… 25