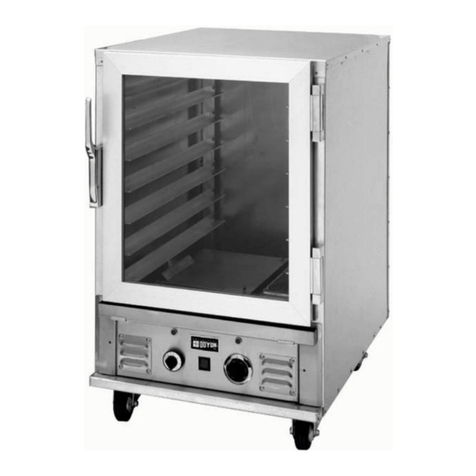
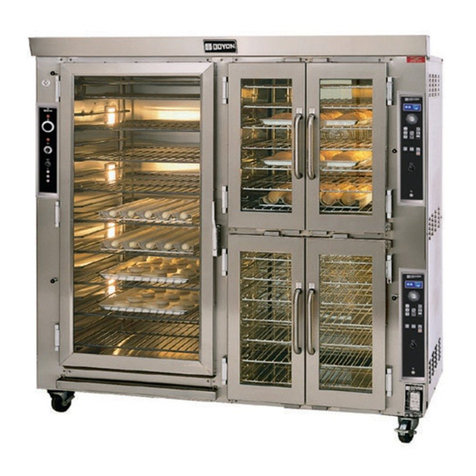
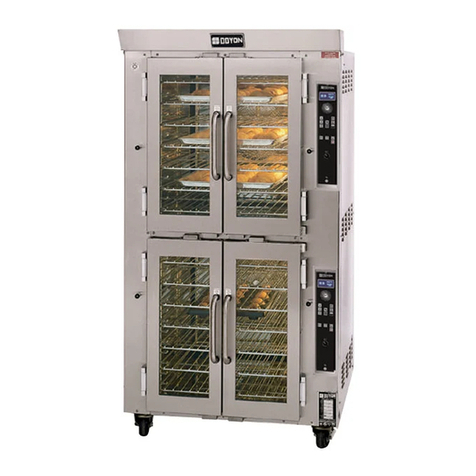
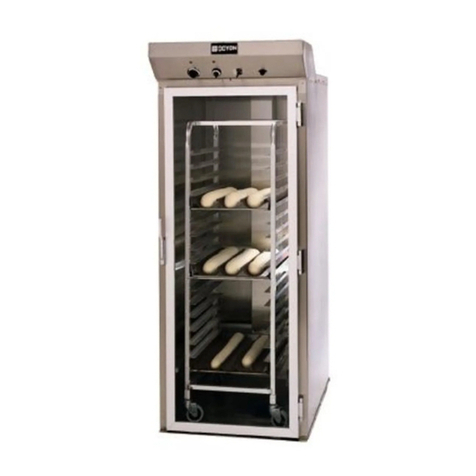
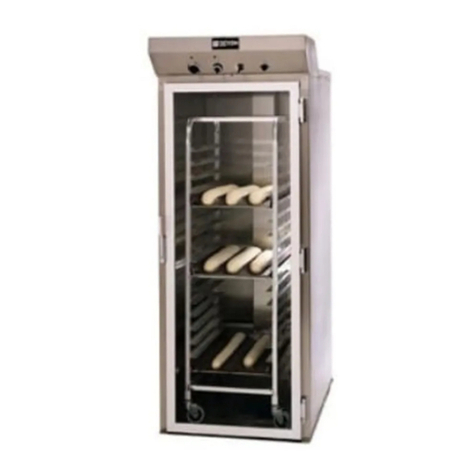
Doyon FC16 User manual

ELECTRIC CONVEYOR OVEN
FC16
IMPORTANT SAFETY INSTRUCTIONS
SAVE THESE INSTRUCTIONS
DANGER
TO REDUCE THE RISK OF FIRE OR ELECTRIC SHOCK,
CAREFULLY FOLLOW THESE INSTRUCTIONS
TABLE OF CONTENTS
SECTION « A » DESCRIPTION PAGE
Introduction . . . . . . . . . . . . . . . . . . . . . . . . . . . . . . . . . . . . . . . . . . . . . . . . . A1
Construction . . . . . . . . . . . . . . . . . . . . . . . . . . . . . . . . . . . . . . . . . . . . . . . . A1
Shipping . . . . . . . . . . . . . . . . . . . . . . . . . . . . . . . . . . . . . . . . . . . . . . . . . . . . A1
Installation Warnings . . . . . . . . . . . . . . . . . . . . . . . . . . . . . . . . . . . . . . . . . A2
Distances to respect . . . . . . . . . . . . . . . . . . . . . . . . . . . . . . . . . . . . . . . . . . . A3
Installation . . . . . . . . . . . . . . . . . . . . . . . . . . . . . . . . . . . . . . . . . . . . . . . . . . A4
Operation / instruction . . . . . . . . . . . . . . . . . . . . . . . . . . . . . . . . . . . . . . . . A5
Cooking time and temperature recommendation . . . . . . . . . . . . . . . . . . . . A6
Instructions to remove the conveyor and clean the oven FC16 . . . . . . . . A7
Instructions to reverse direction of the conveyor . . . . . . . . . . . . . . . . . . . . A8
Instructions to remove the belt on the conveyor . . . . . . . . . . . . . . . . . . . . A9
Troubleshooting . . . . . . . . . . . . . . . . . . . . . . . . . . . . . . . . . . . . . . . . . . . . . A13
For more information, please call our office . . . . . . . . . . . . . . . . . . . . . . . A14
SECTION « B » DIMENSIONS
FC16 . . . . . . . . . . . . . . . . . . . . . . . . . . . . . . . . . . . . . . . . . . . . . . . . . . . . . . B1
SECTION « D » HEAT DIFFUSER ADJUSTMENTS
FC16 . . . . . . . . . . . . . . . . . . . . . . . . . . . . . . . . . . . . . . . . . . . . . . . . . . . . . . D1
SECTION « E » COMPONENT PARTS
FC16 . . . . . . . . . . . . . . . . . . . . . . . . . . . . . . . . . . . . . . . . . . . . . . . . . . . . . . E1
SECTION « G » ELECTRIC SCHEMATICS
FC16 208V/1PH/60 Hz, 240V/1PH/60 Hz & 220/1PH/60 Hz . . . . . . . . . G1
FC16 220V/1PH/50 Hz & 240V/1PH/50 Hz . . . . . . . . . . . . . . . . . . . . . . G2
Warranty . . . . . . . . . . . . . . . . . . . . . . . . . . . . . . . . . . . . . . . . . . . . . . . . . . .
FC16E-A.DOC Rev. 02-2003

A-1
The manufacturer suggests to read this manual carefully and to keep it for future reference.
This Jet Air oven is manufactured with first quality material by experienced technicians. Proper
installation and maintenance will guarantee a reliable service for years to come.
A nameplate fixed at the back of the oven specifies the model number, serial number, voltage,
amperage and frequency.
Drawings, electrical diagram and replacement part numbers are included in this manual. The
electrical diagram is affixed in the control panel under the hood of the oven.
ATTENTION
DOYON is not responsible for damages to the property or the equipment caused by
personnel who is not certified by known organisations. The customer is responsible for
finding qualified technicians in electricity and plumbing for the installation of the oven.
You just bought the most advanced electric oven in the world, "DOYON" technology at its best.
This electric oven is manufactured using the highest quality components and material.
The oven gives a perfect uniform baking with its unique Jet Air convection system. The DOYON
electric oven is designed with parts that are easy to find.
For your safety, this equipment is verified by qualified technicians and carefully crated before
shipment. The freight company assumes full responsibility concerning the delivery in good condition
of the equipment in accepting to transport it.
IMPORTANT
RECEPTION OF THE MERCHANDISE
Take care to verify that the received equipment is not damaged before signing the delivery receipt. If
a damage or a lost part is noticed, write it clearly on the receipt. If it is noticed after the carrier left,
contact immediately the freight company in order that they do their inspection.
We do not assume the responsibility for damages or losses that may occur during transportation.
INTRODUCTION
CONSTRUCTION
SHIPPING

A-2
POWER FAILURE WARNING
WHEN YOU HAVE A POWER FAILURE, SHUT OFF THE OVEN POWER SWITCH TO
PROTECT THE ELECTRONIC COMPONENTS WHEN THE POWER COMES BACK.
FOR YOUR SAFETY
DO NOT STORE OR USE GASOLINE OR OTHER FLAMMABLE VAPOURS
AND LIQUIDS IN THE VICINITY OF THIS OR ANY APPLIANCE.
INSTALLATION AND SERVICE
WARNING
IMPROPER INSTALLATION, ADJUSTMENT, ALTERATION, SERVICE OR
MAINTENANCE CAN CAUSE PROPERTY DAMAGE, INJURY OR DEATH.
READ THE INSTALLATION, OPERATING AND MAINTENANCE INSTRUCTIONS
THOROUGHLY BEFORE INSTALLING OR SERVICING THIS EQUIPMENT.
Installation and service must be done by specialised technicians. Contact a certified electrician for set
up.
The oven must be connected to the utility and electrically grounded in conformity to the effective
local regulations. If these are not established, the oven must be connected according to the Canadian
Electrical Code (CSA-C22.1- XX) or National Electrical Code (NFPA 70-XX). Refer to last
edition year for XX.
Do not permit fans to blow directly at the oven and whenever possible, avoid open windows
next to oven sides or back and wall type fans which create air cross currents the room.
INSTALLATION WARNINGS

A-3
A) Back of the oven: 4 inches
B) Top of the oven: a clearance of 12 inches from above the top of the oven must exist to permit
adequate venting.
C) Floor: 4 inches minimum (legs)
D) Sides of the oven: No clearance required from the end of the conveyor. Do not install other
than easily removable equipment for service and maintenance.
DISTANCES TO RESPECT

A-4
IN GENERAL
Take off the packaging material with care. Take off all the material used for packing and accessories.
Install the legs on the oven.
1. To the electrician.
Electrical supply installation must be in accordance with the electrical rating on the nameplate.
WARNING
The electrician must make sure that the supply cable does not come in contact with the
oven top which becomes hot.
INSTALLATION

A-5
1. Turn the main switch to the position "ON" [ I ].
2. Turn the conveyor switch to the position "ON" [ I or II ].
3. Adjust the thermostat at the desired temperature (see THERMOSTAT INSTRUCTIONS below).
4. Adjust baking time according to your product. Use the up and down arrows on the speed control
to set your baking time.
(see suggestions in the tables next page.)
N.B. The thermostat display must be "ON". (If not, press the breaker on the front)
5. Heat the unit until you reach the baking temperature.
When the desired temperature is reached, the red light ON goes out on the thermostat.
6. Place your products on the conveyor.
We recommend to use perforated pan or pizza screen.
7. To stop the oven, just turn the main switch to "OFF" [ O ] position. After the oven is off, the
main fan motor will run for 10 minutes to cool down the oven.
THERMOSTAT INSTRUCTIONS
To obtain a very good thermal stability, we use a digital temperature controller with thermocouple.
The Omron E5CS thermostat controls the heat at the SP (set point).
The temperature of the oven is always shown on the display of the thermostat and an arrow indicates
if the temperature is over or below the SP. When the green light is lit, it indicates that the temperature
is at the SP ± 1 %.
To adjust the SP value, you just have to press the key on the left and use the up and down keys to set
temperature and alarm value. Press the left key to return to run mode.
OPERATION / INSTRUCTION
4 1 2 3

A-6
REGULAR PIZZA BAKING TIME
Temperature Pizza Approximate baking time
5150F PEPPERONI 5.30 minutes
5150F 3 TOPPING 6.20 minutes
515° F EXTRA TOPPING 7.00 minutes
490° F SPECIAL HOUSE 8.00 minutes
PIZZA PAN BAKING TIME
Temperature Pan pizza Approximate baking time
4800F ALL DRESS 7.20 minutes
540°F ALL DRESS 5.00 minutes
IMPORTANT: You must adjust your baking time according to your own recipes. We recommend
that you conduct a few baking tests at the beginning and note your baking time for future reference.
COOKING TIME AND TEMPERATURE RECOMMENDATION

A-7
Take out the conveyor extension and crumb tray at each end of the conveyor (picture A, B, C, D).
Pull out the conveyor motor cover (picture E & F).
Remove rubber strap (picture G). Lift gearbox to remove the chain (picture H).
Lift conveyor and pull it out (picture I).
Open the front door (photo J). Remove the heat diffusers (picture K & L).
INSTRUCTIONS TO REMOVE THE CONVEYOR
AND CLEAN THE OVEN FC16
EF
D
GHI
J
K
L
A B C

A-8
FC16
To reverse the direction of the conveyor on FC16 oven, open the back panel of the oven (picture A).
Disconnect the red [A+] and black [A-] wire (picture B) of the conveyor motor on the electronic
board and invert the two wires (picture B). The conveyor should run in the other direction.
To reverse on some models with the optional directional switch, change the position of the conveyor
switch (picture C) located beside the conveyor motor from position [ I ] to [ II ] or [ O ] for not
operational conveyor.
INSTRUCTIONS TO REVERSE DIRECTION OF THE CONVEYOR
C
A
B

A-9
INSTRUCTIONS TO REMOVE THE BELT ON THE CONVEYOR

A-10

A-11

A-12

A-13
BEFORE CALLING FOR SERVICE
ANSWERS TO MOST FREQUENT QUESTIONS
Questions Solutions
The oven is "ON", but does not function. •Check the main breaker (the one on the
building panel) and also the breaker located
at the front of the oven (5 amps).
The fan runs but the oven does not heat. •Check if the thermostat is adjusted high
enough to fire the oven.
Check the power on the heating contactor.
The oven heat too much or does not produce
enough heat.
Measure the temperature with an oven
thermometer and compare it with the
temperature indicated on the thermostat
Made the complete clean up maintenance
procedure.
The conveyor chain is not tight enough. To tighten:
•Take off the protector on the conveyor motor
located on the sides of the oven. With a
7/16" key, lightly unscrew the 2 screws
having an adjustment on each side;
•Tighten the belt of the conveyor and the
screws;
•Put back the protectors.
The conveyor does not turn. •Check the 0.5 amps breaker on the side of
the oven.
•If the breaker is "tripped", check if the
conveyor is free from any obstructions
before resetting the breaker.
•Check the conveyor main shaft if the
security clutch is not slipping.
TROUBLESHOOTING

A-14
DOYON EQUIPMENT INC.
1255, rue Principale
Linière, Qc, Canada G0M 1J0
Tel. : 1 (418) 685-3431
Canada : 1 (800) 463-1636
U.S. : 1 (800) 463-4273
FAX : 1 (418) 685-3948
Internet: http://www.doyon.qc.ca
FOR MORE INFORMATION,
PLEASE CONTACT OUR OFFICE :

SECTION
B
DIMENSIONS

B-1

B-2

B-3

B-4
Other manuals for FC16
1
Table of contents
Other Doyon Oven manuals
Popular Oven manuals by other brands

Hotpoint
Hotpoint UE89X1 UQ89I Instructions for installation and use

Siemens
Siemens iQ700 HS858KXB6/91 instruction manual

Kenmore
Kenmore 790.4114 series Use & care guide

Miele
Miele H 326 operating instructions

Breville
Breville BB290 manual

Tricity Bendix
Tricity Bendix BUILT IN OVEN TBS 749 Operating & installation instructions

Rinnai
Rinnai RBO-106SIX Operation & installation manual

Zanussi
Zanussi ZOHEE3X2 user manual

Indesit
Indesit FE 10 K GB Instructions for installation and use

Atag
Atag OX6411F Instructions for use

MASTER KITCHEN
MASTER KITCHEN MKO 45509CS-ED BK Operation manual

STOVES
STOVES Q900EM User & installation instructions