360° Flip
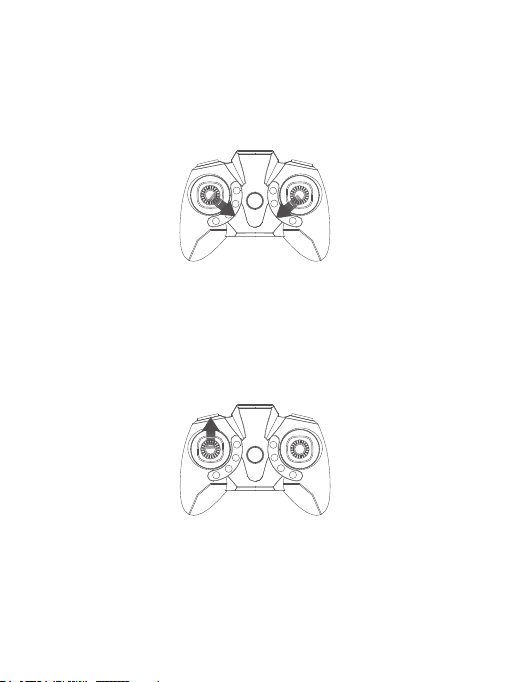
After flying the drone to an altitude of over 2 meters, press the Right joystick and
360° Flip button to activate 360° Flip function. Release once the flip is completed.
Move the Right joystick forward/backward/leftward/rightward to flip the drone
360° in the corresponding direction. Please note that this function cannot be
activated when the battery power of the drone is low.
Release the Right joystick and the 360° Flip button to exit the trimming mode.
Flight trimming
Trimming can be important in helping you control your drone.
If the drone drifts forward or backward during the flight, press and hold the 360°
Flip button, then gently move the Right joystick backward or forward to adjust.
If the drone drifts leftward or rightward during the flight, press and hold the 360°
Flip button, then gently move the Right joystick rightward or leftward to adjust.
Leftward and rightward: Pull the Right joystick leftward and the drone will fly
leftward; pull it rightward and the drone will fly rightward.
Release the Right joystick and the 360° Flip button to exit the trimming mode.
Speed switch
Low speed is the drone’s default setting. Press the Speed switch button once for
medium speed, indicated by two beeps from the remote. Press it again for high
speed, indicated by three beeps from the remote. A third press will return the
drone to low speed, indicated by one beep from the remote.
One key return
Press and hold the One key return button, the drone will fly backwards in the
reverse direction of its original flight path. Press and hold the button again to exit
this mode.
109


 user manual")


