User manual
GAS IN BUILT OVEN |EUROPA 60 GAS GRILL
Air duct must be used in ventilation.
Cabinets veneer exterior must be assembled with glues withstand
temperatures up to 100 ℃.
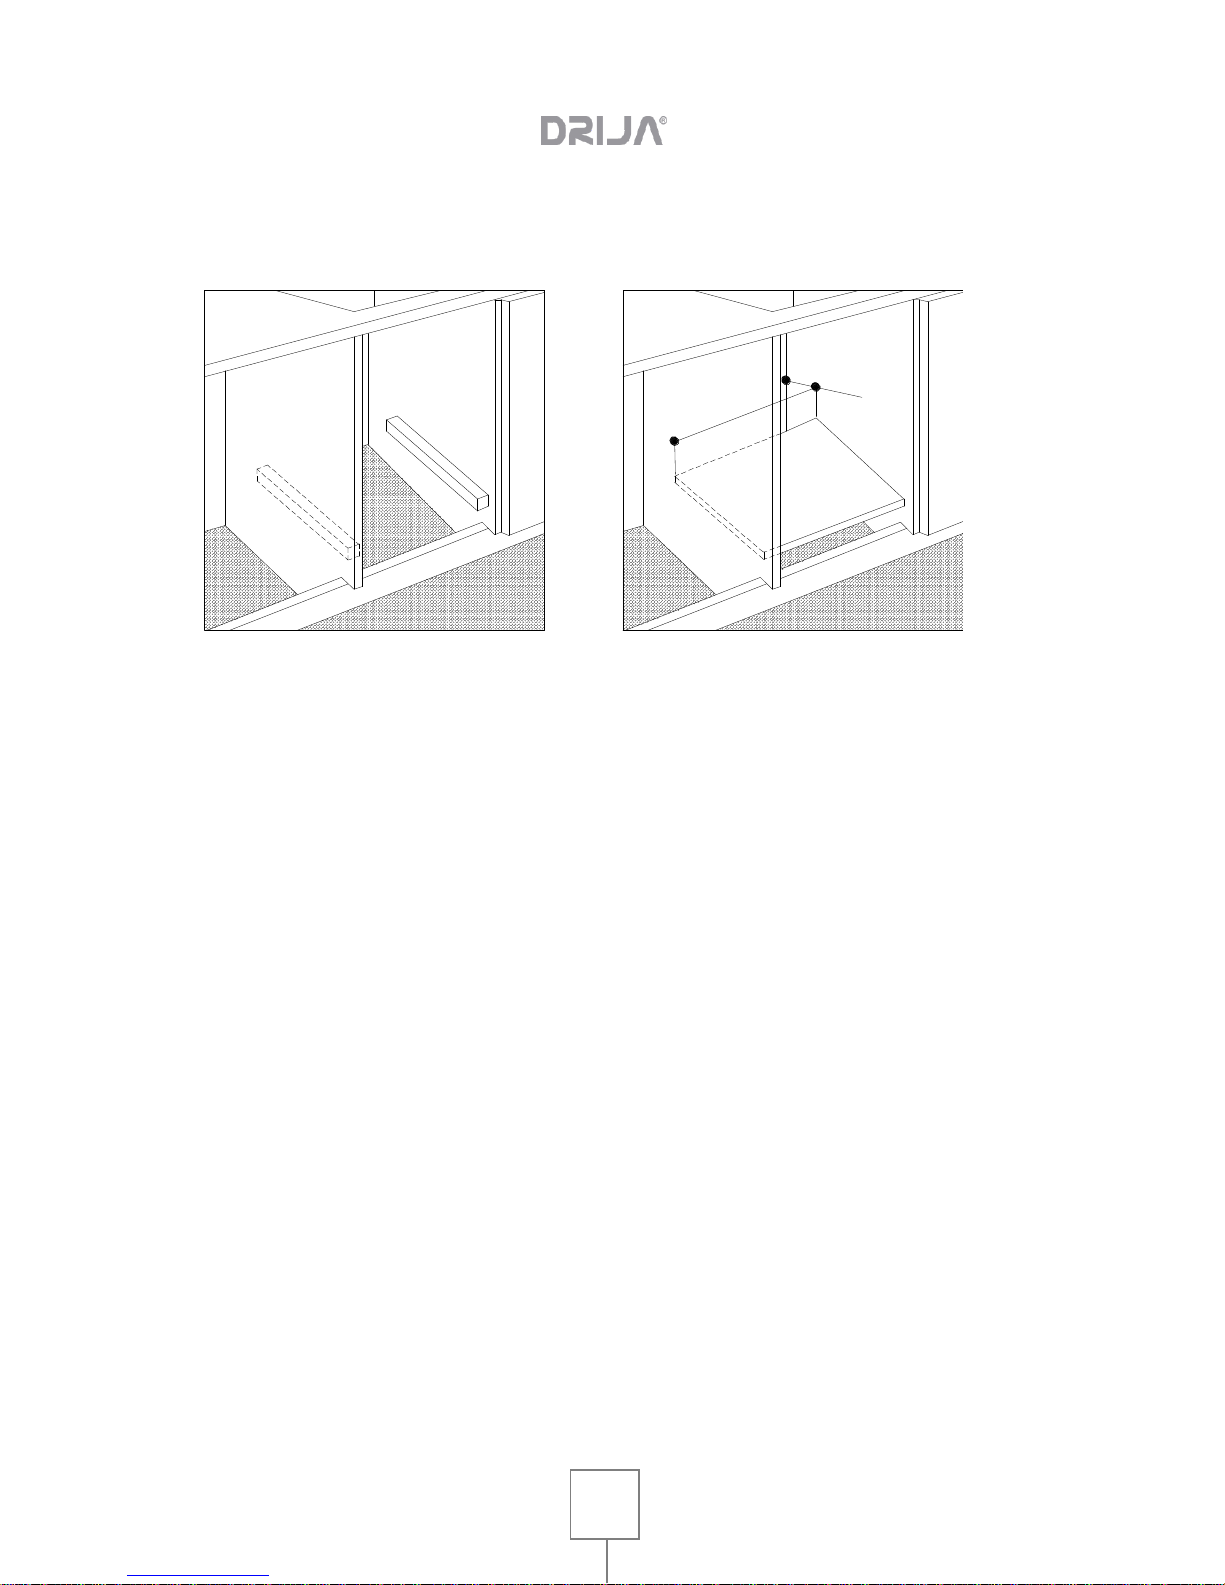
Installation of built-in ovens
In order to ensure the proper functioning of the device properly, the cabinet
containing it must be appropriate. The apparatus is designed for recessed
installation (class 3) in cabinets of any heat resistant material. Comply with the
dimensions shown in Figures 1, 2 and 3. When installed undercounted, comply with
the dimensions shown in Figure 1-3. When installed undercounted incorporating
burners, a space of at least 110 mm should stop any side wall, as shown in Figure 1.
When installed in height units, comply with the dimensions shown in Figure 1.2,
considering that the top / back of the unit must have an opening of 45 mm deep. A
screw 4 screws inside the frame (fig.1). For installation under burners, make sure
that the rear / bottom of the unit is similar to that shown in Figure 1 (B) opening, and
the front / bottom of the unit has an opening with an opening of at least 45 × 560mm
similar to that shown in figure 1-3 (C), or the like curtain window, ensure that the
aperture opening area of at least 45 × 560mm. See the instructions supplied with the
hob for positioning and fixing procedures. Make sure the opening area of at least 45
× 560mm. See the instructions supplied with the hob for positioning and fixing
procedures. Make sure the opening area of at least 45 × 560mm. See the
instructions supplied with the hob for positioning and fixing procedures.
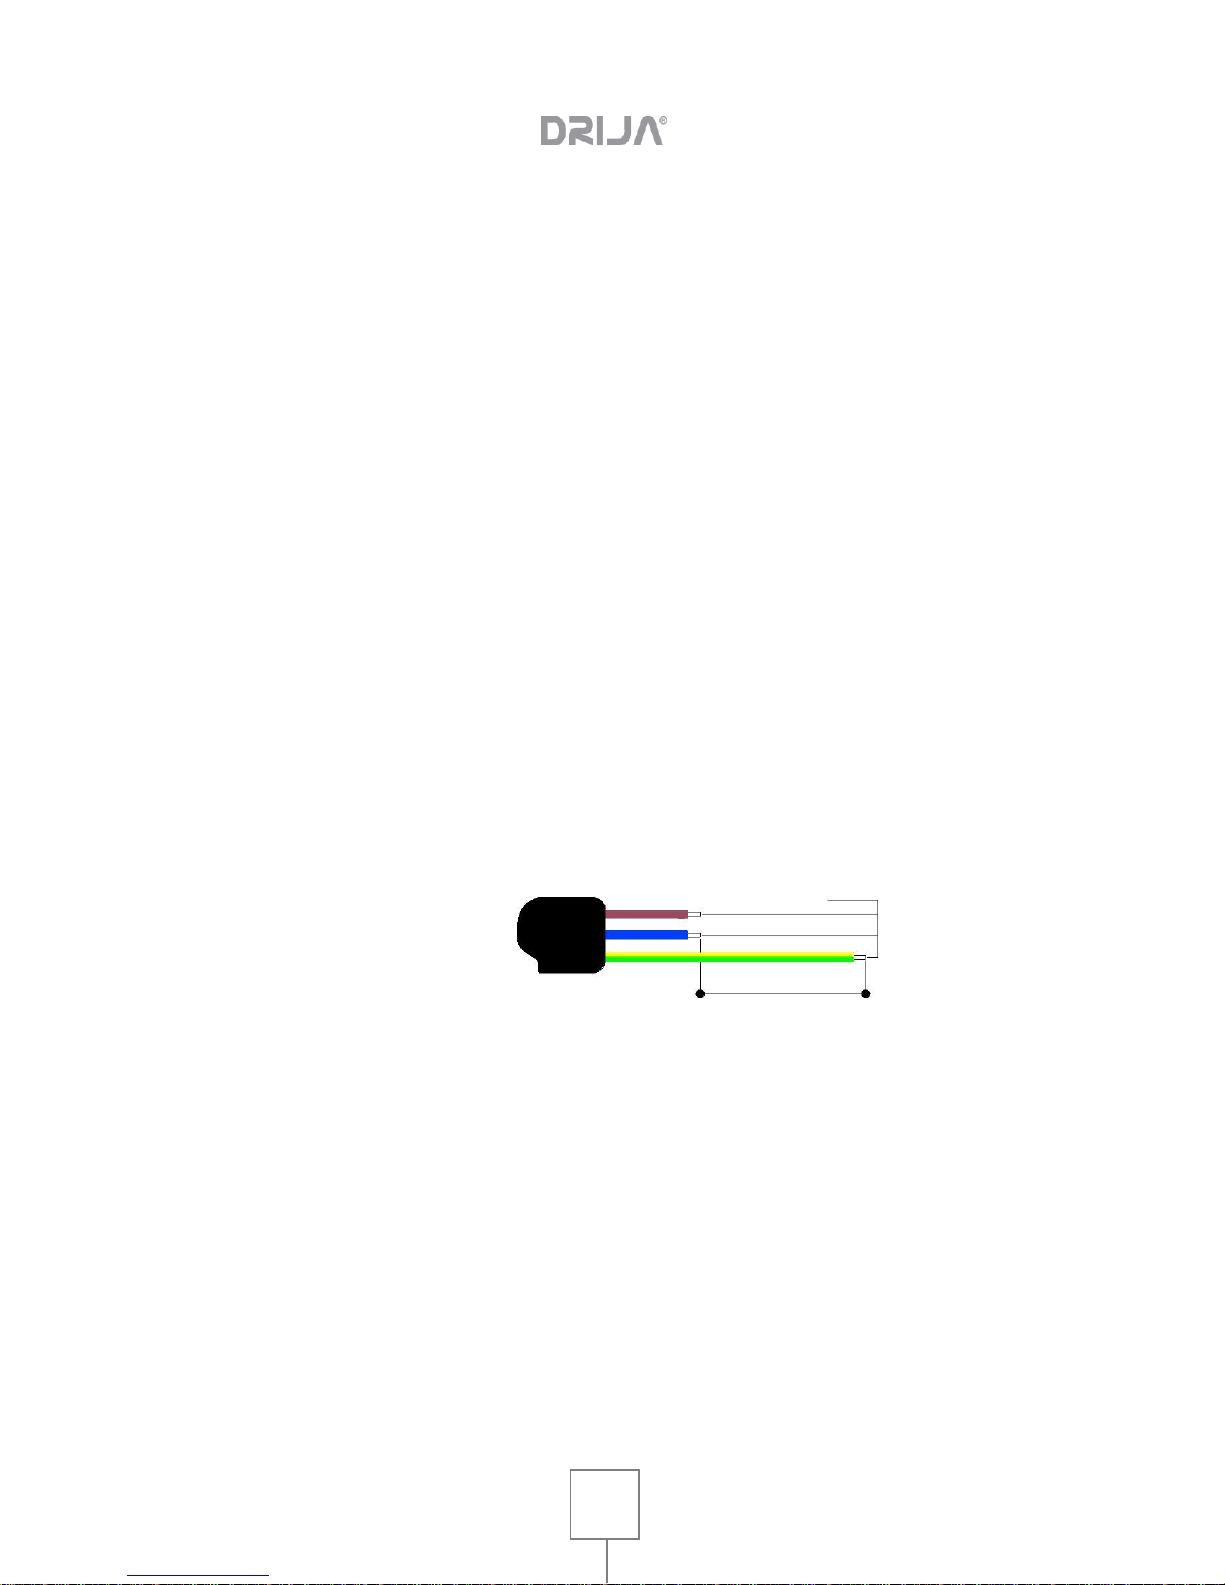
In compliance with current safety standards, contact with the electrical parts of the
oven should not be possible once it has been installed.
All parts which ensure the safe operation must be removable only with the aid of a
tool.