9
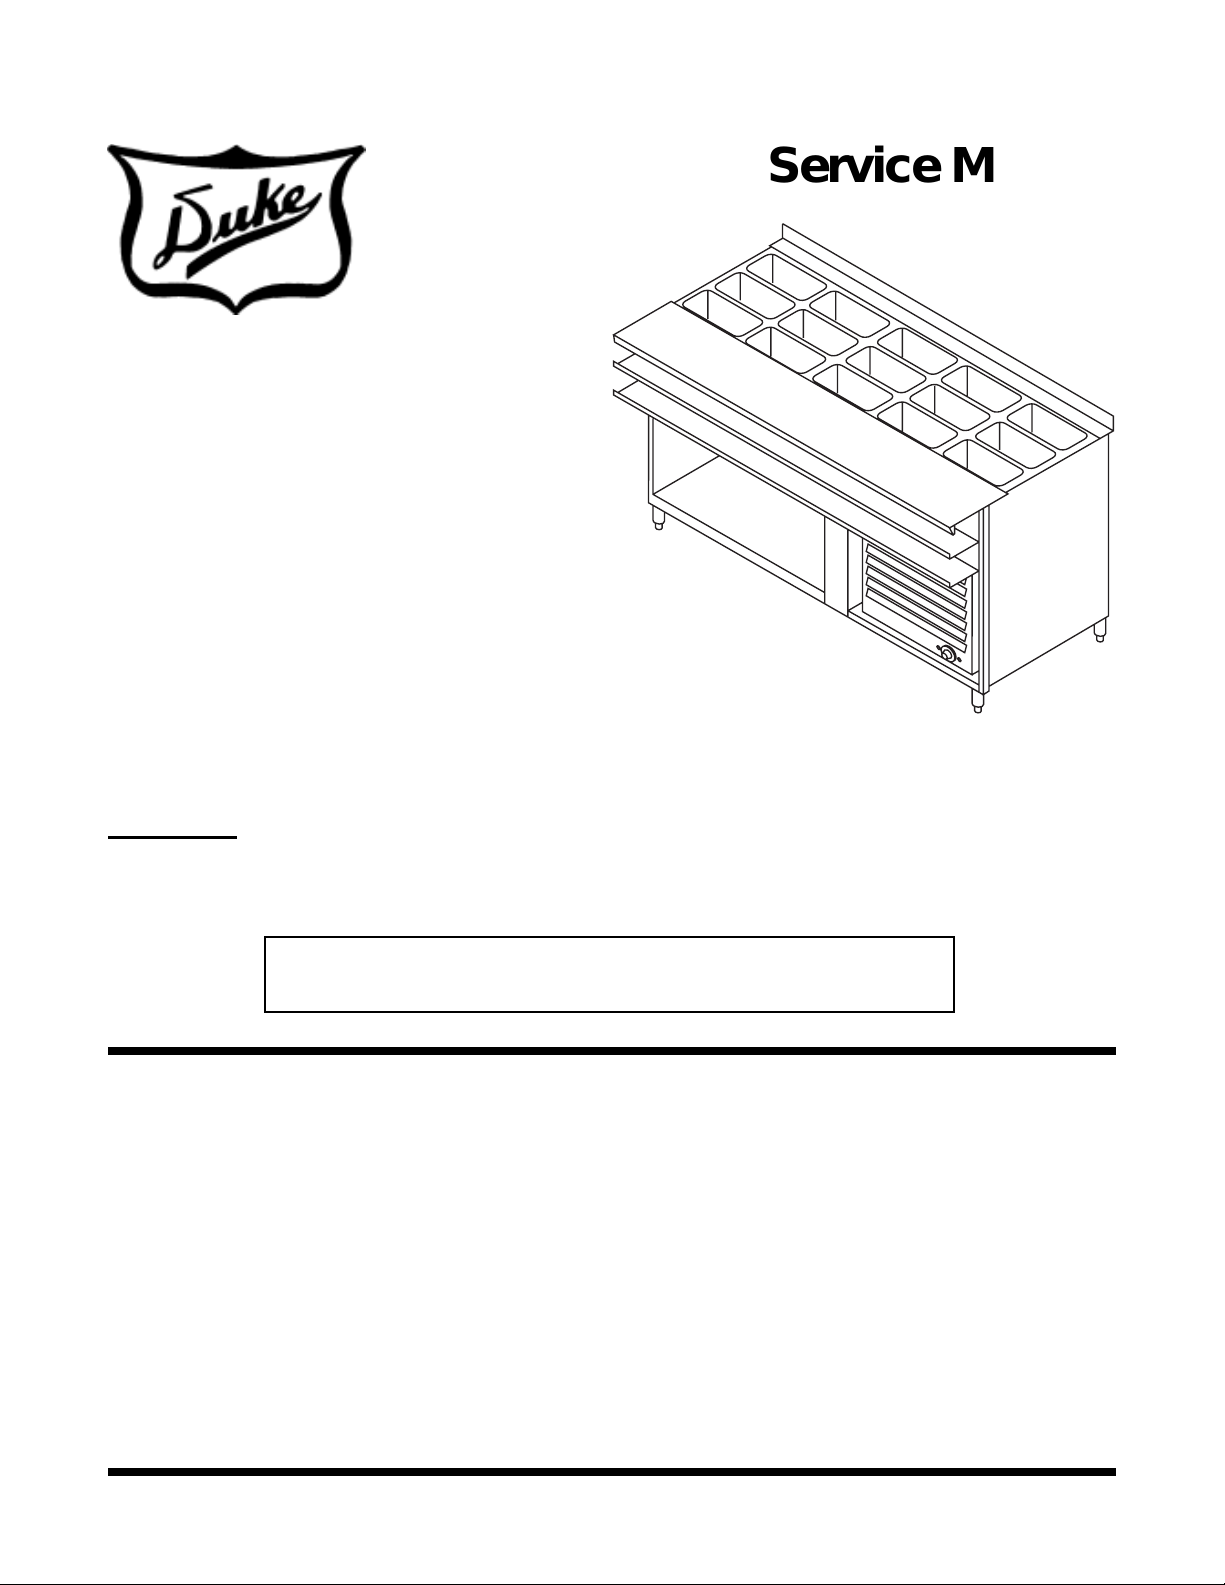
Service Manual for Tri-Channel Cold Pan SUB-GP
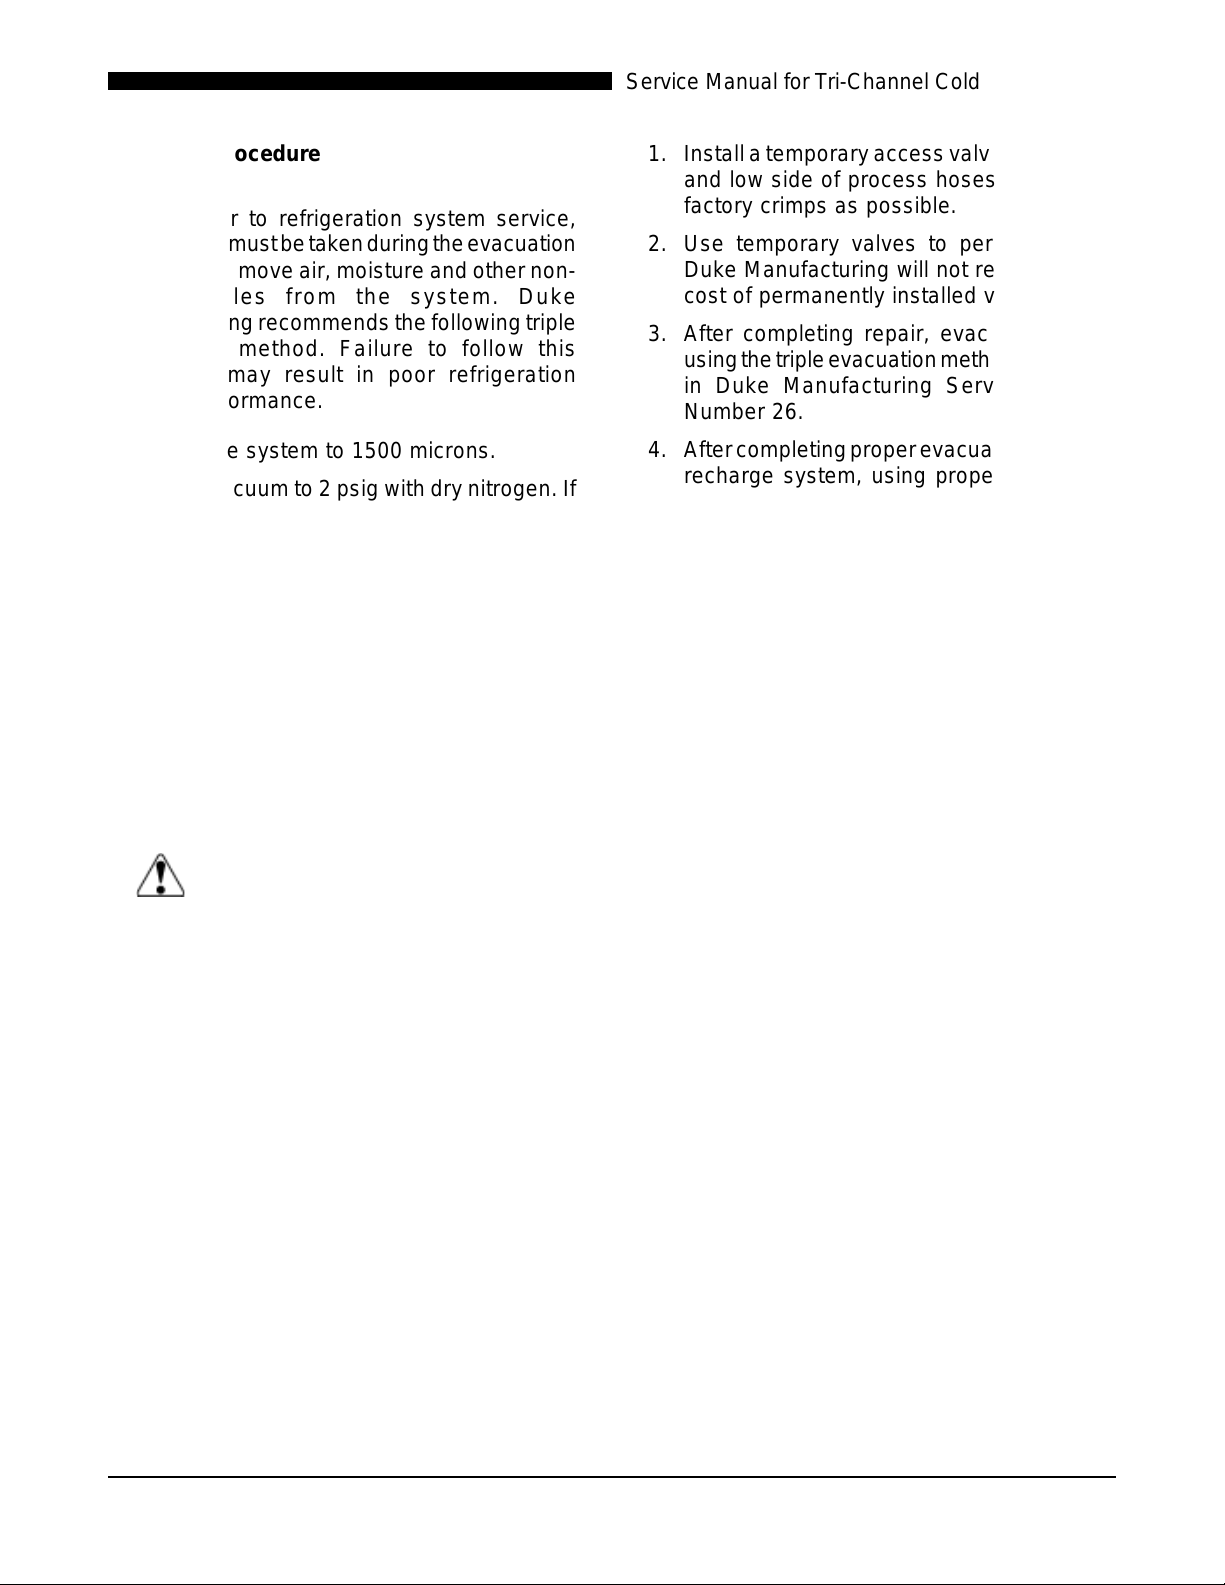
Charging Procedure
NOTE: Prior to refrigeration system service,
specialcaremustbetakenduringtheevacuation
process to remove air, moisture and other non-
condensables from the system. Duke
Manufacturingrecommends the following triple
evacuation method. Failure to follow this
procedure may result in poor refrigeration
system performance.
1. Evacuate system to 1500 microns.
2. Break vacuum to 2 psig with dry nitrogen. If
dry nitrogen is unavailable, use same type
of refrigerant as used in system.
3. Evacuate system to 500 microns.
4. Break vacuum to 2 psig with dry nitrogen. If
dry nitrogen is unavailable, use same type
of refrigerant as used in system.
5. Evacuate system to 500 microns.
The system is now ready to receive refrigerant
charge according to information on data plate.
CAUTION: Never use oxygen or acetylene
in place of dry nitrogen or
refrigerant for leak testing. A
violent explosion may result,
causing property damage,
personal injury or death. When
usingnitrogentopressuretest,
always use a pressure
regulator. Failure to do so will
result in extremely high
pressure of the compressor or
other system components and
result in property damage,
personal injury and death.
NOTE: Prior to repair, ensure there is enough
process hose (approximately 12") present to
completetherepairusingtheaboveprocedure.
If not, install a new process hose before repair
sequence.
1. Installatemporaryaccess valveonthehigh
and low side of process hoses as close to
factory crimps as possible.
2. Use temporary valves to perform repair.
Duke Manufacturing will not reimburse the
cost of permanently installed valves.
3. After completing repair, evacuate system
usingthetripleevacuationmethoddescribed
in Duke Manufacturing Service Bulletin
Number 26.
4. Aftercompletingproperevacuationmethod,
recharge system, using proper refrigerant
according to information on data plate.
5. Continue crimping process hose just below
temporary valve and again 2" below crimp.
6. With crimp tool in place, remove temporary
valve.
7. Braze shut end of process hose.
8. Allow to cool for about 5 minutes.
9. Remove crimp tool.
10.Check brazed end for leaks.