Dunlop FILL&GO User manual

30
GB
BY DUNLOP TECH
Simply remain mobile
Operating manual
for the tire mobility kit & electrical air pump
AUTOMATIC SYSTEM/DIRECT CONNECTION

31
GB
TABLE OF CONTENTS
Scope of delivery Page 32
Technical data Page 32
Basic safety information Page 33
Important terms and symbols Page 33
Intended use Page 34
Storage and shelf life Page 35
Disposal of sealant Page 35
Disposal of electrical air pump Page 36
Repair of electrical air pump Page 36
General safety and warning notes Page 36
First-aid measures Page 39
Description FILL & GO tire mobility system & electrical air pump Page 40
Instructions for the use of FILL & GO in the event of a at tire Page 42
> Corresponding photo illustration (fold-out page, front) Page 3–4
Instructions on inating a tire without damage Page 49
> Corresponding photo illustration (fold-out page, back) Page 269–270
Instructions on inating inatable products Page 52
> Corresponding photo illustration (fold-out page, back) Page 269–270

32
GB
SCOPE OF DELIVERY
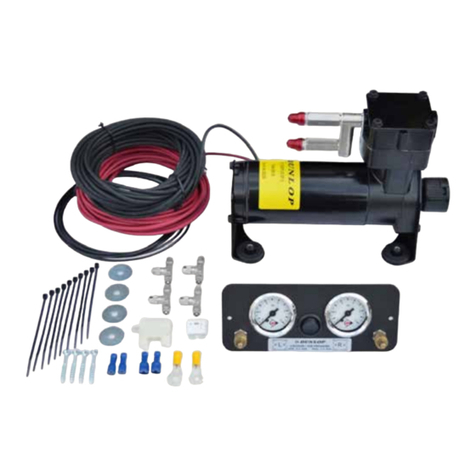
The FILL & GO tire mobility kit contains an electric pump with power cable (12 V) and ll
hose, a bottle with tire sealant, various adapters and an instruction manual.
TECHNICAL DATA
Sealant bottle
Depending on the version of the
mobility system, the bottle
contains between 200 and 700 ml
(0.21 and 0.74 quart) sealant.
The sealant is based on natural
latex and consists of 99% renewable
resources.
Electrical air pump
Input voltage: 12 Volt (V)
Current consumption: max. 15 Ampere (A)
Power: 180 Watt (W)
Working pressure: 2.5 bar (36 psi)
Maximum pressure: 4–6 bar
(58–87 psi; 400–600 kPa)
Sound power level: 94 dB(A)
Protective class: III
Type of protection: IP33

33
GB
BASIC SAFETY INFORMATION
► NOTE: Read the entire operating manual incl. all safety and warning notes through
carefully before use.
2A WARNING: Failure to comply with the following information and instructions may result in
property damage, electric shock, re, serious injury and/or danger to life. This operating
manual must also be passed on when the mobility system is handed over to third parties.
This system complies with the technical standards and the relevant safety requirements
for electrical equipment.
IMPORTANT TERMS AND SYMBOLS
►NOTE: Safety and warning notes are provided throughout the operating manual and
important information is highlighted. This information and these notes are indicated
by a preceding symbol in combination with a signal word printed in capital letters. The
meaning of the symbols and signal words is as follows:
2A DANGER: indicates an imminent hazardous situation which will lead to death or severe
injuries if it is not avoided.

34
GB
2A WARNING: indicates a possible hazardous situation which could
lead to death or severe injuries if it is not avoided.
2A CAUTION: indicates a possible hazardous situation which could
lead minor or moderate injuries if it is not avoided.
►NOTE: indicates information that is important but not connected to
potentially dangerous situations.
INTENDED USE
The FILL & GO tire mobility system has been developed for private use and is not intended
for commercial use. It can be used for the provisional temporary repair of damage
(punctures in the tread and tire shoulder up to a size of 6 mm) to tubeless passenger car
tires and motorbike tires to enable the journey to a repair garage to be continued at a
maximum speed of 80 km/h (50 mph).
►NOTE: The amount of sealant contained in the mobility set is sufcient for temporary repairs
to one tire.
In addition, the electrical air pump can be used for inating passenger car tires of all
kinds, bicycle and motor bike tires as well as inatable items such as e.g. lilos and rubber
dinghies (instructions see table of contents).

35
GB
STORAGE AND SHELF LIFE
2A CAUTION: The sealant retains its full functional ability within the given shelf life if the
bottle is moved. If the bottle is stored in a vehicle that is driven regularly, the movement
of the vehicle is sufcient. For this reason, we recommend keeping the tire mobility
set in the vehicle. Otherwise it is necessary to shake the bottle vigorously several times
approx. every 3 months. After the use-by date has expired, the sealant must be replaced.
We recommend the exclusive use of original FILL & GO bottles.
2A WARNING: Secure the tire mobility system in the vehicle in such a way that it cannot fall
over or be hurled around and thus cause injuries or damage.
2A CAUTION: When securing it, make sure that the tire mobility system is not weighed down
by heavy weights, thus becoming damaged.
DISPOSAL OF SEALANT
The sealant consists of 99% renewable resources. It can be disposed of with domestic waste.

36
GB
DISPOSAL OF ELECTRICAL AIR PUMP
The electrical air pump must be disposed of through the respective municipal collecting points.
REPAIR OF ELECTRICAL AIR PUMP
2A WARNING: The electrical air pump and the power cable cannot be repaired. If faulty, the
equipment must be disposed of properly.
Do not try to repair the air pump or the power cable yourself.
GENERAL SAFETY AND WARNING NOTES
2A WARNING: > Always keep the FILL & GO mobility system incl. accessories and
packaging material away from pets, babies, toddlers and children under 16 years of age.
> The mobility system can be used by people with limited physical, sensory or metal aptitude
or lack of experience and know-how if they are supervised or have been instructed with
regard to safe use of the equipment and understand the resulting hazards.
> Do not allow people who are not familiar with the mobility system or have not read the
instructions to use it.

37
GB
> In the work area, the user is responsible to third parties for damage caused by use of
the mobility system.
> Never leave the equipment unattended as long as it is switched on, and heed the lling
instructions for vehicle tires as well as for other objects to be lled.
2A CAUTION: > Avoid skin contact with the sealant, since it can cause an allergic reaction
in sensitive people.
> In addition, there is a possibility of severe irritation in the case of contact with eyes, skin
or mucous membranes due to the high pH value.
2A DANGER: When used on vehicles with a combustion engine, the electrical air pump may
only be used outdoors or in areas which are sufciently ventilated.
There is a choking hazard due to vehicle exhaust fumes when the engine is running.
2A WARNING: > To avoid injuries, never direct the equipment at yourself or other people
during operation, especially not towards eyes, nose, mouth and ears.
> Never expose the equipment to extreme temperatures, uctuations in temperature, high
air humidity, direct sources of heat, hot surfaces and open sources of re, heavy mecha-
nical loads, direct sun radiation, excessive dust development and humidity.
2A DANGER: > To avoid electric shocks, never immerse the equipment in water or other
liquids. Do not allow liquids to get inside the equipment.
> Never touch the equipment and the connection plug with wet hands. Make sure that the
connection plug never gets wet or damp during operation.
2A WARNING: > Never make any changes to the equipment. Do not open the housing under
any circumstances. Do not insert any objects into the housing.
> Check the equipment regularly for damage and visible signs of use.
38
GB
> Do not put the equipment into operation or stop its operation immediately and no longer
use it if it is damaged.
2A DANGER: > Pull the connection plug out when not in use, before any cleaning work or
in the event of malfunctions, hazardous situations or damage to the power cable from
the 12 V socket.
> To avoid overheating and short-circuits, only connect the equipment to a 12 V socket that
has been installed properly. Before connecting to the mains supply, check that the type of
current and mains voltage correspond to the specications on the equipmentʼs type plate.
> To avoid overheating, keep all the equipment openings clear during operation. Do not
seal the openings and do not cover the equipment. Keep the air intakes free of all objects
that could be suctioned in.
2A CAUTION: The equipment becomes hot at the ll hose during operation. To avoid
burns, do not touch the hot surfaces. There is a risk of burning following contact with
hot surfaces.
2A WARNING: Do not use the equipment during driving.
2A DANGER: > Do not work with the equipment in a potentially explosive environment
which contains combustible liquids, gases or dusts.
> Make sure that no sand, dirt or small foreign objects get into the air inlet or air outlet
openings.
> Switch the equipment off and pull the connection plug out of the 12 V socket if: you are
not using the equipment, you leave the equipment unattended, you are carrying out
cleaning work, the power cable is damaged or following the ingress of foreign objects or
the occurrence of abnormal noises.

39
GB
FIRST-AID MEASURES
If you should suffer any soiling, irritation, accidents or injuries in connection with the tire
mobility system, please take the appropriate rst-aid measures:
> If clothing has become soiled and dampened with the sealant, take it off immediately.
If complaints persist, consult a doctor.
> Following skin contact with the sealant: Wash off using soap and plenty of water.
If skin irritation persists, consult a doctor.
> Following eye contact with the sealant: Rinse immediately, including under the eyelid,
with plenty of water, for at least 15 minutes. If eye irritation persists, consult a specialist.
> After swallowing sealant: Rinse your mouth out and drink lots of water.
Never pour anything into an unconscious personʼs mouth. Do not induce vomiting.
Call a doctor immediately.
> After inhaling on re gases or decomposition products following an accident:
Take people affected out into the fresh air. Seek medical advice if you feel unwell.
> If hearing damage has occurred due to the fact that you have used the electrical air
pump to inate unsuitable objects and made these burst – please consult an ear spe-
cialist or emergency doctor immediately.

40
GB
DESCRIPTION
FILL & GO TIRE MOBILITY SYSTEM & ELECTRICAL AIR PUMP
Electrical air pump
1 12 V power cable with
1a 12 V connection plug (in the stowage compartment on the underside of the equipment)
2 On/off switch (ON/OFF)
3 Manometer with air pressure display (in psi and bar)
4 Valve button for discharging air
5 Slot for sealant bottle
6 Plug-in connection for sealant bottle or ll hose
7 Fill hose (in the stowage compartment on the underside of the unit) with
7a threaded connection to the tire valve and
7b hose connector for the air pump
Sealant bottle
8 Plug-in connection to the electrical air pump
9 Plug-in connection for the ll hose
Accessories
10 Various adapters (pictures can deviate from contents)
11 Gloves

41
GB
1a
12
4
6
5
3
8 9
10
7a
7
7b
11

42
GB
INSTRUCTIONS FOR THE USE OF FILL & GO
IN THE EVENT OF A FLAT TIRE
You will nd the respective photo illustration on pages 3–4
(see fold-out page, front).
► NOTE: Read the entire operating manual incl. all safety and warning notes
through carefully before use.
2A WARNING: Failure to comply with the following information and instructions may result in
property damage, electric shock, re, serious injury and/or danger to life. This operating
manual must also be passed on when the mobility system is handed over to third parties.
If you discover a at tire, drive your car out of the danger zone, activate the parking brake
and secure your location according to regulations. Localise the damage. If you should see
foreign objects, please only remove them if they are protruding a long way out.
2A DANGER: Please note that the electrical air pump may only be used on vehicles with
1

43
GB
a combustion engine outdoors and in areas with sufcient ventilation (e.g. in garages
with the doors open). There is a choking hazard due to vehicle exhaust fumes when
the engine is running.
With the FILL & GO mobility set you can carry out temporary repairs to punctures of a size of
around 6 mm in the tread and tire shoulder (Fig. 1a).
2A WARNING: In the event of more major damage to tires and rims (e.g. cracks or bumps)
or if you have been driving for a longer period with very low air pressure, you must not
use the mobility set (Fig. 1b).
Take the sealant bottle and electrical air pump out of the packaging (Fig. 2).
2A CAUTION: The sealant is made up of natural latex. Skin contact must be avoided due to pos-
sible allergic reaction. Do not drink the sealant. In the event of the contents of the bottle being
drunk although this is prohibited, a doctor must be consulted without delay.
Take the ll hose and the 12 V power cable out of the stowage compartment on the underside of
the electrical air pump (Fig. 3).
2
3

44
GB
Remove the speed limit sticker (max. 80 km/h; max. 50 mph) on the base of the bottle (Fig. 4a)
and stick it in a clearly visible place on the dashboard (Fig. 4b).
Take the ll hose and insert it into the plug-in connection on the bottle (Fig. 5).
Slide the bottle with the yellow plug-in connection facing downwards into the slot provi-
ded on the electrical air pump until it latches into place and you hear it “click„ (Fig. 6).
Screw the cap off the tire valve and screw the free end of the hose onto the valve of the
faulty tire (Fig. 7).
2A CAUTION: Make sure that the electrical air pump is switched off, in other words that the on/
off switch is set to OFF.
6
7
8
4
5

45
GB
Connect the 12 V power cable of the electrical air pump to the 12 V socket or the cigarette
lighter (Fig. 8a) and ensure the power supply, depending on your vehicle (drive) (see vehicle
manual if applicable).
To go easy on the vehicle battery, we recommend starting the engine of vehicles with a com-
bustion engine (Fig. 8b) – ensure sufcient ventilation. For vehicles with an electrical motor, we
recommend switch other electrical equipment off during operation of the electrical air pump.
2A DANGER: The electrical air pump should not be operated unattended. Children under 16
years of age must not use the electrical air pump unattended.
Then start the electrical air pump by setting the on/off switch to ON (Fig. 9a). Sealant is
lled within a short time and the tire inated (Fig. 9b). How long the process takes de-
pends on the extent of the damage. As soon as the air pressure indicator (manometer) has
reached the prescribed air pressure, switch the electrical air pump off (switch to OFF) and
read off the air pressure again (Fig. 9c).
If it is still too low, top up a little air. You will nd the air pressure prescribed by the
manufacturer for your vehicle inside the driver door (B-pillar) or the tank cap. If the air
pressure is too high, you can release it by intermittently pressing the valve button on
the electrical air pump (Fig. 9d).
9

46
GB
2A DANGER: > The pumping process must be terminated at the latest when the maximum
pressure according to the vehicle manufacturer has been reached.
> The electrical air pump should not work for more than 10 minutes in constant operation.
We recommend allowing it to cool for approx. 30 minutes before using it again.
> If the prescribed air pressure is not achieved because the tire is not sealed yet, the mini-
mum air pressure for continuing your journey is 1.6–1.8 bar (23–26 psi; 160–180 kPa).
Remove the electrical air pump hose carefully from the tire valve and unplug the 12 V con-
nection plug from the 12 V socket. Stow the FILL & GO mobility set in the vehicle in such
a way that it is secured again and you can access it again quickly (watch out for possible
dripping at the tire ll hose).
Then start your journey immediately.
10
11

47
GB
2A WARNING: Note that for safety reasons you may not drive faster than 80 km/h (50 mph)
with a tire that has undergone temporary repair.
Then drive for approx. 10 minutes with the vehicle to distribute the sealant in the tire and
thus seal the tire from the inside. Then check the tire air pressure again by connecting
the ll hose of the electrical air pump to the valve. You do not need the 12 V power cable
for this, nor does the air pump have to be switched on. The current tire pressure is indi-
cated automatically.
2A WARNING: If tire air pressure has dropped again after approx. 10 minutes, you have to ina-
te tire again and continue driving for approx. 10 minutes. To do this, connect the 12 V power
cable of the air pump to the 12 V socket or the cigarette lighter in your vehicle again and start
the engine (as described under section 8 and 9).
2A WARNING: If the required tire air pressure is not achieved after the 2nd attempt, the tire
may be too badly damaged and provisional temporary repairs impossible. In this case,
you should contact a breakdown service or specialist workshop without delay.
If the air pressure remains stable, you can continue driving at a max. speed of 80 km/h
(50 mph) to the next workshop. Inform the workshop about the temporary tire repair with
the sealant.
12

48
GB
2A WARNING: Please note that you must not drive more than approx. 300 km (approx. 190
miles) with the provisionally repaired tire.
After use, the sealant bottle can be disposed of with domestic waste, it should not remain in
the vehicle. The electrical air pump can be used frequently and should be stowed safely in
the vehicle again.
►NOTE: After you have used the sealant, you should purchase a replacement bottle
quickly, so that you can carry out a provisional temporary repair again in the event of tire
damage. We recommend the exclusive use of original FILL & GO bottles.
13

49
GB
INSTRUCTIONS ON INFLATING A TIRE
WITHOUT DAMAGE
You will nd the respective photo illustration on pages 269–270 (see fold-out page, back).
You can also use the electrical air pump to increase the air pressure in the tire without
this being damaged.
► NOTE: Read the entire operating manual incl. all safety and warning notes through
carefully before use.
2A WARNING: Failure to comply with the following information and instructions may result in
property damage, electric shock, re, serious injury and/or danger to life. This operating
manual must also be passed on when the mobility system is handed over to third parties.
Drive the vehicle to a location where you can work safely, activate the parking brake and
secure your location according to regulations.
1
Table of contents
Other Dunlop Automobile Accessories manuals

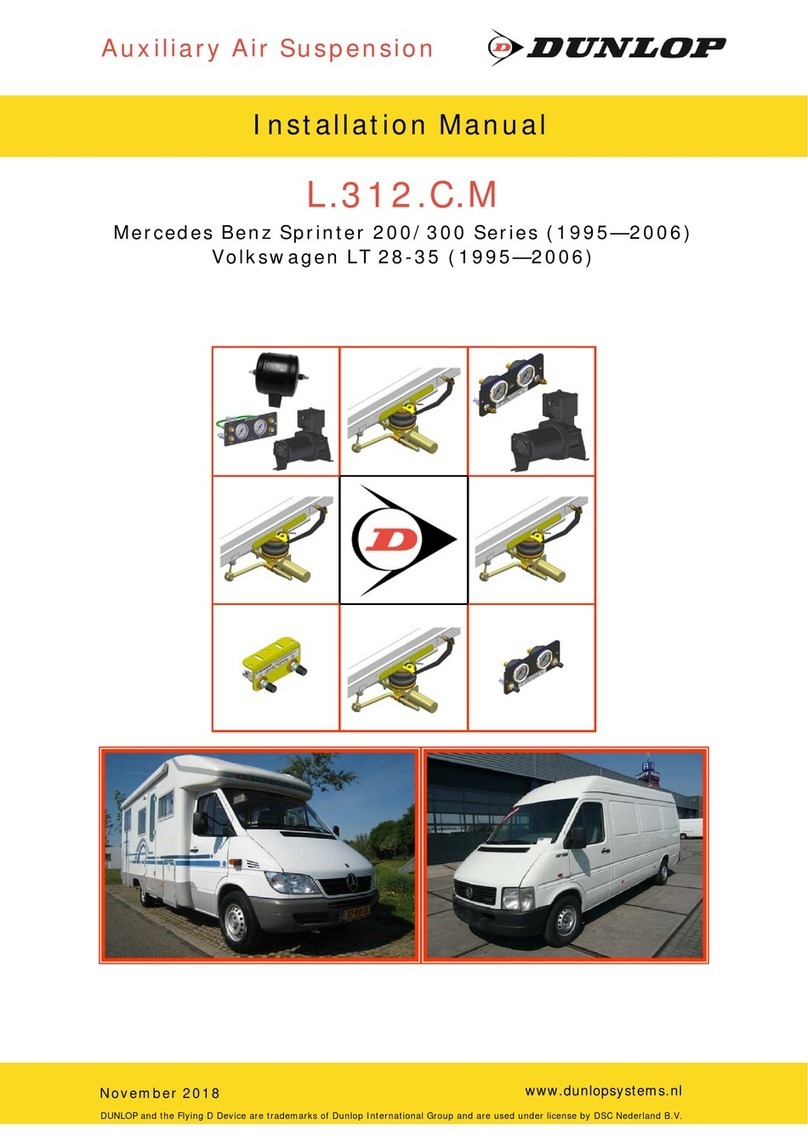
Dunlop
Dunlop L.SPR.18R.C.M User manual

Dunlop
Dunlop L.412.C.M User manual

Dunlop
Dunlop L.312.C.M User manual

Dunlop
Dunlop L.CRA.17D.C.M User manual

Dunlop
Dunlop L.NAV.05.C.M User manual

Dunlop
Dunlop L.AMA.10.C.L User manual

Dunlop
Dunlop L.SPR.18D.C.M User manual

Dunlop
Dunlop L.D84.C.M User manual

Dunlop
Dunlop L.MAS.MOV.C.M User manual

Dunlop
Dunlop L.KI.C2-C4.C.M User manual