DVDO EDGE User manual

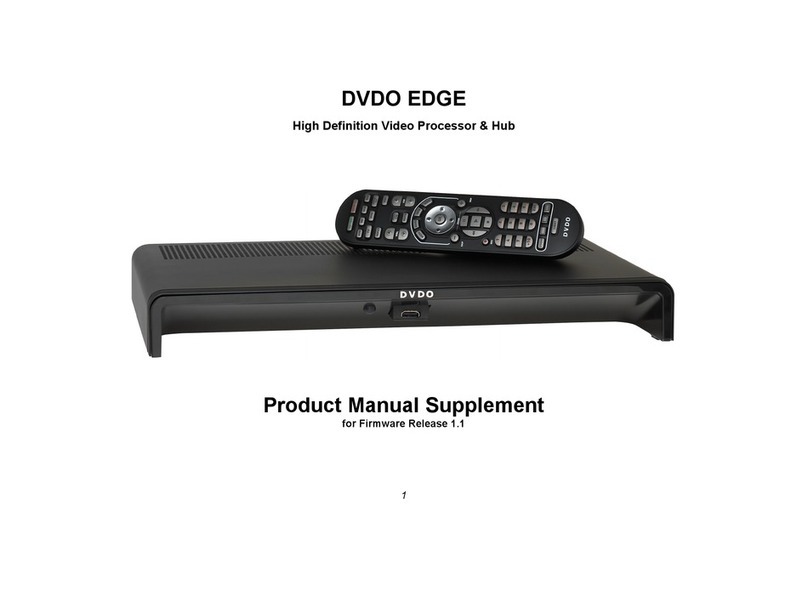
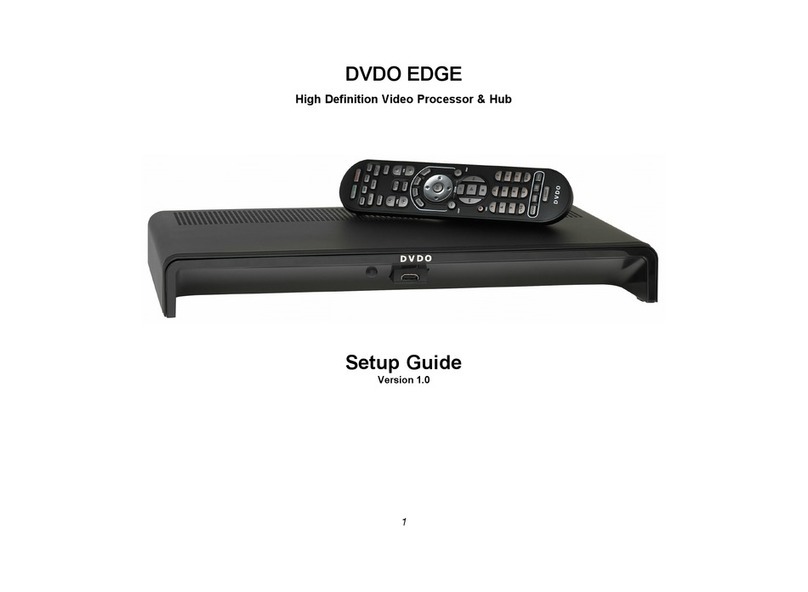
DVDO EDGE
High Definition Video Processor & Hub
Product Manual Supplement
for Firmware Releases 1.1 and 1.2
1

Table of Contents
Section 1: About this Supplement 3
Section 2: What’s new in EDGE Firmware Release 1.1? 3
Section 3: How to Update Firmware for your DVDO EDGE 4
Updating EDGE Firmware using a PC 6
Updating EDGE Firmware using a Macintosh Computer 7
Section 4: Advanced Controls 8
Test Patterns 9
1:1 Frame Rate 10
Safe Mode 11
Underscan 12
Output Color Space 12
Output Colorimetry 13
Output Video Level 14
Input Video Level 15
PReP 16
Section 5: What’s new in EDGE Firmware Release 1.2? 17
Section 5: Important note about Firmware v1.2 18
Section 6: New Features in the Main Menu
Deinterlacer Bias Controls 19 - 20
Section 7: New Features in the Settings Menu
Auto Wake Up 21 - 22
Auto Standby 23 - 24
Component Input 25 - 26
Section 8: New Features in the Advanced Controls Menu
PReP 27 - 29
Hot Plug Source 30 - 31
2

Section 1: About this Supplement
This manual provides additional information for the DVDO EDGE configured with Firmware version 1.1 or 1.2 It is a supplement to the
EDGE user manual.
Sections 2 through 4 describe new features in firmware version 1.1 This section is identical to the document titled “User Manual
Supplement v1.1.”
Sections 5 through 7 describe new features in firmware version 1.2. Firmware v1.2 was released publicly in April 2009.
Section 2: What’s new in EDGE Firmware Release 1.1?
EDGE Firmware v1.1 is the result of 2+ months of development and testing beyond the original v1.0 firmware what is currently shipping.
This firmware release is recommended to all EDGE owner because it makes EDGE a more robust, and compatible product. In addition, it
adds a number of improvements and advanced new features to EDGE:
• Improves compatibility and performance with inputs Video Game Consoles
• Improves compatibility with inputs from computers, including Home Theater Personal Computers
• Improves HDCP related display compatibility
• Reduces blue screen flashing when switching inputs
• Improved input switching
• Doubles granularity of all picture controls
• Improves the performance of Mosquito Noise Reduction
• Performs automatic Chroma Upsampling Error Correction (CUE)
• Info button enters and exits info screens (did not exit in v1.0)
• Adds a “Advanced Controls” selection to the “Settings” Menu including these new features:
- 35 test patterns which are automatically sized for the output format with correct colorimetry.
- 1:1 Frame Rate feature, allows output frame rate to track input, for users who play both 50Hz and 60Hz video
- Fail Safe Mode, uses Guide button to restore picture if display blanks due to 1:1 Frame Rate
- Output Color Space: choose between RGB, YCbCr 4:4:4, YCbCr 4:2:2
- Output Colorimetry: choose between ITU.601 or ITU.709 color standards, or let EDGE choose automatically
- Output Video Level: choose between Video Levels, or Computer Levels, or let EDGE choose automatically
- Input Video Level: choose between Video Levels, or Computer Levels, or let EDGE choose automatically
- PReP Control: lets user’s disable PReP, or let EDGE enable PReP automatically
-
3

Section 3: How to Update Firmware for your DVDO EDGE
To update EDGE firmware, you will need the following items:
1. An internet connected PC or Macintosh computer.
2. A USB to Mini USB cable as shown in the photo below. This cable is commonly used to connect digital cameras to computers.
3. A tool for pressing the reset button on EDGE. A straightened paper clip as shown in the photo below will work.
4

Note about Firmware Updates
A firmware update will reset EDGE to its factory default state. If you want to save any of the menu settings you have made, you should write
them down before you update the firmware, so that you can restore them after you update the firmware.
Connect EDGE to your computer
The smaller connector on the Mini-USB cable will connect on the back of EDGE. Next to the Mini-USB connector, there is a little hole; the
RESET button is inside that hole. The Reset Button and the Mini-USB connector are shown in the photo below.
Mini-USB Connector
Reset Button
5

Updating EDGE Firmware using a PC
1. Download the PC version of the EDGE firmware onto your computer from the website at www.dvdo.com/edge
2. Connect the Mini-USB to USB cable; the large end connects to your computer and the small end connects to EDGE.
3. Power up EDGE (if it is not powered up already).
4. Using your paperclip Reset tool, press the RESET button on EDGE and hold it until the front LED stops flashing and remains steady on.
This takes about 5 seconds.
5. Now, an EDGE icon should appear on your PC’s desktop. EDGE looks like a mass storage device to your PC.
6. Double click on the EDGE icon. You should see a file (the file name will be EDGE_100.abt (or similar). Select that file and delete it.
7. Open the EDGE firmware file. You PC should have converted the “.zip” file to a file with a “.abt” extension. The filename should be
EDGE_110.abt (or similar). Copy the “.abt” file into the EDGE icon.
IMPORTANT: Make sure the file you are copying to EDGE has a .abt extension.
8. After the file has been copied, unplug the USB cable. This will reset EDGE; when it comes out of reset, it will be running the new
firmware.
After coming out of RESET, EDGE will be in a factory default state, which means that EDGE will run the setup Wizard. So, the first thing you
will see is the Wizard screen. You can either use the Wizard to restore your settings, or press the LEFT arrow button on the remote to exit
the Wizard.
You can verify that the new firmware is running by pressing the INFO button and using the arrow button on your remote to get to the firmware
version page.
6

Updating EDGE Firmware using a Macintosh Computer
The Macintosh installer with work with MacOS versions
For MacOS 10.4 and later versions.
1. Download the Mac version of the EDGE firmware onto your computer.
2. Double click on the icon; a new icon named “DVDO EDGE Updater vxxx” should appear. This is the updater application.
3. Connect the Mini-USB to USB cable; the large end connects to your computer and the small end connects to EDGE.
4. Power up EDGE if it is not already.
5. Using your paperclip Reset tool, press the RESET button on EDGE and hold it until the front LED stops flashing and remains steady on.
This takes about 5 seconds.
6. An EDGE icon should appear on your Mac’s desktop. EDGE looks like a mass storage device to your Mac.
7. Double click on the DVDO icon. A status window will appear on your desktop. The window will automatically disappear when the update
process is finished. The EDGE icon will also disappear.
8. Unplug the USB cable. This will reset EDGE and when it comes out of reset, it will be running the new firmware.
After coming out of RESET, EDGE will be in a factory default state, which means that EDGE will run the setup Wizard. So, the first thing you
will see is the Wizard screen. You can either use the Wizard to restore your settings, or press the LEFT arrow button on the remote to exit
the Wizard.
You can verify that the new firmware is running by pressing the INFO button and using the arrow button on your remote to get to the firmware
version page.
7

Section 4: Advanced Controls
A new set of controls is now available for advanced users and calibration professionals. They are located in the “Settings” menu under
“Advanced Controls.”
The EDGE design concept is to create a product that automatically adjusts and configures itself for the variety of video formats, color
spaces, signal levels. The consumer electronics industry has specified a number of methods by which products communicate with each
other for self-configuration. Sometimes, these communication methods are incorrectly implemented. The advanced features give you a
way to manually make adjustments that previously were performed automatically.
For most of these settings, there is an “Auto” choice, which is the same function as in Firmware 1.0, but with manual selections that give you
control over these functions.
In general, the safest thing to do with these settings is to leave them in their default state.
8

Test Patterns
There are 35 test patterns available, for advanced users and calibration professionals. These patterns automatically resize, and use the
correct colorimetry for the current output format.
Test patterns are useful for calibration of your setup.
9

1:1 Frame Rate
When 1:1 Frame Rate is enabled, the output frame rate from EDGE will track the input frame rate. This avoids performing frame rate
conversion, which can result in stuttering motion in some cases.
If 1:1 Frame Rate is disabled, then the output frame rate from EDGE will be fixed.
The 1:1 Frame Rate feature is useful when you need to display video from both 60Hz and 50Hz sources, as long as your video display can
operate at both frame rates. Some video sources, such as Blu-Ray DVD players, can output 24Hz video. If you have a 24Hz source and your
display can also accept 24Hz, then enabling 1:1 Frame Rate will allow the 24Hz video to pass through EDGE from source to display.
10

Safe Mode
Use GUIDE
button to
enter and
exit Safe Mode
Safe Mode is a new feature in Firmware v1.1. It is entered
and exited by pressing the GUIDE button when the remote
is in DVDO mode.
Safe Mode was added to solve a potential problem when using
1:1 Frame Rate. When 1:1 Frame Rate mode is enabled, EDGE’s
output frame rate will track the input frame rate, which means that
EDGE’s output frame rate can and will change.
If a display can not support the new frame rate, it may go blank,
leaving you with no picture. If that happens, you can press the
GUIDE button to enter Safe Mode.
In Safe Mode, EDGE will revert to an output format that will give
you a picture. You will have access to the menus and you can
make whatever changes you need to prevent the screen from
going blank. Usually, the change you need to make is to disable
1:1 Frame Rate.
Safe Mode also resets Underscan back to 0, because Underscan
can also cause a breakup in your picture under certain conditions.
If you make changes to menus while in Safe Mode, these changes
do not take effect until you exit Safe Mode.
11

Underscan
The Underscan control has not changes from Firmware v1.0. But Underscan is effected by Safe Mode as mentioned on the previous page.
Output Color Space
The Output Color Space control provides 4 choices for output color space. If you are unsure what to use, Auto is the safe choice.
Auto: works like v1.0; usually output color space will be RGB
RGB: Red, Green, Blue color space standard using 8 bits per primary color.
YCbCr 4:4:4: Component color space used for video standards; 8 bits per component.
YCbCr 4:2:2: Component color space used for video standards: 10 bits per component.
12

Output Colorimetry
Colorimetry refers to the standards by which RGB is converted to YCbCr. There are two standards for performing this conversion:
ITU BT .601: This is the colorimetry standard for Standard Definition video formats.
ITU BT .709: This is the colorimetry standard for High Definition video formats.
13

Output Video Level
Video Levels refer to the dynamic range of the video signals themselves. The video industry evolved levels that allowed for some guard
band in the signal levels to account for overshoot or other signaling problems. The computer industry evolved levels that allocate the entire
dynamic range possible for the image information.
EDGE must drive video displays, which use video signaling levels, and computer displays which use computer signal levels.
The Output Video Level control gives you control over what signaling levels are output from EDGE.
14

Input Video Level
This control is similar to the Output Video Level control described on the previous page, except that it applies to input video signals.
Video Levels refer to the dynamic range of the video signals themselves. The video industry evolved levels that allowed for some guard
band in the signal levels to account for overshoot or other signaling problems. The computer industry evolved levels that allocate the entire
dynamic range possible for the image information.
EDGE must accept signals from video components, such as DVD players, set top boxes, video recorders, etc. Most of these devices use
video signaling levels. EDGE must also connect to personal computers and came consoles, which may use computer signal levels.
The Input Video Level control gives you control over what signaling levels are used for inputs
15

PReP
PReP is an exclusive processing technology developed by Anchor Bay Technologies.
Standard definition input formats such as 480p, 576p, and were deinterlaced at some point before reaching EDGE. Deinterlacing is a
complex processing technology that has a significant impact on image quality. The deinterlacing in EDGE uses Anchor Bay Technologies'
high performance VRS Deinterlacer.
PReP accepts one of the formats mentioned, and reconverts it back into an interlaced format. It can then be deinterlaced again using the
VRS technology in EDGE, which usually results in a higher quality picture.
The PReP control allows users to disable this function. Most users will never need to disable PReP.
16

Section 5 Firmware v1.2 released April 2009: What’s new in EDGE Firmware Release 1.2?
Improved audio handling and audio compatibility
Improved compatibility with analog component inputs
Improved compatibility with game consoles
Improved compatibility with PCs
Improved switching with less flashing
Improved power efficiency
New PReP feature for 1080p inputs
New user option for enabling PReP for Standard Definition or High Definition inputs
New user control “Hot Plug Source” improves switching with certain source components
New user options over deinterlace processing
New user options for controlling automatic power down
New user options for controlling automatic power on
New user options for controlling analog component inputs
New data structure for user preferences eliminates the requirement for to restore factory defaults when
updating firmware. Future firmware updates will not erase the user’s preferences.
17

Section 5: Important note about Firmware v1.2:
Firmware v1.2 includes a new data structure for storing user preferences. This was added to eliminate the need to restore factory defaults
following firmware updates. This in turn eliminates erasing user preferences when firmware is updated in the future.
The new data structure is built in EDGE’s memory immediately after copying the firmware to EDGE and unplugging the USB cable. During
the time it takes to build the data structure, EDGE’s front LED will flash red/green.
After the new firmware is copied to EDGE and the USB cable is disconnected, the front LED will flash red/green for 2-4 minutes. This
is normal for this firmware. Just wait for it to stop flashing.
18

Section 6: New Features in the Main Menu
Deinterlacer Bias Controls
EDGE users have some control over how deinterlace processing using the Deinterlacer selection in the Main Menu. This control was put
into the Main Menu to allow quick access. The “Deinterlacer” control was added in response to requests from EDGE users in 50Hz (PAL)
countries.
Deinterlacer Bias Controls are continued on the next page.
19

Section 6: New Features in the Main Menu
Deinterlacer Bias Controls
These controls require the user to have some knowledge of the original source type of the motion picture. If you are unsure, leave this
setting on “Auto.”
Auto: Deinterlacer will automatically detect the original source type and process accordingly.
Film: Biases the detection toward film. Choosing “Film” may improve deinterlacing performance for motion pictures that were originally
shot on film
Video: Biases the detection toward video cameras. Choosing “Video” may improve deinterlacing performance for motion pictures that were
originally shot with video cameras.
20
Other manuals for EDGE
2
Table of contents
Other DVDO Media Converter manuals

DVDO
DVDO EDGE User manual

DVDO
DVDO DVD VCR Combo Configuration guide

DVDO
DVDO iScan Ultra User manual

DVDO
DVDO iScan VP50 User manual

DVDO
DVDO iScan VP20 Operating instructions

DVDO
DVDO iScan VP50PRO User manual

DVDO
DVDO iScanPlus V2 User manual

DVDO
DVDO High Definition Video Processor & Hub Edge User manual

DVDO
DVDO iScan VP20 User manual

DVDO
DVDO DVDO-DAConv-1 User manual