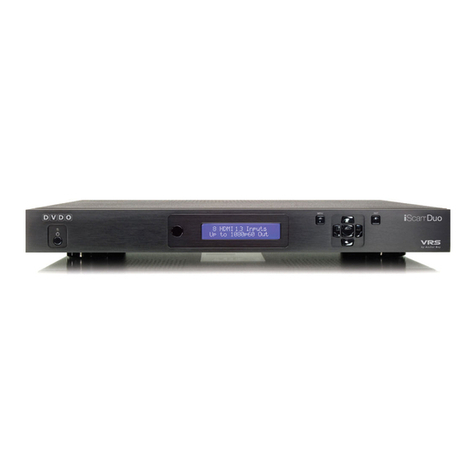
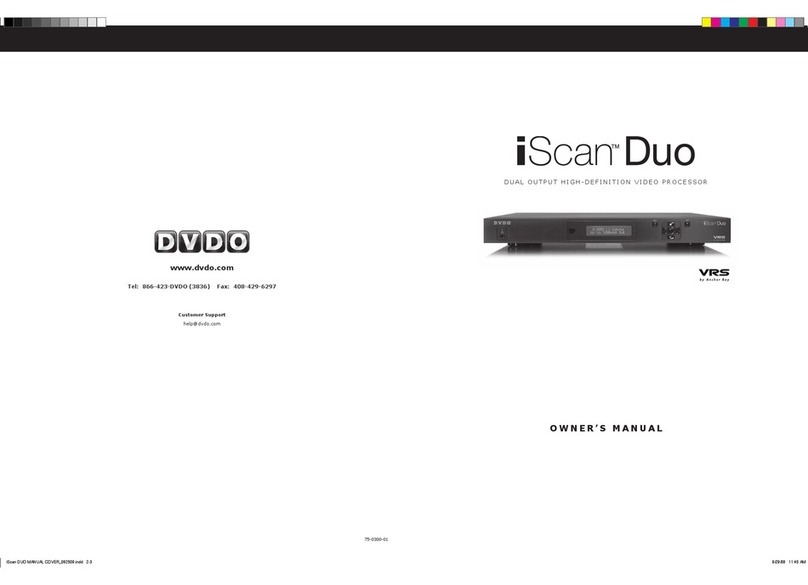
DVDO iScan Duo User manual

1. What should I do if my iScan Duo is not functioning correctly?
Restore the iScan Duo to its factory default state.
a. Using the remote control:
• Press the MENU button
• Press the
button until the FPD shows Confi guration
• Press ENTER
• Press the
button until the FPD shows Factory Defaults
• Press ENTER
• Press the
button until the FPD shows All Defaults
• Press ENTER
• Press the
button to select Yes
• Press ENTER
The iScan Duo will be restored to its factory default state.
b. Using the buttons on the front panel:
• Apply power to the iScan Duo
• Press the MENU, EXIT and POWER buttons simultaneously until
the FPD shows Factory Default — Please wait . . .
2. Why is the blue Status LED blinking on the front panel
of my iScan Duo?
The Status LED on the iScan Duo will blink blue if it is processing an HDCP
protected signal on its HDMI inputs and it is unable to authenticate with
the display. Verify that your display is HDCP-compliant. If your display
is not HDCP-compliant then you will need to use the analog connections
from your source. If your display is HDCP compliant, check your cabling
and try new cables, if possible, or try cycling the power on your display or
HDCP source to force reauthentication between your display and source.
3. Will I lose the settings on my iScan Duo if I update the
software version?
The iScan Duo will typically not lose its settings after performing a soft-
ware update. DVDO will inform users if a software update will erase the
iScan Duo’s settings. Please take note of your settings before updating
your software.
Questions?
Contact us directly at help@dvdo.com or by phone at:
866.423.DVDO
(Monday - Friday, 9 am to 5 pm PST)
www.dvdo.com
Troubleshooting
QUICK START GUIDE
DUAL OUTPUT HIGH-DEFINITION VIDEO PROCESSOR
Unpack the box
Remove the components and iScan Duo from the box.
Save the packing materials in case you need them later.
Review the documentation for important information.
Notice: The information contained on this Quick Start card, including but not limited to any product speci cations, is subject to change without notice.
Check the components
• iScan Duo Video Processor
• Universal 12V@5A AC-to-DC Power Converter
• US IEC Power Cord (International Customers, consult your local authorized DVDO reseller)
• Remote Control
• iScan Duo Owner’s Manual
• Serial Cable for Automation
• Rackmount Kit
• Std-A plug to Mini-B plug 5-pin USB cable
If any items are missing or damaged, please notify your dealer immediately.
Quick Note
This Quick Start Guide has been created to assist you in the rst step of setting up your iScan Duo system. It involves displaying the iScan
Duo’s On Screen Display (OSD) on your screen.
Using the iScan Duo’s OSD allows the user to navigate the menu system, and lets the user know that the iScan Duo is sending a compatible
signal to the display. If the OSD is not visible on the display’s screen by pressing one of the sub-menu buttons on the remote control, then
the iScan Duo’s output must be congured to work with the input that is being used on the display. Following all of the steps provided should
allow you to see the OSD.
To best set up your iScan Duo unit with your display, we recommend that you consult your iScan Duo Owner’s Manual – Section 3 – Setup.
Instructions in bold apply to specic buttons on either the front panel or remote control of the iScan Duo. Instructions in italics (top line /
bottom line) apply to information that is displayed on the Front Panel Display (FPD).
STEP 1 - Powering Up
Attach the removable power cord to the external power supply. Plug the removable power cord into a wall outlet or power conditioner, if
applicable. Plug the small connector attached to the cable that comes out of the power supply into your iScan Duo. Your iScan Duo should
power on and display iScan Duo — DVDO on the FPD. The Status LED on your iScan Duo will turn red indicating that there are no active
inputs detected.
STEP 2 - Connecting the iScan Duo in your system
Displays with a Digital Input (HDMI or DVI-D)
HDMI is backwards compatible with DVI-D with the use of either a cable or adapter. Connect the iScan Duo’s HDMI 1 output to your display.
If your display has an HDMI input, use an HDMI-to-HDMI cable. If your display has a DVI-D input, use an HDMI-to-DVI cable or adapter.
The default output on the iScan Duo is HDMI 1. The iScan Duo automatically outputs the preferred output format of your display. Once
connected, press the MENU button and you should see the iScan Duo’s OSD.
HDMI DVI-D
RG B V
H/Cs
PR/CRPB/CBY
PRPBY
RG B V
H/Cs
PR/CRPB/CBY
PRPBY
Front and Back Panel
MENU EXIT
H D M I
1 2 3 4
INPUT
OUTPUT
1
3
2
4
SERIAL PORT
ANALOG AUDIO INPUT
Y(G) Pb (B) Pr (R) H V
DC In
Y(G) Pb (B) Pr (R)
1
2
1
2
1
2
1
2
L R
ANALOG VIDEO
I
N
P
U
T
S
I
N
P
U
T
O
U
T
P
U
T
Front Panel Display (FPD) Navigation Keys
Up
Power Left Down Right
Menu Exit
Power
Video 1
Video 2
Optical
Digital
Output
Coaxial
Digital
Output
Optical
Digital Input
1 & 2
Coaxial
Digital Input
3 & 4
Serial Port
S-Video 1
S-Video 2
Component/RGBS 2
Component/RGBS 1
RGBHV/Component
Output
HDMI Inputs
1–4
HDMI Output
Analog Audio
Input
D I G I T A L A U D I OS-VIDEO VIDEOSYNCPOWER
HD-SDI Inputs (Optional)
1 & 2
RGBHV/Component
Input
IR WindowStatus LED Enter
COMPONENT
12V Triggers
1 & 2
MENU EXIT
Front Panel Display (FPD) Navigation Keys
Up
On/Standby Left Down Right
Menu Exit
IR WindowStatus LED Enter
1 2 3 4 5 6 7 8
VGA
SERIAL PORT
VIDEO 3
Y(G) Pb (B) Pr (R) VIDEO/S
12V DC 5A
1
2
1
2
1 2 1 2 3
L R L R
D I G I T A L A U D I O I N P U T S
A U D I O OU T
T RI GGE R OU TA N A L O G A U D I O I N P U T S
12VDC 50 mA MAX
1 2
1 2 I N
O U T
S-VIDEO
AUDIO
A N A L O G V I D E O I N P U T S H D M I I N P U T S H D M I O U T P U T S
USB POWER
I R
HDMI Inputs
1–8
HDMI Outputs
1–2
PowerRemote
Control
Jacks
Mini USB
Port
S-Video
Optical Digital
Output
Optical
1 – 3
12V Triggers
1 & 2
Analog Audio Inputs
1 & 2 Serial Port
HDMI Audio
Output
Coaxial
Video 3 Component 1
Component 2 VGA PortVideo 2
Video 1
Digital Audio Inputs

1. What should I do if my iScan Duo is not functioning correctly?
Restore the iScan Duo to its factory default state.
a. Using the remote control:
• Press the MENU button
• Press the
button until the FPD shows Confi guration
• Press ENTER
• Press the
button until the FPD shows Factory Defaults
• Press ENTER
• Press the
button until the FPD shows All Defaults
• Press ENTER
• Press the
button to select Yes
• Press ENTER
The iScan Duo will be restored to its factory default state.
b. Using the buttons on the front panel:
• Apply power to the iScan Duo
• Press the MENU, EXIT and POWER buttons simultaneously until
the FPD shows Factory Default — Please wait . . .
2. Why is the blue Status LED blinking on the front panel
of my iScan Duo?
The Status LED on the iScan Duo will blink blue if it is processing an HDCP
protected signal on its HDMI inputs and it is unable to authenticate with
the display. Verify that your display is HDCP-compliant. If your display
is not HDCP-compliant then you will need to use the analog connections
from your source. If your display is HDCP compliant, check your cabling
and try new cables, if possible, or try cycling the power on your display or
HDCP source to force reauthentication between your display and source.
3. Will I lose the settings on my iScan Duo if I update the
software version?
The iScan Duo will typically not lose its settings after performing a soft-
ware update. DVDO will inform users if a software update will erase the
iScan Duo’s settings. Please take note of your settings before updating
your software.
Questions?
Contact us directly at help@dvdo.com or by phone at:
866.423.DVDO
(Monday - Friday, 9 am to 5 pm PST)
www.dvdo.com
Troubleshooting
QUICK START GUIDE
DUAL OUTPUT HIGH-DEFINITION VIDEO PROCESSOR
Unpack the box
Remove the components and iScan Duo from the box.
Save the packing materials in case you need them later.
Review the documentation for important information.
Notice: The information contained on this Quick Start card, including but not limited to any product speci cations, is subject to change without notice.
Check the components
• iScan Duo Video Processor
• Universal 12V@5A AC-to-DC Power Converter
• US IEC Power Cord (International Customers, consult your local authorized DVDO reseller)
• Remote Control
• iScan Duo Owner’s Manual
• Serial Cable for Automation
• Rackmount Kit
• Std-A plug to Mini-B plug 5-pin USB cable
If any items are missing or damaged, please notify your dealer immediately.
Other manuals for iScan Duo
3
Table of contents
Other DVDO Media Converter manuals

DVDO
DVDO iScan VP50PRO User manual

DVDO
DVDO iScan Ultra User manual

DVDO
DVDO iScanPlus V2 User manual

DVDO
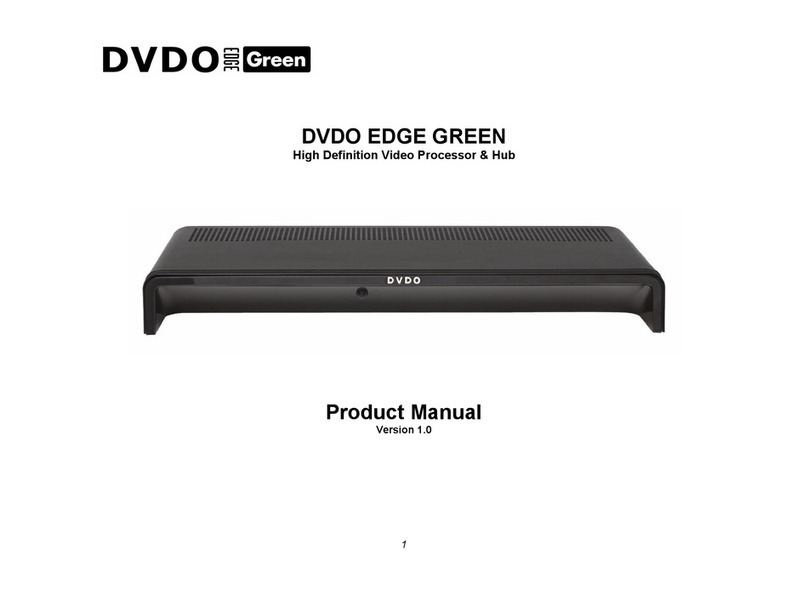
DVDO EDGE GREEN User manual

DVDO
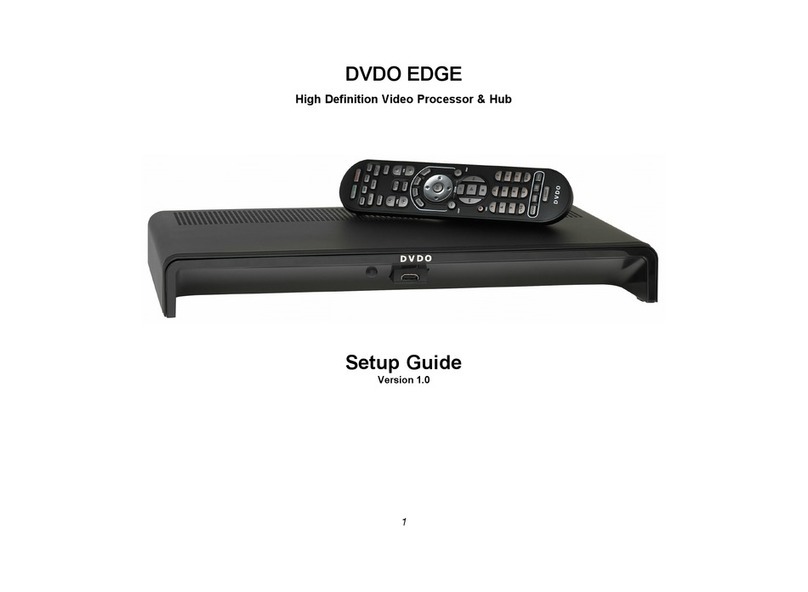
DVDO High Definition Video Processor & Hub Edge User manual

DVDO
DVDO DVDO-VGAHDMI-1 User manual

DVDO
DVDO iScan Duo User manual

DVDO
DVDO DVD VCR Combo Configuration guide

DVDO
DVDO iScan VP20 Operating instructions

DVDO
DVDO iScan VP50 User manual