Dwyer Instruments 685 Series User manual
Other Dwyer Instruments Transmitter manuals

Dwyer Instruments
Dwyer Instruments 616W-2 User manual
Dwyer Instruments
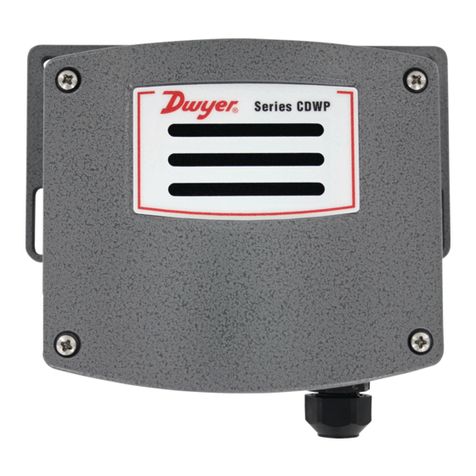
Dwyer Instruments CDWP Deries Installation and operating instructions
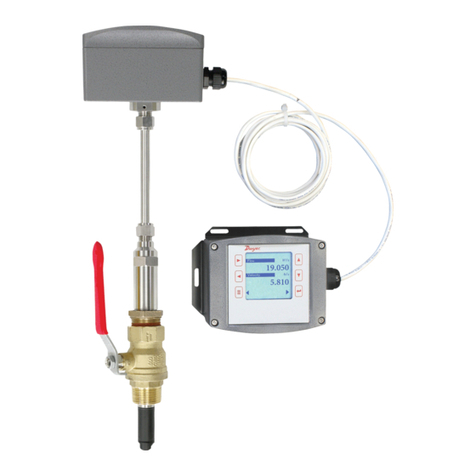
Dwyer Instruments
Dwyer Instruments IEF Series User manual

Dwyer Instruments
Dwyer Instruments 668B Series User manual
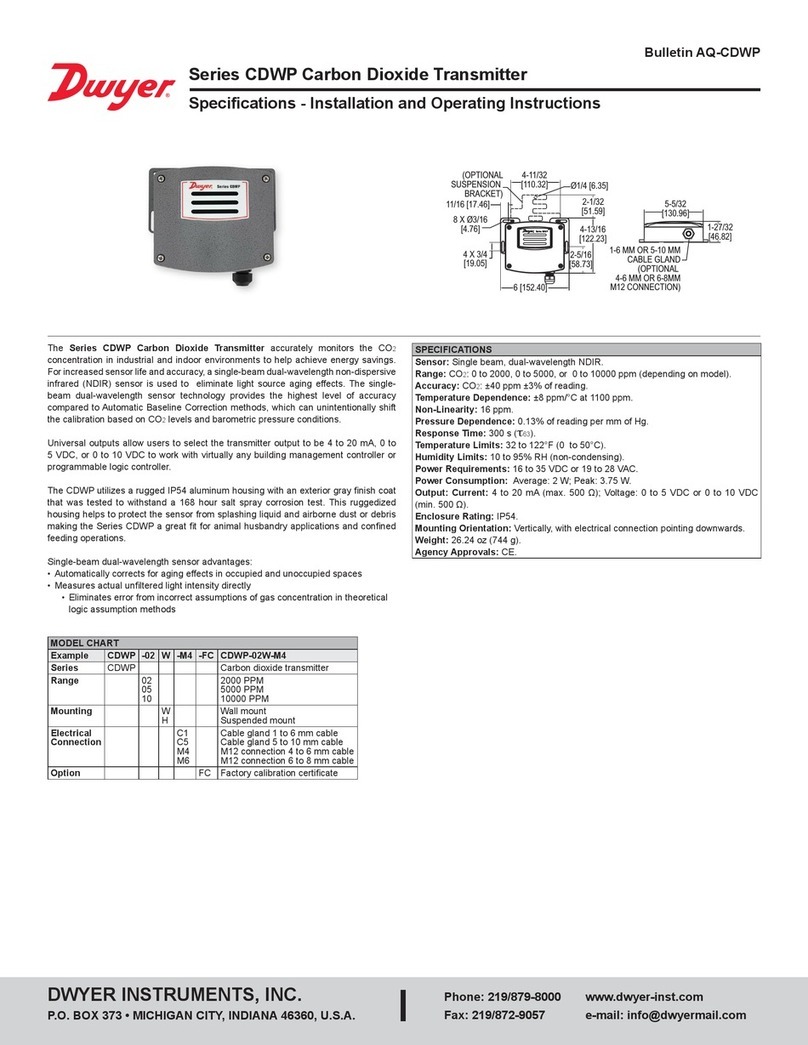
Dwyer Instruments
Dwyer Instruments CDWP Series Installation and operating instructions

Dwyer Instruments
Dwyer Instruments GSTC Series Supplement
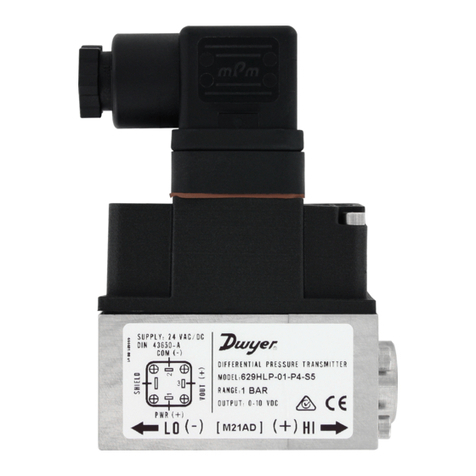
Dwyer Instruments
Dwyer Instruments 629HLP Series User manual

Dwyer Instruments
Dwyer Instruments CDT Series User manual
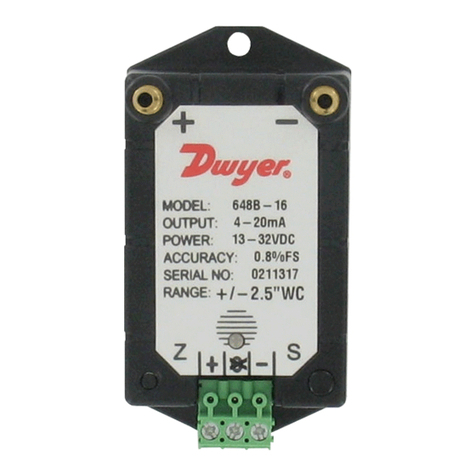
Dwyer Instruments
Dwyer Instruments 648B Series User manual
Dwyer Instruments
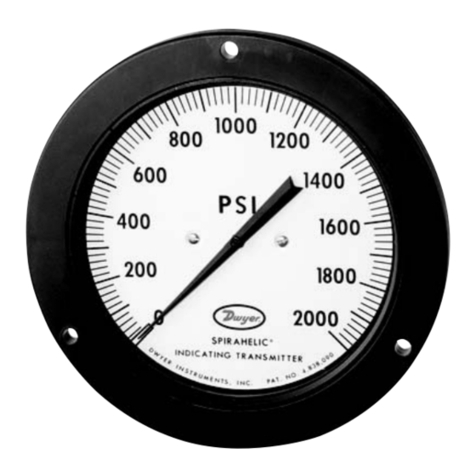
Dwyer Instruments Spirahelic 7000 Series Installation and operating instructions

Dwyer Instruments
Dwyer Instruments 641RM Series User manual
Dwyer Instruments
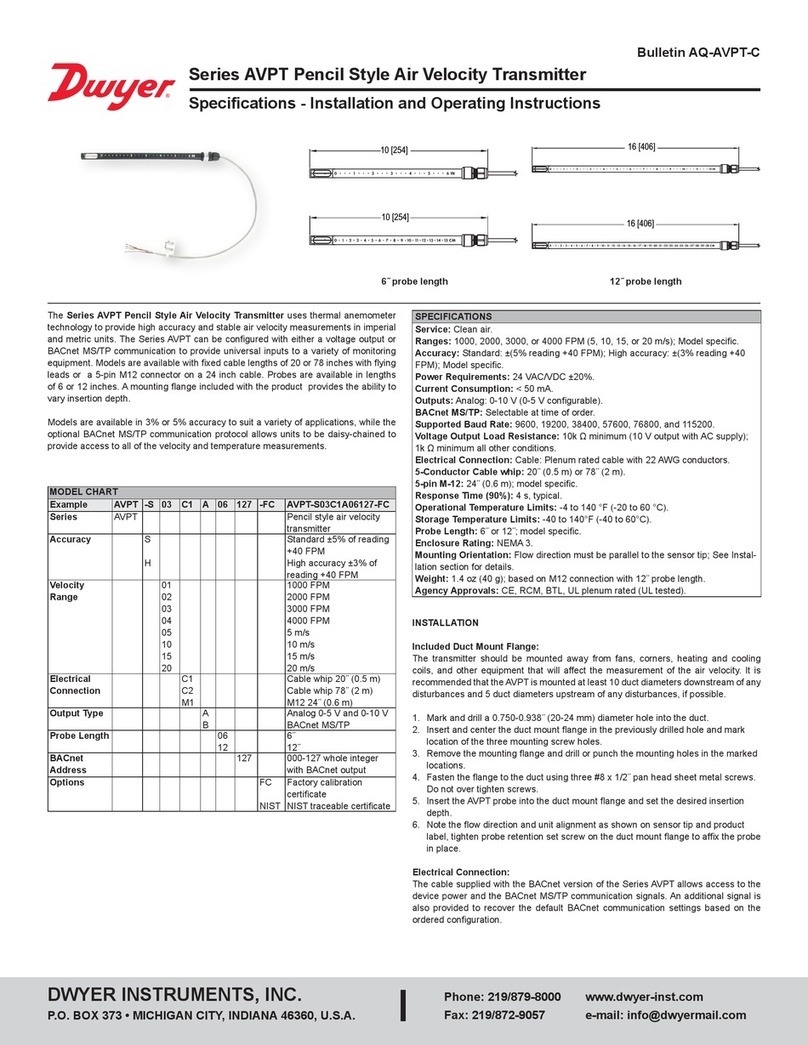
Dwyer Instruments AVPT Series Installation and operating instructions
Dwyer Instruments
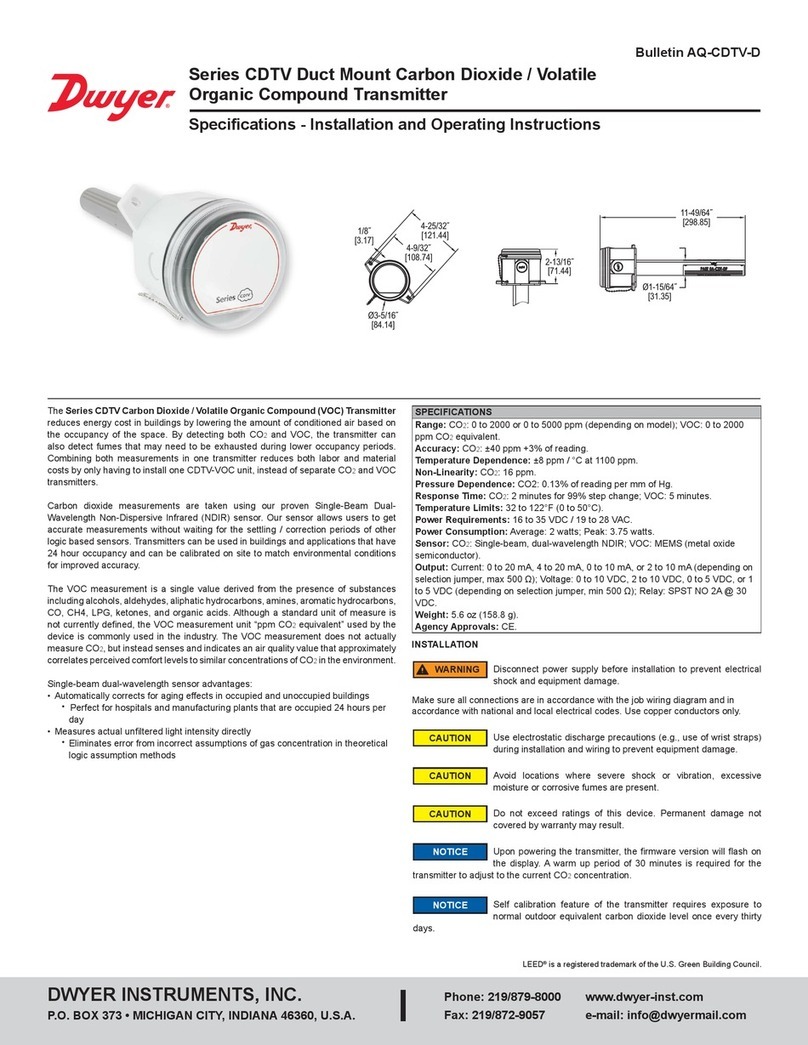
Dwyer Instruments CDTV Series Installation and operating instructions

Dwyer Instruments
Dwyer Instruments GSTA Series User manual
Dwyer Instruments
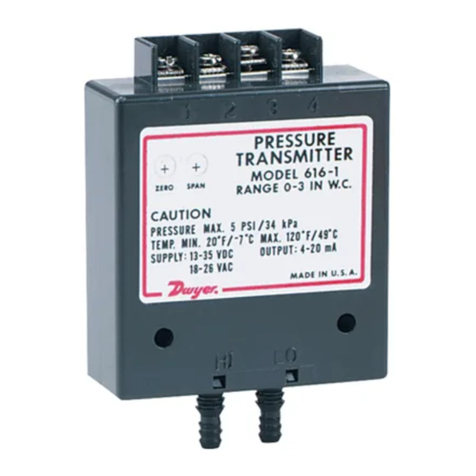
Dwyer Instruments Series 616 User manual

Dwyer Instruments
Dwyer Instruments MS Magnesense Series Installation and operating instructions

Dwyer Instruments
Dwyer Instruments Magnesense Pro MSX Series Installation and operating instructions
Dwyer Instruments
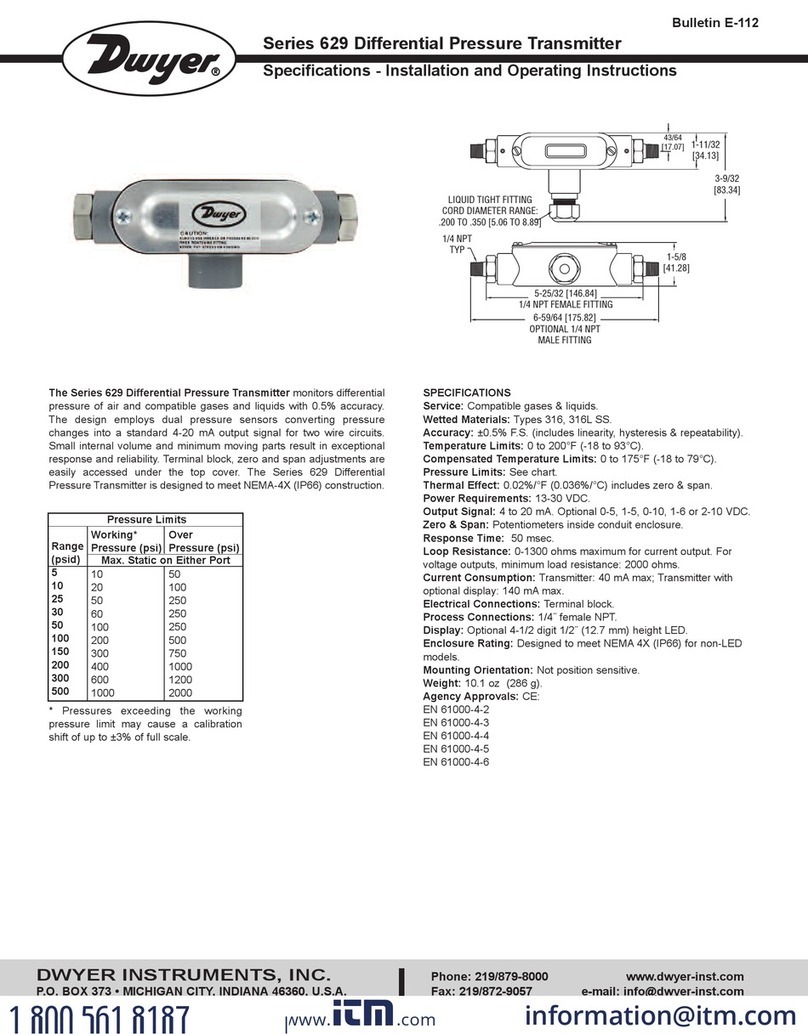
Dwyer Instruments 629 Series User manual
Dwyer Instruments
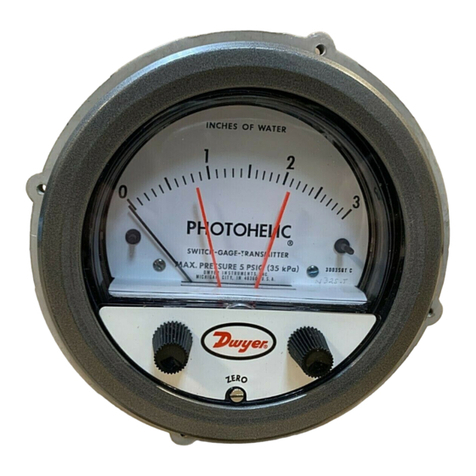
Dwyer Instruments PHOTOHELIC 3000 SGT series Installation and operating instructions
Dwyer Instruments
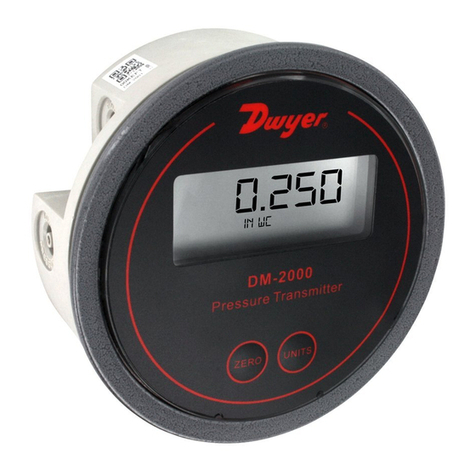
Dwyer Instruments DM-2000 User manual
Dwyer Instruments
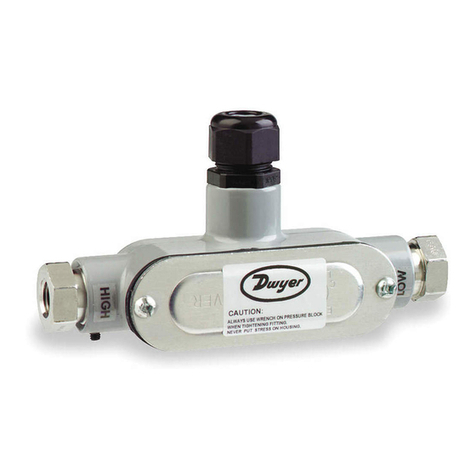
Dwyer Instruments 629 Series User manual
Dwyer Instruments
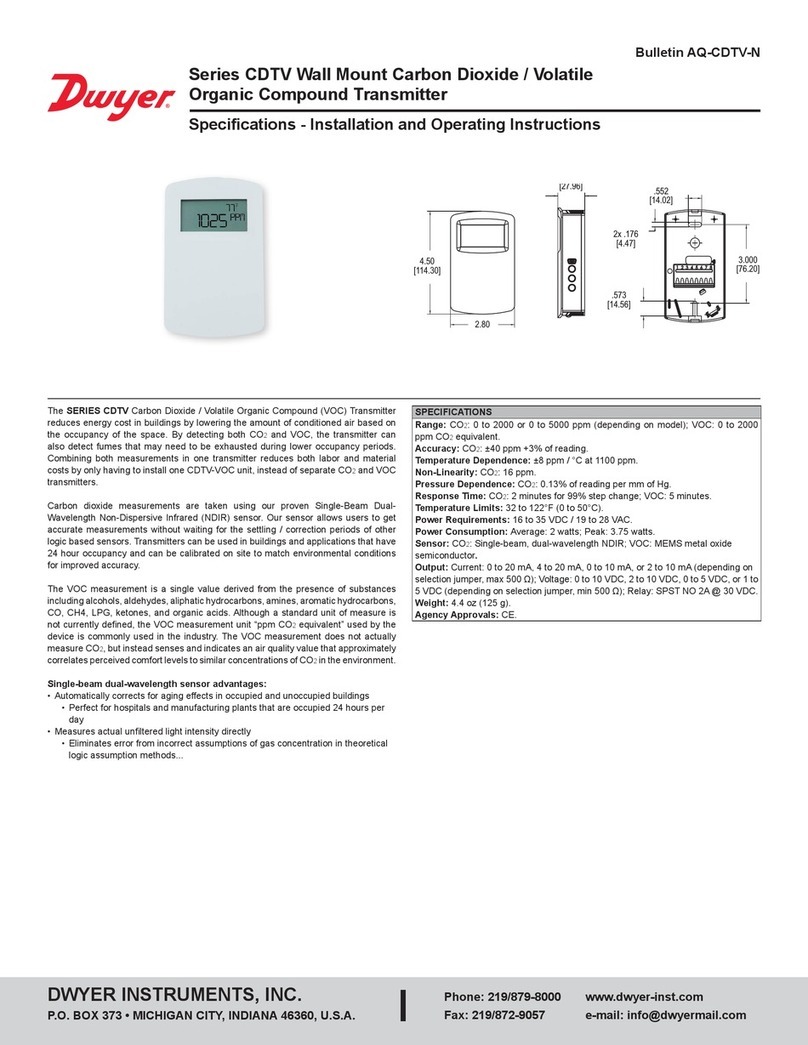
Dwyer Instruments Series CDTV Installation and operating instructions
Dwyer Instruments
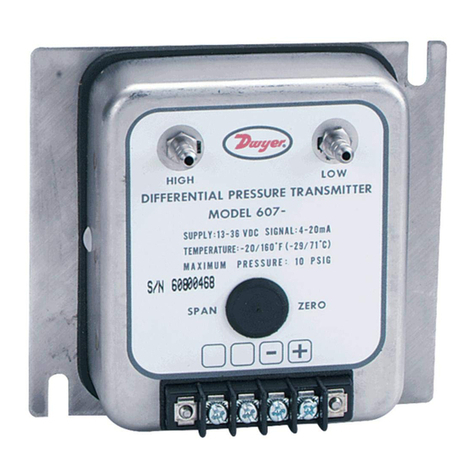
Dwyer Instruments 607 Series Installation and operating instructions
Dwyer Instruments
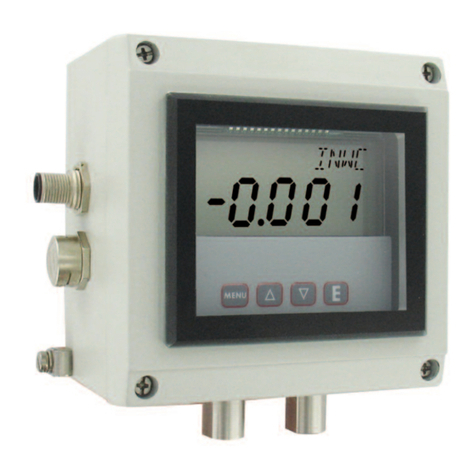
Dwyer Instruments ISDP series Installation and operating instructions
Popular Transmitter manuals by other brands
Geo
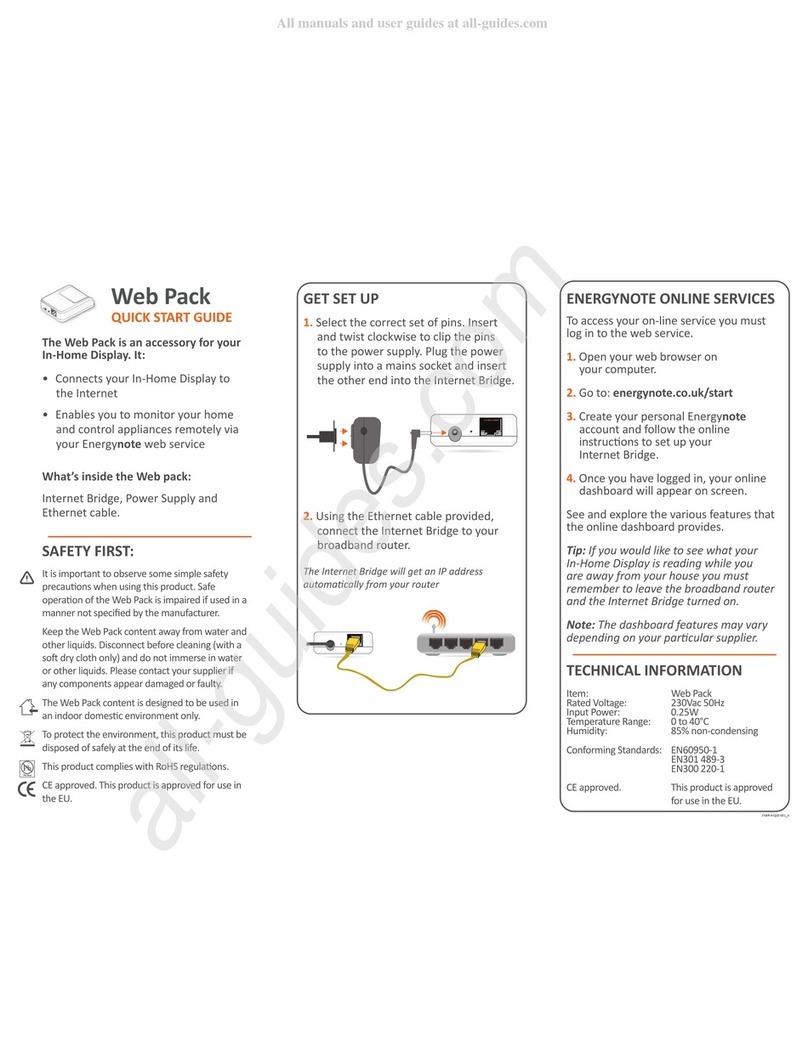
Geo Web Pack quick start guide
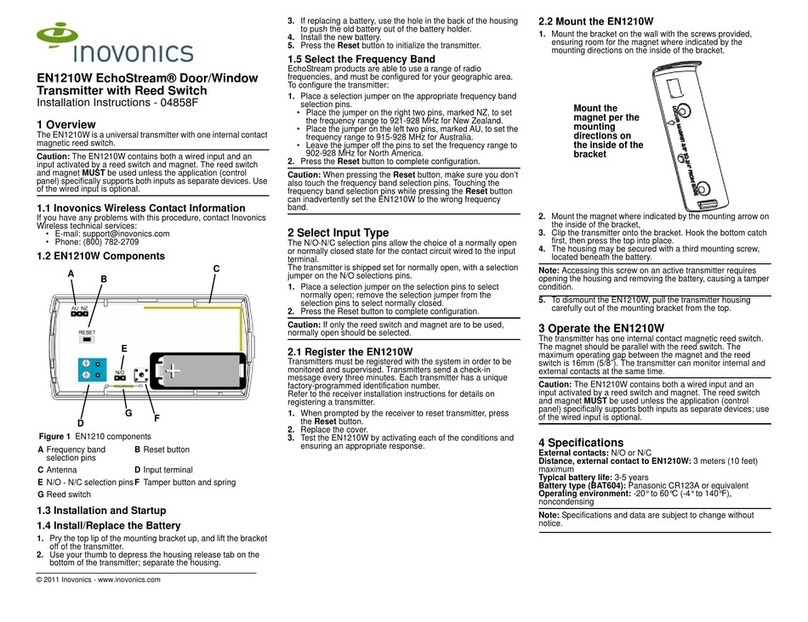
Inovonics
Inovonics EchoStream EN1210W installation instructions

IKONNIK
IKONNIK KA-6 quick start guide
Rohde & Schwarz
Rohde & Schwarz SR8000 Series System manual
Audio Technica
Audio Technica UniPak ATW-T93 Installation and operation

NIVELCO
NIVELCO EasyTREK SCA-300 Series Programming manual
