dymax 485 User manual


2
Model 485 Dispensing Valve User Guide
About Dymax
UV/Visible light-curable adhesives. Systems for light curing, fluid dispensing, and fluid packaging.
Dymax manufactures industrial adhesives, light-curable adhesives, epoxy resins, cyanoacrylates, and activator-
cured adhesives. We also manufacture a complete line of manual fluid dispensing systems, automatic fluid
dispensing systems, and light-curing systems. Light-curing systems include LED light sources, spot, flood, and
conveyor systems designed for compatibility and high performance with Dymax adhesives.
Dymax adhesives and light-curing systems optimize the speed of automated assembly, allow for 100% in-line
inspection, and increase throughput. System designs enable stand-alone configuration or integration into your
existing assembly line.
Please note that most dispensing and curing system applications are unique. Dymax does not warrant the fitness
of the product for the intended application. Any warranty applicable to the product, its application, and use is
strictly limited to that contained in the Dymax standard Conditions of Sale. Dymax recommends that any
intended application be evaluated and tested by the user to ensure that desired performance criteria are
satisfied. Dymax is willing to assist users in their performance testing and evaluation. Data sheets are available for
valve controllers or pressure pots upon request.

Model 485 Dispensing Valve User Guide
3
Contents
Contents............................................................................................................... 3
Introduction ......................................................................................................... 4
Introduction to the User Guide .........................................................................4
Where to Get Help ............................................................................................4
Safety................................................................................................................... 4
General Safety Considerations..........................................................................4
Specific Safety Considerations ..........................................................................5
Product Overview................................................................................................. 5
Description of the Model 485 Needle Valve .....................................................5
Assembly and Setup ............................................................................................. 7
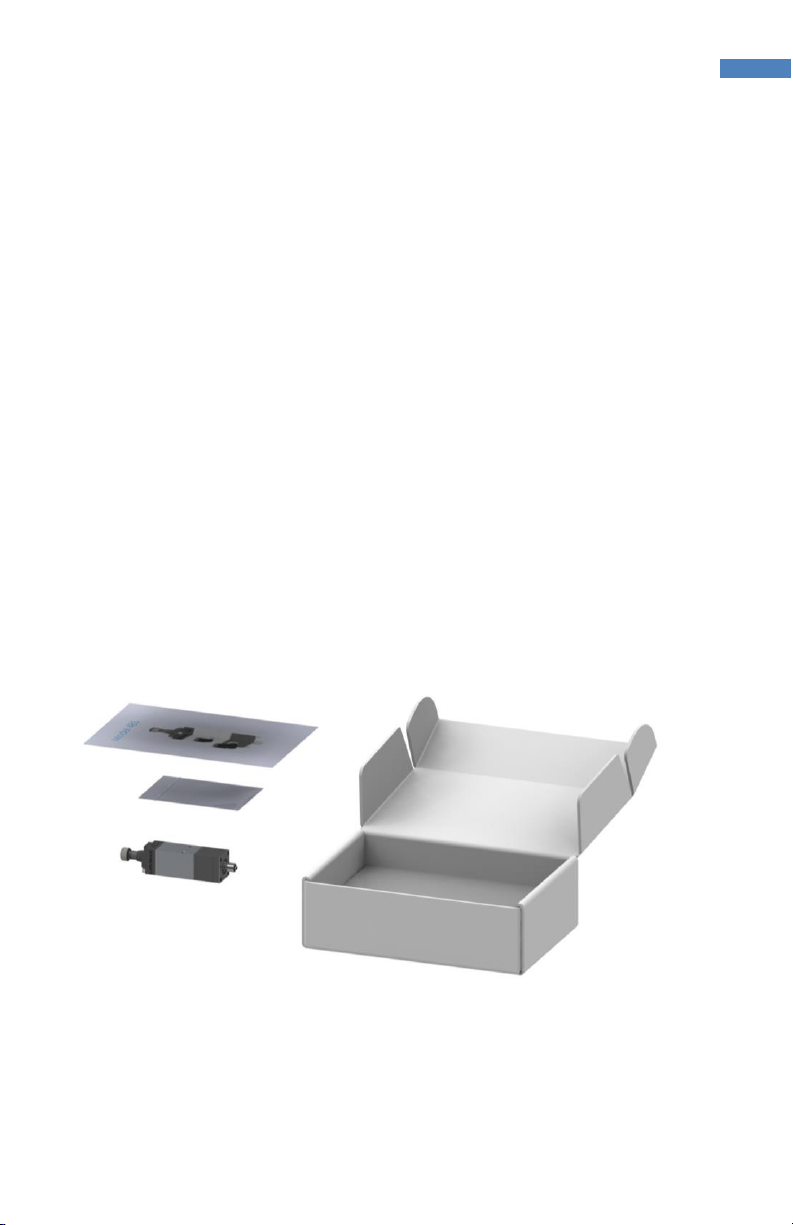
Unpacking and Inspecting Your Shipment ........................................................7
Parts Included in the Model 485 Dispensing Valve ...........................................7
Mounting ..........................................................................................................7
System Interconnect .........................................................................................8
Adjusting Material Flow ....................................................................................9
Operating the Dispensing Valve............................................................................ 9
Operation ..........................................................................................................9
Shutdown..........................................................................................................9
Maintenance and Cleaning ................................................................................. 10
General............................................................................................................10
Troubleshooting ................................................................................................. 10
Spare Parts and Accessories ............................................................................... 11
Options/Accessories........................................................................................11
Specifications ..................................................................................................... 14
Warranty............................................................................................................ 15

4
Model 485 Dispensing Valve User Guide
Introduction
Introduction to the User Guide
This guide describes how to assemble, use, and maintain the Dymax Model 485 needle
valve safely and efficiently.
Intended Audience
Dymax prepared this user guide for experienced process engineers, maintenance
technicians, and manufacturing personnel. If you are new to pneumatically operated
fluid dispensing equipment and do not understand the instructions, contact Dymax
Application Engineering to answer your questions before using the equipment.
Where to Get Help
Dymax Customer Support and Application Engineering teams are available in the United
States, Monday through Friday, from 8:00 a.m. to 5:30 p.m. Eastern Standard Time. You
can also email Dymax at info@dymax.com. Contact information for additional Dymax
locations can be found on the back cover of this user guide.
Additional resources are available to ensure a trouble-free experience with our
products:
Detailed product information on www.dymax.com
Dymax adhesive Product Data Sheets (PDS) on our website
Safety Data Sheets (SDS) provided with shipments of Dymax adhesives
Safety
WARNING! If you use this fluid dispensing equipment without first
reading and understanding the information in this guide, personal injury can
result from the uncontrolled release of high-pressure gas, injection injury, or
exposure to chemicals. To reduce the risk of injury, read and understand this
guide before assembling and using Dymax fluid dispensing equipment.
General Safety Considerations
All users of Dymax fluid dispensing equipment should read and understand the user
guide before assembling and using the equipment.

Model 485 Dispensing Valve User Guide
5
To learn about the safe handling and use of dispensing fluids, obtain and read the SDS
for each fluid before using it. Dymax includes an SDS with each adhesive sold. SDS for
Dymax products can be requested through the Dymax website.
Specific Safety Considerations
Using Safe Operating Pressures
Pressurizing the components in the dispensing system beyond the maximum
recommended pressure can result in the rupturing of components and serious personal
injury. To minimize the risk of rupturing components and injury, do not exceed the
maximum operating pressure of the components in your fluid dispensing system (see
system specifications on page 11).
Preventing Injection Injury
Discharging fluids or compressed air with a dispensing tip against your skin can cause
very serious injection injury. To minimize the risk of injection injury, do not place the
dispensing tip in contact with your skin.
Product Overview
Description of the Model 485 Needle Valve
The Model 485 needle valve is designed to deliver highly accurate and consistent
deposits of low- to high-viscosity fluids such as adhesives and inks. The valve features a
precise flow adjustment control which allows an operator to finely adjust the flow rate.
The valve’s low maintenance design and precision make it ideal for high-speed and long-
run production. It easily mounts to process automation and robotics for repeatable
performance or it can be configured in a bench-top system with a DVC-345 valve
controller and reservoir.

6
Model 485 Dispensing Valve User Guide
Figure 1. Model 485 Component Diagram
Quick Connect Air Fitting,
Fits 1/4" [6.4 mm] Tubing
Material In
Fits 3/8"[9.5 mm]
Tubing
Luer Adapter
Flow Adjustment Knob
Mounting Holes

Model 485 Dispensing Valve User Guide
7
Assembly and Setup
Unpacking and Inspecting Your Shipment
When your Model 485 dispensing valve arrives, inspect the boxes and notify the shipper
of any damage immediately.
Open each box and check for equipment damage. If parts are damaged, notify the
shipper and submit a claim for the damaged parts. Contact Dymax so that new parts can
be shipped to you immediately.
Check that the parts included in your order match those listed below. If parts are
missing, contact your local Dymax representative or Dymax Customer Support to resolve
the problem.
Parts Included in the Model 485 Dispensing Valve
■Model 485 needle valve
■Assorted dispense tip kit
■Model 485 dispensing valve user guide
Figure 2. Model 485 Needle Valve Unpacking Diagram
Mounting
NOTE: If the dispense valve is to be mounted in an area that limits access to the valve, it
is recommended that the setup operation be done prior to mounting. Access to various
surfaces of the valve is necessary for periodic adjustment (see Specifications).

8
Model 485 Dispensing Valve User Guide
There are two 8-32 UNC holes on the dispense valve for mounting purposes (Figure 5).
System Interconnect
Figure 3. Valve Interconnect Diagram
Air
Once the dispense valve is secured to its mounting surface, connect the airline to the
port provided on the valve (Figure 3). Also connect your air supply (60-80 psi) to your
valve controller or 3-way solenoid valve (a valve controller or a 3-way solenoid valve
must be used to operate the Model 485 valve (CV of .01 or greater)). Please refer to the
valve controller user guide for detailed instructions.
Fluid
The Model 485 valve requires a material reservoir or pressure tank to draw material
from. The material reservoir should be connected to the 485 valve through the material-
in port (Figure 3) located on the valve body.
Air
Supply
Air Filter Regulator
with Dump Valve
(Recommended)
Valve Controller or
Solenoid Valve
(DVC-345 Shown)
Precision Air Regulator
(Recommended)
Material In
Air In
Material Reservoir
(20 oz Cartridge
Reservoir Shown)
Model 485 Valve

Model 485 Dispensing Valve User Guide
9
Adjusting Material Flow
Flow can be adjusted using the Flow Adjustment Knob. Turn the knob clockwise to
decrease the flow or counterclockwise to increase flow.
Operating the Dispensing Valve
Operation
1. Plumb up the valve as outlined in the setup procedures.
2. Apply air pressure by turning on the pressure to the controller.
3. If necessary, place a new dispense tip onto the valve.
4. Apply fluid pressure to the valve by turning on the pressure to the material
reservoir.
5. Cycle the valve to the open position to bleed all air that may have become
trapped when changing the dispense tip. You may need to tip the valve up to 60°
incline and continue cycling the air to remove it all.
5. Check the fluid connection for leaks. If the valve is leaking or dripping, refer to the
troubleshooting section of this manual.
6. With the flow adjustment knob backed off counterclockwise 3 or 4 turns and the
dispense tip in place, adjust the air pressure on the fluid (the valve will be in the
open dispense position). Use the flow adjustment knob to reduce the material
flow until the desired flow rate is achieved.
Shutdown
At the end of the day or shift, it is necessary to shut down the Model 485 dispensing
system properly in order to keep material from curing inside the dispensing valve.
1. Remove the disposable dispense tip from valve and discard.
2. Relieve fluid pressure on the valve by turning off air pressure at the material
reservoir.
3. Relieve the air pressure operating the valve by turning off the air pressure to the
controller.

10
Model 485 Dispensing Valve User Guide
Maintenance and Cleaning
General
To clean the Model 485 valve, flush system with an appropriate solvent. Common
solvents used to degrade adhesive bonds include the following:
■Methylene chloride
■Chlorine bleach (dilute 10%)
■Strong base, NaOH, or KOH solution with a pH>=12
■MEK (methyl ethyl ketone) or acetone
For assistance in selecting a compatible solvent, please contact Dymax Application
Engineering.
To access the valve’s wetted components for cleaning or replacement, remove the four
Allen Hex Cap Screws (Figure 4) from the bottom of the valve.
Troubleshooting
Table 1. Troubleshooting Chart for Model 485 Dispensing Valve
Problem
Possible Cause
Corrective Action
The valve does
not dispense
anything
The fluid pressure is too
low
Increase the fluid pressure
The material is cured in
the valve or tip
Disassemble and clean the valve
There are air
bubbles in the
fluid
The valve is not properly
purged
Point the valve up and cycle it until
the air bubbles are removed
There is a problem with
the material reservoir and
fluid delivery system
Diagnose and repair
Material leaks
from the valve tip
An air bubble is trapped in
the fluid section of the
valve or in the dispense tip
Point the valve up and cycle it until
air bubbles are purged out

Model 485 Dispensing Valve User Guide
11
Spare Parts and Accessories
Options/Accessories
Item
Part Number
Air Regulators
Air Filter Regulator
T16307
High-Precision Air Regulator
T16629
Controllers
DVC-345 Digital Valve Controller
T11146
Stands
Lab Stand –24" [60.96 cm]
T15279
Valve Mounting Assembly for Lab Stand
T16857
Rebuild Kits
Valve Rebuild Kit
T17605

12
Model 485 Dispensing Valve User Guide
Figure 4. Model 485 Replacement Parts

Model 485 Dispensing Valve User Guide
13
Table 2. BOM for Figure 4
Item
Part #
Description
1*
T10096
Silicone O-Ring, 009
2*
T18272
Fitting L, 1/4" X 10-32
3
T18273
Fitting, 1/4-28 To Lock, 316 SS
4
T14204
Screw, SHCS, 6-32, 0.75, SS
5
T14217
Screw, SHCS, 8-32 X 1-1/2, 18-8
6
T14936
Spring, 0.6 OD X 0.72 WR X 2 L X K 26
7
T18261
Model 475 Valve Body
8*
T18260
Buna O-Ring, 016
9*
T17397
Silicone O-Ring, 2-006
10*
T17619
Model 485 Piston Assembly
11
T17622
Model 485 Endcap
12
T17624
Model 485 Inlet Body
13
T17625
Adapter
14
T17627
O-Ring Retainer
15*
T17830
Fitting L, 1/4" X 1/8 NPT, SS
16*
T18276
Needle Seat
17
T18479
Model 485 Adjusting Screw
*Parts included in Model 485 Valve Rebuild Kit T17605

14
Model 485 Dispensing Valve User Guide
Specifications
Property
Specification
Part Numbers
T17617 Model 485 needle valve
Valve Type
Pneumatic needle valve, normally closed
Construction Materials
Body: SS, Anodized Aluminum
Wetted path: Acetal/SS
Wetted valve seals: Silicone
Operating Air Pressure
80 to 100 psi (5.5 to 6.9 bar)
Maximum Fluid Pressure
80 psi (5.51 bar)
Air Input Thread
10-32
Fluid Inlet Thread
1/8 NPT
Fluid Outlet Thread
1/4 - 28
Activation
Dymax DVC-345 valve controller or 3-way solenoid valve
Dimensions (W x H x D)
1.13" x 5.14" x 1.13" (2.87 cm x 13.06 cm x 2.87 cm)
Weight
7.2 oz (0.2 kg)
Unit Warranty
One year
Figure 5. Model 485 Dimensional Drawing

Model 485 Dispensing Valve User Guide
15
Warranty
From date of purchase, Dymax Corporation offers a one-year warranty against defects in
material and workmanship on all system components with proof of purchase and
purchase date. Unauthorized repair, modification, or improper use of equipment may
void your warranty benefits. The use of aftermarket replacement parts not supplied or
approved by Dymax Corporation, will void any effective warranties and may result in
damage to the equipment.
IMPORTANT NOTE:
DYMAX CORPORATION RESERVES THE RIGHT TO INVALIDATE
ANY WARRANTIES, EXPRESSED OR IMPLIED, DUE TO ANY REPAIRS PERFORMED OR
ATTEMPTED ON DYMAX EQUIPMENT WITHOUT WRITTEN AUTHORIZATION FROM
DYMAX. THOSE CORRECTIVE ACTIONS LISTED ABOVE ARE LIMITED TO THIS
AUTHORIZATION.

© 2017-2018 Dymax Corporation. All rights reserved. All trademarks in this guide, except where noted, are the property of, or used under license by Dymax Corporation,
U.S.A.
Please note that most dispensing system applications are unique. Dymax does not warrant the fitness of the product for the intended application. Any warranty applicable to
the product, its application and use is strictly limited to that contained in Dymax standard Conditions of Sale published on our website. Dymax recommends that any intended
application be evaluated and tested by the user to ensure that desired performance criteria are satisfied. Dymax is willing to assist users in their performance testing and
evaluation. Data sheets are available for valve controllers or pressure pots upon request. T17629 MAN053 11/7/2018 LitXXX XX/XX/2017
Dymax Corporation
860.482.1010
www.dymax.com
Dymax Europe GmbH
+49 (0) 611.962.7900
info_de@dymax.com
www.dymax.de
Dymax Asia Pacific Pte. Ltd.
+65.6752.2887
info_ap@dymax.com
www.dymax-ap.com
Dymax Asia (H.K.) Limited
+852.2460.7038
dymaxasia@dymax.com
www.dymax.com.cn
Dymax Korea LLC
+82.2.784.3434
www.dymax.com/kr
Dymax Oligomers & Coatings
860.626.7006
info_oc@dymax.com
www.dymax-oc.com
Dymax Engineering Adhesives
Ireland Ltd.
+353.21.237.3016
www.dymax.ie
Dymax UV Adhesives &
Equipment (Shenzhen) Co Ltd
+86.755.83485759
www.dymax.com.cn
Dymax UV Adhesives &
Equipment (Shanghai) Co Ltd
+86.21.37285759
dymaxasia@dymax.com
www.dymax.com.cn
Other manuals for 485
2
Table of contents
Other dymax Control Unit manuals