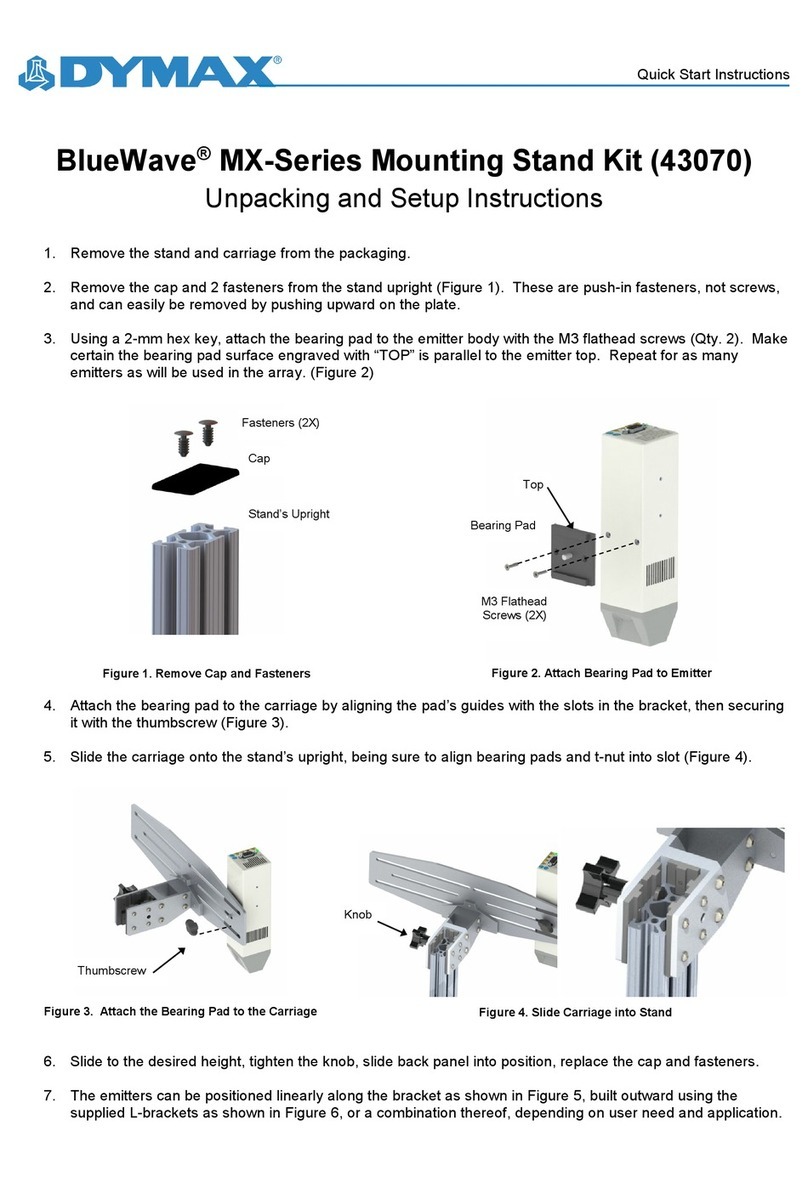
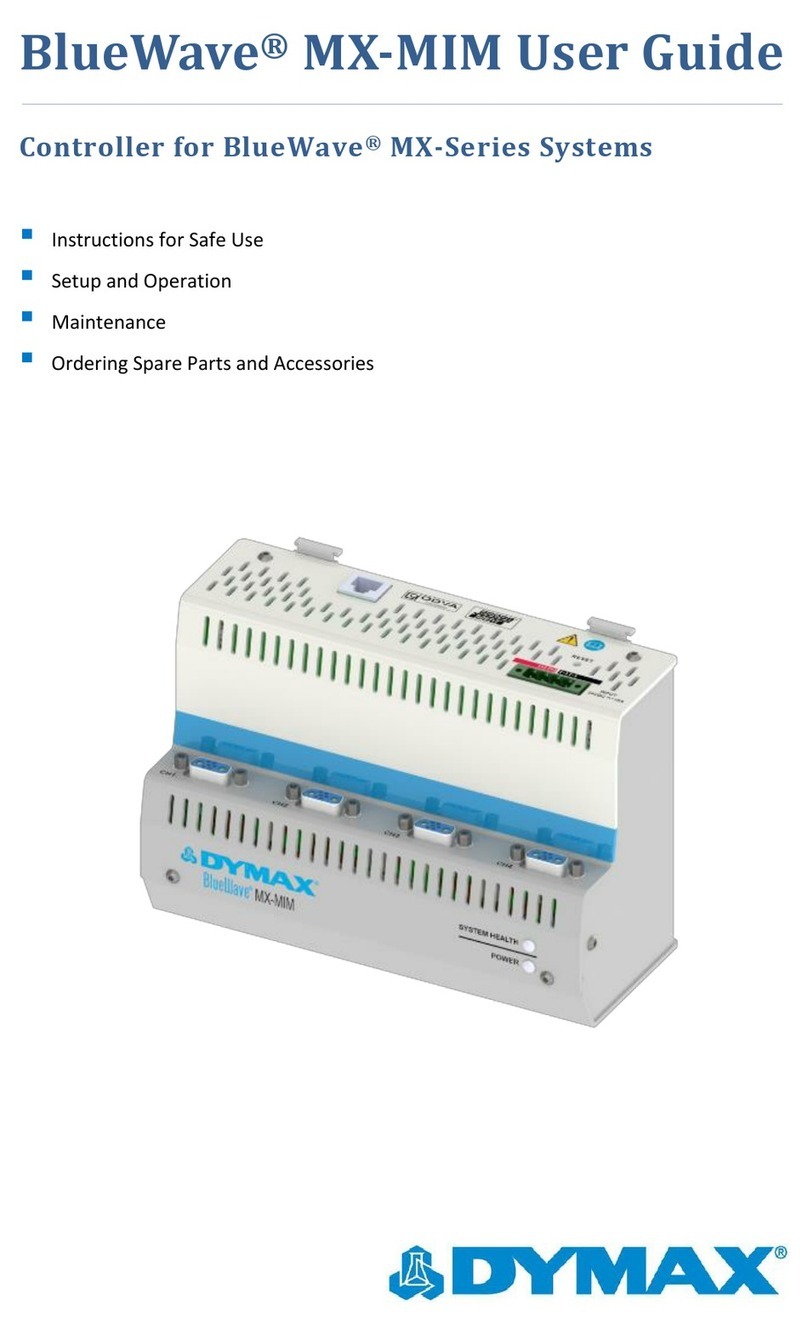
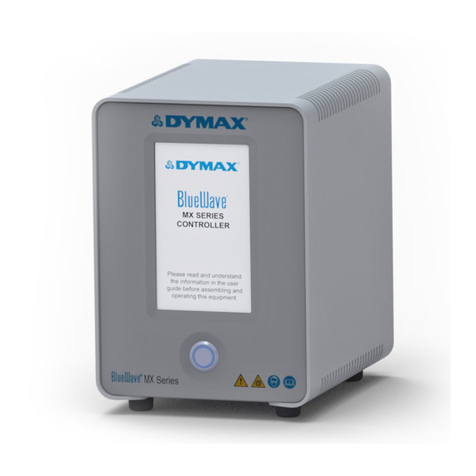
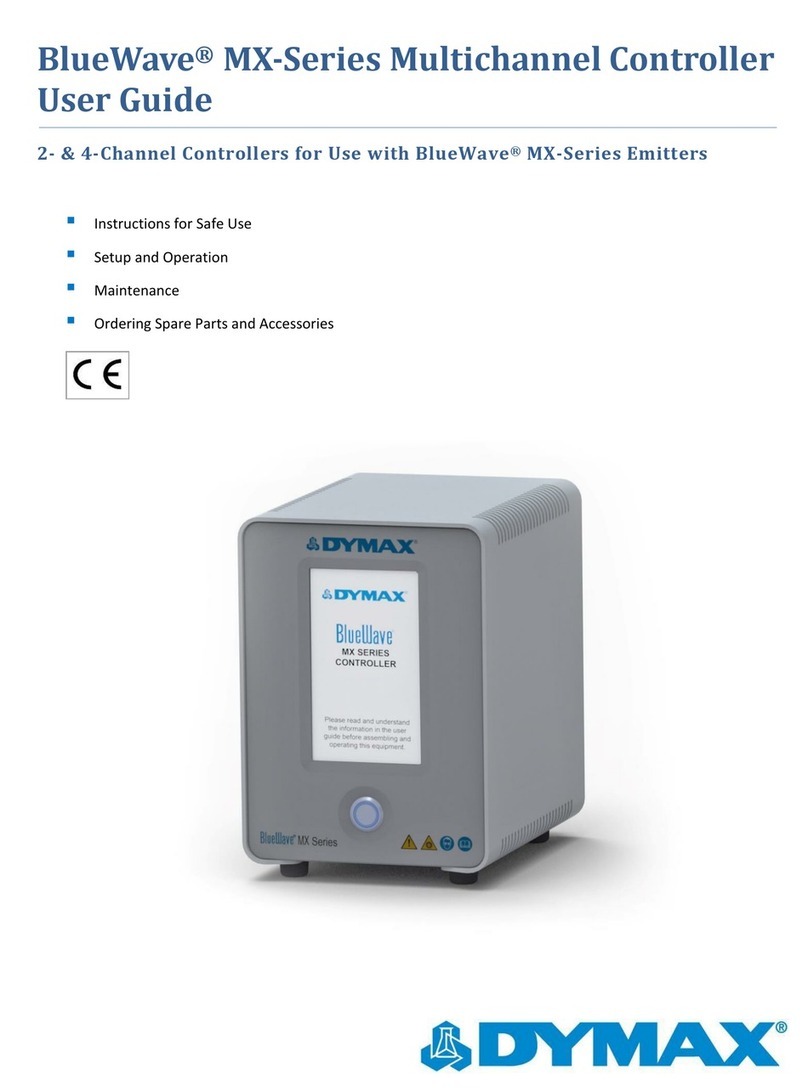
dymax DVC-345 User manual

DVC-345
Valve Controller
User Guide

2 U S E R G U I D E |D V C - 3 4 5 V A L V E C O N T R O L L E R
About Dymax
Light-curable adhesives. Systems for light curing, fluid
dispensing, and fluid packaging.
Dymax manufactures industrial adhesives, light-curable
adhesives, epoxy resins, cyanoacrylates, and activator-cured
adhesives. We also manufacture a complete line of manual fluid
dispensing systems, automatic dispensing systems, and light-
curing systems. Light-curing systems include LED light sources,
spot, flood, and conveyor systems designed for compatibility
and high performance with Dymax adhesives. Dymax adhesives
and light-curing systems optimize the speed of automated
assembly, allow for 100% in-line inspection, and increase
throughput. System designs enable stand-alone configuration
or integration into your existing assembly line.
Please note that most dispensing and curing system
applications are unique. Dymax does not warrant the fitness of
the product for the intended application. Any warranty
applicable to the product, its application, and use is strictly
limited to that contained in the Dymax standard Conditions of
Sale. Dymax recommends that any intended application be
evaluated and tested by the user to ensure that desired
performance criteria are satisfied. Dymax is willing to assist
users in their performance testing and evaluation. Data sheets
are available for valve controllers or pressure pots upon
request.

U S E R G U I D E |D V C - 3 4 5 V A L V E C O N T R O L L E R 3
Contents
Introduction ......................................................................4
Where to Get Help............................................................ 4
Safety................................................................................4
General Safety Considerations....................................... 5
Specific Safety Considerations....................................... 5
Personal Protective Equipment ...................................... 5
Product Overview ............................................................6
Description of the DVC-345 ............................................ 6
Assembly and Setup .......................................................7
Unpacking and Inspecting Your Shipment.................... 7
Parts Included ................................................................... 7
System Interconnect ........................................................ 8
Operating the Controller .................................................10
Setting the Dispense Time .............................................. 10
Spare Parts and Accessories .........................................11
Specifications...................................................................11
Declaration of Conformity ...............................................13
Index .................................................................................15

4 U S E R G U I D E |D V C - 3 4 5 V A L V E C O N T R O L L E R
Introduction
This guide describes how to use the Dymax DVC-345 digital valve controller (T11146).
Sections in this guide describe how to assemble, use, and maintain the valve controller
safely and efficiently.
Intended Audience
Dymax prepared this user guide for experienced process engineers, maintenance
technicians, and manufacturing personnel. If you are new to pneumatically operated
fluid dispensing equipment and do not understand the instructions, contact Dymax
Application Engineering to answer your questions before using the equipment.
Where to Get Help
Customer Support and Applications Engineering teams are available by phone and
email in Germany, Monday through Friday, from 8:00 a.m. to 5:00 p.m. Central
Please see the back cover for worldwide contact information.
Additional resources are available to ensure a trouble-free experience with our
products:
•Detailed product information on www.dymax.com
•Dymax adhesive Product Data Sheets (PDS) on our website
•Material Safety Data Sheets (SDS) provided with shipments of Dymax
adhesives
Safety
WARNING!
If you use this fluid dispensing equipment without first
reading and understanding the information in this guide, personal injury can
result from the uncontrolled release of high-pressure gas, injection injury, or
exposure to chemicals. To reduce the risk of injury, read and understand
this guide before assembling and using Dymax fluid dispensing equipment.

U S E R G U I D E |D V C - 3 4 5 V A L V E C O N T R O L L E R 5
General Safety Considerations
All users of Dymax fluid dispensing equipment should read and understand this user
guide before assembling and using the equipment.
To learn about the safe handling and use of dispensing fluids, obtain and read the SDS
for each fluid before using it. Dymax includes an SDS with each adhesive sold. SDS for
Dymax products can also be requested through the Dymax website.
The safety of any system incorporating the DVC-345 digital valve controller is the
responsibility of the assembler of the system. The protection provided by the DVC-345
digital valve controller may be impaired if the controller is not operated as specified by
this user guide.
Specific Safety Considerations
Using Safe Operating Pressures
Pressurizing the components in the dispensing system beyond the maximum
recommended pressure can result in the rupturing of components and serious personal
injury. To minimize the risk of rupturing components and injury, do not exceed the
maximum operating pressure of the components in your fluid dispensing system (see
system specifications on page 11).
Personal Protective Equipment
Operators are recommended to wear any personal protective equipment specified by
their company’s safety policy for the materials used during dispensing. Personal
protective equipment should be in place and used at all times before pressurizing the
system and when handling any potentially hazardous materials.

6 U S E R G U I D E |D V C - 3 4 5 V A L V E C O N T R O L L E R
Product Overview
Description of the DVC-345
The DVC-345 digital valve controller provides a precise and settable time duration for
controlling (opening and closing) a variety of dispense valves. This dispense controller
features electronically controlled dispense time as well as DC operation. This ensures
precise and repeatable shots with adjustable shot time durations of as little as 0.001
seconds to 9.999 seconds.
Figure 1.
DVC-345 Component Diagram (Front)
Figure 2.
DVC-345 Component Diagram (Rear)
Digital
Timer
Timed/Untimed Mode
Actuate Valve
On/Off Switch

U S E R G U I D E |D V C - 3 4 5 V A L V E C O N T R O L L E R 7
Assembly and Setup
Unpacking and Inspecting Your Shipment
When your DVC-345 digital valve controller arrives, inspect the boxes for damage and
notify the shipper of box damage immediately.
Open each box and check for equipment damage. If parts are damaged, notify the
shipper and submit a claim for the damaged parts. Contact Dymax so that new parts
can be shipped to you immediately.
Check that the parts included in your order match those listed below. If parts are
missing, contact your local Dymax representative or Dymax Customer Support to
resolve the problem.
Parts Included
•DVC-345 digital valve controller
•Foot switch
•Power supply
•DVC-345 user guide
Figure 3.
Unpacking Diagram

8 U S E R G U I D E |D V C - 3 4 5 V A L V E C O N T R O L L E R
System Interconnect
Refer to Table 1 to determine how to plumb the particular dispensing valve you are
using with the digital controller. For Model 300, 455, 475, 775, and 826 dispensing
valves, one of the Air-Out Ports must be plugged since these dispensing valves are
single acting.
Begin set-up by attaching a 0.25" [0.64 cm] Air Line to the Air-In Fitting on the rear of
the Controller.
Next, ensure that the Power Toggle Switch is in the OFF position. Plug the cylindrical
end of the DC Wall Mount Adapter into the Power Supply Receptacle on the back of the
Controller and plug the DC Wall Adapter in an appropriate outlet.
Plug the Foot Switch into the External Trigger Receptacle on the back of the Controller.
Attach the Material Reservoir to the Dispensing Valve and the appropriate air supply
pressure to the Material Reservoir.
Consult Dymax if you are unsure of this step.
Excessive air pressure to a Reservoir can result in a dangerous or deadly situation!
The system is ready for operation.

U S E R G U I D E |D V C - 3 4 5 V A L V E C O N T R O L L E R 9
Table 1.
Dispensing Valve Plumbing Configurations
Valve Diagram
Plumbing Instructions
Model 300: Single-acting, normally closed diaphragm
valve.
Plug Port No. 1 (normally open) on the back of the
controller and plumb Port No. 2 (normally closed) to
the Air-In Port on the dispensing valve.
Model 455: Single-acting, normally closed pinch
valve.
Plug Port No. 1 (normally open) on the back of the
controller and plumb Port No. 2 (normally closed) to
the Air-In Port on the dispensing valve.
Model 475: Single-acting, normally closed diaphragm
valve.
Plug Port No. 1 (normally open) on the back of the
controller and plumb Port No. 2 (normally closed) to
the Air-In Port on the dispensing valve.
Model 775: Single-acting, normally closed spool
valve.
Plug Port No. 1 (normally open) on the back of the
controller and plumb Port No. 2 to the Air-In Port on
the dispensing valve.
Model 826: Single-acting, normally closed pinch
valve.
Plug Port No. 1 (normally open) on the back of the
controller and plumb Port No. 2 to the Air-In Port on
the dispensing valve.
AIR IN
AIR IN
MATERIAL IN

10 U S E R G U I D E |D V C - 3 4 5 V A L V E C O N T R O L L E R
Operating the Controller
Setting the Dispense Time
The digital timer on the front of the controller uses up and down arrows to set the
required dispense time. The time range is from 0.001 seconds to 9.999 seconds with a
settable resolution of .001 seconds.
Figure 4.
Front Panel
•(A) Up Arrow - used to increase the present value at each digit.
•(B) Down Arrow - used to decrease the present value at each digit.
•(C) Mode - changes modes and setting items on the timer.
•(D) Reset - used to reset the current count.
•(E) Active Timing Value
•(F) Current Preset Timing Value
•(G) Left Toggle - used to switch the system between timed or untimed mode.
Timed Mode: hitting the center trigger toggle or foot switch will open the dispense valve
for the duration preset in the digital timer.
Untimed Mode: the valve will remain open for as long as the trigger or foot switch is held
down.
•(H) Center Toggle - used to trigger the valve. Actuating the supplied foot switch
performs this same function.
•(I) Right Toggle - turns the system's power on or off.
A
B
C
D
E
F
G
H
I

U S E R G U I D E |D V C - 3 4 5 V A L V E C O N T R O L L E R 11
Spare Parts and Accessories
Item
Part Number
Foot Switch
T14999
Power Supply
T11624
Specifications
Property
Specification
Part Numbers
T11146 DVC-345 Digital Valve Controller
Power Requirements
Switch-mode auto-ranging power supply; includes
four power plug adapters
Input: 100-240V~, 50-60 Hz
Output: 24V −−−0.35A
Air Pressure
Requirements
(into external regulator)
60 psi [0.413 MPa] minimum/100 psi [0.689 MPa]
maximum 25 micron filtered air
Operating Temperature
0-50°C [32-122°F]
Timer
Digital timer; programmable to 0.001-9.999 seconds
in 0.001 second increments
Activation
Foot switch or PLC
Dimensions (W x H x D)
6.25" x 8" x 3.5" [15.9 cm x 20.3 cm x 8.9 cm]
Weight
2.8 lbs [1.27 kg]
Unit Warranty
1 year from purchase date

12 U S E R G U I D E |D V C - 3 4 5 V A L V E C O N T R O L L E R
Figure 5.
Controller Dimensions

U S E R G U I D E |D V C - 3 4 5 V A L V E C O N T R O L L E R 13
Declaration of Conformity

14 U S E R G U I D E |D V C - 3 4 5 V A L V E C O N T R O L L E R
Warranty
From date of purchase, Dymax Corporation offers a one-year warranty against defects
in material and workmanship on all system components
with proof of purchase and
purchase date
. Unauthorized repair, modification, or improper use of equipment may
void your warranty benefits. The use of aftermarket replacement parts not supplied or
approved by Dymax Corporation, will void any effective warranties and may result in
damage to the equipment.
IMPORTANT NOTE:
DYMAX CORPORATION RESERVES THE RIGHT TO
INVALIDATE ANY WARRANTIES, EXPRESSED OR IMPLIED, DUE TO ANY REPAIRS
PERFORMED OR ATTEMPTED ON DYMAX EQUIPMENT WITHOUT WRITTEN
AUTHORIZATION FROM DYMAX. THOSE CORRECTIVE ACTIONS LISTED ABOVE
ARE LIMITED TO THIS AUTHORIZATION.

U S E R G U I D E |D V C - 3 4 5 V A L V E C O N T R O L L E R 15
Index
Air Connections, 8
Assembly and Setup, 7
Dimensions, 12
Dymax Contact Information, 4
Fluid Connections, 8
Help, 4
Operation, 10
Optional Equipment,
11
Parts Included, 8
Plumbing Diagrams, 9
Product Overview, 6
Safety, 5
Personal Protection Equipment, 5
Using Safe Operating Pressures, 5
Setting the Dispense Time, 10
Spare Parts and Accessories,
11
Specifications, 11
System Components, 6
System Interconnect, 8
Unpacking, 7
Warranty, 13

www.dymax.com
Americas
Europe
Germany |+49 611.962.7900 |info_de@dymax.com
Asia
© 2012-2021 Dymax Corporation. All rights reserved. All trademarks in this guide, except where noted, are the property of, or used under license by Dymax Corporation, U.S.A.
The data contained in this bulletin is of a general nature and is based on laboratory test conditions. Dymax Europe GmbH does not warrant the data contained in this bulletin. Any
warranty applicable to products, its application and use is strictly limited to that contained in Dymax Europe GmbH’s General Terms and Conditions of Sale published on our website.
Dymax Europe GmbH does not assume any responsibility for test or performance results obtained by users. It is the user’s responsibility to determine the suitability for the product
application and purposes and the suitability for use in the user’s intended manufacturing apparatus and methods. The user should adopt such precautions and use guidelines as may
be reasonably advisable or necessary for the protection of property and persons. Nothing in this bulletin shall act as a representation that the product use or application will not
infringe a patent owned by someone other than Dymax Corporation or act as a grant of license under any Dymax Corporation Patent. Dymax Europe GmbH recommends that each
user adequately test its proposed use and application of the products before actual repetitive use, using the data contained in this bulletin as a general guide.
T16485 MAN028EU 3/19/2021
This manual suits for next models
1
Table of contents
Other dymax Controllers manuals
Popular Controllers manuals by other brands

Renkforce
Renkforce Show Design 2 operating instructions

Zennio
Zennio Tecla 55 X Sign user manual

elsner elektronik
elsner elektronik KNX R1-B4 compact 16 A Installation and adjustment

Rain Bird
Rain Bird LXME2 Installation, programming & operation guide

YGE
YGE Opto 255 manual

IFM Electronic
IFM Electronic AS-i CONTROLLERe AC1345 installation instructions