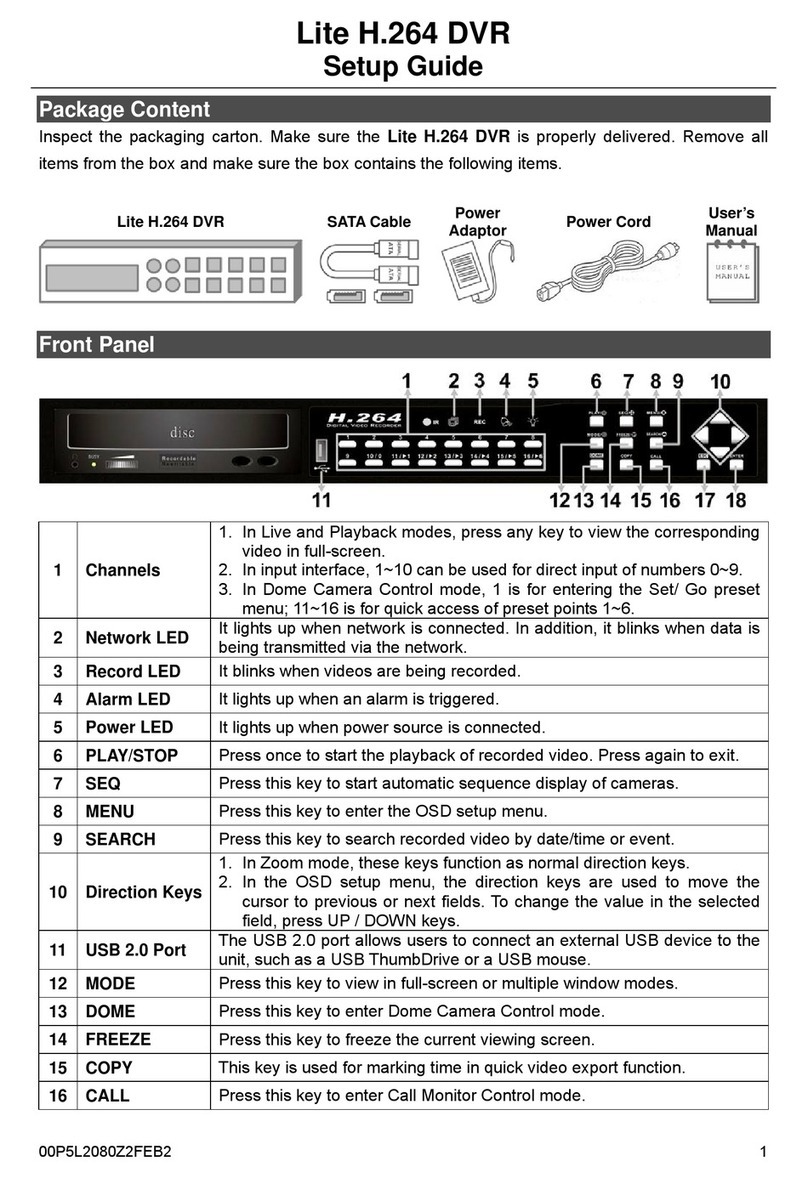
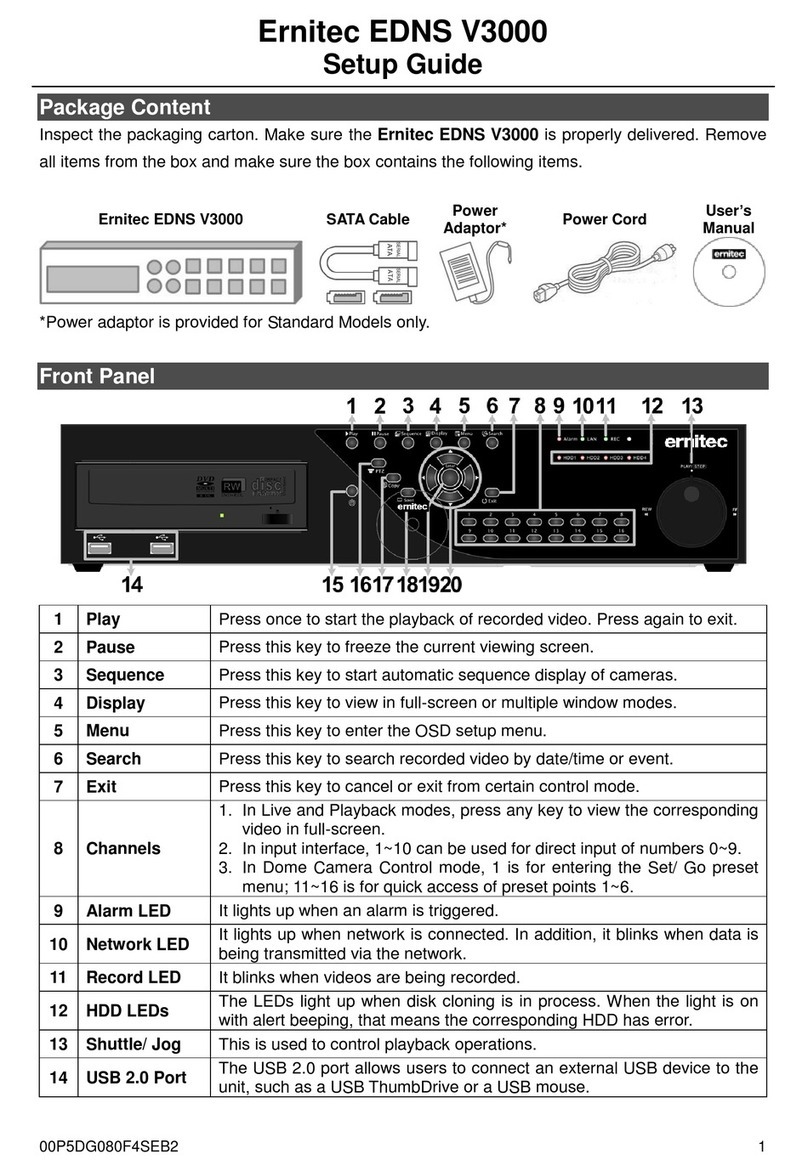
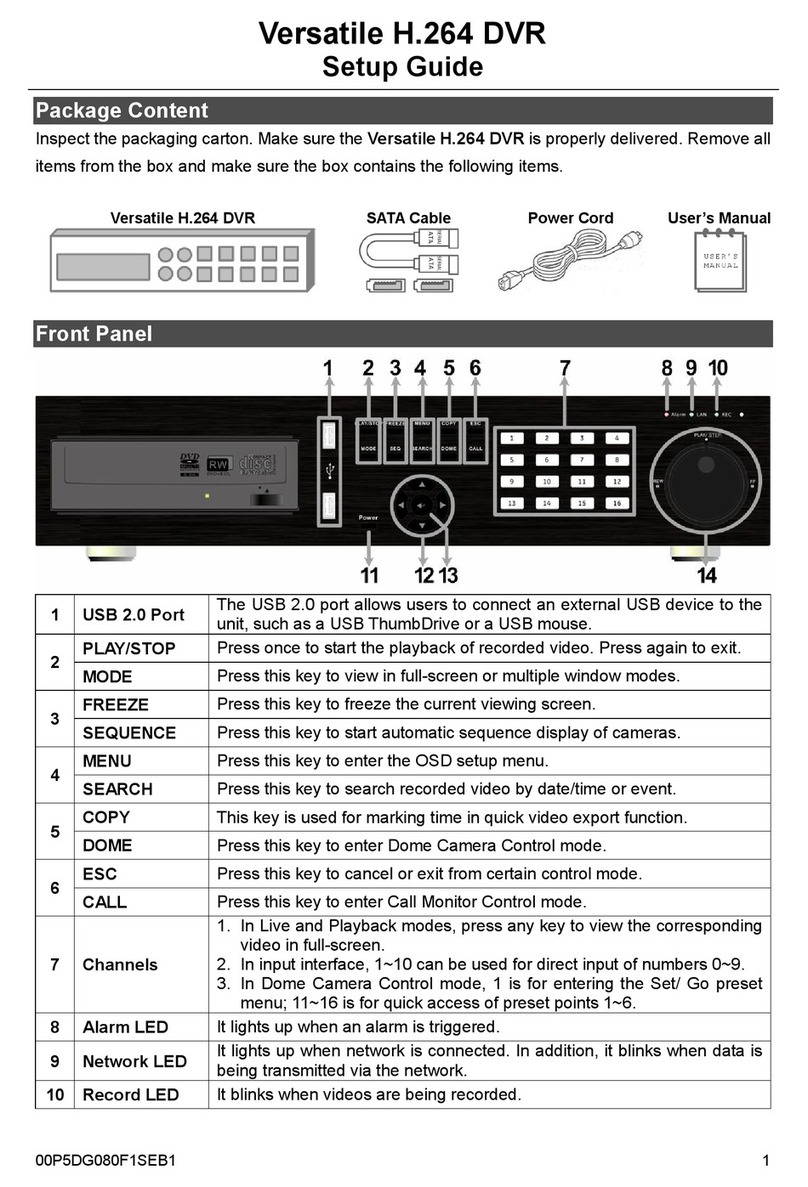
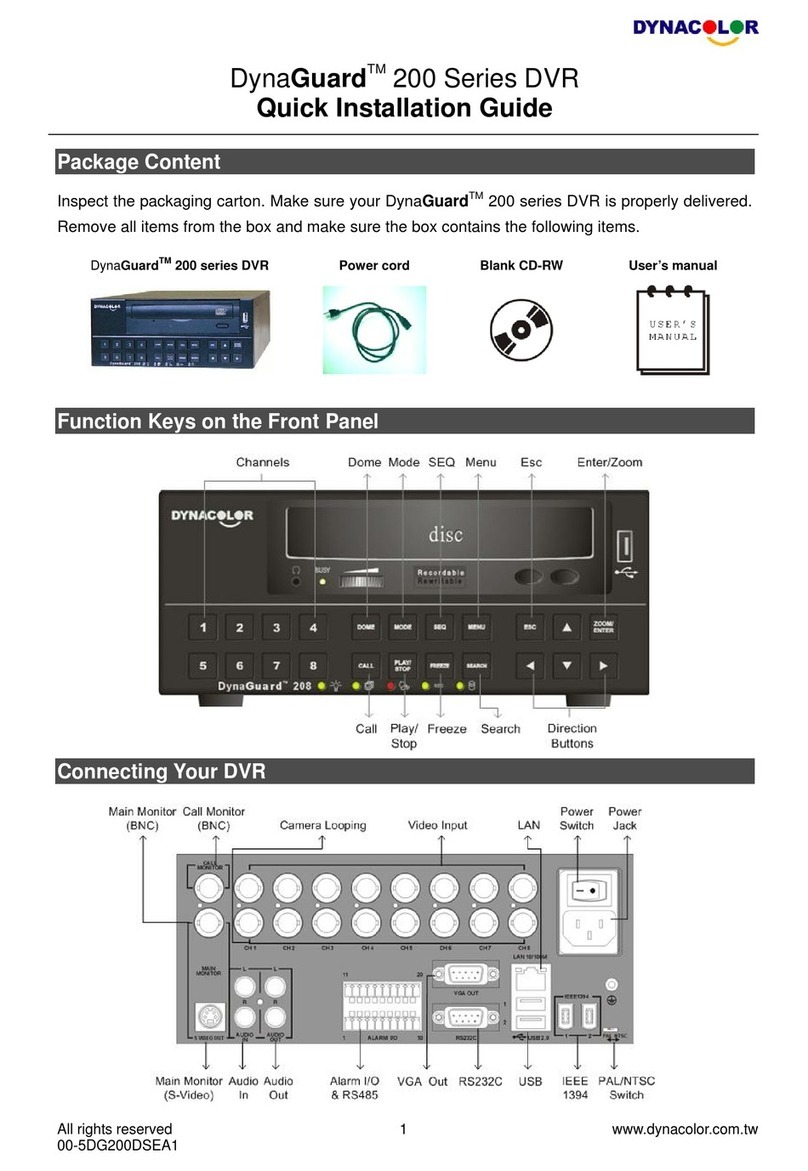
DynaColor DynaGuard 300 User manual

DynaGuardTM 300
Digital Video Recorder
User’s Manual
Ver. 1.2
00-3DG300DCEA2

www.dynacolor.com.tw
All right reserved
1
Notice
The information given in this manual was current when published. DynaColor, Inc. reserves
the right to revise its products. All specifications are subject to change without notice.
Copyright
Under copyright laws, the contents of this user manual may not be copied, photocopied,
translated, reproduced or reduced to any electronic medium or machine-readable format, in
whole or in part, without prior written permission of DynaColor, Inc.
© Copyright 2005 DynaColor, Inc.
Trademarks
DynaGuardTM, and DynaRemoteTM are trademarks of DynaColor, Inc.
ThumbDrive®is a registered trademark of Trek 2000 International Ltd.
FireWire®is a registered trademark of Apple Computer, Inc.
Windows®is a registered trademark of Microsoft Corporation.
Trademarked names are used throughout this manual. Trademarked names are indicated
with initial capitalization, rather than place a symbol at each occurrence. Inclusion or
exclusion is not a judgment on the validity or legal status of the term.

www.dynacolor.com.tw
All right reserved
2
Cautions and Preventive Tips
Take care not to drop the unit or subject the unit to major shocks or jolts.
This unit is designed for indoor use only. Do not place the unit near water or other
extremely humid conditions.
Do not place this unit on an unstable stand, bracket or mount.
This unit should not be placed in a built-in installation unless proper ventilation is
provided.
Please check the used type of power source before you plug and operate the unit.
Unplug the unit from the outlet before cleaning. Do not use liquid cleaners or aerosol
cleaners. Use only a damp cloth for cleaning.
Always power down the system prior to connecting and disconnecting accessories, with
the exception of USB devices.
Lithium Battery: Danger of explosion if battery is incorrectly replaced. Replace with the
same or equivalent type recommended by the battery manufacturer. Dispose of used
batteries according to the battery manufacturer’s instructions.

www.dynacolor.com.tw
All right reserved
3
Important Information
Before proceeding, please read and observe all instructions and warnings in this manual.
Retain this manual with the original bill of sale for future reference and, if necessary,
warranty service. When unpacking your unit, check for missing or damaged items. If any
item is missing, or if damage is evident, DO NOT INSTALL OR OPERATE THIS PRODUCT.
Contact your dealer for assistance.
Rack Mounting
Consult with the supplier or manufacturer of your equipment rack for the proper hardware
and procedure of mounting this product in a safe fashion. Avoid uneven loading or
mechanical instability when rack-mounting units. Make sure that units are installed to get
enough air flow for safe operation. The maximum temperature for rack-mounted units is 40°
C. Check product label for power supply requirements to assure that no overloading of
supply circuits or over current protection occurs. Mains grounding must be reliable and
uncompromised by any connections.

www.dynacolor.com.tw
All right reserved
4
End-user License Agreement
Read this License Agreement before opening the package or installing the software. The
License Agreement describes your rights and obligations. By breaking the seal on the
package or installing the software, you agree to all the terms in this agreement. If you do not
agree to the terms and conditions of this agreement, you may, within 30 days, return the
package, all the documentation and accompanying material(s) to the point of purchase for a
refund.
SOFTWARE LICENSE
The Software includes the computer software, the associated media, any printed material,
and any electronic documentation and may be provided to you installed on a hard drive (the
media) as part of a system. The Software is licensed, not sold.
GRANT OF LICENSE
This agreement between you and DynaColor, Inc. allows you to use the Software you
purchased. Once you have purchased the number of copies you require, you may use the
Software and accompanying material no more than the licensed number of copies at one
time. The Software is only licensed for use with specified DynaColor, Inc. supplied
equipment.
COPYRIGHT
The Software is a proprietary product of DynaColor, Inc. and is protected by both
International copyright laws.

www.dynacolor.com.tw
All right reserved
5
OTHER RIGHTS AND LIMITATIONS
A demonstration copy of the Software is considered purchased and is covered by this
license agreement
You may not sub-license, rent or lease the Software, but you may transfer the Software
to another party by delivering the original disk and material as well as this license to the
other party. Initial use of the Software and accompanying material by the new user
transfers the license to the new user and constitutes the new user's acceptance of its
terms and conditions.
You may not de-compile, disassemble, reverse engineer, copy, transfer, or otherwise
use the Software except as stated in this agreement.
The hardware/software key, where applicable, is your proof of license to exercise the
rights granted herein and must be retained by you.
DynaColor, Inc. reserves the right to revoke this agreement if you fail to conform the
terms and conditions of this agreement. In that case, you must destroy all copies of the
Software, and all of its component parts (e.g., documentation, hardware box, software
key).
The Software may contain software from third parties that is licensed under a separate
End User License Agreement. Read and retain any license documentation that may be
included with the Software. Comply with the terms of any third party End User License
Agreement is required as a condition of this agreement.
Failure to comply with these restrictions will result in automatic termination of this license
and will make available to DynaColor, Inc. other legal remedies.
UPGRADES
If the Software is an upgrade from another software version, you may use or transfer the
Software only as specified in this agreement. If the Software is an upgrade of a component
of a package of Software programs that you licensed as a single product, the Software may
be used and transferred only as part of that single product package and may not be
separated for use on more than one computer.
LIMITED WARRANTY
DynaColor, Inc. guarantees that the recording medium on which the Software is recorded,
and the documentation provided with it, will be free of defects in materials and workmanship
under normal use for a period of ninety (90) days from the date of delivery to the first user.
DynaColor, Inc. further warrants that for the same period, the software provided on the
recording medium under this license will substantially perform as described in the user
documentation provided with the product when used with the specified hardware.

www.dynacolor.com.tw
All right reserved
6
NO OTHER WARRANTIES
The above warranty substitutes for all other warranties, including express or implied, but not
limited to the implied warranties of merchantability and fitness for a particular purpose. No
oral or written information or advice given by DynaColor, Inc., its distributors or dealers shall
create any other warranty, and you may not count on such information or advice.
NO LIABILITY FOR CONSEQUENTIAL DAMAGES
In no event will DynaColor, Inc. be liable to you for damages, including any loss of data, loss
of profits or other incidental or consequential damages cause of your use of the Software or
its documentation. This limitation will apply even if DynaColor, Inc. or an authorized
distributor or dealer has been advised of the possibility of such damages. Further,
DynaColor, Inc. does not warrant that the operation of the Software will be uninterrupted or
error free.
This limited warranty gives you specific legal rights. You may have other rights that vary
from country to country. Some countries do not allow the exclusion of incidental or
consequential damages, or the limitation on how long an implied warranty lasts, so some of
the above limitations may not apply to you. Under no circumstances shall DynaColor, Inc.'s
liability for any claim by Customer exceed the purchase price paid by Customer.
GENERAL
If any clause of the agreement is found to be unlawful, void, or impracticable for any reason,
then that clause shall be detached from this agreement and shall not affect the validity and
enforceability of the remaining provisions.
You should keep proof of the license fee paid, including model number, serial number and
date of payment, and present such proof of payment when service or assistance covered by
this warranty is requested.

www.dynacolor.com.tw
All right reserved
7
Content
1. Overview ...........................................................................................................................9
1.1 Key Features 9
1.2 Product Application 11
2. Start with Your DynaGuardTM 300 DVR .........................................................................12
2.1 Position the Unit 12
2.2 Selecting the Video Format 12
2.3 Connection Notice 12
2.3.1 Checking the Input Voltage ............................................................................12
2.3.2 Connecting to the Short-term Storage Device................................................13
2.3.3 Networking the DynaGuardTM 300 DVR .........................................................13
3. System Connections ........................................................................................................13
3.1 Connectors on the Rear Panel 14
3.2 Basic Installation 15
3.3 Optional Installation 15
3.2.1 External Modem............................................................................................15
3.2.2 Terminal Block I/O Board (44-pin)..................................................................16
3.2.3 Looping Video Outputs ..................................................................................16
3.2.4 Audio Connection ..........................................................................................16
4. Front Panel Controls......................................................................................................17
4.1 LED…………………………………………………………………………………………17
4.2 Function Buttons18
5. Main Monitor View Format Settings............................................................................20
5.1 Selecting View Format 20
5.2 Camera Assignment 21
5.3 Automatic Sequencing Mode 22
6. Viewing Live & Playback Video Image..........................................................................22
6.1 Basic Playback Operations 22
6.1.1 Digital Zoom...................................................................................................22
6.1.2 Freeze / Pause ..............................................................................................23
6.2 Date / Time Playback 24
6.3 Event List Playback 25
6.3.1 Event Playback ..............................................................................................25
6.3.2 Deleting Event List.........................................................................................26
6.4 Controlling the Installed Dome Cameras 27
6.4.1 Dome Installation ...........................................................................................27
6.4.2 Dome Controlling Button Introduction ............................................................28
6.4.3 Set Preset Point.............................................................................................29
7. Advanced Operations ..................................................................................................30
7.1 OSD/ Timer 31
7.1.1 Setup Daylight Saving Time...........................................................................33
7.1.2 Setup Date/ Time ...........................................................................................34
7.2 Monitor …………………………………………………………………………………….34
7.3 Camera……….. 36
7.3.1 Configuration Table1 Settings ........................................................................37
7.3.2 Change Camera Title.....................................................................................41
www.dynacolor.com.tw
All right reserved
8
7.3.3 Speed Dome Setup........................................................................................43
7.3.4 Matrix Setup...................................................................................................44
7.4 Record………………………………………………………………………………….......45
7.4.1 Schedule........................................................................................................48
7.4.2 Day/ Night Switch ..........................................................................................51
7.4.3 Normal PPS & Quality....................................................................................52
7.4.4 Audio Setup ...................................................................................................53
7.4.5 Purge Normal Data ........................................................................................54
7.5 Event………………………………………………………………………………………..54
7.5.1 Event Response ............................................................................................55
7.5.2 Motion Detect.................................................................................................56
7.5.3 Alarm In Settings ...........................................................................................61
7.5.4 Clear Event List .............................................................................................61
7.6 System Information……………………………………………………………………….62
7.6.1 RS-485 Protocol ............................................................................................63
7.6.2 Information.....................................................................................................63
7.6.3 Database Information.....................................................................................64
7.7 Save/ Load Default……………………………………………………………………….65
7.8 Export………………………………………………………………………………………67
7.9 Administrator Setup……………………………………………………………………….69
7.9.1 Password Setup.............................................................................................70
7.9.2 Network Setup ...............................................................................................73
7.9.3 Super MMX Mode..........................................................................................87
7.9.4 Database Setup .............................................................................................88
7.9.5 Upgrade .........................................................................................................90
8. RS-485 .............................................................................................................................91
9. Specification...................................................................................................................92
Appendix A: External I/O Pin Definition ..............................................................................94
Appendix B: RS-485 Command Set ....................................................................................97
Appendix C: Super MMX & Super MPX System Setup ......................................................98
Appendix D: Setup Sequence of the Main Monitor..........................................................102
Appendix E: IR Remote ......................................................................................................103

www.dynacolor.com.tw
All right reserved
9
1. Overview
The section provides a general overview of the product. The complete
DynaGuardTM 300 surveillance system includes one or more Digital Video
Recorder(s) with dome controls, remote configuring software, and other advanced
features.
The triplex technology of DynaGuardTM 300 DVR enables you to view live and
recorded video simultaneously, while recording other video. Also, DynaGuardTM
300 enables you to access wanted recorded video by searching the indexed time
or event type.
DynaGuardTM 300 allows you to export the recorded video to extended storage
devices through USB ports (one on the front panel and two on the rear) and
IEEE-1394 ports (two on the rear).
1.1 Key Features
The following outstanding features make DynaGuardTM 300 DVR unique:
•Powerful Wavelet compression
•Triplex+ operation enables users to simultaneously view live and previously
recorded video while recording and networking at the same time.
•Record and playback 2 channels of audio inputs / outputs.
•Support VGA main output with high resolution up to 1280 x 1024 pixels
•Smart Matrix system with 16 inputs and 5 outputs (optional)
•Camera plug & play and covet operation provide enhanced security and
administrator control.
•Individual camera configuration settings for covert camera feature,
termination, gain control, alarms, motion detection, and scheduling
•Programmable or automatic recording priority for each camera
•Average or self-adjusting live refresh rate for each camera
•Wide Dynamic Processing and Scheduling for each camera input
•Programmable schedule for one week
•Recording frame rate configurable
•Enhanced Digital Zoom 4 x 4

www.dynacolor.com.tw
All right reserved
10
•On-line storage options including IEEE1394 (FireWire) interface for up to
32TB / 32000GB (Up to 16 HDDs, each HDD capacity up to 2TB / 2048GB)
•Off-line storage options including USB port for multiple device extension and
DVD+RW for video clip export
•Export wavelet video (AVI + Wavelet-player for Windows) or still image (BMP)
with digital signature
•Easy software upgrade via the Internet or USB ThumbDrive®
•System integration (networking together, controlled by RS-485 remote
keyboard or IR remote control)
•Time sync on the network to a single unit
•Automatic Daylight Saving Time adjustment
•Powerful Alarm Processor allows flexible alarm trigger and response,
including alarm, motion, and camera failure
•Pre-alarm recording (up to 30 seconds by 60pps/ normal quality)
•E-mail or Telephone Call alarm notification
•Ethernet connectivity for remote access
•Text Interface via RS-485 / RS-422 / RS-232 (for POS / ATM /Access)
•Integrated Speed Dome/ PTZ devices control
•Multiple languages
•Windows AP for HDD data management
•Support USB mobile Rack (optional)
•HDD database format compatible with Windows (Based on Windows AP)
•Network software supports static IP, DHCP, PPPOE and DDNS.
•Network hardware supports 10/100M or USB Modem (Dial-In, Dial-Out)
•Windows AP for HDD data management
•HDD database format compatible with Windows (Based on Windows AP)
•Network software supports static IP, DHCP, PPPoE and DDNS.
•Network hardware supports 10/100M or USB Modem (Dial-In, Dial-Out)

www.dynacolor.com.tw
All right reserved
11
1.2 Product Application
DynaGuardTM 300 DVR is a cost-effective and easy-to-use multiplexed digital
video recorder, equipped with Linux operating system, powerful Wavelet
compression engine. DynaGuardTM 300 DVR built-In LAN function, USB 2.0/1.1
and CD-RW (Optional) for powerful application.
NOTE: DynaGuardTM 300 DVR starts detecting the camera and recording
automatically after power is on.
The complete DynaGuardTM 300 DVR surveillance system is illustrated in the
figure below:

www.dynacolor.com.tw
All right reserved
12
2. Start with Your DynaGuardTM 300 DVR
Firstly, note to position or mount the DynaGuardTM 300 DVR in a proper place
before you make connections to the unit; and be sure to power off the unit before
making any connection.
In order to prevent the unit from data loss and system damage that caused by a
sudden power fluctuation, it’s highly recommended to use an Uninterruptible
Power Supply (UPS).
2.1 Position the Unit
DynaGuardTM 300 DVR should be placed on a stable and flat surface or be rack
mounted well by using the attached mounting ears.
The placed location should avoid hindering or blocking the unit from air flow.
Enough air flow is needed to protect the unit from overheating. The maximum
temperature of the unit is 40 ºC.
2.2 Selecting the Video Format
DynaGuardTM 300 DVR is designed to operate under either NTSC or PAL video
formats, but the format needs to be reset via an internal switch. Please contact
with a qualified service person to perform the installation procedure.
2.3 Connection Notice
This section lists some notices that should be given before making any
connections to the DynaGuardTM 30 DVR.
2.3.1 Checking the Input Voltage
Before you make any connections to the DynaGuardTM 300 DVR, please check
the input voltage is within AC115~230V when you connect the power adapter to
the AC jack, or the DynaGuardTM 300 DVR will not power up. While the AC voltage
is import, the power adapter must be able to supply enough current. A poor quality
power adapter will make DynaGuardTM 300 DVR unstable.

www.dynacolor.com.tw
All right reserved
13
2.3.2 Connecting to the Short-term Storage Device
If you plan to install any short-term storage devices to the DynaGuardTM 300 DVR
and use them as part of the unit storage system, make sure connecting those
devices only after the unit is powered up. Because the external devices can be
recognized by DynaGuardTM 300 DVR only after the power-up sequence are
completely done.
2.3.3 Networking the DynaGuardTM 300 DVR
If you plan to network the DynaGuardTM 300 DVR, please make sure each unit is
assigned a unique ID. If multiple external devices, such as speed dome cameras
or other DVRs, are installed on a same RS-485 bus, then each of the external
device should be assigned a different ID address, respectively. Therefore, the
possible conflicts caused by multiple devices transmitted on the network could be
avoided.
3. System Connections
Before making any connections to DynaGuardTM 300 DVR, be sure to position the
unit on a flat surface, or rack mount the unit firmly for proper operation. Note that
power must be OFF before making any connections.

www.dynacolor.com.tw
All right reserved
14
3.1 Connectors on the Rear Panel
The figure below shows the connectors available on the rear panel. The
description of each connector will be listed in the following table.
CONNECTOR DESCRIPTION
LAN PORT LAN port for LAN / WAN remote network connection.
EXTERNAL I/O 1
(TERMINAL
BLOCK)
Terminal block I/O connector for alarm out, and audio in/
audio out. See Appendix A: External I/O Pin Definition
for more detailed information.
RS-485 OUTPUT
(RJ-11)
RS-485 port for connecting to RS-485 remote keyboard.
Section 8 <RS-485> for more detailed information.
VGA MAIN
MONITOR
VGA connector for main monitor output.
CALL MONITOR
OUTPUT (BNC)
BNC connector for connection to a Call Monitor. Refer to
Section 8.3.1.2 <Call Seq> for setting a programmed
sequence of the Call Monitor.
MATRIX OUT
(X5)
BNC connectors for smart matrix output. Refer to Section
8.3.4 <Matrix> for detailed information.
VIDEO INPUT
(X16)
BNC connectors for Video Input streams from cameras.
POWER JACK AC power connection jack.
USB (X2) Two USB ports are provided for external USB devices, i.e.,
ThumbDrive®.
IEEE 1394 (X2) FireWire®port for extended storage.
EXTERNAL I/O 2
(44 PIN D-SUB)
Used for external alarm sensors contact, and also for the
RS-232/ RS-422(Optional) signal communications. Refer
to Appendix A External I/O Pin Definition for detailed
information.

www.dynacolor.com.tw
All right reserved
15
MAIN MONITOR
OUTPUT
(S-VIDEO)
S-Video connector for main monitor output.
MAIN MONITOR
OUTPUT (BNC)
BNC connector for main monitor output.
VIDEO OUTPUT
(X16)
16x BNC connectors for looping out of Video Input.
3.2 Basic Installation
If your DynaGuardTM 300 DVR does not have any HDD installed, please install at
least one HDD (the unit can be installed up to two HDDs) to it and add the HDD
into database before making any connections. To disassemble the unit and install
the HDD(s), see “Quick Setup Guide” attached in the package.
To make basic connections to the unit, follow these steps:
•Be sure the power is OFF; if not, please shut down the unit before making any
connection.
•Connect the video output from each camera to one of the video input BNC
connectors of the unit.
•Connect the main monitor to the main monitor output of the unit. Choosing
BNC, S-VHS or VGA connector depends on the connector type of your
monitor (The S-VHS and VGA socket offer a better video output quality than
BNC).
•Connector the power adapter to the AC jack of the unit.
3.3 Optional Installation
The following subsections describe some optional installations of the rear panel,
such as networking and video output looping; not every site needs to perform
these mentioned installations.
3.2.1 External Modem
DynaGuardTM 300 DVR can send out an E-mail or Telephone Call alarm
notification to a user through the LAN connected or POTS lines. The external
modem may require a serial converter. Telephone Call Notice requires an external
USB Modem, or an RS-232 Modem with a USB to RS-232 converter. A dedicated
analog standard POTS line is also required. Do not use a PBX or digital line with
this modem.

www.dynacolor.com.tw
All right reserved
16
3.2.2 Terminal Block I/O Board (44-pin)
A Terminal block I/O board (as below figure) is attached within the DynaGuardTM
300 DVR package, which is used for sending / receiving signals between
DynaGuardTM 300 DVR and other external devices, such as Alarm Sensor or
Buzzer, through RS-232 or RS-422(optional).
Plug the attached board to the Terminal block I/O port for alarm in, alarm out,
alarm switches, Day / Night switch, etc.
NOTE: The definition of each pin is printed on the board. All RS-422 related pins
on the external board are reserved for possible using.
3.2.3 Looping Video Outputs
You can loop the video to other external devices for monitoring through these BNC
connectors. If you plan to use the looping function, please remember to disable the
termination (the setting can be accessed in “Configuration Table 1”). This 75 Ohm
termination is enabled by factory default.
3.2.4 Audio Connection
DynaGuardTM 300 DVR provides one audio input / output through the terminal
block in the rear panel. Please refer to Appendix A: External I/O Pin Definition
for detailed information. If you plan to access the audio function, an amplified
microphone (connect it to Audio In) and amplified speakers (Connect it to Audio
Out) are needed.

www.dynacolor.com.tw
All right reserved
17
4. Front Panel Controls
The DynaGuardTM 300 DVR front panel controls enable you to perform preset and
programmable functions. The figure below shows the available buttons on the front
panels.
The LED and buttons will be introduced by name and function in following
subsections.
4.1 LED
If you are networking the unit, the LEDs on the front panel tells the status of your
network. See the table below for detailed information about the LEDs on the front
panel.
LED COLOR DESCRIPTION
POWER Green The LED will be lit while the power source is
connected and the unit is turned ON.
ALARM LED Red
The LED will blink when once an event, including
Alarm In, Motion Detect, and Video Loss, is
triggered. The LED will stay blinking in the
duration of the alarm.

www.dynacolor.com.tw
All right reserved
18
REC LED Green The LED will be lit while the unit is recording.
LINK LED Green The LED will be lit when DynaGuardTM 300 DVR
is connected to a network.
ACT LED Green The Led will blink when data is being transferred
on the net.
4.2 Function Buttons
The DynaGuardTM 300 DVR allows you to perform preset and programmable
functions through its front panel. There also contains a USB port for connection to
an external device for video export.
The function buttons on the front panel are described in the following table.
FUNCTION
BUTTON DESCRIPTION
LIST
All event entries are listed in the "Event List" by date and time of
occurrence. Press to toggle the Event List, and press ESC to
exit the Event List. Refer to Section 6.3 <Event List Playback>
for detailed information about playing back an alarm event from
the Event List.
GOTO
In either Playback or Live mode, press to enter GOTO menu,
which allows you to search for certain recorded video by date
and time, or you can either go to the beginning or the end of the
recorded video. Refer to Section 6.2 <Data / Time Playback>
for detailed information about date/ time playback.
REW
In playback mode, press REW to play recorded video in reverse
direction. Press repeatedly to change the rewind speed: x1, x2,
x4, x8, x16 and x32.
PLAY
In Live mode, press PLAY to start playing back, press again to
stop. Note that the playback will pause on the end of the
playback; you can press ESC to return to Live mode.

www.dynacolor.com.tw
All right reserved
19
FREEZE
(PAUSE)
Press to pause on any image, including recording video and live
image. During the pause of playback, the indication “ ” will be
shown in the top-right corner of the monitor. See Section 6.1.2
<Freeze/ Pause> for more detailed information.
NOTE: Pause on Live Multi-window mode gives a brief history
of motion recording containing two fields. An indication
“Freeze Field” appears in the top-left corner.
Containing two fields offers a better quality image but
also may cause the image to flicker (the image you see
is jumping between the two fields). Press FREEZE
again to delete one of the two fields and stop the image
jumping between the two fields. Now an indication
“Freeze Frame” appears in the top-right corner of the
screen. Press a third time to release pause.
In another word, press it once to freeze the video image
on the screen in frame mode. Frame mode is suitable
for static image. If the user presses FREEZE again, the
DVR will change from frame mode to field mode. If the
picture contains moving objects, the image will be better
(more stable) in Field mode.
FF
While playing back, press FF to make the playback faster. Press
repeatedly to change the playback speed by x1 x2, x4, x8, x16
and x32.
ESC
In OSD mode, press to return to previous menu. At the end of
playback, the DynaGuardTM 300 DVR goes to Pause mode;
press ESC to resume pause.
In OSD menu, used to make the selection or save settings.
ZOOM /
ENTER Used to enter a 2x2 Zoom mode. For more detailed information,
refer to Section 6.1.1 <Digital Zoom>.
POWER
ON/OFF
Used to power up and shutdown the unit. If you are networking
the unit, it takes about 30 seconds to completely power up the
unit; if not, it may take more time to boot the unit.
To shut down the unit, press and hold the button for 3 seconds.
The correct password is required when you attempt to shut
down the unit.
CHANNEL Press one of the buttons to view the corresponding camera in
full screen.
DOME
While a window, which is connected with a dome camera, is
under full-displayed mode, press DOME to enter Dome Control
Mode. Refer to Section 6.4 <Controlling the Installed Come
Cameras> for detailed information.
Table of contents
Other DynaColor DVR manuals

DynaColor
DynaColor 960H H.264 DVR User manual

DynaColor
DynaColor DynaGuard 100 Genie User manual

DynaColor
DynaColor DynaGuard 200 User manual

DynaColor
DynaColor Lite H.264 DVR User manual

DynaColor
DynaColor EDNS V3000 User manual

DynaColor
DynaColor 900 series Hybrid User manual

DynaColor
DynaColor DG80II User manual

DynaColor
DynaColor SL H.264 WD1 User guide

DynaColor
DynaColor DE200-00DP User manual

DynaColor
DynaColor DynaGuard 090 series User manual