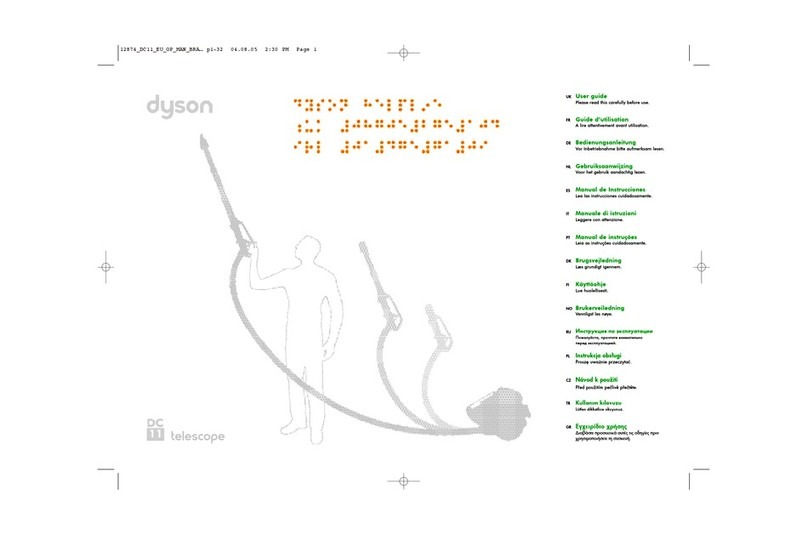
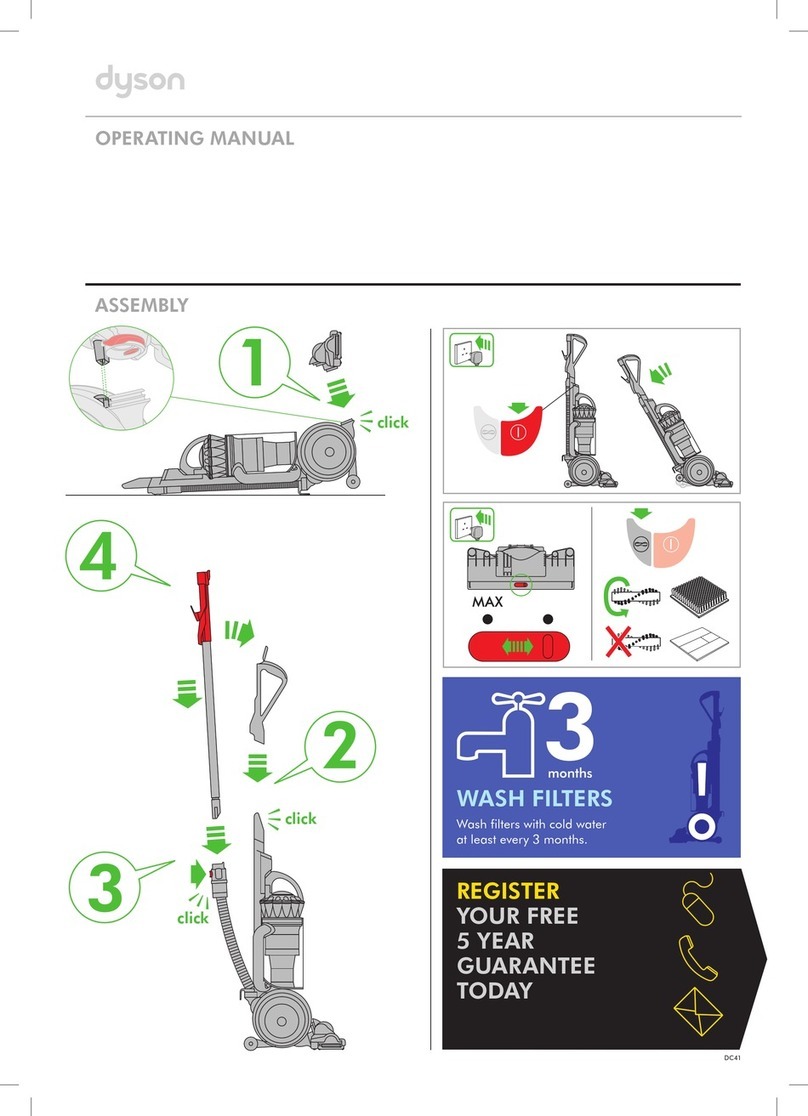
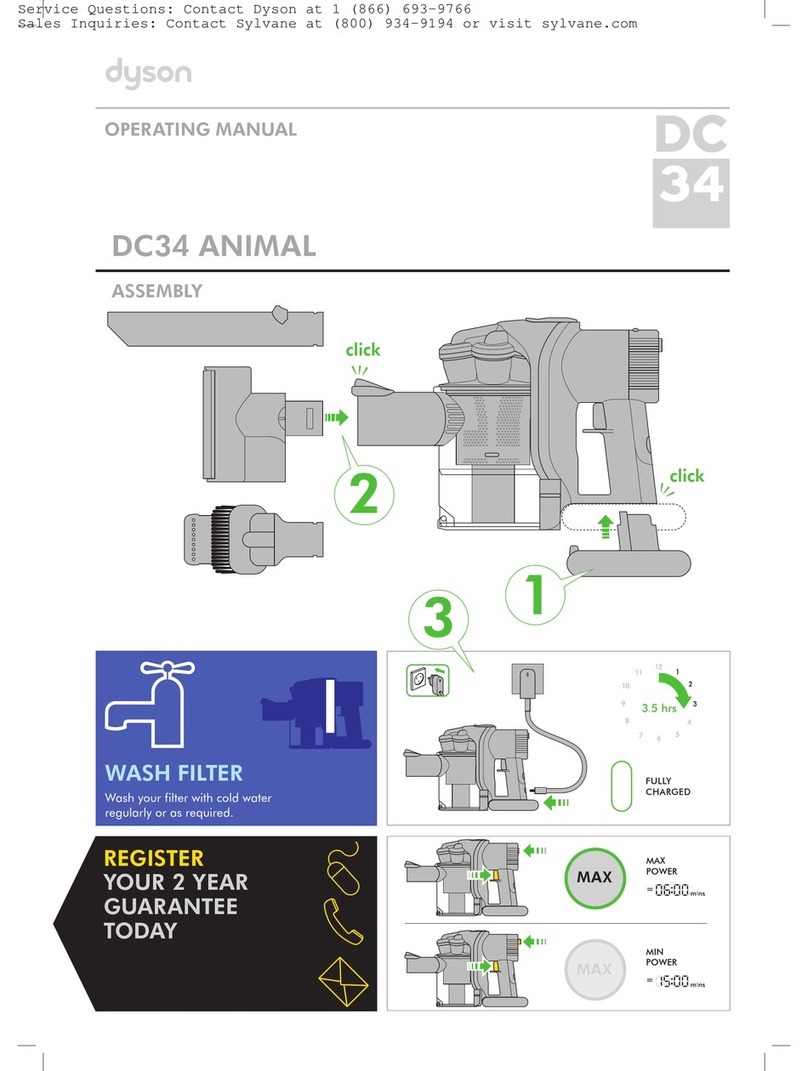
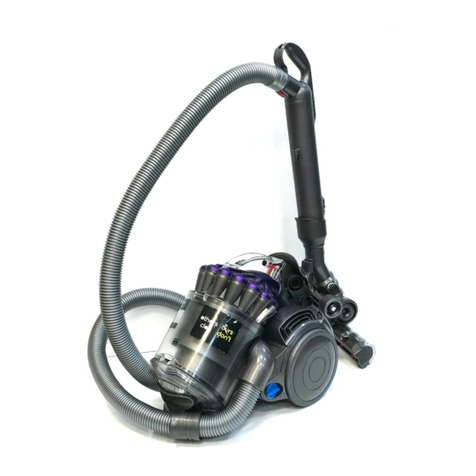
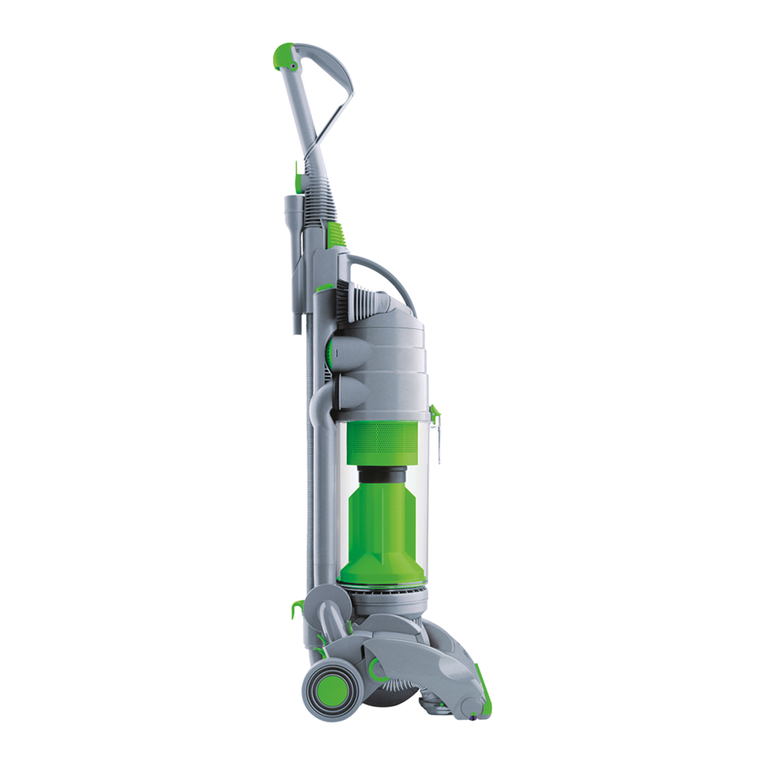
Dyson DC15 User manual

12438_DC15 USA OP MAN NE... pi-36 2/18/05 3:58 PM Page 1
iiiiiii
iiiiiil
iiiiiiii
i<i_>
fuJJy before using your DC]5
< <i::<O
0{a ar<[es de u'r[J[zar su DC]5
VeuiJJez Jire attentivement ce rnanueJ avant d'ufiJiser votre DC] 5
\ ioy

12438_DC15 USA OP MAN NE... pi-36 2/18/05 3:58 PM Page 2
fiMPORTANT SAFETY iNSTRUCTiONS
READ ALL iNSTRUCTiONS BEFORE USING THiS VACUUM CLEANER
When using an electrical appliance, basic precautions should always be
followed, including the following:
WARNING
TO REDUCE THE RiSK OF FIRE, ELECTRIC SHOCK OR iNJURY:
4
5
6
7
8
9
10
11
12
Do not leave plugged in. Unplug from electrical outlet when not in use and
before servicing.
Do not use outdoors or on wet surfaces or to vacuum water or other liquids -
electric shock could occur.
Do not allow to be used as a toy. Close attention is necessary when used by or
near children.
You are responsible for making sure that your vacuum cleaner is not used by
anyone unable to operate it properly.
Use only as described in this manual. Use only with Dyson recommended
attachments and accessories.
Check to ensure your electricity supply corresponds to that shown on the rating
plate, which is located behind the bin. The machine must only be used as rated.
Do not use with a damaged cord or plug. If the appliance is not working as it
should, has been dropped, damaged, left outdoors, or immersed in liquid,
contact the Dyson Helpline at 1-866-693-9766.
Do not pull or carry by the cord, do not use the cord as a handle, do not
close a door on the cord or pull the cord around sharp edges or corners. Do
not run the appliance over the cord. Keep the cord away from heated surfaces
and open flames.
Do not unplug by pulling on the cord. To unplug, grasp the plug, not the cord.
Do not handle the plug or appliance with wet hands.
Do not use the appliance without the clear binTM and filters in place.
Do not put any object into openings in the machine. Do not use with any
opening blocked; keep free of dust, lint, hair and anything that may reduce
air flow.
13
14
15
16
17
18
19
2O
21
Keep hair, loose clothing, fingers, and all parts of body away from openings
and moving parts.
Do not use the machine to pick up sharp hard objects, small toys, pins, paper
clips etc. They may damage the machine.
The use of an extension cord is not recommended.
Store the machine indoors. Putthe vacuum cleaner away after use with the
cord coiled safely, to prevent tripping accidents.
Turn off all controls before unplugging.
Use extra care when cleaning on stairs; always work with the machine at the
bottom of the stairs. Do not put the machine on chairs, tables etc. Keep on
floor.
Do not pick up anything that is burning or smoking, such as cigarettes,
matches or hot ashes.
Do not use to pick up flammable or combustible liquids, such as gasoline, or
use in areas where they may be present.
When vacuuming, certain carpets may generate small static charges in the
clear bin or wand. These are entirely harmless and are not associated with the
electricity supply. To minimize any effect from this, do not put your hand or
insert any object into the clear bin unless you have first emptied it and rinsed it
out with cold water.
22 Use only identical Dyson replacement parts.
23 Do not carry out any maintenance work other than that shown in this manual
or advised by the Helpline.
SAVE THESE iNSTRUCTiONS
THiS APPLIANCE iS iNTENDED FOR HOUSEHOLD USE ONLY
Polarization instructions
To reduce the risk of electric shock, this appliance has a polarized plug (one blade
is wider than the other). This plug will fit in a polarized outlet only one way. If the
plug does not fit fully in the outlet, reverse the plug. If it still does not fit, contact a
qualified electrician to install the proper outlet. Do not change the plug in any way.
\ _J

12438_DC15 USA OP MAN NE... pi-36 2/18/05 3:58 PM Page 3
User guide
Please read this guide
carefully before using
your DC] 5.
Important safety instructions
Assembling
_'_! Using your Dyson
Using your Dyson
Using the tools
Washing your filter
Emptying the clear binTM
Cleaning the clear binTM
8 Clearing blockages
Warranty and customer care
/Tm
mT_
\i°J

12438_DC15 USA OP MAN_NE... pi-36
_M?ORTANT
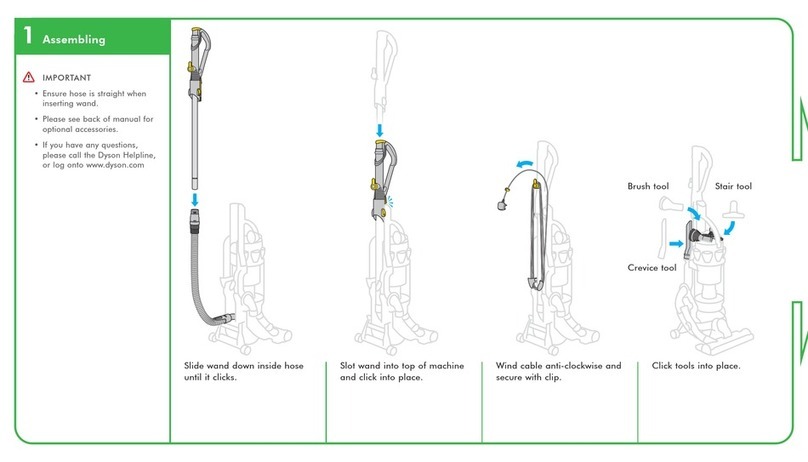
o Ensure hose is straight
when inserting wand.
o If you have any questions,
please call the Dyson
Helpline toll free at
1-866-693-9766 or log
onto www.dyson.com
2/18/05 3:58 PM Page 4 ........................U!>.................
# ,
Brush tool
Crevice tool
Stair tool
Slide wand down inside hose until
it clicks, Slot wand into top of machine
and click into place.
Wind cord counter-clockwise and
secure with clip.
Click tools into place.

12438_DC15 USA OP MAN NE..,pi-36 2/18/05 3:58 PM Page 5
CAUTION
Please note: this machine
is intended for domestic
use only Fine dust such as
plaster dust or flour should
only be vacuumed in very
small amounts.
The brushbar will
automatically stop if it
becomes obstructed.
D@ n@t press the cyclone
release button while
carrying the machine or it
could fall and cause iniury.
Ensure the cyclone is
secured to the machine.
D@n@t shake the machine
while carrying or it could
fall and cause iniury.
</'
< .....
%
%
,/
Carrying your Dyson
Ensure machine is upright before
carrying.
Use the carry handle at the top of
the cyclone to lift.
<_#i}<}i_,iliiii ...._
i
Using your Dyson
Plug in and press ON/OFF switch.
Press pedal firmly to release
cleaner head and pull handle
towards you.
Use pedal only do not stand
directly on cleaner head.
Ensure stabilizing wheels are
fully retracted or brushbar will
not operate.
/]Y
\ioY

12438_DC15 USA OP MAN NE...pi-36 2/18/05 3:58 PM Page 6
Z5 IMPORTANT
When you first start to
vacuum, the brushbar is
"ON".
Press button to turn
brushbar off for delicate
rugs, berbers, and bare
floors.
If the brushbar stops
during use, please refer
to the blockages section.
Ensure stabilizing wheels
are fully locked in place
before releasing the
cleaner.
4¸¸¸ i !!
_ _i ;i¸
¸%¸¸¸
Brush control
Press button to turn brushbar
OFF for delicate rugs, berbers
and bare floors; and again to
restart for carpets.
:_j<i¸¸¸<
Using DC1 5
Small movements of the wrist will create a zigzag motion in the head, for
easier cleaning around furniture.
When finished, push the
handle firmly beyond the
upright position to drop the
stabilizing wheels.
Ensure stabilizing wheels
are fully locked in place
before releasing the
cleaner.
\ioy

12438_DC15 USA OP MAN NE...pi-36 2/18/05 3:58 PM Page 7
_MPORTANT
Ensure machine is in
upright position before
using tools.
To protect your floors, the
brushbar will net rotate
when the machine is in
an upright position.
Ensure hair and loose
clothing are kept dear of
wand cap when machine
is switched on.
Ensure wand cap is closed,
unless using with tools.
Powerfuk suction can
cause the hose to 'pull
back' ......please take care
when cleaning stairs.
To avoid personal iniury
and to prevent the
machine from falling
when cleaning stairs,
ab,'ays place it at the
bottom of the stairs. Wand mode
A Pull metal wand from inside handle until it clicks.
BPress button to release hose and wand handle from machine. To push
wand back inside hose, ensure hose is straight. Press wand release
button and push wand down into hose.
_OSe _O_e
A First extend the wand, then
press side buttons to remove
wand handle from hose.
BTools can be fitted directly to
the end of hose or wand.
Stair cleaning
Always work with the
machine at the bottom of
the stairs.
J
\ioy

12438_DC15 USA OP MAN NE... pi-36 2/18/05 3:58 PM Page 8
CAUTION
Check your filter regularly
and wash at least every 6
months according to
instructions to maintain
Turn power off and unplug
before washing the filter.
Failure to do so could
result in electric shock or
personal iniury.
The filter may require
more frequent washing if
vacuuming fine dust.
De net use detergent to
clean filter.
De net put the fikter in the
dishwasher, washing
machine, tumble dryefl
microwave or near an
open flame.
Press catch to release cyclone
and bin from machine.
..............
Lift filter release catch and
remove filter. Separate blue filter and yellow case.
Wash filter and case in cold water
only. Repeat until water runs clear.
Air dry for at least 12 hours
or overnight. Ensure filter is
completely dry before refitting
onto the machine.
J
\ i_y

12438_DC15 USA OP MAN NE... pi-36 2/18/05 3:58 PM Page 9
CAUTION
o Turn power off and unpbg
before emptying the bin.
Failure to do so could
result in electric shock or
personal iniury.
o Do not use the machine
without the clear bin in
The British Allergy Foundation
considers that this product may in
proper use reduce exposure to both
House Dust Mite (Der p 1) and Cat
Allergen (Feld 1). It is strongly
recomrnended that a sensitive person
should take care when emptying the
clear bin. We recomrnend the
rnanufacturer's emptying instructions
should be strictly followed.
The British Allergy Foundation is a
UK national charity (Charity Re. No.
1003726) founded in 1991 with the
aim of improving awareness,
prevention and treatrnent of
allergies.
Empty bin as soon as the level of
the MAX mark is reached at any
point in the bin.
Press catch to release cyclone
and bin from the machine.
Option 1
Push the button as shown to
empty directly into trash.
Option 2
Emptying into a bag is
recommended for allergy sufferers.
Place bin in bag and push button.
Let the dust settle and close bin
base securely before removing
from bag and refitting bin on
machine.
J
mT_
\ ioy

12438_DC15 USA OP MAN NE... pi-36 2/18/05 3:58 PM Page i0
CAUTION
o Do not use detergents,
polishes or air fresheners
to clean the clear bin.
o Do not immerse the whole
cyclone in water.
o Ensure bin is completely
dry before replacing°
/
Cleaning the shroud/op,_ono_j
Ensure bin is empty (as detailed
in section 6) and bin base is
open.
Press catch Ato release the clear
bin from the cyclone.
Clean shroud with a cloth or dry
brush to remove lint. Cleaning the clear bin"/op_o_oJ)
Ensure bin is empty and bin base
is open.
Rinse with cold water only.
Ensure bin is dry before replacing.
<< iii< _r¸¸
............! !ijil
Re-assembling the
dear bin TM
Holding carry handle, fit
cyclone assembly inside the
clear binm."
Line up the front and rear
guides and push down to
secure.
J
fT_
\ioy

12438_DC15 USA OP MAN NE... pi-36 2/18/05 3:58 PM Page ii
k.
CAUTION
Turn power off and unplug
before checking for
blockages. Faikure to do
so could result in electric
shock or personal iniury.
If any part of your
machine becomes
blocked, it may overheat
and then automatically
shut off. Unplug machine
and leave to cool down.
For safety, please lie the
machine on its side before
checking for blockages.
Hease note: clearing
blockages is not covered
by your machine's limited
warranty.
Beware of sharp obiects
when clearing blockages.
Refit akl paris of the
machine securely before
using it. Check to see if tools, wand and hose are clear
of blockages.
A To remove the hose, rotate base of hose
downwards until it clicks, then twist away
from the machine.
®
B Squeeze release catches to remove the airway
inspections and check inside.
C Pull the top end of the tube away from machine
and check inside.
@
D Undo colored soleplate
fasteners with a coin.
E Rotate endcaps and remove.
F Pull out brushbar sections.
C- Cut out debris blocking
bristles.
_J
/Tm
\ioY

12438_DC15 USA OP MAN NE... pi-36 2/18/05 3:58 PM Page 12
fDyson customer care
Limited 2 year
household warranty
Terms and Conditions of the
Dyson 2 year limited warranty
Your serial number can be
found on the rating plate,
which is located on the
machine behind the bin.
Note your serial number for
future reference:
_ i! i! i! i! i! i! i! i! i! i!
If you have a question about your Dyson vacuum cleaner, call the Dyson Helpline at 1-866-693-9766 with your serial number and details
of where/when you bought the cleaner. Your serial number can be found on the rating plate, which is located on the machine behind the bin.
Most questions can be solved over the phone by one of our Helpline staff. If your cleaner needs service, call the Dyson Helpline we will
discuss with you the options available for service. If your machine is under warranty and it is a covered repair, your machine will be
repaired at no cost. To reach the Dyson Helpline call at 1-866-693-9766, or visit Dyson online at www.dyson.com
Thank you for choosing to buy a Dyson.
To help us ensure you receive prompt and efficient service, please register your purchase with us. There are two ways to do this:
•You can register by completing and returning the enclosed form to us by mail.
•Alternatively, you can register on line at www.dyson.com
This will confirm your ownership of your Dyson in the event of an insurance loss, and enable us to contact you if necessary. If you have any questions about your
Dyson, please call our customer helpline at 1-866-693-9766, 7 days a week, or log on to our website at www.dyson.com
What is covered
Your Dyson vacuum cleaner is warranted against original defects in material and workmanship for a period of two years from the date of purchase, when used for
private household purposes in accordance with the Dyson Owner's Manual. This warranty provides, at no extra cost to you, all labor and parts necessary to ensure
your vacuum cleaner is in proper operating condition during the warranty period. This warranty is subject to the following terms:
What is not covered
Dyson, Inc. shall not be liable for costs, damages or repairs incurred as a result of:
•Use of parts not assembled in accordance with the Owner's Manual.
•Careless operation or handling, misuse and/or lack of maintenance or use not in accordance with the Owner's Manual.
•External sources such as weather.
•Repairs or alterations carried out by unauthorized parties or agents.
•Use of the vacuum cleaner other than for normal domestic household purposes within the United States, e.g. for commercial or rental purposes.
•Normal wear and tear, including normal wearing parts such as belt, filter, brush bar, hose assembly and power cord (or where external damage or abuse is diagnosed).
•Use of parts and accessories other than those produced or recommended by Dyson, Inc.
Warranty Service
•Please fill out and return the Product Registration Form, or register on line at www.dyson.com.
•Before service can take place, the terms of the warranty require that you contact the Dyson Helpline with your model name/number, serial number, date and place
of purchase. Please keep your purchase receipt in a safe place to ensure you have this information. The serial number is found on the vacuum cleaner's rating
plate, which is located on the machine behind the bin.
•All work will be carried out by Dyson, Inc. or its authorized agents.
•Any replaced defective parts will become the property of Dyson, Inc.
•The fitting of replacement parts will not extend the period of this warranty.
•If your machine is not functioning properly, please call the Dyson Helpline at 1-866-693-9766. Most issues can be rectified over the telephone by our trained customer
care staff. If this is not possible Dyson, Inc. will arrange for your vacuum cleaner to be repaired and returned in full working order at no extra cost to yourself.
Warranty Limitations and Exclusions
•Any implied warranties relating to your vacuum cleaner, including but not limited to warranty of merchantability or warranty of fitness for a particular purpose, are
limited to the duration of this warranty. This limitation is not allowed by some states and so this limitation may not apply to you.
•Your remedy for breach of this warranty is limited to the warranty service described above. Dyson, Inc. will not be liable for any consequential damages or
incidental damages you may incur in connection with your purchase and use of your vacuum cleaner. This limitation is not allowed by some states and so this
limitation may not apply to you.
•This warranty gives you specific legal rights. You may also have other rights which vary by state.
/TY
mT_
\ iy

12438_DC15 USA OP MAN NE... pi-36 2/18/05 3:58 PM Page 13
_[<i<_<<> <i::<<i<_
Lea atentamente esta gufa antes de u¢iJizar su DC]5
\ ioy

12438_DC15 USA OP MAN NE... pi-36 2/18/05 3:58 PM Page 14
f
INSTRUCCIONES IMPORTANTES DE SEGURIDAD
LEA TODAS LAS iNSTRUCCIONES ANTES DE UTILIZAR ESTA ASPIRADORA
Cuando se ufi[iza un aparato el6ctrico, deben tomarse siempre precauciones
b6sicas, inc[uyendo las siguientes:
13
14
Mantenga el cabello, la ropa suelta, los dedos yel cuerpo alejados de las
aberturas ylas piezas m6viles.
No utilice la m6quina para recoger objetos duros cortantes, juguetes pequer_os,
alfileres, sujetapapeles, etc., ya que podrfan da_ar la m6quina.
15 No se recomienda el uso de un cord6n de extensi6n.
ADVERTENClA
PARA REDUCIR EL RIESGO DE INCENDIO, DESCARGA ELI_CTRICA O ACCIDENTE:
] No deje Ja aspiradora enchufada. Desench0fela de Ja toma de corriente
cuando no la utilice yantes de cualquier revisi6n o reparaci6n.
No la utilice al aire libre ni sobre superficies mojadas ni para aspirar agua u
otros Ifquidos, ya que podrfa recibir una descarga el6ctrica.
No la trate como si fuera un juguete. Preste atenci6n si es utilizada por menores
o cerca de ellos.
4
5
6
Usted es responsable de asegurarse de que su aspiradora no sea utilizada por
ninguna persona incapaz de operarla correctamente.
Utilice la aspiradora solamente de acuerdo con las instrucciones de este manual
y s61ocon piezas yaccesorios recomendados por Dyson.
Compruebe que la corriente el6ctrica se corresponda con la que figura en la
placa de calificaci6n, que se encuentra detr6s del cubo. La m6quina s61o
debe utilizarse conforme alas caracterfsticas t6cnicas.
7
8
9
10
11
12
No use la m6quina si el cord6n o el enchufe est6n da_ados o si la m6quina no
funciona correctamente, se ha cafdo, da_ado, se ha dejado al aire libre o ha
estado en contacto con cualquier Ifquido, p6ngase en contacto con la Unea
Directa de Asistencia al Cliente de Dyson Ilamando al 1-866-397-9766.
No arrastre ni tire de la aspiradora por el cord6n, no utilice el cord6n a modo
de empu_adura, no atrape el cord6n con las puertas ni tire del cord6n
alrededor de bordes afilados o esquinas. No pise el cord6n con la m6quina.
Mantenga el cord6n alejado de superficies caldeadas yllamas vivas.
No desenchufe la m6quina tirando del cord6n. Para desenchufarla, sujete el
enchufe, no el cord6n.
No toque el enchufe ni la m6quina con las manos mojadas.
No use la m6quina sin el cubo transparente ylos filtros en su sitio.
No coloque ningOn objeto en las aberturas de la m6quina. No la utilice si las
aberturas est6n bloqueadas; mant6ngala libre de polvo, hilos, cabellos y
objetos capaces de reducir el flujo de aire.
16
17
18
19
2O
21
22
23
Guarde la m6quina en interiores. Despu6s de usar la aspiradora d6jela con el
cord6n enrollado de forma segura para evitar accidentes.
Apague todos los mandos antes de desenchufarla.
Preste especial atenci6n al limpiar las escaleras ytrabaje siempre con la
m6quina colocada al pie de las escaleras. No la coloque sobre sillas, mesas,
etc.; col6quela siempre sobre el suelo.
No utilice la aspiradora para recoger cigarrillos o f6sforos encendidos o
cenizas calientes.
No utilice la aspiradora para recoger Ifquidos inflamables o combustibles,
como la gasolina, ni la utilice en 6reas donde dichos Ifquidos podrfan
estar presentes.
AI aspirar, algunas alfombras pueden generar pequer_as descargas de est6tica
en el cubo transparente o en el tubo. I_stasson totalmente inofensivas yno
est6n asociadas al suministro de corriente el6ctrica. Para minimizar sus efectos,
no coloque su mano ni introduzca ning0n objeto en el cubo transparente, a
menos que primero Io haya vaciado ylavado con agua frfa.
Utilice solamente piezas de Dyson de recambio id6nticas.
No Ileve a cabo trabajos de mantenimiento aparte de los mostrados en este
manual o los aconsejados por la Unea Directa de Asistencia al Cliente.
GUARDE ESTAS INSTRUCCIONES
ESTEAPARATO ESTA DESTiNADO PARA USO DOMEST[CO SOLAMENTE
Instrucciones de po[arizaci6n
Para reducir el riesgo de descarga el6ctrica, este aparato Ileva un enchufe polarizado
(una clavija es m6s ancha que la otra). Este enchufe se conecta a una toma de
corriente polarizada de una sola forma. Si el enchufe no entra totalmente en la toma
de corriente, d6 la vuelta al enchufe. Si sigue sin entrar bien, p6ngase en contacto
con un electricista calificado para instalar una toma de corriente correcta. No cambie
el enchufe de ninguna manera.
\ _J

12438_DC15 USA OP MAN NE... pi-36 2/18/05 3:58 PM Page 15
Guia del usuario
Lea atentamente esta gula
antes de utilizar su DC15.
Instrucciones importantes de seguridad
Fnsamblaje
_'_! Uso de su Dyson
Uso de su Dyson
Uso de los accesorios
Lavado del filtro
Vaciado del cubo transparente TM
Limpieza del cubo transparente TM
Limpieza de obstrucciones
Garantla y servicio de atenci6n al cliente
mT_
\i°y

12438_DC15 USA OP MAN NE...pi-36 2/18/05 3:58 PM Page 16
,/Tin,
_MPORTANTE
o Aseg0rese de que la
manguera est6 recta al
introducir el tubo.
o Si fiene alguna pregunta,
por favor Ilame en forma
gratuita a la Unea
Directa de Asistencia
al Cliente de Dyson al
1-866-693-9766 o visite
....._i_,'?__iili__!il
_'_'_;__i_!_iili_
_iii{i_'_ii_i
Deslice el tubo hacia adentro de
la manguera hasta que encaie. Coloque el tubo en la parte
superior de la maquina y
enc6ielo en su sitio.
¸¸¸¸¸%
<%/_i_!i{ilil _i:i!_!!
cesorio de cepillo
_!i_ii!!i!
Accesorio para
huecos
Accesorio para
escaleras
Enrolle el cord6n en sentido
antihorario yasegOrelo con la
presilla.
Coloque los accesorios en
su sitio.
/Tm
mT_
\ii

12438_DC15 USA OP MAN NE...pi-36 2/18/05 3:58 PM Page 17
,/Tin,
POF favor tome nora: esta
m6qu[na es solamente de
uso dom6sfico. Las
porf[culaspequeF_os de
polvo, como el yeso o la
har[na,s61o se deben
aspirar en cantidades
El cepillo rotator[o se
detendr6 autom6ticamente
s[ se obstruye.
Ne pres[one el bot6n de
liberaci6n dd cyclone
m[entras transpoHa la
m6quina o podr_a caer y
causar her[das.
Aseg0rese de que el
cyclone est6 suieto a la
Ne zarandee la m6quina
m[entras la transporta o
podr_a caer ycausar
her[das.
["
%.
%
J
C6mo lransporlar su Dyson
Aseg0rese de que la m_quina
est@en posici6n vertical antes de
transportarla.
Use el asa de transporte en la
parte superior del cyclone para
levantarla.
Uso de su Dyson
Ench0fela y presione el bot6n de
encendido/apagado.
1.;; <#%
Presione el pedal firmemente
para liberar el cabezal de la
aspiradora y tire de la
empur_adura hacia usted.
561o utilice el pedal no se
pare encima del cabeza/de/a
aspiradora.
Aseg0rese de que las ruedas
estabilizadoras est@n
totalmente retraldas o de Io
contrario el cepillo rotatorio
no funcionara.
/]h
\ioi

12438_DC15 USA OP MAN NE...pi-36 2/18/05 3:58 PM Page 18
_MPORTANTE
Cuando empieza a aspirar,
el cepillo est6 "encendido".
Presione el bot6n para
apagar el cepillo rotatorio
para alfombras ddicadas,
bereberes ypisos al
descubierto.
Si el cepillo rotatorio se
detiene durante el uso,
s_rvase consultar la
secci6n de obstrucciones.
Aseg0rese de que las
ruedas estabilizadoras
queden aseguradas en su
posici6n antes de soltar la
7¸4¸¸¸¸i
iiii % ''",':,,%,i.......
Control del cepillo
Presione el bot6n para apagar el
cepillo rotatorio para alfombras
delicadas, bereberes y pisos al
descubierto y presi6nelo otra vez
para limpiar alfombras.
d_i¸¸¸iii
_ <i!{_i_i:!¸
Uso del DC15
Pequer_os movimientos de la mur_eca crear6n un movimiento en zigzag
del cabezal para limpiar m6s facilmente alrededor de los muebles.
i!_i, _i{_ d!
!i<!;!ii;_¸_iii
Una vez terminado, empuie la
empur_adura con firmeza mas
all@ de la posici6n vertical para
baiar las ruedas estabilizadoras.
AsegOrese de que las
ruedas estabilizadoras
queden aseguradas en
su posici6n antes de soltar
la aspiradora.
fT_
\i_i

12438_DC15 USA OP MAN NE... pi-36 2/18/05 3:58 PM Page 19 fF_
,fT_,
PR£CAUC[6N
Aseg0rese de que la
m6quina est6 en posici6n
vertical antes de usar los
accesor[os.
Para proteger sus pisos,
el cepillo rotatorio no
rotar6 s[ la m6qu[na est6
en pos[ci6n vertical.
Aseg0rese de mantener el
cabello yla ropa sudta
leios de la tapa del tubo
cuando la m6quina est_f_
encendida.
Aseg0rese de que la tapa
dd tubo est6 cerrada, a
menos que est6 usando
los accesodos.
La succi6n potente puede
causar que la manguera
se contraiga ytire ......tenga
cu[dado cuando I[mpie
escaleras.
Para ev[tar los acc[dentes
personales e [mped[r que
la m6qu[na se ca[ga
durante la limpieza de
escaleras, cdoque
s[empre la aspiradora al
pie de las escaleras.
Modalidad de tubo
AHale el tubo de metal del interior de la empur_adura del tubo basra
que encaie.
B Presione el bot6n para liberar la manguera y la empur_adura del tubo
de la m@quina. Para volver a colocar el tubo en la manguera,
aseg0rese de que la manguera est& recta. Presione el bot6n de
liberaci6n del tubo y coloque el tubo en la manguera.
Modalidad de manguera
APrimero extienda el tubo, luego
presione los botones laterales
para retirar la empuFiadura del
tubo de la manguera.
BLos accesorios se pueden
conectar directamente en el
extremo de la manguera o
del tubo.
Limpieza de escaleras
Trabaie siempre con la
m6quina al pie de las
escaJeras.
fT_
\ ioi

12438_DC15 USA OP MAN NE...pi-36 2/18/05 3:58 PM Page 20
?RECAUC_ON
Controle elfilfro
regularmente y 16velo al
menos cada B meses
segOn las instrucciones
para manfener el
rendimiento.
Apague y desenchufe la
m6quina antes de lavar
el fiktro. De kocontrario
podda recibir una
descarga el6ctrica o
sufrir un accidente
Es posible que el filtro
deba lavarse con rues
frecuencia si aspira
pdvo fino.
Ne utilice detergente
para limpiar el filtro.
No ponga el filtro en el
lavavaiillas, lavadora,
secadora, homo de
microondas ni cerca de
una llama. Presione el gatillo para liberar el
cyclone yel cubo de la m6quina.
,]: ......,
Levante el gatillo de liberaci6n
del filtro yretire el filtro. Separe el filtro azul yel
alojamiento amarillo.
Lave el filtro yel alojamiento
en agua frfa solamente.
Repita hasta que el agua
corra transparente.
Deje secar al aire libre
durante al menos 12 horas
o de un dfa para el otro.
Aseg0rese de que el filtro
est6 completamente seco
antes de colocarlo de nuevo
en la m6quina.
J
\ i°y
Other manuals for DC15
5
Table of contents
Languages:
Other Dyson Vacuum Cleaner manuals

Dyson
Dyson DC23 Turbinehead User manual

Dyson
Dyson CINETIC BIG BALL ABSOLUTE User manual

Dyson
Dyson DC 05 User manual

Dyson
Dyson DC03 User manual

Dyson
Dyson DC35 MULTI FLOOR User manual

Dyson
Dyson DC29 User manual

Dyson
Dyson V6 Absolute User manual

Dyson
Dyson DC 62 User manual

Dyson
Dyson Ball User manual

Dyson
Dyson Cyclone V10 User manual

Dyson
Dyson Ball DC25 User manual

Dyson
Dyson Ball Animal User manual

Dyson
Dyson DC23 Motorhead User manual

Dyson
Dyson 1989405 User manual

Dyson
Dyson DC30 User manual

Dyson
Dyson DC33 EXTRA User manual

Dyson
Dyson DC08 User manual

Dyson
Dyson DC23 Turbinehead User manual

Dyson
Dyson SV05 User manual

Dyson
Dyson Dc45 User manual