manuals.online logo
Brands
  1. Home
  2. •
  3. Brands
  4. •
  5. EarthQuake
  6. •
  7. Amplifier
  8. •
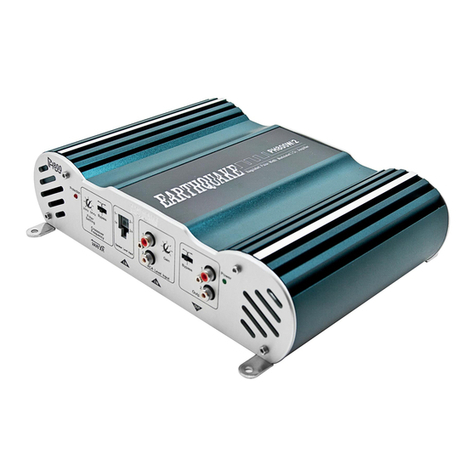
  9. EarthQuake PH2000W/D1 User manual

EarthQuake PH2000W/D1 User manual

Earthquake Sound reserves the right to amend details of the specifications without notice.
Copyright © Earthquake Sound Corporation
Earthquake Sound Corporation • 2727 McCone Avenue Hayward CA, 94545 • Phone: 510-
732-1000 Fax: 510-732-1095
The Sound That Will Move You.
EARTHQUAKE SOUND
MODELS:
PH800W.2
PH1000W.2
PH2200W.4
PH2000W/D1 • 2-Ohm
PH2000W/D1.1 • 1-Ohm
PH5000W/D1 • 2-Ohm
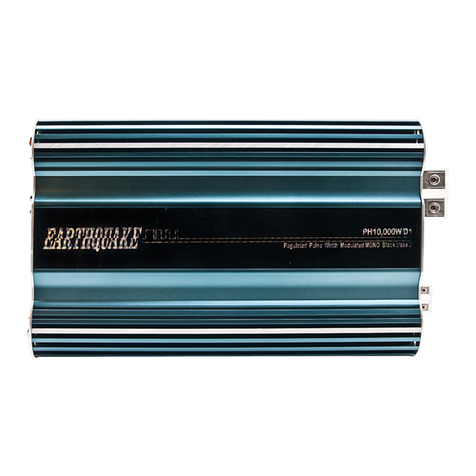
PH10000W/D1 • 2-Ohm
PH20000W/D1 • 2-Ohm
PowerHouse Series Amplifiers
Owners Manual
Sound That Will Move You.
WARRANTY CONTINUED ON NEXT PAGE
2 3
Earthquake Amplifiers are capable of generating high sound pressure
levels. You should exercise caution when operating these amplifier
systems. Long term exposures to high levels of sound pressure will cause
permanent damage to your hearing. Sound pressure levels exceeding 85dB can be
dangerous with constant exposure. Set your audio system to a comfortable loudness
level. Earthquake Sound Corporation does not assume liability for damages resulting
from the direct use of Earthquake amplifiers or other Earthquake products , and urges
users to play their music at moderate listening levels.
CAUTION:
3
2
1 - 1 1/ 2
1
1/ 2
1/ 4 or l es s
8
6
4
THE CHART (ON THE SIDE) SHOWS THE
U.S . GO VER N M ENTS OC CUPAT I O NAL
SAFETY AND HEALTH ADMINISTRATION
(OSHA) REGULATIONS WHICH WERE IN
E F F E C T A T T H E T I M E O F T H I S
PUBLICATION FOR PERMISSIBLE NOISE
EXPOSURE, PER 29CFR1910.95, TABLE G-
16.
D U RATI ON I N H O U R S
THANK YOU
Thank you for choosing Earthquake Sound’s high-end line of PowerHouse amplifiers for
superior enhancement of your mobile audio system. With proper installation and responsible
listening, your amplifier(s) will give you years of near perfect sound reproduction.
We strongly recommend you to have your new amplifier(s) installed by an authorized
Earthquake Sound dealer: Installation professionals employed by your dealer have the
correct tools and knowledge to install your amplifier(s) neatly and successfully. Also, when
your new products are installed by an authorized dealer, your product will include a FIVE
YEAR LIMITED WARRANTY (1-Year for Digital models excluding PH2000W/D1). If you
choose to perform your own installation, your warranty will be subject to limitations. Dealer
policies on handling warranty requests may vary from one dealer to the next. Please read the
warranty information in its entirety and use good judgment when making these vital decisions.
Table Of Contents
Cautions and Advisories Page • 2
Warranty Page • 3-4
PH800W.2 Page • 6-7
PH1000W.2 Page • 8-9
PH2200W.4 Page • 10-11
PH2000W/D1 Page • 12-13
PHD5000W Page • 14-15
PHD10000W Page • 16-18
Installation Example Page • 19
Specifications Page • 5
97
10 0
10 2
10 5
110
115
90
92
95
SO U N D LEVE L DB A
PH2000W/D1.1 Page • 12-13
Specifications Are Subject To Change Without Notice www.earthquakesound.com
Five (5) years limited warranty; PH800W/2, PH1000W/2, PH2200W/4 PH2000W/D and
PH2000W/D1.1:
Earthquake warrants the original purchaser that all Factory Sealed New Audio Products
be free from defects in material and workmanship, under normal and proper use, for a
period of five (5) years from the date of purchase (as shown on the original bill of sale with
serial number affixed/written on it). The five (5) year warranty period is valid only if an
authorized Earthquake dealer properly installs the product, and the warranty registration
card is properly filled out and sent to Earthquake Sound Corporation. If a non-authorized
party installs the product a thirty (30) day warranty period will be applied.
(A) Five (5) years limited warranty plan coverage guidelines:
- First year: Earthquake pays for labor, parts, and ground freight (only in US
mainland, not including Alaska and Hawaii) back to customer.
- Second year: Earthquake pays for labor and parts only, customer must pay
freight both ways.
- Third, fourth & fifth year: Earthquake pays labor only. Customer must pay for
parts and freight both ways.
(B) Warning:
Products (sent for repair) that are tested by Earthquake technicians and deemed to have
no problem(s) will not be covered by the five (5) year limited warranty. Customer will be
charged a minimum of one (1) hour of labor (ongoing rates) plus shipping charges back to
customer.
(C) Earthquake agrees to repair or replace - at our option - all such defective
products/parts subject to the following provisions:
- Defective products/parts have not been altered or repaired by other than an
Earthquake factory approved technician.
- Products/parts are not subjected to negligence, misuse, improper use, or
accident, damaged by improper line voltage, used with incompatible products, or
have its serial number or any part of it altered, defaced or removed, or have been
used in any way that is contrary to Earthquake's written instructions.
(D) Warranty Limitations:
Earthquake warranty does not cover products that have been modified or abused.
Including but not limited to the following:
- Damages to speaker cabinet and cabinet finish due to misuse, abuse, or use of
improper use of cleaning materials/methods.
- Bent speaker frame, broken speaker connectors, holes in speaker cone,
surround & dust cap, burnt speaker voice coil.
- Fading, deterioration of speaker components & finish due to improper exposure
to elements.
- Bent amplifier casing, damaged finish on the casing due to abuse, misuse, or
improper use of cleaning material.
- Burnt tracers on PCB.
- Product/part damaged due to poor packaging or abusive shipping conditions.
- Subsequent damage to other products.
WARRANTY
4Specifications Are Subject To Change Without Notice 5
Please keep this warranty information in your
files for future reference if necessary. It is
recommended that you stick your serial number
here for future reference.
SERIAL NUMBER
SPECIFICATIONS
Model Channels
PH800W/2
PH1000W/2
PH2200W/4
PH2000W/D1
PH5000W/D1
PH10000W/D1
PH2000W/D1.1
2
2
4
1 (MONO)
1 (MONO)
1 (MONO)
1 (MONO)
Max Power
800
1000
1400
1400
1400
5000
5000
Power
4-Ohm Bridged
Power
2-Ohm Bridged
Power
4-Ohm Stereo
1 x 400
1 x 500
2 x 500
2 x 200
2 x 250
4 x 250
1 x 1000
1 x 700
1 x 3000
1 x 3000
2 x 10⁵
2 x 145
4 x 130
1 x 500
1 x 450
1 x 860
PH20000WD 220000 1 x 20,000 2 x 3000
1 x 900
Power
1-Ohm
N/A
N/A
N/A
N/A
1 x 1000
1 x 5000
1 x 5000
N/A
MONO
MONO
MONO
MONO
6000
Dimensions (HxWxL)
2.375" x 10.125" x 8.5"
2.375" x 10.125" x 10.375"
2.375" x 10.125" x 13.375"
2.375" x 10.125" x 12"
2.375" x 10.125" x 15"
2.375" x 10.125" x 16.5"
4.5" x 12" x 28.625"
Weight
13.5
9
11
13
13
16
18
www.earthquakesound.com
A warranty claim will not be valid if the warranty registration card is not properly filled &
returned to Earthquake with a copy of the sales invoice.
(E) Service Request:
To receive product/s service, contact Earthquake service department at (510) 732-1000
and request an RMA number (Return Material Authorization), items shipped without a valid
RMA number will be refused. Make sure you provide us with your complete/correct
shipping address, a valid phone number, and a brief description of the problem you are
experiencing with the product. In most cases, our technicians might be able to resolve the
problem over the phone, thus eliminating the need to ship the product.
(F) Shipping Instructions:
Product/s must be packaged in its original protective box(s) to minimize transport damage.
Shipper claims regarding items damaged in transit must be presented to carrier.
Earthquake Sound Corporation reserves the right to refuse product improperly packed.
Original bill of sale must accompany product returned for service. We encourage you to
include with the package a written description of the problem. Ship product to: Earthquake
Sound Corp. 2727 Mc Cone Avenue, Hayward, CA 94545. Ph (510) 732-1000. You are
responsible for the cost of shipping the product to Earthquake Sound Corporation.
(G) Disputes Resolution:
All disputes - between clients and Earthquake Sound Corporation - resulting
from the five (5) years limited warranty policy must be resolved according to the laws &
regulations of the county of Alameda -California.
NOTE: For warranty guidelines on PH5000W/D1, PH10000W/D1 and
PH20000W/D, please see separate warranty provided in packaging.
WARRANTY
*MEASUREMENTS ARE MADE USING RESISTIVE LOAD.
**MEASUREMENTS ARE MADE USING REACTIVE LOAD.
ALL POWER RATINGS ARE PEAK POWER
6 7
PH800W.2
REM
POWER
Born In The USA
FUSE
CH2
GNDBAT
CH1 MONO
SPEAKER
Output
Bypass
2
Gain
Power
Rca level input
Speaker
Level
Input
1
2
11
1-
1+
2-
2+
Bypass
Protect
20Hz
Filter
Setting
Crossover
Frequency
5kHz
Crossed RCA level
outputs, can be used
to feed other amplifiers
in the system.
To car chassis / ground
To remote turn on / trigger
20A Fuse
S p e a k e r O u t p u t s
Minimum 4 Ohm Mono
To battery (+)
VTEK-693
VTEK-52 Midrange VTEK-52 Midrange
The gain knob is not a volume control.
It is designed to match the input level
of the amp to the output level of the
source unit. Over driving -clipping- the
input stage of the amp will cause
damage to the amplifier (Please refer
to table for settings).
Specifications Are Subject To Change Without Notice www.earthquakesound.com
PH1000W.2
30A Fuse
S p e a k e r O u t p u t s
Minimum 4 Ohm Mono
The gain knob is not a volume control.
It is designed to match the input level
of the amp to the output level of the
source unit. Over driving -clipping- the
input stage of the amp will cause
damage to the amplifier (Please refer
to table for settings).
POWER
Born In The USA
FUSE
CH2CH1 MONO
SPEAKER
Crossed RCA level
outputs, can be used
to feed other amplifiers
in the system.
3-way switch feeds RCA
outputs a low-pass full-
range or high pass signal.
Set Xover knob to
Minimum (20Hz), &
set Xover switch to
Full Range
The PH1000W/2 is designed to
operate in stereo or mono mode. When
used in stereo applications, a minimum
load of 2 ohms per channel is required.
The PH1000W/2 is designed to
operate in mono mode. When
bridging the two channels, a
minimum load of 4-ohms is
required.
RCA level inputs, with
a range of 0.2V to 5V.
RMS.
+18dB boost @ 45Hz
designed to shape/
boost the response
curve in a low-pass
mode application.
+12dB boost @
12kHz essential
boost for high-pass
amplifier applications
3-way switch
runs the amp
in low-pass,
full-range or
high-pass
mode.
8 9
Specifications Are Subject To Change Without Notice www.earthquakesound.com
REM GNDBAT
To car chassis / ground
To remote turn on / trigger
To battery (+)
PHD2200W.4
10 11
Two 30A Fuses
Speaker
Outputs
Minimum
4 Ohm
Mono
The gain knob is not a volume control.
It is designed to match the input level
of the amp to the output level of the
source unit. Over driving -clipping- the
input stage of the amp will cause
damage to the amplifier (Please refer
to table for settings).
3-way switch feeds, RCA outputs
3/4 a full range, high-pass or low-
pass signal.
3-way switch for each block
runs CH1/2 or CH3/4 in low
-pass, full-range or high-
pass mode.
Tonal controls CH3/4:
+ 12dB boost @ 12kHz
+ 18dB boost @ 45Hz
Four RCA level inputs
with a range of 0.2V to
5V. RMS.
Four RCA level inputs
crossed outputs, can be
used to feed other
amplifiers in the system
Set Xover knob to
Minimum (20Hz), &
set Xover switch to
by-pass, (full-range)
Specifications Are Subject To Change Without Notice www.earthquakesound.com
POWER
To car chassis / ground
To remote turn on / trigger
To battery (+)
REM GNDBAT
PH2000W/D1
12 13
Variable 10dB boost at 40Hz.
Perfect tool for high SPL scores.
Full time low-pass variable filter
12dB/Oct slope, range from 50
to 300Hz
Through output feeds other
amplifiers in the audio system.
NOT EFFECTED BY THE LOW-
PASS FILTER.
The gain knob is not a volume control.
It is designed to match the input level
of the amp to the output level of the
source unit. Over driving -clipping- the
input stage of the amp will cause
damage to the amplifier (Please refer
to table for settings).
Before you install the amp, take note of the following:
#1. You have to confirm that your power supply can
deliver spontaneous power to the amplifier when
needed to propel the load.
#2. Bullet-proof ground: the ground cable must be 4-
gauge minimum, it should be very short, and well
grounded to the chassis.
Three 25A Fuses
* Test the alternator output. Factory alternators will produce 60-80 amperes at best. Wear and
heat will reduce the output by 40%.
* Alternator ground (-) must be reinforced, use 4-gauge cable instead of the factory 8-gauge.
* Alternator positive (+) to battery (+) must be reinforced. Use 4-gauge cables.
* Check your battery condition. Batteries degrade after a while.
* Battery (+) to amplifier (+) must be a 4-gauge cable.
* Ground amplifier to chassis using 4-gauge cable, keep the cable short (Maximum 2-feet).
* Use 1 farad capacitor to compensate for surges in demand.
* We recommend the use of one (1) auxiliary battery.
USE THREE 25-
AMPERE FUSES
TO PROTECT THE
AMPLIFIER
Two Single 4-Ohm Subwoofers @ 2-Ohm
Two Dual 4-Ohm Subwoofers @ 1-Ohm
THIS CONFIGURATION
IS FOR USE WITH
PH2000W/D11 1-Ohm
AMPLIFIER ONLY
PH2000W/D1.1
Specifications Are Subject To Change Without Notice www.earthquakesound.com
POWER
To car chassis / ground
To remote turn on / trigger
To battery (+)
REM GNDBAT
PH5000W/D1
REM GND BAT
The gain knob is not a volume control.
It is designed to match the input level
of the amp to the output level of the
source unit. Over driving -clipping- the
input stage of the amp will cause
damage to the amplifier (Please refer
to table for settings).
• Test the alternator output. Factory alternator will produce 60 to 80 amperes at best. Wear and heat
will reduce the output by 40%.
• Alternator ground (-) must be reinforced, use 4-gauge cable instead of the factory 8-gauge.
• Alternator positive (+) to battery (+) must be reinforced. Use 4-gauge cables.
• Check your battery condition. Batteries degrade after a while.
• Battery (+) to amplifier (+) , must be a 4-gauge cable.
• Ground amplifier to chassis using 4-gauge cable, keep the cable short (maximum 2-feet).
• Use 1 farad capacitor to compensate for surges in demand.
• We recommend the use of one (1) auxiliary battery.
To car chassis / ground
To remote turn on / trigger
To battery (+)
One Subwoofer
Two Subwoofers
For best performance, set the
crossover knob to 200Hz (max).
Set the gain to minimum, and
slowly raise the gain. In general,
an ideal gain setting ranges
between the 9 to 10 O' Clock
position
14 15
Specifications Are Subject To Change Without Notice www.earthquakesound.com
DO NOT SOLDER THE TIP OF THE POWER
CABLE (+&-). IT REDUCES THE CONTACT
SURFACE BETWEEN THE CABLE AND THE
I N S I D E O F T H E T E R M I N AL. W H EN
TIGHTENING THE SCREW, A RAW CABLE (NO
SOLDER) EXPANDS INSIDE THE TERMINAL
CREATING LARGER CONTACT SURFACE;
THUS ELIMINATING HOT JUNCTIONS.
FUSE RATING SHOULD BE
NO LESS THAN 120 AMPERES
PH10000W/D1
The gain knob is not a volume control.
It is designed to match the input level
of the amp to the output level of the
source unit. Over driving -clipping- the
input stage of the amp will cause
damage to the amplifier (Please refer
to table for settings).
DO NOT SOLDER THE TIP OF THE POWER
CABLE (+&-). IT REDUCES THE CONTACT
SURFACE BETWEEN THE CABLE AND THE
I N S I D E O F T H E T E R M I N AL. W H EN
TIGHTENING THE SCREW, A RAW CABLE (NO
SOLDER) EXPANDS INSIDE THE TERMINAL
CREATING LARGER CONTACT SURFACE;
THUS ELIMINATING HOT JUNCTIONS.
To car chassis / ground
To remote turn on / triggerSpeaker output
To battery (+)
REM GND BAT
"RCA level" audio signal needed to clip the input stage (bass boost at minimum)
"RCA level" audio signal needed to clip the input stage (bass boost at maximum)
"SPEAKER level" audio signal needed to clip the input stage (bass boost at minimum)
"SPEAKER level" audio signal needed to clip the input stage (bass boost at maximum)
High Level
speaker input
RCA, Low
Level input
RCA, Low
Level out
This switch will reverse the phase of PH10000's
output with respect to its input. Although the position
that yields the most upper bass is technically correct,
you may choose the position that better suits your
needs.
Peaks or dips occur at about 40Hz —
around the frequency of a low bass
gu ita r not e. Use thi s con tro l
to correct that peak or dip.
The low-pass filter,
blocks unwanted high
frequencies to allow
cleaner low-frequencies.
This switch will line
match the voltage of your
head unit, which will
deliver high sound quality
and performance.
16 17
Specifications Are Subject To Change Without Notice www.earthquakesound.com
FUSE RATING SHOULD BE
NO LESS THAN 120 AMPERES
PER AMPLIFIER
2 Ohms Minimum
10000 watts rated output
Master Amplifier
Audio signal
Slave Amplifier
Phase
Shift
0 180
Phase
Shift
0 180
Head Unit / audio source
REM GND BAT
REM GND BAT
• Set master amp to 0
• Set slave amp phase to 180
• Set gains equal on both master & slave amplifiers
• Set th bass boosts and filters equal on both amps
18 19
Installation Example
REM
POWER
GND BAT
PH10000W/D1
Specifications Are Subject To Change Without Notice www.earthquakesound.com

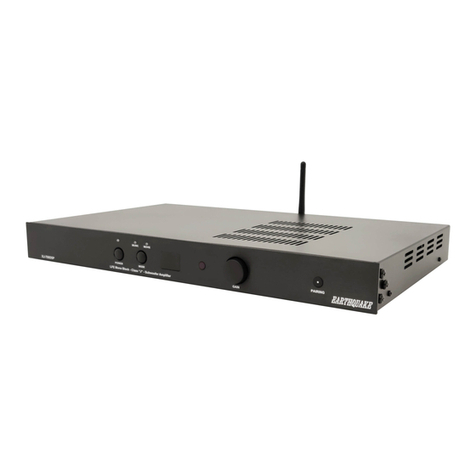
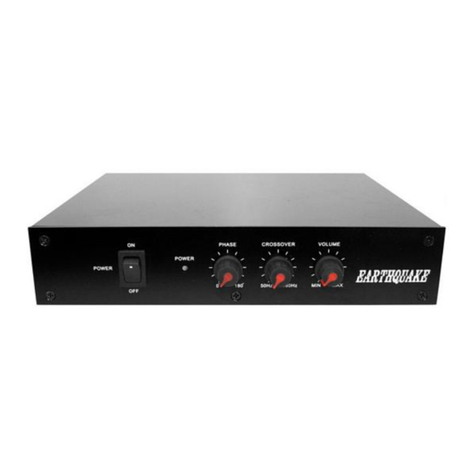
This manual suits for next models

7

Other EarthQuake Amplifier manuals

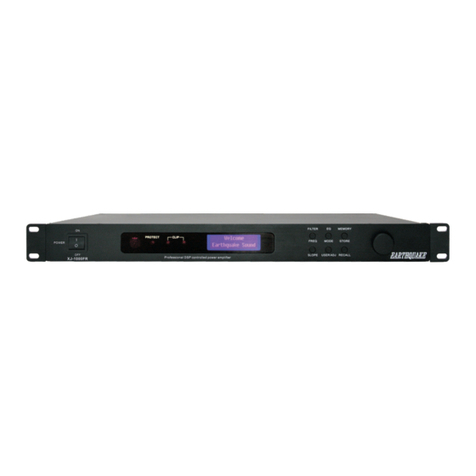
EarthQuake XJ-700DSP User manual

EarthQuake

EarthQuake XJ-700DSP User manual

EarthQuake XJ-1000FR User manual

EarthQuake

EarthQuake XJ-1000FR User manual

EarthQuake XJ-300 FR User manual

EarthQuake

EarthQuake XJ-300 FR User manual

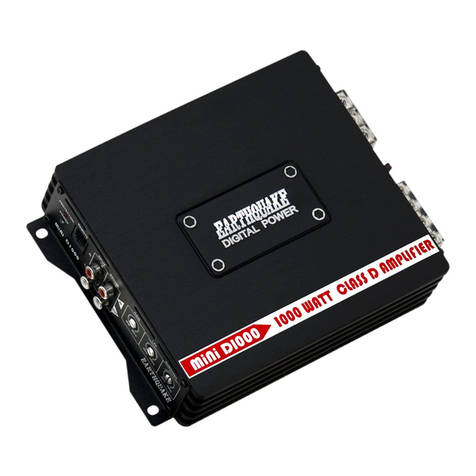
EarthQuake mini D1000 User manual

EarthQuake

EarthQuake mini D1000 User manual

EarthQuake Nova PA-600 Operation manual Quick start guide

EarthQuake

EarthQuake Nova PA-600 Operation manual Quick start guide

EarthQuake IQ1500 User manual

EarthQuake

EarthQuake IQ1500 User manual

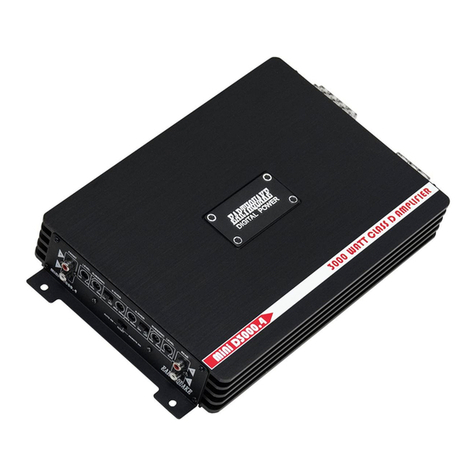
EarthQuake MiNi D3000.4 User manual

EarthQuake

EarthQuake MiNi D3000.4 User manual

EarthQuake XJ-300 FR User manual

EarthQuake

EarthQuake XJ-300 FR User manual

EarthQuake mini D1000 User manual

EarthQuake

EarthQuake mini D1000 User manual

EarthQuake mini D Series User manual

EarthQuake

EarthQuake mini D Series User manual

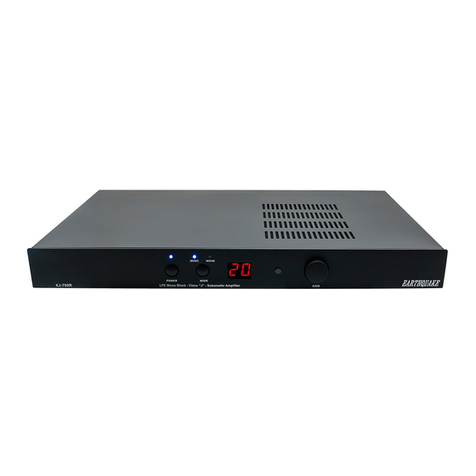
EarthQuake XJ-600R User manual

EarthQuake

EarthQuake XJ-600R User manual

EarthQuake Cinenova 7300 User manual

EarthQuake

EarthQuake Cinenova 7300 User manual

EarthQuake MiNi D3000.4 User manual

EarthQuake

EarthQuake MiNi D3000.4 User manual

EarthQuake XJ-300R User manual

EarthQuake

EarthQuake XJ-300R User manual

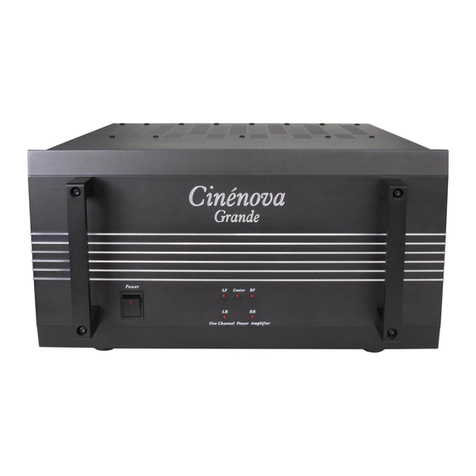
EarthQuake Cinenova Grande User manual

EarthQuake

EarthQuake Cinenova Grande User manual

EarthQuake PH800W/2 User manual

EarthQuake

EarthQuake PH800W/2 User manual

EarthQuake XJ-700R User manual

EarthQuake

EarthQuake XJ-700R User manual

EarthQuake Cinenova IR16 User manual

EarthQuake

EarthQuake Cinenova IR16 User manual

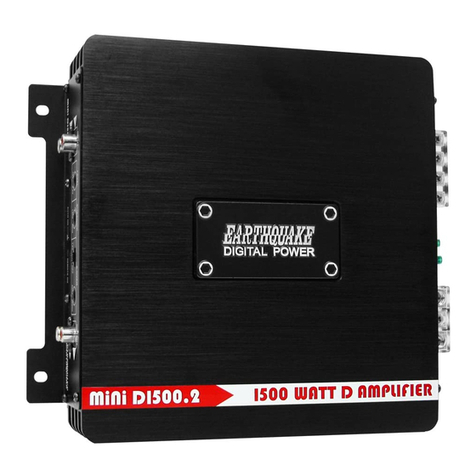
EarthQuake MiNi DI500.2 User manual

EarthQuake

EarthQuake MiNi DI500.2 User manual

EarthQuake XJ-300ST User manual

EarthQuake

EarthQuake XJ-300ST User manual

EarthQuake XJ-700R User manual

EarthQuake

EarthQuake XJ-700R User manual

EarthQuake PH800W/2 User manual

EarthQuake

EarthQuake PH800W/2 User manual

EarthQuake EQ-1000 User manual

EarthQuake

EarthQuake EQ-1000 User manual

EarthQuake XJ-300ST User manual

EarthQuake

EarthQuake XJ-300ST User manual

Popular Amplifier manuals by other brands

Redgum RGi35ENR owner's manual

Redgum

Redgum RGi35ENR owner's manual

Rockford Fosgate Punch P400-1 Installation & operation

Rockford Fosgate

Rockford Fosgate Punch P400-1 Installation & operation

audiophony WALLAMP-USB user guide

audiophony

audiophony WALLAMP-USB user guide

PRESONUS HP4 owner's manual

PRESONUS

PRESONUS HP4 owner's manual

Sony TA-FA30ES Service manual

Sony

Sony TA-FA30ES Service manual

Audio Research SP4 manual

Audio Research

Audio Research SP4 manual

Black Hydra HDA-4.90 user manual

Black Hydra

Black Hydra HDA-4.90 user manual

Jadis JA30 owner's manual

Jadis

Jadis JA30 owner's manual

Krell Industries KMA-i800 Owner's reference

Krell Industries

Krell Industries KMA-i800 Owner's reference

Rane DA216S Operator's manual

Rane

Rane DA216S Operator's manual

Pepperl+Fuchs HiD2844 quick start guide

Pepperl+Fuchs

Pepperl+Fuchs HiD2844 quick start guide

Ahuja TZA-4000 DP Operation manual

Ahuja

Ahuja TZA-4000 DP Operation manual

Marantz MZK88 Professional user guide

Marantz

Marantz MZK88 Professional user guide

VINCENT SV-226MKII Instructions for use

VINCENT

VINCENT SV-226MKII Instructions for use

Lanzar Vibe owner's manual

Lanzar

Lanzar Vibe owner's manual

JRC JRL-2000F manual

JRC

JRC JRL-2000F manual

Sony XM-404EQX user guide

Sony

Sony XM-404EQX user guide

GLX AC-15 quick start guide

GLX

GLX AC-15 quick start guide

manuals.online logo
manuals.online logoBrands
  • About & Mission
  • Contact us
  • Privacy Policy
  • Terms and Conditions

Copyright 2025 Manuals.Online. All Rights Reserved.