EasyLog EL-DataPad User manual

Transferring data onto a PC
Recharging
The cable provided with the EL-DataPad is used for data
transfer and recharging. The EL-DataPad will automatically
start recharging once it is connected to a PC. To use less power
decrease the backlight time setting.
Connect the EL-DataPad to the PC
with the cable provided. The PC will
detect that the EL-DataPad has been
connected.
EL-DataPad
Quick Start Guide
Graphical data is displayed in the following formats:
Trend
Legend & Summary
This graph is based on data from an EL-USB-2 logger.
Files downloaded will be
located in the EL-DataPad
drive in the ‘Log Files’
Directory. Select the les you
wish to download and copy
them to your PC. Use EasyLog
software on your PC to view
data in detail and to display
graphs or export them to
spreadsheet packages such
as Microsoft®Excel for further
analysis.
Module House
Whiteparish, Salisbury
Wiltshire, SP5 2SJ
UNITED KINGDOM
T +44 (0) 1794 884567
E sales@lascar.co.uk
UK 4258 West 12th Street
Erie, PA 16505
UNITED STATES
T +1 (814) 835-0621
E us-sales@lascarelectronics.com
USA 8th Floor, China Aerospace
Centre
143 Hoi Bun Road
Kwun Tong, Kowloon
HONG KONG
T +852 2389 6502
E saleshk@lascar.com.hk
HK
www.lascarelectronics.com
Copyright Lascar Electronics Ltd. 2011 Issue 2 10/11
electronics
Shop for Data Logging products online at: www.DataLoggerStore.com 1.888.610.7664

Connect the data logger to the EL-DataPad, press the red arrow
and follow the on-screen instructions.
Set-Up Logger
Thank you for purchasing an EL-DataPad portable viewer for use
with EasyLog USB data loggers. This quick start guide provides
basic information to help you set up your new product for the
rst time and begin using the EL-DataPad with your chosen data
logger.
2. Turn On The EL-DataPad
Connecting an EL-USB Data Logger
3. Set Time, Date and Backlight Requirement
To turn on, simply press the button on the front. To turn off,
press and hold the button for 3 seconds. To conserve battery
life, the screen will turn off after a period of inactivity. Press
the button or touch the screen to wake the unit.
Insert your EL-USB Data Logger into the USB port
on the top of the EL-DataPad. Once connected,
you can download existing data from that unit, or
set-up your logger for use.
Welcome
By pressing on the Set-Up Logger icon shown above, users can
name their data logger, select a sample rate, set high and low
alarms and choose the logging start time. Simply press the green
icon and follow the on-screen instructions.
When the unit is fully charged, detach from your PC. Press the
icon to choose screen options such as screen time out
and to set time and date.
Stop Logger & Download
View Data
The EL-DataPad enables you to view graphical data that is stored
in memory. To view data, press the blue graph icon and select
the le you wish to view by following the on-screen instructions.
If you have previously
set-up the logger and
just want to change the
start time and date,
use the Quick Set-Up.
Full Set-Up guides you
through every stage of
the logger set-up using
on-screen instructions.
Press the help icon for additional information.
Note: If you are setting up a data logger that is already logging
data follow ‘Stop Logger & Download’ instructions rst.
Using Your EL-DataPad for the First Time
1. Fully Charge Your EL-DataPad
Your EL-DataPad comes with approximately 25% battery
capacity so you have the opportunity to try the unit straight out
of the box. HOWEVER, before extended use, fully charge the
unit by connecting it to your PC using the cable provided.
Your EL-DataPad will display a when it is fully charged.
www.lascarelectronics.com
Shop for Data Logging products online at: www.DataLoggerStore.com 1.888.610.7664

Connect the data logger to the EL-DataPad, press the red arrow
and follow the on-screen instructions.
Set-Up Logger
Thank you for purchasing an EL-DataPad portable viewer for use
with EasyLog USB data loggers. This quick start guide provides
basic information to help you set up your new product for the
rst time and begin using the EL-DataPad with your chosen data
logger.
2. Turn On The EL-DataPad
Connecting an EL-USB Data Logger
3. Set Time, Date and Backlight Requirement
To turn on, simply press the button on the front. To turn off,
press and hold the button for 3 seconds. To conserve battery
life, the screen will turn off after a period of inactivity. Press
the button or touch the screen to wake the unit.
Insert your EL-USB Data Logger into the USB port
on the top of the EL-DataPad. Once connected,
you can download existing data from that unit, or
set-up your logger for use.
Welcome
By pressing on the Set-Up Logger icon shown above, users can
name their data logger, select a sample rate, set high and low
alarms and choose the logging start time. Simply press the green
icon and follow the on-screen instructions.
When the unit is fully charged, detach from your PC. Press the
icon to choose screen options such as screen time out
and to set time and date.
Stop Logger & Download
View Data
The EL-DataPad enables you to view graphical data that is stored
in memory. To view data, press the blue graph icon and select
the le you wish to view by following the on-screen instructions.
If you have previously
set-up the logger and
just want to change the
start time and date,
use the Quick Set-Up.
Full Set-Up guides you
through every stage of
the logger set-up using
on-screen instructions.
Press the help icon for additional information.
Note: If you are setting up a data logger that is already logging
data follow ‘Stop Logger & Download’ instructions rst.
Using Your EL-DataPad for the First Time
1. Fully Charge Your EL-DataPad
Your EL-DataPad comes with approximately 25% battery
capacity so you have the opportunity to try the unit straight out
of the box. HOWEVER, before extended use, fully charge the
unit by connecting it to your PC using the cable provided.
Your EL-DataPad will display a when it is fully charged.
www.lascarelectronics.com
Shop for Data Logging products online at: www.DataLoggerStore.com 1.888.610.7664

Connect the data logger to the EL-DataPad, press the red arrow
and follow the on-screen instructions.
Set-Up Logger
Thank you for purchasing an EL-DataPad portable viewer for use
with EasyLog USB data loggers. This quick start guide provides
basic information to help you set up your new product for the
rst time and begin using the EL-DataPad with your chosen data
logger.
2. Turn On The EL-DataPad
Connecting an EL-USB Data Logger
3. Set Time, Date and Backlight Requirement
To turn on, simply press the button on the front. To turn off,
press and hold the button for 3 seconds. To conserve battery
life, the screen will turn off after a period of inactivity. Press
the button or touch the screen to wake the unit.
Insert your EL-USB Data Logger into the USB port
on the top of the EL-DataPad. Once connected,
you can download existing data from that unit, or
set-up your logger for use.
Welcome
By pressing on the Set-Up Logger icon shown above, users can
name their data logger, select a sample rate, set high and low
alarms and choose the logging start time. Simply press the green
icon and follow the on-screen instructions.
When the unit is fully charged, detach from your PC. Press the
icon to choose screen options such as screen time out
and to set time and date.
Stop Logger & Download
View Data
The EL-DataPad enables you to view graphical data that is stored
in memory. To view data, press the blue graph icon and select
the le you wish to view by following the on-screen instructions.
If you have previously
set-up the logger and
just want to change the
start time and date,
use the Quick Set-Up.
Full Set-Up guides you
through every stage of
the logger set-up using
on-screen instructions.
Press the help icon for additional information.
Note: If you are setting up a data logger that is already logging
data follow ‘Stop Logger & Download’ instructions rst.
Using Your EL-DataPad for the First Time
1. Fully Charge Your EL-DataPad
Your EL-DataPad comes with approximately 25% battery
capacity so you have the opportunity to try the unit straight out
of the box. HOWEVER, before extended use, fully charge the
unit by connecting it to your PC using the cable provided.
Your EL-DataPad will display a when it is fully charged.
Shop for Data Logging products online at: www.DataLoggerStore.com 1.888.610.7664

Transferring data onto a PC
Recharging
The cable provided with the EL-DataPad is used for data
transfer and recharging. The EL-DataPad will automatically
start recharging once it is connected to a PC. To use less power
decrease the backlight time setting.
Connect the EL-DataPad to the PC
with the cable provided. The PC will
detect that the EL-DataPad has been
connected.
EL-DataPad
Quick Start Guide
Graphical data is displayed in the following formats:
Trend
Legend & Summary
This graph is based on data from an EL-USB-2 logger.
Files downloaded will be
located in the EL-DataPad
drive in the ‘Log Files’
Directory. Select the les you
wish to download and copy
them to your PC. Use EasyLog
software on your PC to view
data in detail and to display
graphs or export them to
spreadsheet packages such
as Microsoft®Excel for further
analysis.
Module House
Whiteparish, Salisbury
Wiltshire, SP5 2SJ
UNITED KINGDOM
T +44 (0) 1794 884567
E sales@lascar.co.uk
UK 4258 West 12th Street
Erie, PA 16505
UNITED STATES
T +1 (814) 835-0621
E us-sales@lascarelectronics.com
USA 8th Floor, China Aerospace
Centre
143 Hoi Bun Road
Kwun Tong, Kowloon
HONG KONG
T +852 2389 6502
E saleshk@lascar.com.hk
HK
www.lascarelectronics.com
Copyright Lascar Electronics Ltd. 2011 Issue 2 10/11
electronics
Shop for Data Logging products online at: www.DataLoggerStore.com 1.888.610.7664

Transferring data onto a PC
Recharging
The cable provided with the EL-DataPad is used for data
transfer and recharging. The EL-DataPad will automatically
start recharging once it is connected to a PC. To use less power
decrease the backlight time setting.
Connect the EL-DataPad to the PC
with the cable provided. The PC will
detect that the EL-DataPad has been
connected.
EL-DataPad
Quick Start Guide
Graphical data is displayed in the following formats:
Trend
Legend & Summary
This graph is based on data from an EL-USB-2 logger.
Files downloaded will be
located in the EL-DataPad
drive in the ‘Log Files’
Directory. Select the les you
wish to download and copy
them to your PC. Use EasyLog
software on your PC to view
data in detail and to display
graphs or export them to
spreadsheet packages such
as Microsoft®Excel for further
analysis.
electronics
Shop for Data Logging products online at: www.DataLoggerStore.com 1.888.610.7664
Table of contents
Other EasyLog Data Logger manuals

EasyLog
EasyLog EL-USB-ACT User manual

EasyLog
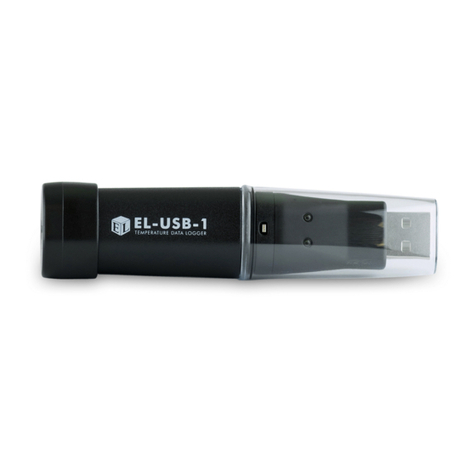
EasyLog EL-USB-1 User manual

EasyLog
EasyLog EL-MOTE User manual

EasyLog
EasyLog EL-CC-1 User manual

EasyLog
EasyLog EL-WiFi User manual

EasyLog
EasyLog EL-USB-1 User manual

EasyLog
EasyLog EL-USB-1 PRO User manual

EasyLog
EasyLog EL-IOT-CO2 User manual

EasyLog
EasyLog EL-USB User manual

EasyLog
EasyLog EL-SIE User manual

EasyLog
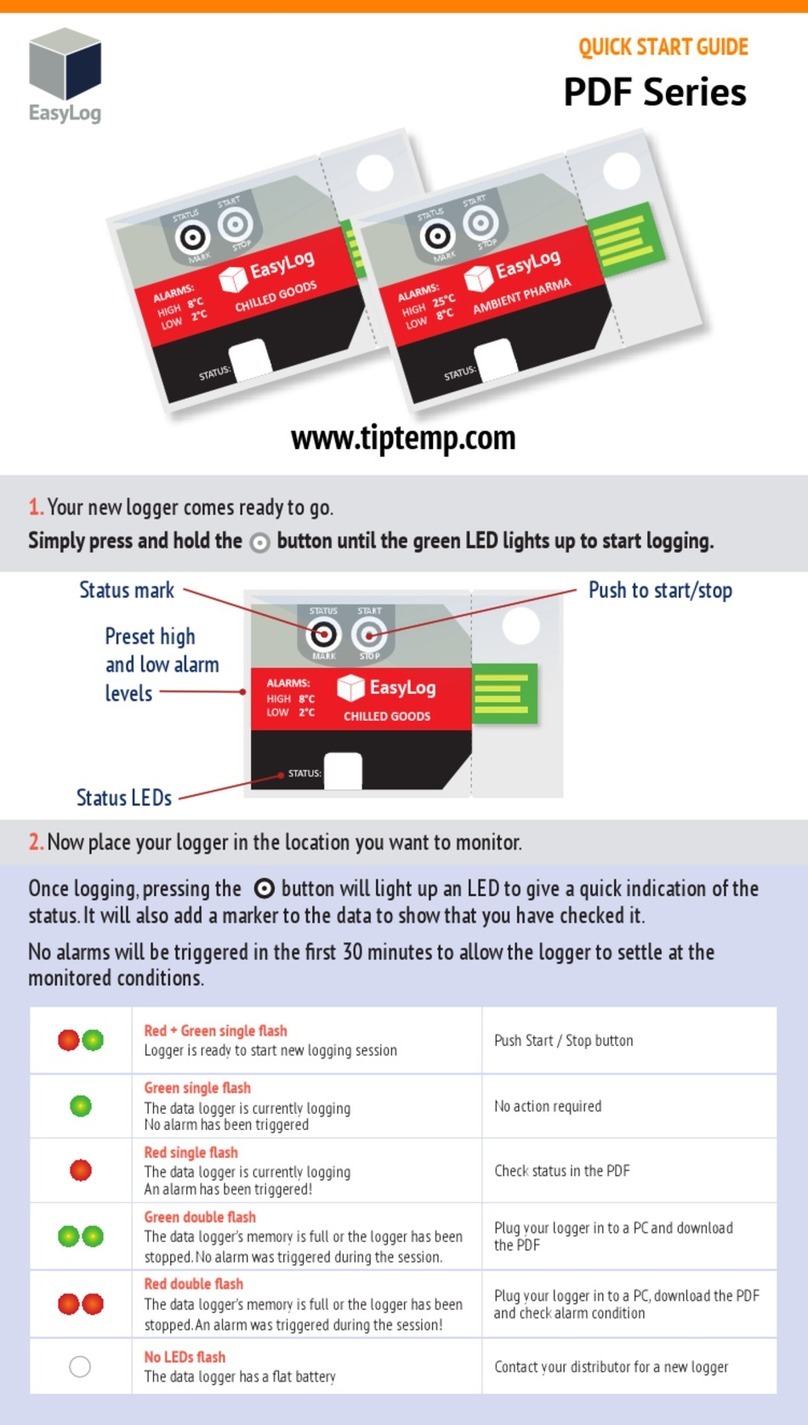
EasyLog PDF Series User manual

EasyLog
EasyLog EL-WiFi User manual

EasyLog
EasyLog EL-USB-CO User manual

EasyLog
EasyLog EL-USB User manual

EasyLog
EasyLog 21CFR User manual

EasyLog
EasyLog EL-SIE-1+ User manual

EasyLog
EasyLog EL-SMS User manual

EasyLog
EasyLog EL-USB-1 PRO User manual

EasyLog
EasyLog EL-SIE User manual

EasyLog
EasyLog EL-MOTE User manual