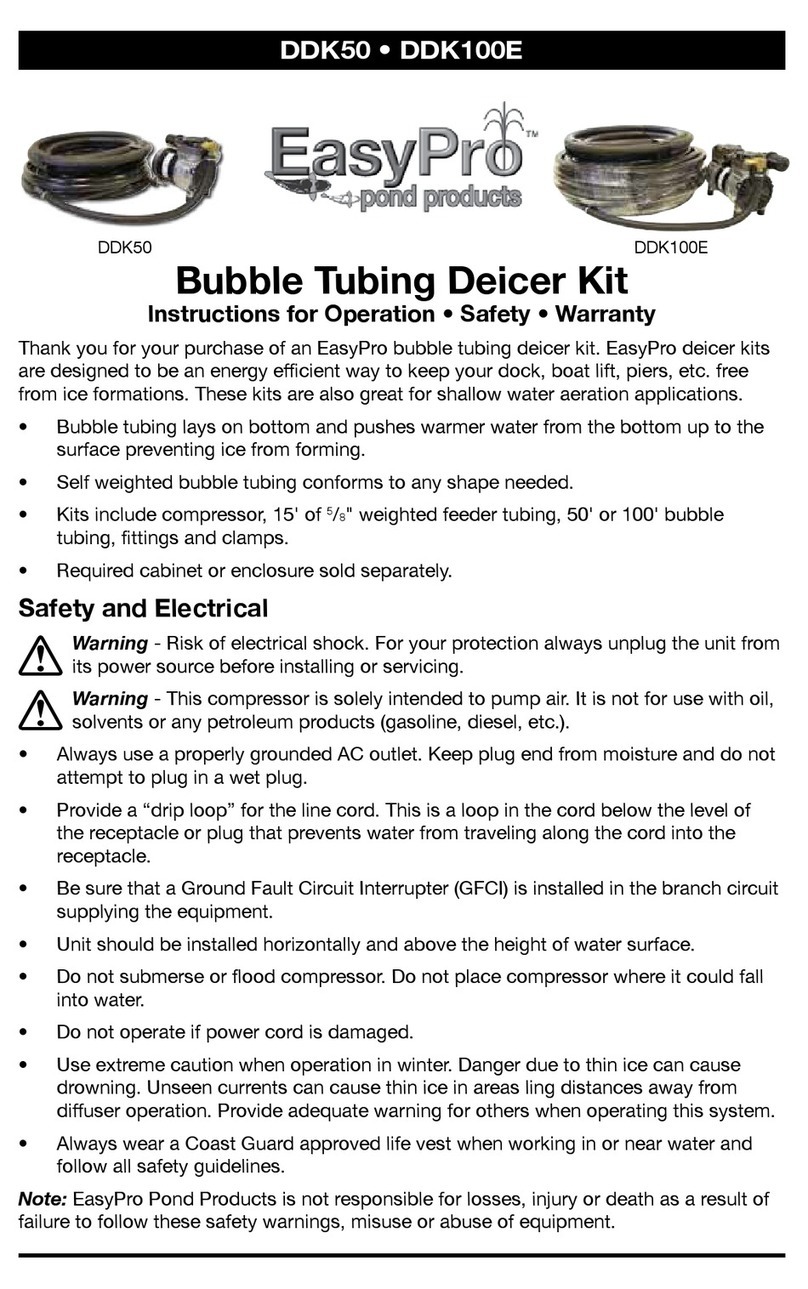
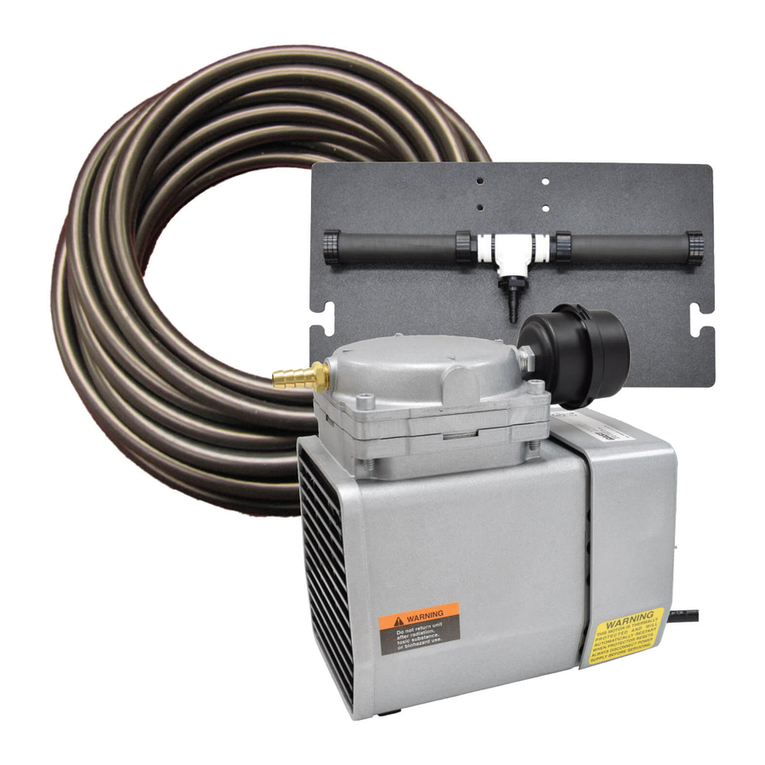
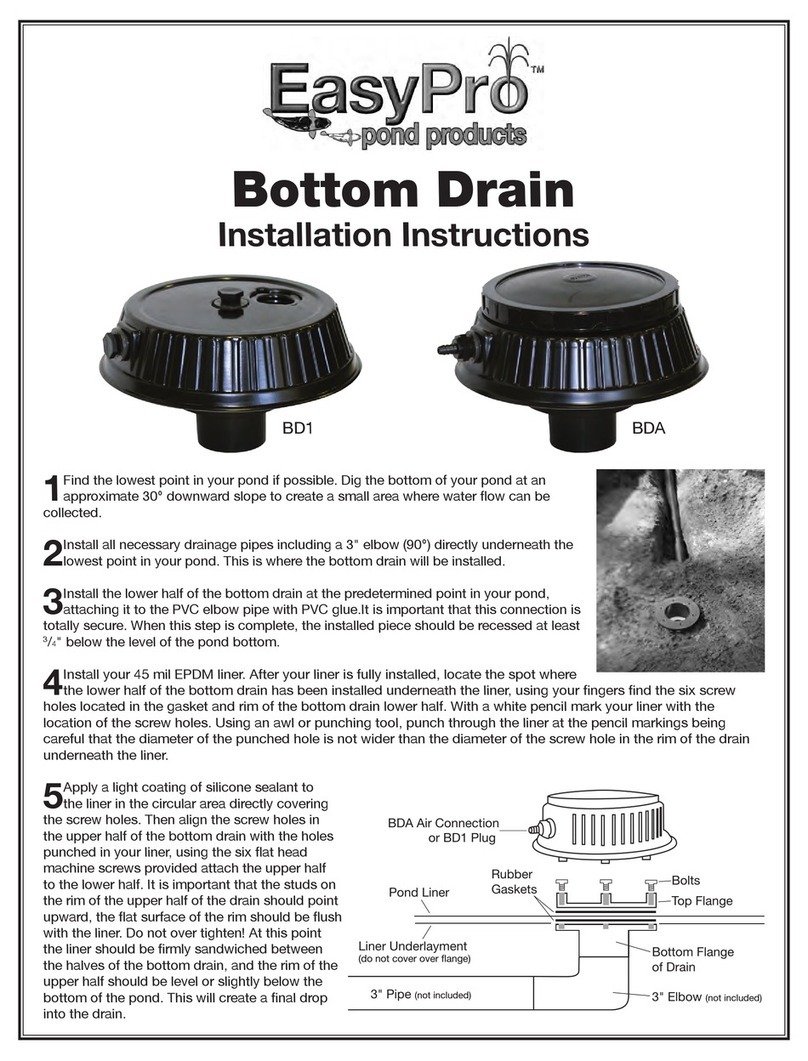
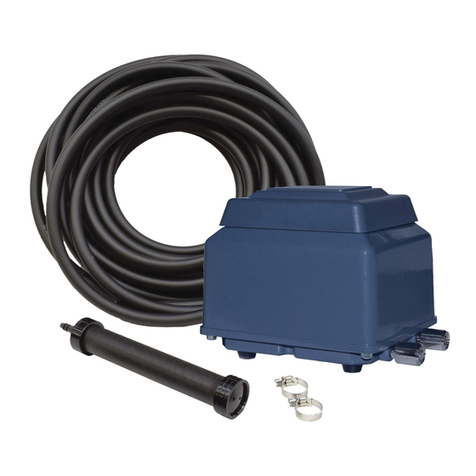
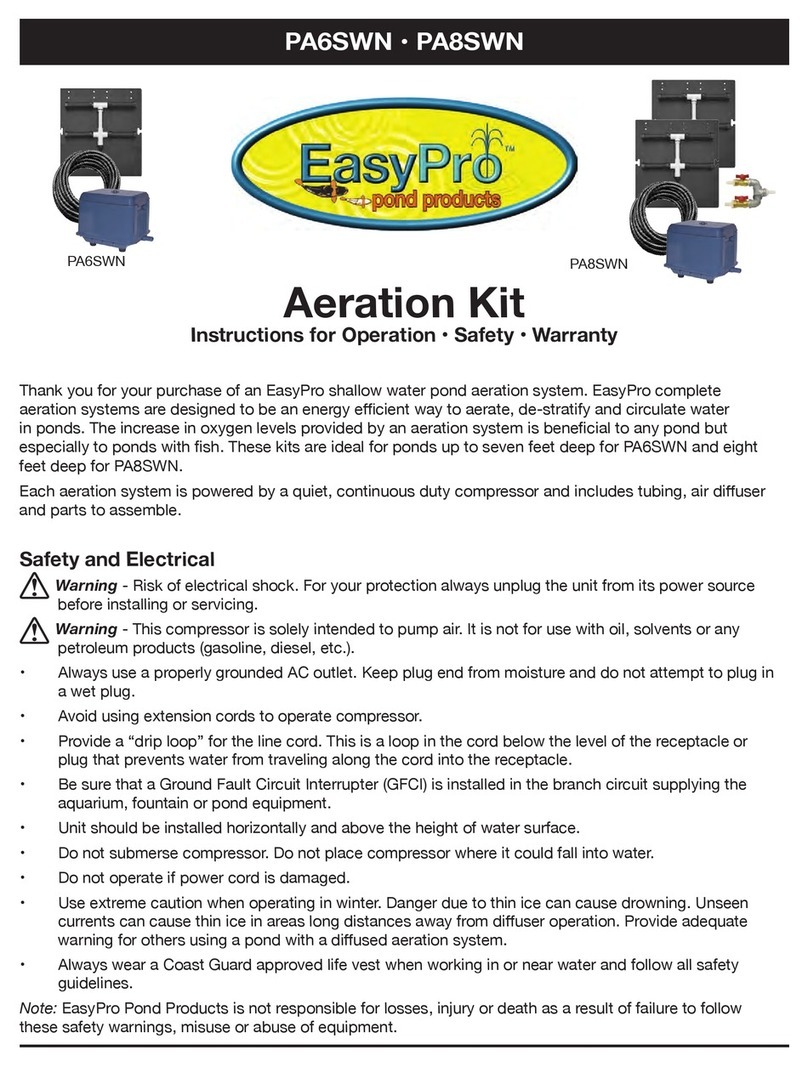
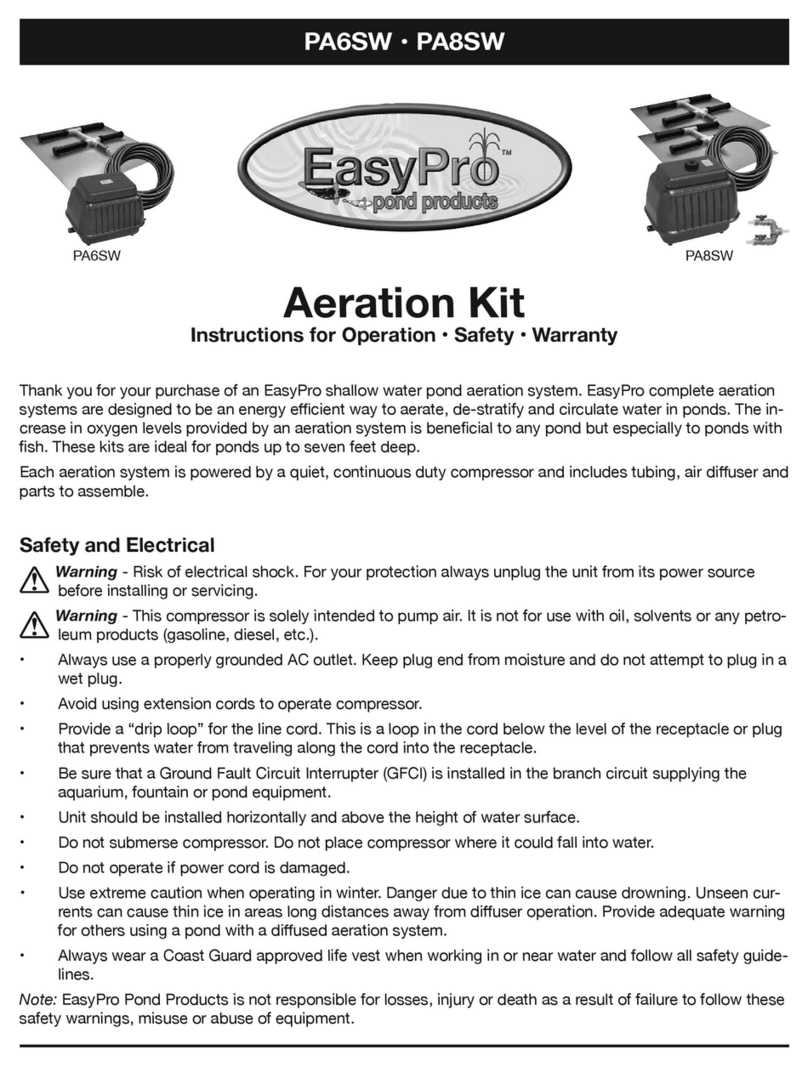
EasyPro PA10 Owner's manual

Diaphragm & Rotary Vane Aeration Systems
Diused Aeration Systems
Installation • Operation
Maintenance Guidelines
Save this booklet for future reference!
Manuals also available at www.easypro.com

2
Thank you for your purchase!
This aeration system will be a great benet to the aquatic ecosystem in which
you are placing it. Please read through the following guidelines completely
before installation and operation of your aeration system.
Safety Warnings
• Use extreme caution when operating in winter. Danger due to thin ice can
cause drowning. Unseen currents can cause thin ice in areas long distances
away from diuser operation. Provide adequate warning for others using a
pond with a diused aeration system.
• The surface of the compressor will be hot during operation. This is normal
— be careful not to touch the compressor while it is running.
• Units must be connected to GFCI protected outlets.
• Avoid using extension cords to operate compressor.
• Keep children or pets away from operating units
• Always disconnect power when servicing system.
• Relieve pressure from system before servicing.
Operation
• All of our compressors are designed for continuous operation. It is not
uncommon for these compressors to run 24 hours per day for three to ve
years. The only maintenance required is replacement of wearable items
(diaphram, piston ring, vanes, etc.) when needed and keeping lter clean.
CAUTION: All compressors in these kits are designed for oil-free
operation. Never oil or lubricate the compressors.
• In addition to adding oxygen to your pond, an aeration system creates a
circulation action. It takes hours for the maximum eect to be achieved,
therefore we recommend running these systems continuously so that
maximum circulation is sustained.
Summer Time Start Up
CAUTION: If you are installing this system at a time when your pond
is already stratied (warm on surface, cold on bottom), you should be
careful when rst starting the aeration system. If the stagnant water on the pond
bottom is stirred up too fast, a temporary increase in oxygen demand will occur
and, in rare cases, a sh kill could result. If your pond is severely stratied, you
should only run your system one to two hours the rst day. Each day after that,
increase the run time by one to two hours during the rst week, run continuously
after that. This will slowly mix the bottom water without a sudden depletion of
oxygen.

3
Installation Precautions
• See next page for compressor placement details.
• The air diffuser should not be placed in the deepest part of the pond.
Try to locate the diuser at approximately
2
/
3
to
3
/
4
of the deepest point
(a 15' deep pond would have the diuser at approximately 10' to 12' deep).
This allows the deepest water to remain cool in the summer and stay warm
in the winter.
• If you purchased your aeration system without weighted tubing, you will
need to supply small weights such as chimney bricks, pipe or rerod.
Strap the weights securely around the tubing to bring it to the bottom.
• If your pond freezes during the winter, be sure the tubing is buried leading
into the pond. If not, the ice can form around the tubing, kinking it or
possibly shearing it o.
CAUTION: Locate all utilities before digging to ensure safety of
installer and others.
Aeration System Details
Kit *Maximum Maximum Diuser Cabinet
Part # Pond Size Recommended Depth Assembly Compatibility
PA10 1/4 Acre 12' DM2** SC18, SC22, SC25
PA12 1/4 Acre 30' DM2** SC18, SC22, SC25
PA50 2 Acres 18' Two-QS2 SC22, SC25
PA75 4 Acres 18' Four-QS2 SC22
PA100 6 Acres 18' Six-QS2 SC22
*Factors such as pond depth and pond shape will aect maximum pond size
**Replacement 6" rubber membrane diusers are part number RAD650W. A DM2
assembly includes two RAD650W self-weighted rubber membrane diusers.
Note: Kits are available with multiple tubing options (non-weighted, quick sink,
mix & match). Part # column reects generic kit name.
Compressor Specications
Kit Horsepower Maximum Cost
Part # Compressor* & Type CFM Per Day
PA10 DC22 1/20 HP - Diaphragm .7 $0.24
PA12 DC12 1/8 HP - Diaphragm .8 $0.49
PA50 RV33 1/4 HP - Rotary Vane 4.5 $1.31
PA75 RV75 3/4 HP - Rotary Vane 10 $2.48
PA100 RV100 1 HP - Rotary Vane 13.5 $3.47
*Compressors all carry a one year warranty from date of purchase. See
compressor instructions for warranty details.

4
Compressor Placement
It is critical that the air compressors be protected from the weather. You will
need to provide a shelter for your compressor to protect it from rain, snow and
other harsh elements.
• Be sure your shelter is adequately ventilated. A cooling fan may be
necessary in warmer climates. Several cabinet options with fans are
available.
• Be sure the compressor does not sit directly on the ground, as the vibration
from the motor will cause dust and dirt particles to be pulled into the motor
and may cause premature failure. NOTE — Avoid areas with excessive
dust, this can damage compressor.
• If operating compressor in freezing climates do not place compressor
in “heated” buildings. Warm air holds more moisture. This warm air may
condensate and freeze in the colder outdoor
line.
• Ensure that compressors are placed where
they will not become ooded with water.
• If possible, shaded areas are preferred.
• In areas with limited electrical supply,
compressors can be placed long distances
from the pond edge. A remote access valve
assembly can be fed from the compressor with properly sized tubing.
Cabinet Placement
• If installing a Sentinel Deluxe Aeration System, place the cabinet on a level,
unobstructed base to ensure the compressor does not overheat.
• A post mounted cabinet should be kept free from high weeds and other
obstructions to ventilation system.
Diuser Placement
The amount of surface area an aeration system will eectively cover is greatly
dependent on two factors - DEPTH and SHAPE. The deeper an air diuser is
located, the more boiling action it will create and a larger area will be aerated.
The diagram below shows how much surface area is eectively aerated per
air diuser at various depths. Ponds that are irregular or odd shaped will also
reduce size of aeration area — call our technical department for
additional help.
Example:
Our PA34 pond aerator
would aerate only 1
/8
of an acre if operated
in 4' deep water, while
aerating up to 1 acre if
operating in 12' - 16' deep
water.
The shape of a pond aects
the amount of diusers
needed. Irregular shaped
ponds often require multiple
diusers to adequately aerate
entire water column.
U
p
t
o
1
1
/
2
a
c
r
e
s
i
n
1
6
'
-
2
0
'
d
e
e
p
w
a
t
e
r
U
p
t
o
1
a
c
r
e
i
n
1
2
'
-
1
6
'
d
e
e
p
w
a
t
e
r
U
p
t
o
1
/
2
a
c
r
e
i
n
8
'
-
1
2
'
d
e
e
p
w
a
t
e
r
U
p
t
o
1
/
4
a
c
r
e
i
n
5
'
-
8
'
d
e
e
p
w
a
t
e
r
AirDiffuser

5
PA10 • Fig. 4a
General Assembly Instructions
1. Unpack the aeration system to ensure all parts were received. If a shortage
occurs, please notify EasyPro immediately.
2. Assemble diusers. Detailed instructions are included with each diuser
assembly.
3. For Sentinel Deluxe units, the lter and valves are connected to the
compressor.
For basic kits you will need to install the inlet lter and outlet assembly.
On all basic kits, remove the compressor from the box and remove plugs
from ports on the compressor. Then assemble air lter on the inlet port and
valved outlet assembly on the discharge port. PA10 and PA12 systems are a
single line with no valve.
See images for reference of your system.
4a. For PA10 style kits (1/20 hp DC22 Compressor)
4b. For PA12 style kits (1/8 hp DC12 Compressor)
4c. For PA50/75/100 style kits (1/4, 3/4 and 1 hp Rotary Vane Compressors)
5. Unroll the entire roll of tubing. It is recommended that the diuser be installed
at this point. This will allow you to trim any unused tubing before attaching to
the compressor. Use clamps to secure tubing to outlet assembly.
6. Open the valves on the outlet assembly to their full open position. Plug the
compressor into a GFCI outlet and adjust each valve to equal the air ow
to each diuser. This equalizes air ow between diusers with dierent
operating depths and/or tubing lengths.
PA12 • Fig. 4b
PA50 • Fig. 4c PA75 • Fig. 4c PA100 • Fig. 4c

6
Maintenance Guidelines
• Keep your compressor and intake lter clean. Any excess dust and debris
on motor or air intake may signicantly shorten the life of the compressor.
• Diusers may need regular cleaning in certain water conditions. This may be
every two to ve years.
• Compressors may need to be rebuilt if running but no longer “pumping air.”
Contact your EasyPro dealer for compressor rebuild kits.
• If lines become frozen, a small amount of denatured alcohol can be run
down the frozen line to thaw it out. The small amount of alcohol will not
harm sh or biological processes in your pond.
After one or two years of operation, you will possibly notice a sudden drop in air
bubbles. This is a sign the compressor needs new diaphrams or vanes. Rebuild
kits are available to restore like-new performance. Be sure to keep the air lter
clean. Replacement lters are available.
Kit Replacement Compressor
Part # Compressor Filter/Element Repair Kits
PA10 DC22 DC22F RK22
PA12 DC12 ERPF1/ERPF12E DC12RK
PA50 RV33 AC432/AC393 RV33V
PA75 RV75 AC432/AC393 RV75V
PA100 RV100 AC432/AC393 RV100V
Troubleshooting
Compressor Troubleshooting
Low High Compressor Excess
Pressure Pressure Overheating Noise Cause and Solution
• • Dirty air lter, clean or replace
• Valves closed too much, open valves
• • Worn diaphrams or vanes, rebuild compressor
• Plugged/frozen tubing, inspect and repair
• • Leaky tubing or check valve, inspect and repair
Compressor will not start • Wrong voltage, check power source
Compressor will not start • Miswired electrical components, check wiring
Diffuser Troubleshooting
Low High Uneven Burping
Air Flow Air Flow Air Flow Bubbles Cause and Solution
• • Leak in system, check connections and repair
• • • Manifold not set correctly, adjust placement
• Damaged or torn membrane, replace
• Compressor issue, see above

7
EasyPro Pond Products Limited Warranty
EasyPro Pond Products (“EasyPro”) warrants to the purchaser that this product
(
Diaphragm & Rotary Vane Aeration System
) will be free from any mechanical or
material defects for a period of:
Compressors: one year from date of purchase - covered by manufacturer's warranty
(consult owner's manual for full details)
Air Diusers: ve years from date of purchase.
QS1 and QS2 only in fresh water.
Weighted Tubing: ve years from date of purchase
This warranty only covers properly installed and maintained Products sold by authorized
EasyPro Sellers who are subject to and follow EasyPro’s quality control standards.
Please note that because EasyPro is unable to control the quality of Products sold by
unauthorized sellers, unless otherwise prohibited by law, this warranty does not cover
Products purchased from unauthorized sellers.
This warranty does not cover normal wear and tear, nor any deterioration suered
through overloading, improper use, negligence, improper installation, acts of God or
accident. Similarly, any modication made by the purchaser to the Product will cause
the warranty to be null and void. This warranty does not cover any cost associated with
the installation or removal of the Product subject to a warranty claim.
All returned items will be inspected to determine cause of failure before a warranty claim
is approved.
The exclusive remedies provided hereunder shall, upon EasyPro’s inspection and
option, be either repair or replacement of the Product or parts covered under this
warranty.
Making a Claim: A Return Authorization (“RA”) number must rst be obtained by
calling EasyPro at 800-448-3873 or via email at warranty@easypro.com. It is the
purchaser’s responsibility to pay the return shipping charges. Be sure to include the
RA number, original receipt (in the form of an invoice or sales receipt), your name,
your return address and your phone number inside of the package. No warranty
claims will be honored without the original receipt that shows that your purchase was
made from an Authorized EasyPro Seller. Ensure the product is properly packaged
and insured for the replacement value. Damage due to improper packaging is the
responsibility of the sender.
ALL OTHER EXPRESS OR IMPLIED WARRANTIES INCLUDING MERCHANTABILITY OF FITNESS
FOR A PARTICULAR PURPOSE ARE HEAREBY LIMITED IN DURATION TO THE DURATION OF
THE WARRANTY AS DESCRIBED ABOVE. Some States do not allow limitations on how long an
implied warranty lasts, so the above limitations may not apply to you.
EasyPro shall not be held liable for any damages caused by defective components or materials
of this Product; or for loss incurred because of the interruption of service; or any consequential/
incidental damages and expenses arising from the production, sale, use or misuse of this Product.
Some States do not allow the exclusion or limitation of incidental or consequential damages, so
the above limitation or exclusion may not apply to you.
EasyPro shall not be held liable for any loss of sh, plants or any other livestock as a result of any
failure or defect of this Product. This warranty gives you specic legal rights, and you may also
have other rights that vary from State to State.

Boost the Benets of Aeration
EasyPro’s benecial bacteria treatments are proven to work
in conjunction with aeration systems to improve the natural
biological balance and overall water quality. The bacteria
work along the pond bottom, breaking down organic matter
such as leaves, grass clippings, dead algae and sh waste.
800-448-3873 • Grant, Michigan • www.easypro.com
5638 • 10/19
EasyPro bacteria
treatments are
Made in the USA.
“Safe for sh, pets,
wildlife and family!”
Base Kit Part #
Compressor Serial #
Please keep a copy for your records
EasyPro Pond-Vive
The natural, biological way to revive your pond
This special blend of benecial bacteria is designed to:
• Reduce oxygen demand and sludge buildup
• Eliminate excess nutrients and pond odors
• Improve water clarity
Available in 10 lb. and 25 lb. pails with 8 oz. water soluble
packs or loose powder in 25 lb. pails and 100 lb. drums.
EasyPro Sludge Remover Pellets
Bacteria specically designed to reduce sludge on the
pond bottom
• Great for spot treating around docks and beach areas
• Available in 10 lb. and 25 lb. pails, one ounce of pellets
covers approximately 200-250 square feet of shoreline
or beach area
EasyPro Lake Colorant
Add EasyPro Lake Colorant to give your pond a beautiful look
• Available in blue, serenity blue or black one quart containers
• Nontoxic and compatible with most aquatic herbicides, water
can be used for swimming and irrigation once dispersed
• Concentrated formula, one quart treats one acre of water
3' - 6' deep
This manual suits for next models
4
Table of contents
Other EasyPro Lawn And Garden Equipment manuals
Popular Lawn And Garden Equipment manuals by other brands

Sunnydaze Decor
Sunnydaze Decor 2-TIER GALVANIZED STEEL RAISED GARDEN BED manual

GreenWorks Pro
GreenWorks Pro EA80L00 Operator's manual

Gardol
Gardol GEV 1400-33/1 Original operating instructions

ketrop
ketrop Scare Man user guide

PowerPac
PowerPac PP2218 quick start guide

Bosch
Bosch AXT 22 D Original instructions