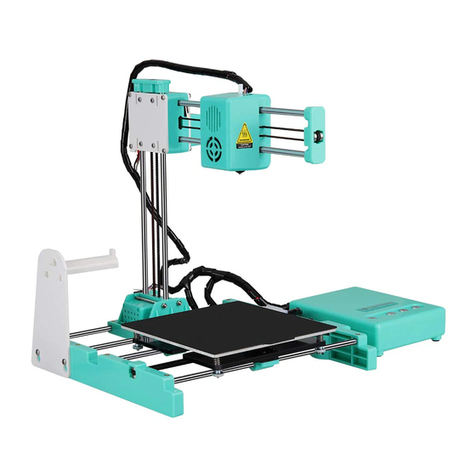
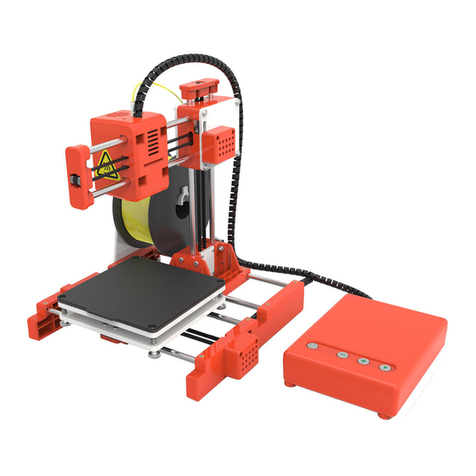
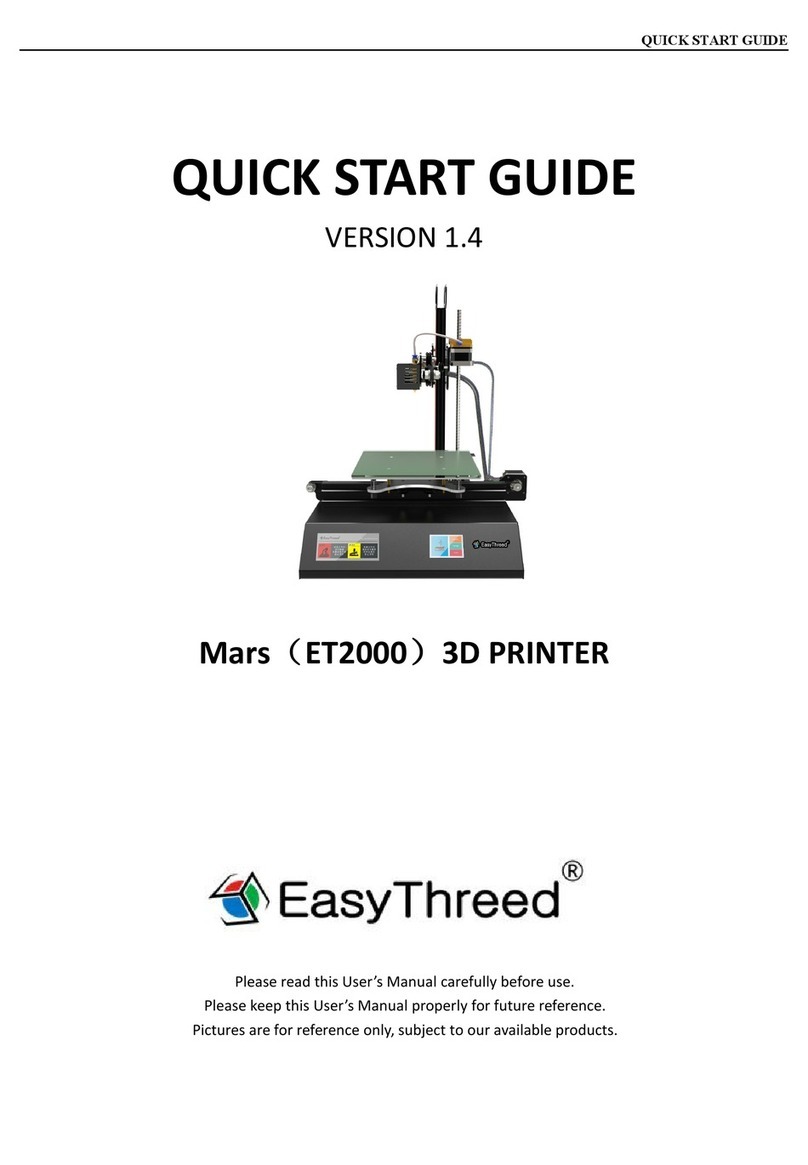
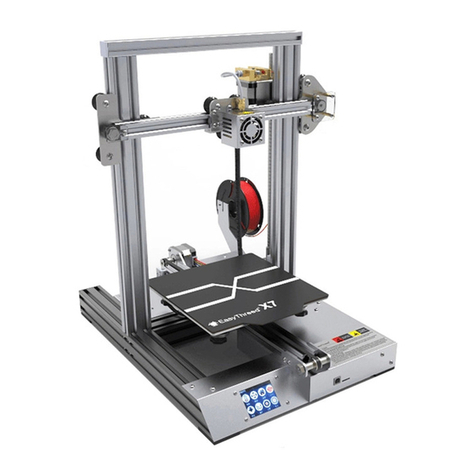
EasyThreed X7 Mounting instructions

深圳市普伦特科技有限公司 www.easythreed.com
1 / 10
X7 Use’s Manual
Please watch operation video in Website or YouTube
Channel:Easythreed 3D

深圳市普伦特科技有限公司 www.easythreed.com
2 / 10
SAFETY INSTRUCTIONS
Before installing and using this machine, make sure to read the following contents. Please do
not use this machine with the methods not described in this User’s Manual. Try you best to
avoid possible physical injury and property losses
Machine placement
1,When moving the machine, pay attention to handle it gently to avoid touching the interior
structure of the printer。
2,This machine is suitable for placed in a ventilated, cool, dry and dustless environment.
3,When using the printer, pay attention to the heat dissipation of its surrounding environment
and
avoid placing it on thick carpeting or close to wall.
4,Please do not put the machine near explosives and high heat sources.
5,Please do not put this machine in an unstable working environment or a working
environment with
large vibration.
6,Please do not pile weights on this machine.
Specification for use of power supply
1, Please use the power cord supplied with this machine.
2,Please do not plug and unplug the power connector with wet hands.
3,Please make sure to insert the plug completely into the socket.
Instructions during printing
1,Please do not operate this printer in the absence of personnel supervision.
2,During the printing process and right after the printing process, please do not touch the
interior structure and accessories of the printer to avoid scalding.
3, If the printer discharges smoke when printing, please turn off power switch immediately to
stop printing and contact the dealer

深圳市普伦特科技有限公司 www.easythreed.com
3 / 10
1,Printer Introduction
1.1 Parts Of Printer
Filament Holder
Teflon feeding pipe
Print head
USB port
TF card
Tnouch Scree
Hotbed platform
Power Switch
Power Socket
Power
Hotbed wire connector

深圳市普伦特科技有限公司 www.easythreed.com
4 / 10
1.2 Specifications.
Print parameters
Working environment
Working temperature::
5℃~35℃
Relative humidity:
30%~90%
Electric parameters
Power input:
110~240V AC,
50/60Hz;
Power output::
24V/DC, 8A
Maximum power::
350W
2,Leveling and Load Filament
2.1,Power on
Connect Power, the LCD screen on
2.2,Leveling
Please adjust the level by following steps.
①,Click Leveling , enter into Leveling interface
②Click Poin1, the print head will move to a conner of
The platform.
③Put a sheet of paper between the nozzle and
the platform, the standard distance between
the nozzle and the platform need to be
the thickness of a sheet of paper .
Nozzle
diameter:
0.4mm
Filament:
PLA
Nozzle
temperature:
180-310℃
PLA
temperature:
180-220℃
Hotbed:
0-110℃
Hotbed
temperature:
PLA:55-70℃
Print speed:
10-180MM/S
Layer
thickness:
0.05-0.3mm
Build Volume:
L235*D235*H250mm
Printer Size:
L350*D390*H440mm
Compatible
SYS:
Linux, windows
Connection:
USB、TF card、
File format:
STL,OBJ
Slicer:
CURA,SIMPLIFY3D
Read format:
Gcode
Net Weight:
7.5Kg

深圳市普伦特科技有限公司 www.easythreed.com
5 / 10
Commonly use simple judgment method of platform standard distance: put a
sheet of paper between the nozzle and platform, and pull it out, the paper with
a scratch but no broken means the distance is proper.
If the distance between the nozzle and the platform is too far, turn the screw
nut counterclockwise to raise the printing platform to the standard distance.
If the distance between the nozzle and the printing platform is too close, turn
the srew nut clockwise to reduce the printing platform to the standard distance.
Adjust the remaining "second point", "third point" and "fourth point" according
to the method of "first point". When the distance between the nozzle and the
printing platform is a sheet of paper thickness standard, the printing platform is
leveled
Note: If in the adjustment process, the screw has been set to the limit, indicating that
the entire height of the platform needs to be adjusted, adjust the height of the
platform and limit switch, and then adjust four points.
After Leveling, you can more the print head from one conner to another conner , to
check if the distance between the nozzle and platform is proper.
Printer nozzle
platform

深圳市普伦特科技有限公司 www.easythreed.com
6 / 10
2.3,Install Filament:
(1) Use scissors to cut off the end of wire about 2-5mm, so that the filament front is
smooth and straight.
(2) Straighten the length of the end of the filament about 10-15 mm with a hand.
(3) Insert the filament into the slot of the thread insertion at the back of the rocker
arm of the extruder.
(4) Press the rocker arm of the extruder to make the filament pass through the inlet
gear and the conductor groove into the Teflon guide pipe.
(5) Push the filament into the pipe as close as possible to the end of the print head,
and then release the rocker arm.
Teflon pipe
Extruder gear
rocker arm

深圳市普伦特科技有限公司 www.easythreed.com
7 / 10
2.4,Load Filament and Unload Filament
(1).click home page“preheat”,come to preheat page,and click the "+" to increase the target
temperature value on the right side of the diagonal bar to about 200 degrees (the thermometer
icon below can change the value added with each click), The nozzle starts to heat up. When the
left side value rises to the temperature value set on the right, click "Back"
(2).Click the "Extrude" to enter the feeding and retract interface. The value E1 in the middle is
the length of the feeding. Each time you click the "In", the length of the feeding will increase
(click the icon of the left and right arrow below to change the size of the value change). When
the nozzle spits out the filament and spits out the set length, the feeding is completed
(3). If you want to change filament or take out filament from the printer, Click "extrude" to
enter the operation interface of Feeding and Retract, click "Out" to increase the length of
retract filament, until the filament come out from the printer head, the retract is completed,
and click "Back" to return..
(Note:feeding or retract need to be“preheat”, set the required target
temperature. Different materials may require different temperatures. PLA
material is 200 degrees, after the nozzle is heated to the set value ,then
feeding or retract)

深圳市普伦特科技有限公司 www.easythreed.com
8 / 10
3,Print
3.1, Insert the TF card to the TF slot, TF card with sliced gcode file inside.
3.2 Click Print to enter the operation interface , select the model that needs to be
printed, click Confirmation, and start printing.
3.3 change filament during printing:
First click Change, enter the midway feed operation interface; click on the unload
button to retract filament; when the retract is completed, take the filament out,
install the new filament, and then click the load button to start the feed; when the
filament silk come out from the print head, the feed is completed, click on continue to
print.

深圳市普伦特科技有限公司 www.easythreed.com
9 / 10
3.4,Pause Printing/Stop Printing
Click on the operation, enter the operation interface,
Pause: click pause to pause printing, you can restore, and then continue printing!
Stop : Stop Printing,Finish Printing, Not Recoverable
4,Maintanance
4.1,Do not try to use the methods those not described in this manual to disassembly or modify this
machine, in order to avoid damage to the printer or other more serious accidents.
4.2,When power is cut off, regularly clean the printer with a cloth to wipe off dust and residue. If a
wet cloth is
needed, do not use flammable solvents to touch the internal circuit of the printer to avoid fire or
electric shock.
4.3,After printing, try to discharge the residual print material in the nozzle and the extruder to
avoid the nozzle fromblockage when printing for the next time! This is the basic maintenance for a 3D
printer.
4.4,The guide rail can be added with engine oil for one time every half a year for anti-rusting and
lubrication.
4.5,Recommended temperature for the working environment: 5℃-30℃, do not air the machine
body with a fan
during the printing process.
4.6,Recommended humidity for the working environment: 20%-80%.

深圳市普伦特科技有限公司 www.easythreed.com
10 / 10
5,Accessories List
directory
1 filament
2 USB cable
3 power cord
4、Oblique tongs
quantity
1
1
1
1
Picture
Directory
5 shovel
6 Wrench
7 Card reader
8 TF card
quantity
1
1
1
1
Picture
6,FAQ
6.1. Why is the printing model not adhesive to the printing bed?
(1)The nozzle is too far away from the bed, Adjust the distance between the nozzle and the platform, to
assure that the distance is just a sheet of paper。
(2)Hotbed temperature is too high or too low. The temperature of ABS printing hotbed should be
about 110℃, and that of PLA printing hotbed should be about 50℃.
6.2. Why the filament do not come out from the nozzle?
(1)Check the feeding : check the feeding motor is working normal or not.
(2)Check the temperature of the sliced file:
PLA Filament temperature 180℃-220℃, temperature too low may cause this problem 。
(3)Check whether the nozzle is blocked:
When the temperature of the nozzle is heated(PLA is heated to 210 ℃)and then do feed, pushed
slightly by hand to see if the nozzle is out of filament silk . If the nozzle is out of silk, there is no block
in the nozzle. If no silk come out, remove the nozzle to clean up inside the nozzle or replace the
nozzle.
(4)Is the platform too close to the nozzle?
If the platform is too close to the nozzle, there is no space for filament silk come out, you
need adjust the distance between the nozzle and platform, the distance should be right the
thickness of a sheet of paper.

深圳市普伦特科技有限公司 www.easythreed.com
11 / 10
6.3. The problem of print model misplaced
(1)Slice model error:
The most common software used today is Cura and Repetier. Most of them are open source, so
we can't guarantee the stability and professionalism of the software, and every design model drawing
is not necessarily perfect for the software, so first of all, printing dislocation model diagram is not
changed, slice the model again.
(2)Model drawings problem:
After slicing, the model is always misplaced. Change another model to print
, or try a model you printed successful before, to check if it is model file problem.
(3)The print nozzle is forcibly blocked during printing:
First of all, you can't touch the moving print head with your hand during the printing process.
Secondly, if there are accumulated things on the up layer of the model , the next printing will repeat
the increase of accumulated tumors. A certain degree of hard accumulated tumors will block the
nozzle from moving normally and cause the motor to lose step leading to dislocation.
(4)Voltage instability:
(5)motherboard problem:
The above problems can not solve the problem, and all models print with same problem , replace
the motherboard.
6.4. Printing Quality not good.
(1)the surface of the printed model with area tumors:
①nozzle temperature too high。
②he flow rate of filament is too large. The Slicer software has the flow rate setting of filament. The
default value is 100%. Can Reduce to 80% to print。
③when do slice ,set the right diameter of filament.
(2)Printing surface is very poor after printing support treatment
Support density decrease to 10%. Easy to remove
(3)Filament Quality Low:
In Market, there are different level quality filament, Filament from Easythreed is the best
choice, Manufacturer did a lot of test , Filament suitable for the Printer best.
Thank you for choosing Easythreed 3D Printer
Shenzhen Easythreed Technology CO.,Ltd
http://www.easythreed.com
Other manuals for X7
1
Table of contents
Other EasyThreed 3D Printer manuals

EasyThreed
EasyThreed NANO plus User manual

EasyThreed
EasyThreed WATERCUBE User manual

EasyThreed
EasyThreed K7 User manual

EasyThreed
EasyThreed X1 User manual
EasyThreed
EasyThreed X3 Manual

EasyThreed
EasyThreed ELITE User manual

EasyThreed
EasyThreed X3 User manual

EasyThreed
EasyThreed Easythreed X5 Mounting instructions

EasyThreed
EasyThreed X4 User manual

EasyThreed
EasyThreed E3D Minnie User manual