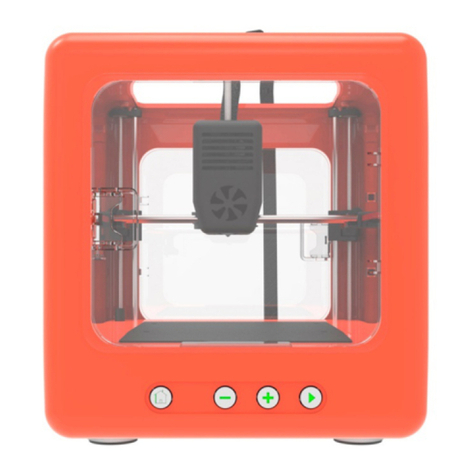
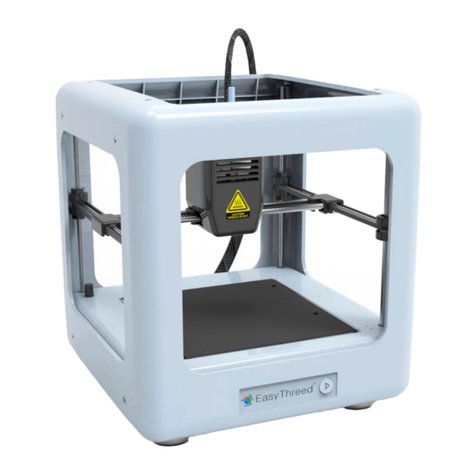
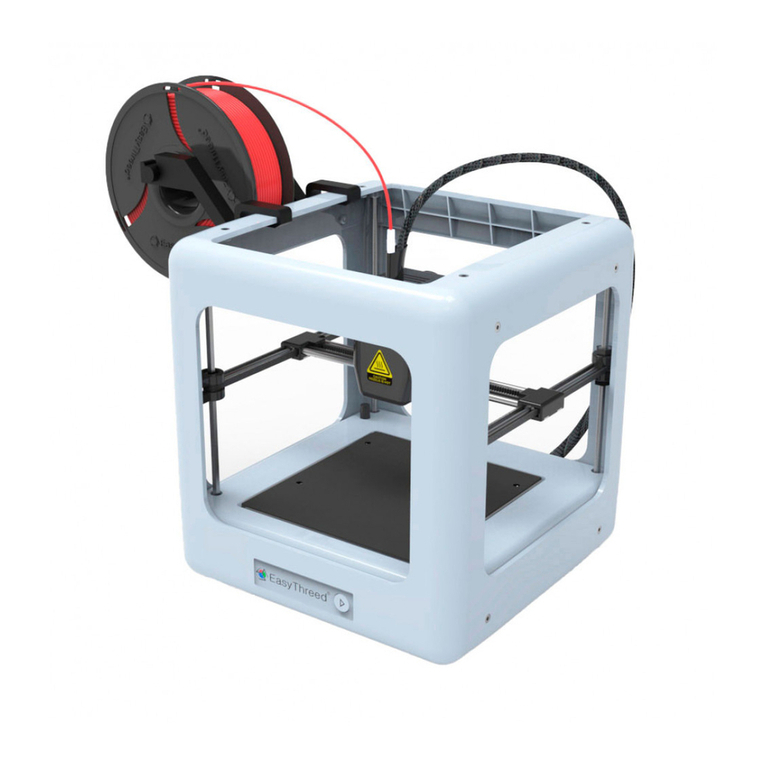
EasyThreed NANO User manual

USER'S MANUAL

Thank you for purchasing E3D NANO 3d printer. NANO is a consumer 3D printer. It can make your
custom creations come to life. Just plug in the printer, download the models, hit print and watch
as you bring an object into the world through 3D printing.
This Manual is subject to change. For updated information, please visit www.easythreed.com
NANO Specification:
Building size:90*110*110mm
Layer thickness:0.1-0.3mm Nozzle diameter:0.4mm
Supported filament:PLA Printing temperature: 180℃-210℃
Filament diameter:1.75mm Print speed:10-20mm/s
Resolution :0.1-0.2mm Slicing software:E3D NANO
Supported file format:.STL Support OS:Windows XP/7/8/10 (32 bit/64bit)
Machine size:188X188X198mm Machine net weight:1KG

1Un-Boxing NANO 3d printer
1, Lift The NANO from its packaging box. Remove all bubble wrap, foam and tape (may require
scissors).
2, Inside The NANO is an NANO 3d printer and an accessories box with a user manual, 3D filament,
USB Cable, power adapter, SD card, SD card reader, scraper, filament holder and screw driver.
3, Be sure to remove the ”Gantry Clips” located on the front left and front right corners of the
printer. The clips are only for protection during transportation. (As shown in figure 1)
(figure 1)
4, Place the filament holder at the left or right side of the printer, then attach the filament on the
side (As shown in figure 2)
Precaution: Do not place the filament holder at the front or back of the printer, which will affect
the printing quality.
(figure 2)

2Installing NANO Slicing Software
This NANO 3d printer runs with our own developed slicing software called E3D NANO. It is installed
on the SD card which you can find in the accessories box. Please copy the file to your computer to
run the installation program and complete the installation.
3Connect and Power The NANO
1, Plug the provided original NANO power adaptor into the power plug and the print button
indicator light should be on.
2, To power off the NANO 3d printer, unplug the power adaptor from the back of the machine
when it’s not operating.
43 Steps Easy Printing
4.1 Install 3D filament
Feed:
Insert filament into the guiding tube until it cannot goes further and gently press the filament to
stop it runs back. Then use another hand to slide the switch (at the back of printer) to ”Feed” gear
(As shown in figure 3). The print button in front will flash green light at fast rate or at steady rate.
(figure 3)

(A) If the light flash at fast rate, means the extruder is heating, it needs to wait about 1 minute,
once extruder complete heating, the light will flash at steady rate. Then wait another 10 seconds,
Motor begins to pull the material into extruder gear. If the filament comes out from the nozzle,
means filament installed successfully. Then slide the switch back to the middle gear, the indicator
light become normal light without flashing.
(B) If the light become flash at steady rate, it needs to wait about 10 seconds, Motor begins to pull
the material into extruder gear, filament comes out from the nozzle, means filament installed
successfully. Then slide the switch back to the middle gear, the indicator light become normal light
without flashing.
Precaution: After the first filament installation, there is no need to repeat the work of feeding
filament every time, when print different models. Only need to feed when the filament runs out.
Retract:
If want to replace another roll of filament or the machine does not print for long time. Then needs
to retract the filament. First slide switch to “RETRACT” gear, the print button in front will flash green
light at fast rate or at steady rate.
(A) If light flash at fast rate, means the extruder is heating, it needs to wait about 1 minute, once
extruder complete heating, the light will flash at steady rate. Then wait another 10 seconds, Motor
begins to work, use hand to pull the material until it completely retract from the tube, then slide
the switch back to middle gear. The indicator light become normal light without flashing.
(B) If light flash at steady rate, it needs to wait about 10 seconds, Motor begins to work, use hand
to pull the material until it completely retract from the tube, then slide the switch back to middle
gear, the indicator light become normal light without flashing.
Precaution: After feeding and retracting, both needs to slide the switch back to the middle gear (at
the back of printer), then the indicator light become normal light without flashing.
4.2 Slicing model
Download models from easythreed model library in SD card or to download from internet, then
slicing in E3D Nano software and copy to SD card, please refer to the instruction of 3D NANO slicing

software to slice model, Cura slicing is a good option for experts.
4.3 One key printing
Press print button gently after SD card is inserted, Nano prints automatically after warm-up, while
in printing status, the printing button in front will flash green light at steady rate, press print button
to pause printing and press again to continue printing, press print button for 3 seconds to stop
printing.
Printing bed leveling:
If found the bed is not leveled in the process of printing, then needs to adjust the screws in the
bed, Gently rotate the screws clockwise, the bed will goes down, rotate the screws anti-clockwise,
the bed will goes up.
Bed removable after printing:
You can remove the bed from the printer as the picture is showing.
55.0 Online printing (For Experts):
5.1, Install the USB driver (in SD card or download from easythreed.com) to computer.
5.2, Install Cura-15.04.6 slicing software (in SD card or download from easythreed.com)
5.3, The above software installation and how to print online, please refer to the electronic version
of “Nano online printing user manual” (in SD card or download from easythreed.com)

Safety Considerations
Caution: Hot! Keep your fingers away from the Nozzle Tip and Black Insulator when the
printer is on as temperatures in these area reaches over 200 degrees Celsius. Always be
sure to keep your hands away from moving parts when NANO is in operation.
6.0 Maintenance
Do not try to use the methods those not described in this manual to disassemble or modify this
machine, in order to avoid damage to the printer or other more serious accidents.
When power is cut off, regularly clean the printer with a cloth to wipe off dust and residue. If a wet
cloth is needed, do not use flammable solvents to touch the internal circuit of the printer to avoid
fire or electric shock.
Recommended temperature for the working environment:5℃-30℃,do not air the machine body
with a fan during the printing process.
Recommended humidity for the working environment: Relative humidity should not exceed
80%,the minimum should not be less than 20%.
7.0 Safety
(1) Safety and Warnings:
Children under the age of 10 should use the product under adult supervision. The print head,
exposed nozzle, extruded plastic and areas near the nozzle may be extremely hot. Keep finders
away from the print head and extruded material unless it has been unplugged for at least 10
minutes. Use the products in a well-ventilated area. Use the printer only as intended, as described
by the user manual. Do not leave the product running while unattended.
(2) Precaution:
None of components of the NANO 3D Printer or parts printed from it or using filaments are certified
for food safety nor should they be regarded as food-safe therefore should not come in contact with
the mouth or foods/liquids that will be ingested by humans or animals.
(3) Maintenance:
Long or improper use, nozzles, nozzle assemble parts, or other may need to be replaced or
cleaned, print platforms and its overlays may need to be replaced, the extruder may need to be
cleaned.

8.0 FAQ
Q1:why the printing head cannot move after pressing the printing button in initial printing?
A: Please remove the clips in front left and right before using the machine. The clips are for
transportation protection.
Q2: How to feed the filament and how to judge filament fed successfully?
A: First, straighten the filament and gently push into the feeding hole at the same time, use the
other hand to slide the switch(at the back of printer)to “FEED” gear. Then wait about 1 minute
(machine is warming up), release the material when feel the filament is caught by the machine.
Then wait another 10 seconds to observe if there has “silk” coming from the machine. Slide the
switch to middle gear when more silks come out. Till this time, filament fed successfully. If you
operate based on the above steps, but no silks come out from nozzle after waiting for more than 5
minutes, please re-power machine and try again.
Q3: How to retract filament? How to solve when the filament cannot retracted.
A: First, slide the switch to the “retract” gear. Filament will retract successfully in the normal
situation, If failed, please try to feed first, then retract again .Please Pay special attention that
gently pull up the material to help till filament completely get out of the printer.
Q4: What’s the reason that the model cannot stick to the printing bed in the initial printing or in
the process of printing?
A: The bed is too far away from the nozzle, need to adjust the distance between the bed and nozzle,
rotate the screws anti-clockwise, the bed will goes up.
Q5: What needs to pay attention to when adjust the printing bed? Need to check bed before each
print?
(1) Adjust the printing bed, need to use the screw driver in the accessories box to twist the bed
screws, when twist screws clockwise, the bed goes down, twist screws anti-clockwise, the bed goes
up.
(2) After each adjustment, needs to unplug the power , then move the printing head along the bed
one lap to assure it will not scratch the bed, then can go next step
Precaution: Needs to cut the electricity then can move the printing head by hand, or the motor
will be destroyed).
(3) No need to adjust the bed before each print, but advise to do once a week.
Q6: How to judge what’s the best distance between nozzle and printing bed? What is the difference

when it is too close and too far?
A: The standard distance between the nozzle and printing bed is the thickness of a piece of A4
paper, Insert a piece of paper between the bed and the nozzle, with normal pull and with resistance
as the standard in the condition that do not scratch bed. The closer it is, the firmer the model will
be.
(1) The right distance between nozzle and bed: the ”silks” are flat, spread on bed very smooth
and no burrs.
(2) The distance is too far: the “silks” are fine round, spread on bed unevenly, with gaps and tilt.
filament come down to the bed is by gravity force. The rounded strips’ adhesion effect is not good,
they are easily moved. Printing effect is very unsatisfactory.
(3) The distance is too close: the “silks” are irregular protrusion(with burrs)on the both sides, but
thin in the middle. Or there are no silks coming down. Or the bed is scratched with a deep trace .
Q7: Why do there twist lots of filament nearby the nozzle in the process of printing? Model become
mess of silks?
A: There are several situation:
(1) When it happens in the initial printing, the distance between nozzle and bed is too far, the
silks cannot stick to the bed ,so it would become messy filament. Please twist the 4 bed screws 90
degree anti-clockwise. If still not ok , then please twist 90 degree anti-clockwise again till normal
printing.
(2) The bed is with oil, please use dry towel to tidy the bed, do not use hand to touch the bed
directly.
Q8: How can I move the printing head?
A: Please unplug the power ,then use hand to move the printing head to where you want. Please
do not try to move the head up and down, move along Z axis cannot realized by hand.
Q9: How can I move the printing head up?
A: Only in the condition that the printer is power on but is not working, press the printing button
for 3 seconds then release, it will goes up 1 cm.
Q10: Does the printer need warming up before each printing?
A: There needs to warm up when feed and retract operation, In the normal printing, you only need
to choose the model and wait about 1 minute, then printer will start work.

Q11: Can the model continue printing if electricity is cut off?
A: If there is no electricity in the process of printing, the models cannot continue printing.
Q12: Can pause printing in the process of printing?
A: Yes, shortly press the printing button, it will pause. Then shortly press again, it will continue
printing.
Q13: How to stop printing?
A: Please press the printing button for 3 seconds then release, then it will stop printing (precaution:
cannot continue printing after stop).
Q14: Filament will run out soon in the process of printing, What should to do?
A: Please pause the printing, then slide the switch to retract gear, use hand to pull up the filament.
Precaution: please do this before all the filament goes into the feeding hole or there will be no
filament hand can pull up).Then put new filament into the hole and use another hand to slide the
switch to feed gear, wait about 10 seconds till the filament come down. Then slide switch to the
middle gear and press printing button shortly to resume printing. Please pay special attention
that ,after feeding 10 seconds, timely slide switch to the middle gear in avoid that the filament
pimple appear in the model.
Q15: When print the first layer there is no filament on the bed, why?
A: Please check if the distance between nozzle and bed is to close leads no space for filament to
come out.
Q16: What’s the meaning of light in the printing button?
A: The printer has only 1 light color, that is Green.
(1), When the switch is slide to feed or retract gear, it will flash at very FAST rate.
(2), When it is in normal printing, it will flash at STEADY rate (flash every 3 seconds).
(3), When pause printing, the light will become normal light without flashing.
Q17: Can the machine print online?
A: Yes, it needs to use third party slicing software CURA. Please refer to the above step of point 5.0
Online printing(For experts)
Q18: How can I adjust the machine to Zero?

A: First, create a new “text document” on the desktop, change the file name to GOHOME and the
extension name to .gcode , Select the file, click right mouse, and select to open with notepad. Enter
the following characters:
G28 X0 Y0;
G28 Z0;
Save and exit. Copy this file to the SD card, press the print button, the printer’s X Y Z axis begins to
zero.
THANK YOU FOR USING E3D NANO
www.easythreed.com
Other manuals for NANO
1
Table of contents
Other EasyThreed 3D Printer manuals

EasyThreed
EasyThreed NANO plus User manual

EasyThreed
EasyThreed X3 Manual

EasyThreed
EasyThreed X1 User manual

EasyThreed
EasyThreed X7 Mounting instructions

EasyThreed
EasyThreed WATERCUBE User manual

EasyThreed
EasyThreed X4 User manual

EasyThreed
EasyThreed Easythreed X5 Mounting instructions

EasyThreed
EasyThreed K7 User manual

EasyThreed
EasyThreed Mars User manual

EasyThreed
EasyThreed ELITE User manual