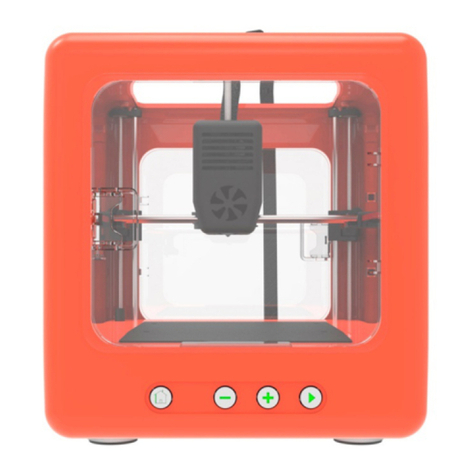
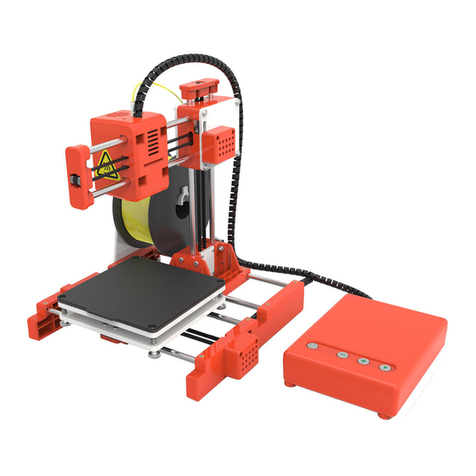
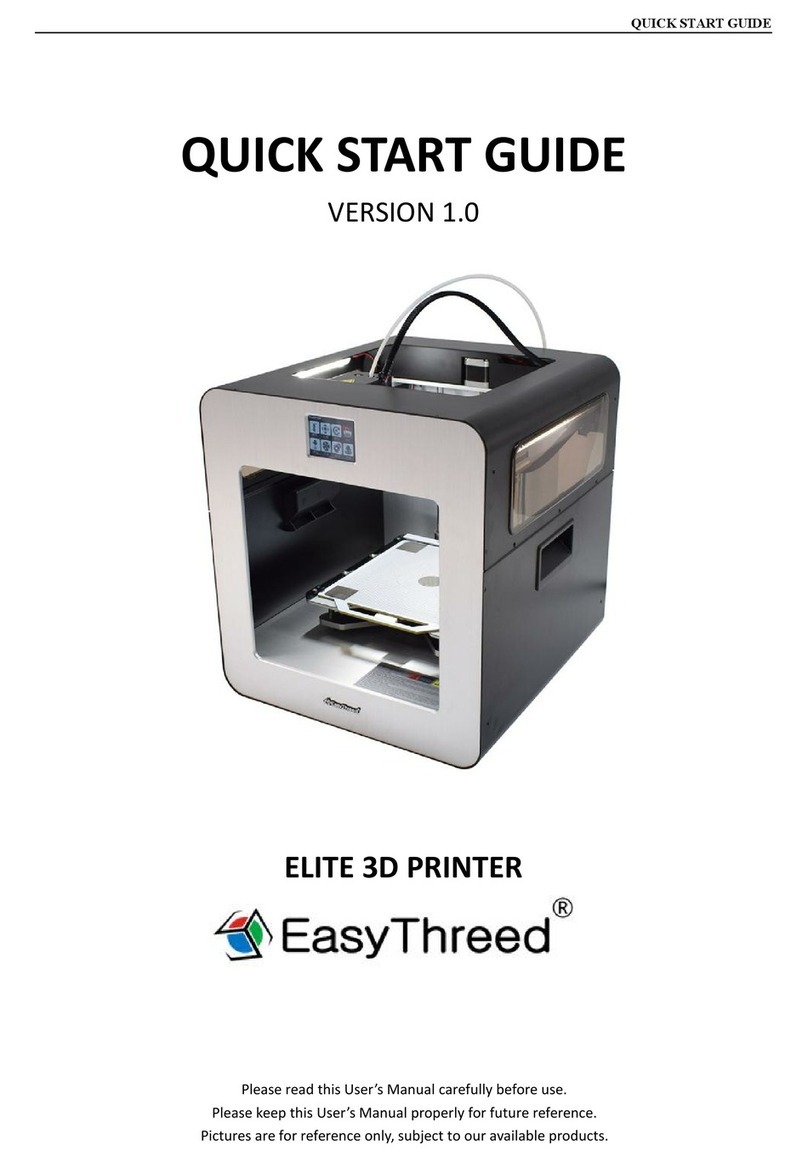
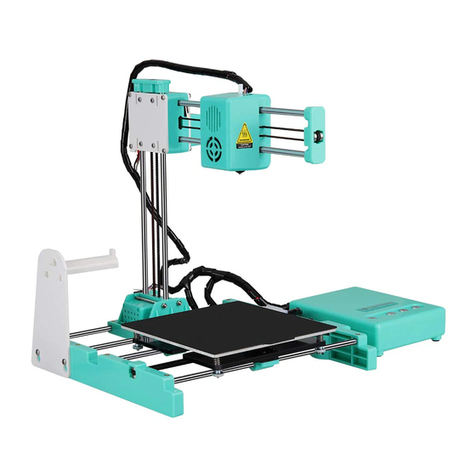
EasyThreed K7 User manual

K7 USER'S MANUAL
Operation video inside the TF card

1,Printer Specifications
1.1 Main Part

1.2 Basic Parameter
Print Basic Parameter
Operation Environment
Working Temperature:
5℃~35℃
Relative Humidity: 30%~
90%
Electrical Parameter
Power Input :100~240V
AC, 50/60Hz;
Power Output:12V
Maximum Power :30W
2, Un-Boxing and Install。
2.1 Take out The K1 Printer from it packaging box..Inside is an 3d printer and accessories box with manual,
10M filament, power adaptor, TF card, card reader, screw driver. Filament holder, screw.
Nozzle Diameter
0.4mm
Print material
PLA,TPU 1.75mm
Extrude
temperature
180-230℃
Recommend
Temperature
PLA:180℃
Print speed
10~40MM/S
Layer thickness
0.05~0.3mm
Building size
100X100X100mm
Machine size
175*235*270mm
Compatible
systems
Windows,Mac
Connection
TF card, USB
file input
STL
Slicer support
Easyware KS,CURA, S3D
File output
Gcode
N.W
1Kg

2.2 Install the Printer

3 , Power on
Insert power cable to power port,the light inside button is on。(Precaution: the USB port is
for firmware updated , If printing finished or no need to use for quite a long time, take off the power
cable ) Do not move the XYZ axis by hand when the power is on
4,Slicer software application (STL format 3D file need be sliced to gcode format
that printer can recognize).
(1).This 3d printer runs with it’s own developed slicing software named Easyware , it is in the TF card
included , please copy it to your computer(no need installation) ,you can also download Easyware
from official website, Slicer operation teach video inside TF card as well . Easyware slicer can
recognize STL format 3D file. (if you want better printing effect, you can learn to use CURA slicer,
we supply software and teach video inside TF card)
(2). STL format 3D file need be sliced to .gcode format, and save to TF card, and Insert TF card to
printer, then can print 3D file. (3D Printer will print the latest gcode file,gcode name can be only
English or letters, without special symbols)
Warm Notice: there is a initial test gcode file inside the TF card .
5,Print
(1 )Platform Leveling,The first time to use this printer, you need leveling
the platform
Please adjust the distance between the nozzle and the platform in
○
1
○
2
○
3
○
4
points, the distance should be just the thickness of a sheet of
paper, when you put a paper under the nozzle and pull the paper, There is a
feeling of friction when pulling the paper.(Please do this leveling with the
help of adults.)
a), Firstly put a piece of paper on the platform, the paper a little larger than the printing platform.
b) Press the leveling buttons 1, and the print head will automatically move to the
○
1
position of
the platform. The 1, 2, 3 and 4 on the leveling buttons will match the
○
1
,
○
2
,
○
3
and
○
4
on the
platform.

c) Adjust the screw nut at the bottom of the platform (as shown in the figure below ,loosen the nut,
the platform rises, tighten the nut, and the platform falls). Adjust the height of the platform
through the nut so that the gap between the nozzle and the platform is just one sheet of paper
thickness (about 0.1mm). When the paper is gently pulled, there is obvious friction
between the paper and the nozzle, the nozzle will not damage the paper.
Note: When adjusting the nut, do not press the platform with your hand to avoid affecting the
accuracy of leveling.
d) After the
○
1
point is adjusted, press the leveling buttons 2, and do the same steps above to
complete the leveling of the
○
2
position. After that, use the same method to continue to complete
the leveling of
○
3
○
4
points.
e) If there are still print problems, you can repeat the whole leveling work 1-2 times.
Leveling completed!
(2)Load Filament , feed
before feed, you need make sure there is at least 3cm
space between the nozzle and the platform(Press print
button hold for 3 seconds and release, the printer head
will raise 1cm each time),
●Straighten the front end of the filament about
2cm ,Insert filament into the insert tube until it can not

go further, and press the filament with a little force to keep it.
●Then use another hand to shift the gear (at the side
of printer control box base)to” FEED "gear(As shown
in the figure ), the light of the print button will
blinking.
●Blinking fast indicates that the nozzle is heating up.
When the temperature reaches, the light turns to
blinking slow, And the motor gear starts to turn and
roll the filament into the nozzle. The whole process
needs to be pressed by hand to ensure that the
filament can be caught and rolled in by the gear.
When the filament come out from the nozzle, it
means that the feeding is successful. The whole
feeding process takes about 1 minute, Please be
patient and wait.
●After feed succeed, you must shift the gear back to
the middle PRINT POSITION.
Feeding failure reason normally :
(1) The front end of the filament is not straight;
(2) Didn’t keep pressing the filament with a little force during the whole process.
(3)Print
Insert the TF card with gcode file (the direction of the TF card should be correct as shown in the
figure below), press the print button , and the light on the print button will start flashing after
the printer reads the gcode file, and the nozzle will start heating. Please wait patiently for
about one minute. When the temperature reaches, the printer will start printing. (Note: The
printer only prints the latest gcode. The gcode file name can only use English letters or numbers.)
There is a gcode test file in the TF card, which is directly printed for the first time.
Don't press the print button repeatedly!!!
(4)Pause/Restore
during printing, Click ,the button light stops flashing , then printing paused.
If need to continue print , Click to restore, the button light flashes again , the printer goes back
to print .

(5)Stop Print
If you want to stop print during printing , press button for 3 seconds then release , the
machine will stop printing, then printing cancelled.
(6)Unload Filament,Retract
If want to replace another roll of filament or the printer does not print for long time then needs to
retract the filament. First shift the gear to "RETRACT” position, the light of print button will blinking ,
nozzle start to heating up, And gently pull the filament up by hand, Please be patient and wait, The
whole process will take about one minute. When motor begins to work, You will feel that the
filament will feed some first and then retract, use hand keep pulling up the filament until it
completely out from the print head , (this action is also inside the operation video).
After RETRACT need shift the gear back to middle position.
.
After print ,remove the platform, and easy to take off the object.
High quality filament which is preferred to be used.
Various of filament are available on the market , and quality is much different too. poor quality
filament may cause broken or nozzle jam, Pls choose Easythreed high quality filament.
Safety Warning
Burning , keep your fingers away from the NOZZLE and BLACK INSULATOR when the printer is working
as temperature in this area reaches over 200 Celsius degree . Always be sure to keep your hands away from
moving parts when it is working .
6. Maintenance
6.1 Do not use the methods that is not mentioned in this manual to disassemble or modify this machine , to avoid
damage to this printer or may cause other serious accident .
6.2 When the power is off , regularly clean the machine with a piece of cloth to wipe off dust and residue , if the
cloth is wet , do not use inflammable liquid to contact the inner circuit to avoid fire or electronic shock .
6.3 When printing finished, clean the residue in nozzle and extrude , to avoid nozzle choke for next printing , it is
also basic maintenance.
6.4 Recommended temperature for working environment is 5℃-35℃, do not air the machine body with a fan
when the printer is working .
6.5 Recommended humidity for the working environment is 30%-90% .

7. FAQ
Q1: Why is the printing model not adhesive to the printing bed?
A1: The nozzle is too far away from the bed, the proper distance between the nozzle and bed is the thickness of a
piece of A4 paper .
Q2: Why the filament do not come out from the nozzle?
A1: Check the filament feeder.If it’s external gearfeeder, then to observe whether gear rotates or not. If it’s built-in
stepper motor feeder, then to observe if the motor is working with a little sound . Otherwise, check if filament
feeder is connected to it’s main board well.
A2, Check temperature.
Printing nozzle temperature of PLA material range s from 200-230℃.
A3, Check if the nozzle is blocked.
Heat the nozzle to 230℃for PLA ,push the filament gently , if there is still no filament come out , then need to
disassemble the nozzle, clean or replace it .
A4, Check if nozzle is too close to platform , if so, the filament can not come out ,so adjust the distance between
nozzle and platform with a piece of A4 paper .
Q3, The problem of print model misplaced
A1, The model did not slice properly, need to re-slice or change the model position to generate new Gcode file.
A2,The model file problem, if the model is still misplaced after re-slicing ,it’s the original file problem .
A3, the nozzle is forced to stop printing Path:
First, make sure you have not touched the nozzle when the machine is printing .
Second , if there is filament residue on the top layer, the residue area will become larger gradually, when it’s
accumulate to a certain amount and become stiffer enough, the nozzle will be forced to move abnormally.
A4, Power supply is not stable
Check if large power electrical equipment is working while the machine is printing ,dislocation happens when some
equipment turns off such as air conditioner , if so , you need to connect a voltage stabilizer to the printer power
supply. Otherwise, observe if the nozzle is blocked at a certain position, if so , the power supply on X,Y,Z axles are
not even, then need to adjust the X,Y, Z electric current on the main board.
A5 , If the above solution can not solve the misplace problem, the dislocation mostly happen at the same height for
various models , then need to change the mother board .
Q4 , Why the printing accuracy is quite different from the real model
A1, There is a lot of filament piled up on the model surface
A1.1, Nozzle temperature is too high, filament melt too fast and caused overflowing .
A1.2, The filament flow is too large, there is filament flow setting in slice software , change the default value
100% to be 80%.
A1.3, Filament diameter setting problem , it’s in slice software, the default settings are different , there are both
1.75mm and 3mm filament on the market, for 1.75mm, the diameter should be 1.75 , but for 3mm, the diameter
should be 2.85 or 2.95 .
A2 , Poor surface after removing the support for FDM technology.
A2.1, The support density should be as lower as possible, 10% is proper, it’s easy to remove.
A2.2, Trim the model with a grinding tool, rub gently with a towel and dip a little acetone, make sure to ware
gloves before hand, and do not wipe too long to caused the appearance effected or dimension changed .
A3 , The inappropriate distance between the platform and nozzle.
A3.1, The first layer is not formed, or the models are without edges or corners if distance is too large .
A3.2, The nozzle will scratch the platform and no filament come out of the nozzle if distance is too close, the
proper distance is the thickness of an A4 paper.
A4, The inappropriate printing filament
With the maturity of 3d printing , various of filaments are available on the market , but the compatibility for
filament and printers are particularly important.
www.easythreed.com
Table of contents
Other EasyThreed 3D Printer manuals

EasyThreed
EasyThreed Easythreed X5 Mounting instructions

EasyThreed
EasyThreed NANO User manual

EasyThreed
EasyThreed NANO plus User manual

EasyThreed
EasyThreed X1 User manual

EasyThreed
EasyThreed X3 User manual

EasyThreed
EasyThreed X4 User manual

EasyThreed
EasyThreed ELITE User manual

EasyThreed
EasyThreed X7 Mounting instructions

EasyThreed
EasyThreed Mars User manual

EasyThreed
EasyThreed X3 Manual
Popular 3D Printer manuals by other brands

Monoprice
Monoprice MP Mini Delta V2 quick start guide

TUKKARI
TUKKARI TS Acrylic DIY Kit Assembly instructions

Axis Technology
Axis Technology PackshotCreator 3D user guide

MakerBot
MakerBot Replicator Mini Compact Getting started

Eryone
Eryone Thinker S user manual

Octave
Octave 8 Instructions for installing