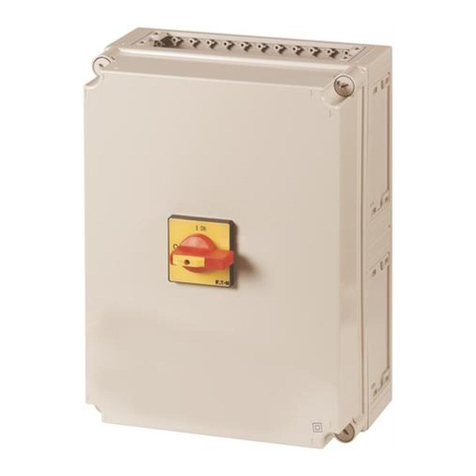
NEMA Type 7/9 Disconnect Switch
Installation & Maintenance Information
SAVE THESE INSTRUCTIONS FOR FUTURE REFERENCE
IF 1772
APPLICATION
Eaton’s NEMA Type 7/9 Disconnect Switches are suited for Class I, Divisions
1 & 2, Groups B, C, D; Class II, Division 1, Groups E, F, G; Class II, Division 2,
Groups F, G; Class III; and Class I, Zones 1 & 2, Groups IIB + H2, as dened by
the National Electrical Code®as well as in damp, wet or corrosive locations.
Additionally, this series is suitable for NEMA 3, 4, 4X applications. Eaton’s
NEMA Type 7/9 Disconnect should be installed, inspected, maintained and
operated by qualied and competent personnel only.
INSTALLATION
1. Select a mounting location that will provide suitable strength and rigidity
for supporting the Eaton’s NEMA Type 7/9 Disconnect Switch. Weights
and dimensions are listed below.
Figure 1
2. Securely fasten enclosure to the mounting location, and then attach
enclosure into conduit system. Install approved conduit or cable sealing
ttings in all conduit entries within 18 inches (46cm) of enclosure per the
National Electrical Code requirements.
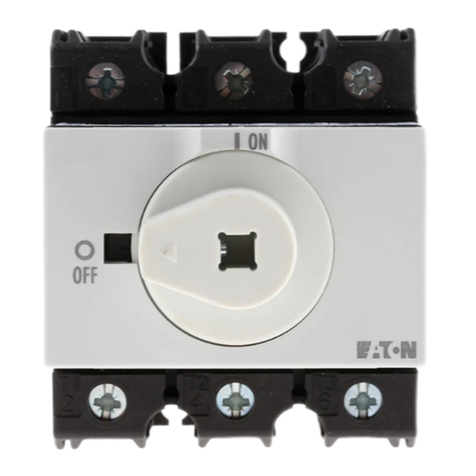
3. For Eaton’s NEMA Type 7/9 Disconnect Switch enclosures furnished
with disconnect switch, please view Step 4. For Eaton’s NEMA Type 7/9
Disconnect Switch enclosures furnished without disconnect switch, select
appropriate disconnect switch from Table 2 below (ordered separately).
a. Using hardware provided, securely mount disconnect switch on
mounting plate with “Line” terminals on top and “Load” terminals on
bottom. Use existing holes in mounting plate; please refer to mounting
plate drawing below. Be sure to tighten screws to 3 ft.-lbs. (0.4 Kg.-m.).
Mounting Plate Drawing
Figure 2
b. The rating for each disconnect can be observed in Table 3.
4. Ensure the operator is in the OFF position and then remove the cover
bolts while securing cover. Carefully open the cover fully to prevent
damage to the machined joint ame path and cover gasket.
5. Pull wires into enclosure, making sure they are long enough to make
the required electrical connections. Install the proper wire clamps or
other approved devices to hold the wires securely in place. Install the
ground, line and load wires. Tighten the wire binding screws to torque
values shown on Table 4.
Note:
a. The internal grounding terminal shall be used as equipment
grounding means. The external terminal is only a supplemental bonding
connection.
IF 1772 • 11/15 Copyright©2015, Eaton’s Crouse-Hinds Division Page 1
To avoid risk of electrical shock, electrical power must be OFF before
and during product installation and maintenance. Failure to comply can
result in damage to equipment, injury or death to personnel.
WARNING
Table 1
Series
A B C D E F Weight
in mm in mm in mm in mm in mm in mm Ib Kg
DS361UX 9.74 247 5.00 127 10.47 266 11. 1 3 283 12.47 317 3.50 89 33 15
DS362UX 9.90 251 7. 0 0 178 12.53 318 15.13 384 16.53 420 3.50 89 51 23
DS363UX 10.28 261 9.00 229 14.67 373 1 7. 1 3 435 18.67 4 74 3.50 89 72 33
DS361FX 10.02 255 7. 0 0 178 12.67 322 13.13 333 14.67 373 3.50 89 47 21
DS362FX 9.90 251 7. 0 0 178 12.53 318 15.13 384 16.53 420 3.50 89 51 23
DS363FX 10.40 264 15.00 380 17.31 440 11.50 292 23.31 592 3.50 89 108 49
Table 2
Series Amperage Switch Type Manufacturer Mfr.’s Part #
DS361UX 30A
Non-fusible
EATON DS16U
DS362UX 60A EATON DS26U
DS363UX 100A EATON DS36U
DS361FX 30A
Fusible
EATON DS161R
DS362FX 60A EATON DS262R
DS363FX 100A EATON DS363R
Table 3 Fusible and Non-fusible Switches, 3-pole 600 VAC Max., 250VDC Max.
Maximum Horsepower Rating
Mfr.’s
Part #
Ampere
Rating
Fuse
Type 480 VAC 600 VAC 250 VDC Voltage
DS16U 30
N/A
15 20 5
600 VAC,
125/250
VDC
DS26U 60 30 50 10
DS36U 100 60 75 20
DS161R 30
Class J
15 20 5
DS262R 60 30 50 10
DS363R 100 60 75 20
CAUTION
To avoid risk of explosion, hazardous location information specifying
Class and Group listing of each device is marked on the nameplate of
each enclosure. Class and Group list for and device penetrating the
enclosure must be suitable for the classification of location in which the
enclosure is installed. Conduit sealing fittings MUST be installed in each
attached conduit run within 18 inches of the enclosure per the National
Electrical Code.
CAUTION
To avoid the risk of explosion, hammers or prying tools must
not be allowed to damage the flat machined joint surfaces or cover
gasket. Do not handle covers roughly or place them on surfaces that
might damage or scratch the flat machined joint surfaces.
To avoid the risk of explosion, do not use cover bolts as a means to
lift the enclosure. Excessive force on the partially retracted cover bolts
may damage the bolt. Use appropriate lifting method for safety.
CAUTION
ONLY DS363FX


