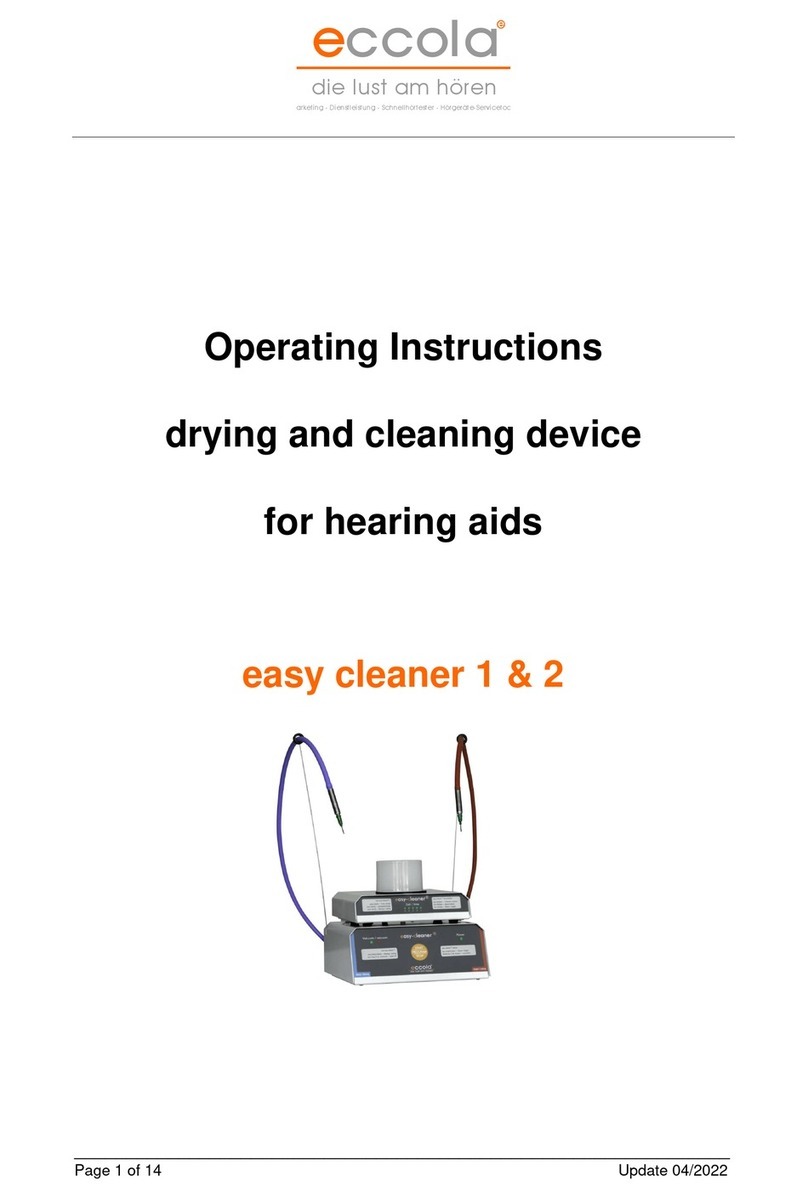
eccola e-cleaner User manual

_______________________________________________________________
Page 1 of 12 Status 04/2022
Operating Instructions
for Drying and Cleaning Device
for hearing aids with UV-C desinfection
e–cleaner
e–cleaner(optionally with suction needle holder)

_______________________________________________________________
Page 2 of 12 Status 04/2022
PACKING LIST
Packing List e-cleaner:
1 x e-cleaner
1 x Power supply
1 x Suction needles set in storing box
1 x Red hose with handpiece
1 x Replacement paper filters
1 x Drying cup
1 x Dry Cap UV3
1 x Rubber pad (self-adhesive) for Dry Cap UV3
1 x ecco clean cleaning liquid
1 x Operating instructions incl. safety data sheet
Congratulations
On your purchase of the e-cleaner. Have much success and pleasure when
working with the e-cleaner. We have prepared the operating instructions in
order to familiarize yourself with your new product and to give you the
necesssary information for operation and maintenance.

_______________________________________________________________
Page 3 of 12 Status 04/2022
Table of Contents
Packing List ...................................................................................................... 2
Table of Contents ............................................................................................. 3
1. Uses ........................................................................................................... 4
2.Technical Details ....................................................................................... 4
3.Delivery/Transportations Regulations/Installation Instructions ........... 4
4.Commissioning / e-cleaner ....................................................................... 5
5.Cleaning of receiver and microphone of hearing aids ........................... 6
6.Short term hygiene program wiht Dry Cap UV3/UV-C ............................ 6
7.Drying of hearing aids .............................................................................. 7
8.Care and cleaning of e - cleaner .............................................................. 7
9.Service intervals ........................................................................................ 9
10.Maintenance .............................................................................................. 9
11.General Information ................................................................................ 10
12.Accessories/ Spare Parts ....................................................................... 10
Blue hose with connecting nozzle for blowing function ............................. 10
13.EG-Declaration of Conformity ................................................................ 11
14.Warranty ................................................................................................... 11
15.Contact ..................................................................................................... 11
16.Safety data sheet ecco clean cleaning liquid ...................................... 12

_______________________________________________________________
Page 4 of 12 Status 04/2022
1. Uses
The device is exclusively provided for drying receivers and microphones
of hearing aids.
2. Technical Details
Voltage plug in power supply unit: Input:110V-240V-60/50Hz 0,25 A
Output: 12 DC – 1000mA 12 VA
Max. power consumption 1,5 A
Type of protection: IP 22 as per DIN EN 60529
Overall Dimension LxWxH: 260x200x200mm inkl. drying cup and Dry Cap
UV3
Total weight: about 2.8 kgs
Back: Dual USB port (max. 1 A)
3. Delivery/ Transportation Regulations/ Installation Instructions
The e-cleaner is delivered with power supply unit 12 V DC and input
voltage of 110 V-240 V-60/50 Hz 0,25 A, output 12 V DC-1000mA 12
VA- The ambient temperature must be at -5°C up to + 40° C. e-cleaner
shall only be used indoors and installed electric parts be protected from
direct moisture. Please make sure that the e-cleaner stands in a well
ventilated place.
Contents e-cleaner:
Red hose incl. handpiece, drying cup, suction needles in box, ecco clean
cleaning liquid,(attention: for first use please cut tip of needle) 1
replacement paper filter, power supply unit, Dry Cap UV3 with rubber
pad(self-adhesive) and operating instructions incl. safety data sheet
(eeco clean).

_______________________________________________________________
Page 5 of 12 Status 04/2022
4. Commissioning / e-cleaner
Plug in cable of power supply unit on the back of e-cleaner and the
power supply into socket . Once done so the orange light emitting diode
(power) on the front panel of the device lights up.
The storing box with suction needles (attachments) is provided with a
double sided adhesive tape at the bottom of the device and can be fixed
at the device as needed. Or you can use the needle holder(to be ordered
in the eccola shop, available as accessory) which can then be placed on
the device and where the suction needles can be inserted.
Put the drying cup onto the round rubber pad. The delivered rubber pad
(Dry Cap UV3) should be glued onto the place provided for this purpose.
(see photo). Place the Dry Cap 3 on the rubber pad
Photo rubber pad Dry Cap UV3 with suction needles and holder (optionally)
and insert the USB cable on the back into the USB port of the e-cleaner
and into the Dry Cap UV3. USB port can be used for other devices (max.
1 A).
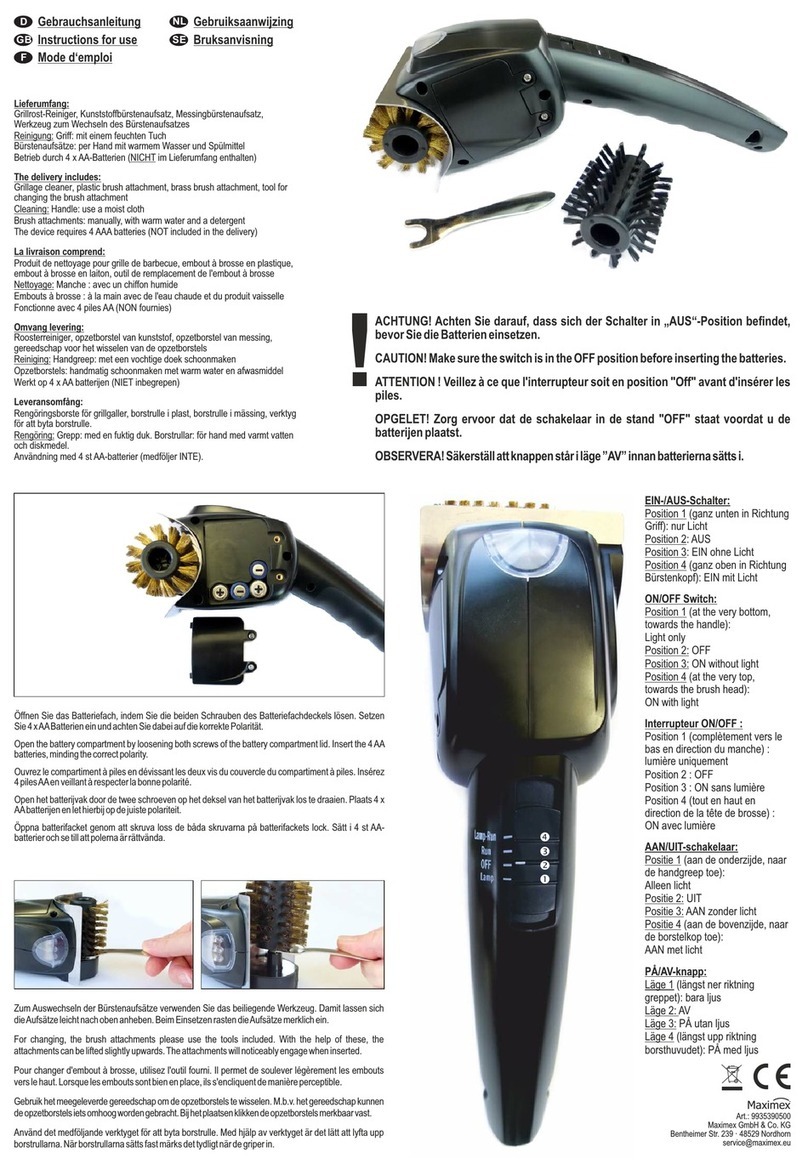
By means of the 2 orange buttons right and left on the front panel, the
functions can be chosen accordingly. By means of the right button you
can switch on sucking. An LED function display (vacuum) lights up green
as long as this function is chosen. By longer pressing the orange
button(>2 sec.) you switch off the device. By means oft he left button you
start drying for 5 minutes and LED function display (drying) lights green
(a segment display counts down the minutes) During the last 30 seconds
the 1 minute display is flashing. By pressing the button again permanent
drying (15 min.) is switched on . The segment display is circling outside.
To stop the function please press the right orange button for at least 2
sec.

_______________________________________________________________
Page 6 of 12 Status 04/2022
5. Cleaning of receiver and microphone of hearing aids
We recommend to remove filter systems, earhooks before starting
cleaning and drying and to open the battery flap . Use the red hose for
sucking. Select the appropriate attachments from among the suction
needles provided , preferably corresponding with the diameter oft he
microphone, resp. receiver opening and insert this attachent into the
handpiece oft he red vacuum hose. You will find the suction needles
(attachments) in the storing box.
Switch on the device – press the right orange button sucking – function
sucking starts.
The green LED (vacuum) lights up and vacuum of -0,8 bar is produced.
Slowly move the cleaning attachment 5 -6 times to and fro and suck out
openings. In case of extreme soiling it might be helpful to sprinkle the
reciever with ecco cleaning liquid (1 bottle included in the delivery and
can be reordered) Leave it to take effect for some time and clean the
reciver again with the red vacuum hose.
If you press the right orange button STOP for longer than 2 seconds the
device is switched off in case the device is not switched off by means of
the button, it will be switched off automatically after 15 minutes. The
green LED turns off.
Attention:
If the red LED lights up permanently and the green LED is off, no optimal
vacuum will be created. This may have different causes. Ear wax filter is
full of extracted ear wax , ear wax is in the red hose or in the suction
needle. The parts have to be cleaned.
6. Short term hygiene program with Dry Cap UV 3/UV-C
Before drying the hearing aids, they have to be placed under the Dry
Cap UV3, then turn on (right button ) cleaning mode(2 minutes duration).
The optimized UV-C light is started eliminating 99,9% of germs, bacteria
and fungi in hearing aids and ear moulds , and present in the household.
The procedure can be repeated after drying if necessary.

_______________________________________________________________
Page 7 of 12 Status 04/2022
7. Drying of hearing aids
Place the hearing aid (max. 2 hearing aids) on the round rubber pad and
put the drying cup over it.Before doing so it is recommended to remove
the hearing aid ear hooks and /or filter systems and to open the battery
flap. The hearing system should not be placed directly above the vacuum
opening (small opening in the middle) in ordert to create an optimal
vacuum (-0,8 bar).
TIP Please press the drying cup firmly onto the rubber pad for a moment,
to ensre a faster pressure build-up.
By pressing the left orange button drying , the five minutes drying display
mode is activated. The segment display shows 5 minutes and counts
them down. Fort he last 30seconds the 1 minute display starts blinking.
The device is then automatically switchd off . Another pressing of the
button drying means 15 minutes long term drying. After that the device
switches off automatically.Five minutes drying starts again as soon as
the left button drying is pressed again. To switch off the device the button
STOP must be pressed for at least 2 seconds.
8. Care and cleaning e - cleaner
We recommend to clean the filter of the vacuum pump every day (but at
least once a week). It is located at the back of the device . In case of
non-observance the device may be damaged. Remove the filter housing
from the holder for cleaning, unplug transparent hoses right and left, turn
the cover oft he housing on the right side by 30 degrees counter
clockwise. (Before doing so slide unlocker to the left).
The moving part of the filter housing must be on the right side in order to
collect the ear wax inside the filter. Remove cover (before doing so slide
unlocker to the left ) Turn housing and empty the filter over a paper
tissue. The filter must not come into contact with moisture. Remove filter
from the housing. Ear wax is settled inside the filter. We recommend to
replace the filter of the vacuum pump every 6 months against a new
one.Replacement filter is included. Further filters available in the eccola
shop under accessories.

_______________________________________________________________
Page 8 of 12 Status 04/2022
For assembling put the ear wax filter into the housing. put on cover and
close it clockwise by 30 degrees (slide unlocker to the right). The part
with the moveable cover must again be on the right side when installing
the cover. The filter is placed correctly when the arrow on the filter
housing is pointing in the same direction(to the left) as the arrow on the
housing.
Then attach the transparent hoses
on the right and left side.Make sure
that the filter is tightened correctly
when inserting it. This can be
checked by switching on the device
and closing the red hose with your
finger. The LED should then change from green to red (vacuum). In case
the LED remains green the filter has either not been placed correctly,
the cover has been put on incorrectly or the hoses have not been
inserted correctly. Please repeat the whole process. From time to time it
may happen that the cleaning attachments are dirty. This can be seen
when the red LED (vacuum) lights up permanently instead oft he green
one. The attachments can also be cleaned by means of a needle – or we
recommend to clean the attachments in an ultrasonic bath and to check if
the hoses are correctly tightend on the back oft he device.In case
sucking function is still not working you should check the filter. It might be
dirty or filled with ear wax. Then please clean the filter.
Please clean the hose with the metal piece on the hose tip regularly
(once a week) – you can remove it and clean it in the ultrasonic bath,
leave it to dry overnight and reattach it.
The metal handpiece can also be cleaned separately by detaching the
metal handpiece on the hose tip by a rotary movement, then clean it and
reattach it on the hose by a rotary movement.

_______________________________________________________________
Page 9 of 12 Status 04/2022
9. Service Intervals
a. Filter should be replaced at least after 125 h (about 6 months of
normal operation) and the filter housing be cleaned . Otherwise you will
risk that the pump is not working optimally or even is damaged.
The moment of the filter change is displayed on the device, by a flashing
„F“. Whenever selecting sucking the flashing „F“ will appear without the
device being started. By a new start of sucking the „F“ will disappear, the
device starts and sucking works normally.
By pressing the right button for at least 10 seconds, the „F“ display will
be reset to 125 hours. An „8“ will appear for a moment and the system is
working for 125 hours without the display“F“. However this should only
be done if the filter has really been replaced.
The display only serves not to forget to replace the filter. Responsibilty
for replacing the filter after this interval is on the user’s side.
b. After 750 h( about 3 years), the complete e-cleaner should be sent to
us for a complete service (function control, visual inspection, function
hose system, vacuum pump, filter system , attachments, final
acceptance). A flashing „S“ is shown on the device. We will then gladly
prepare an individual offer for you.
When ever you wish to dry or suck „S“ will flash on the display . The e-
cleaner will work as normal by a new pressing of the button sucking and
drying. The „S“ appears again before every use oft the e-cleaner.
The function can not be stopped by the user. This function will only be
reset when sending the e-cleaner for service. If this would be impossible
for the user, you will have to call ther service hotline 00497162948996 or
send an e-mail to [email protected]. We will then decide on further actions.
10. Maintenance
The device is practically maintenance free. We recommend an annual
review by a qualified electrician as per VDE 0701-1 and regular
cleaning.

_______________________________________________________________
Page 10 of 12 Status 04/2022
11. General Information
The special characteristics of cleaning are achhieved by a control
technologiy particularly developed for these functions. No function of
power LED (orange) on the front side oft he device –> check mains
connection and power supply unit.
In case the device does no longer perform these functions, we kindly ask
you to send us the e-cleaner to be checked.
12. Accessories/Spare Parts
You will find accessories and spare parts in our online shop:
www.eccola.de, such as suction needle set, suction needle holders, red
spare hose with handpiece, replacement filters and ecco clean cleaning
solution as well as blue blowing hose (art. No. 150411) with connecting
nozzle for „blowing“ function.
Blue hose with connecting nozzle for blowing function:
If you have purchased the blue hose wih connecting nozzle and
handpiece you can easily connect it. Unscrew the silencer and press on
the nozzle of the hose handtight. Press the right orange button sucking-
function sucking and blowing starts.

_______________________________________________________________
Page 11 of 12 Status 04/2022
die lust am hören
Marketing - Dienstleistung - Schnellhörtester - Hörgeräte-Servicetools
eccol
a
13. EG-Declaration of Conformity
Designation of product: hearing aids drying and cleaning device.
Machine type: e-cleaner. The machine placed on the market by us
complies in concept with the requirements of the following directives:
EMC-directive 2014/65/EC
EN 55014-2:2016-01
EN 61000-6-1:2007-10
In the event of unautorized changes, improper repairs or modifications,
this declaration loses its validity, unless explicitly authorized by the
manufacturer.
14. Warranty
You will have a 2-year warranty for all components(excepted wanton
destruction, wearing parts, non-observance of operating instructions).
The warranty expires in case the device is opened by unauthorized
persons.
15. Contact
Contact:
eccola GmbH - Im Alber 8 - D-73084 Salach
Phone: +49 7162 - 94 899 6 - Fax: +49 7162 – 94 899 7

_______________________________________________________________
Page 12 of 12 Status 04/2022
16. Sicherheitsdatenblatt ecco clean Reinigungslösung
Table of contents
Other eccola Ultrasonic Jewelry Cleaner manuals
