manuals.online logo
Brands
  1. Home
  2. •
  3. Brands
  4. •
  5. Echo
  6. •
  7. Spreader
  8. •
  9. Echo shindaiwa RS850W User manual

Echo shindaiwa RS850W User manual

Other Echo Spreader manuals

Echo RB-100S User manual

Echo

Echo RB-100S User manual

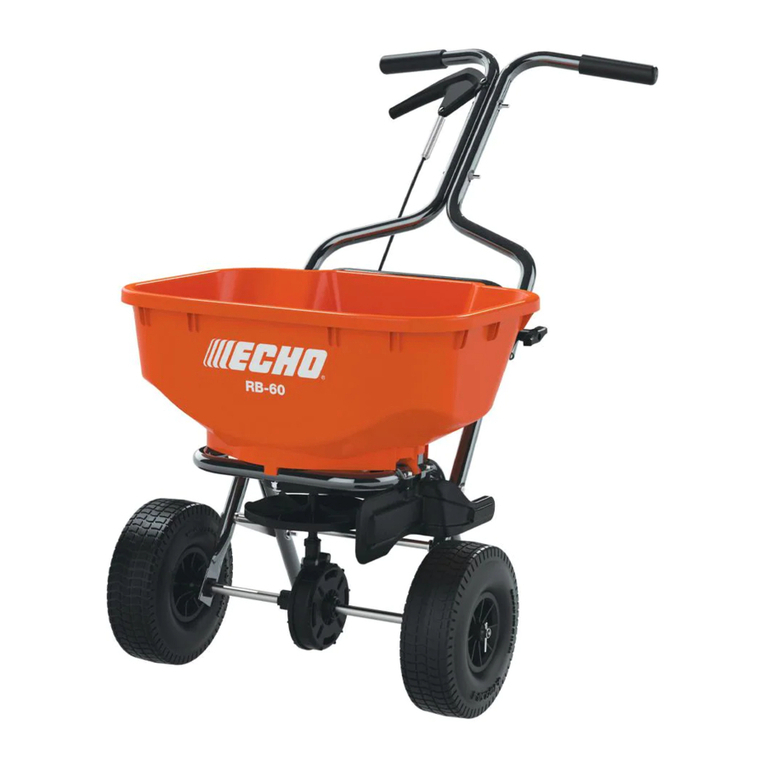
Echo RB-60 User manual

Echo

Echo RB-60 User manual

Echo RB-85W User manual

Echo

Echo RB-85W User manual

Echo RB-80 User manual

Echo

Echo RB-80 User manual

Echo RB-60 User manual

Echo

Echo RB-60 User manual

Echo RB-85 User manual

Echo

Echo RB-85 User manual

Echo RB-60 User manual

Echo

Echo RB-60 User manual

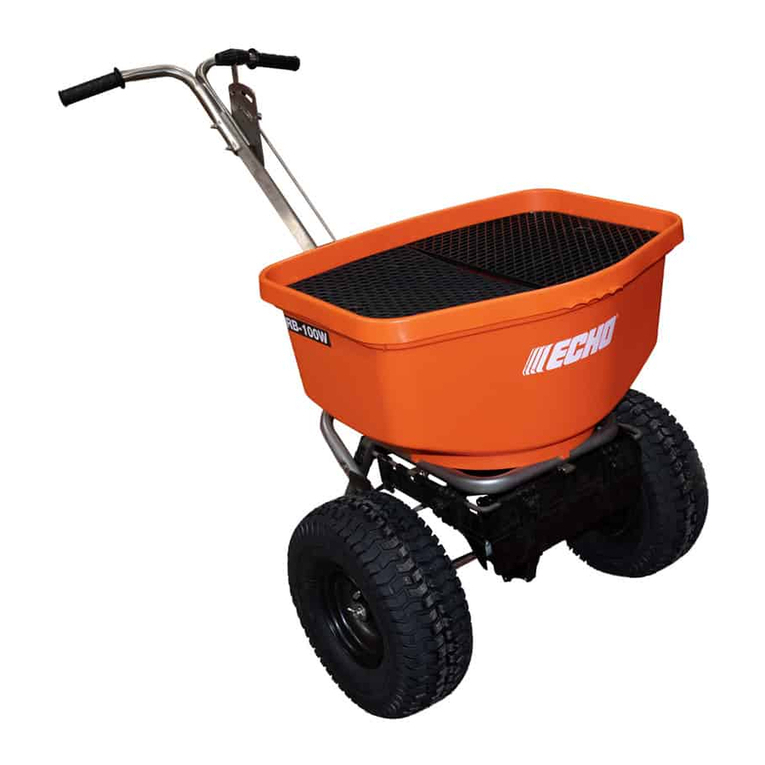
Echo RB-100W User manual

Echo

Echo RB-100W User manual

Popular Spreader manuals by other brands

Sami ST-1000 PTO user manual

Sami

Sami ST-1000 PTO user manual

PEQUEA GT-100 Operator's manual

PEQUEA

PEQUEA GT-100 Operator's manual

Epoke SKE8 instruction manual

Epoke

Epoke SKE8 instruction manual

GEA EL44 Instruction manual and installation instructions

GEA

GEA EL44 Instruction manual and installation instructions

Boss Snowplow TGS 800 owner's manual

Boss Snowplow

Boss Snowplow TGS 800 owner's manual

Fisher EMERSON 168 Series installation guide

Fisher

Fisher EMERSON 168 Series installation guide

Fisher POLY-CASTER 78601 owner's manual

Fisher

Fisher POLY-CASTER 78601 owner's manual

Fayat Group DYNAPAC S100 operation & maintenance

Fayat Group

Fayat Group DYNAPAC S100 operation & maintenance

Art's-Way Manufacturing X700 Operator's manual & parts list

Art's-Way Manufacturing

Art's-Way Manufacturing X700 Operator's manual & parts list

Ferris Pathfinder Series Operator's manual

Ferris

Ferris Pathfinder Series Operator's manual

Herculano H2RS9 instruction manual

Herculano

Herculano H2RS9 instruction manual

TurfEx RS7200 Owner's/operator's manual

TurfEx

TurfEx RS7200 Owner's/operator's manual

Nogueira RoyalFlow-600 instruction manual

Nogueira

Nogueira RoyalFlow-600 instruction manual

APV ES 100 M1 Classic Original operating instructions

APV

APV ES 100 M1 Classic Original operating instructions

BEFCO TURBO-HOP 301-300 Operator's manual

BEFCO

BEFCO TURBO-HOP 301-300 Operator's manual

H&S 5220 Operation manual

H&S

H&S 5220 Operation manual

Turfware TR460 Operation manual

Turfware

Turfware TR460 Operation manual

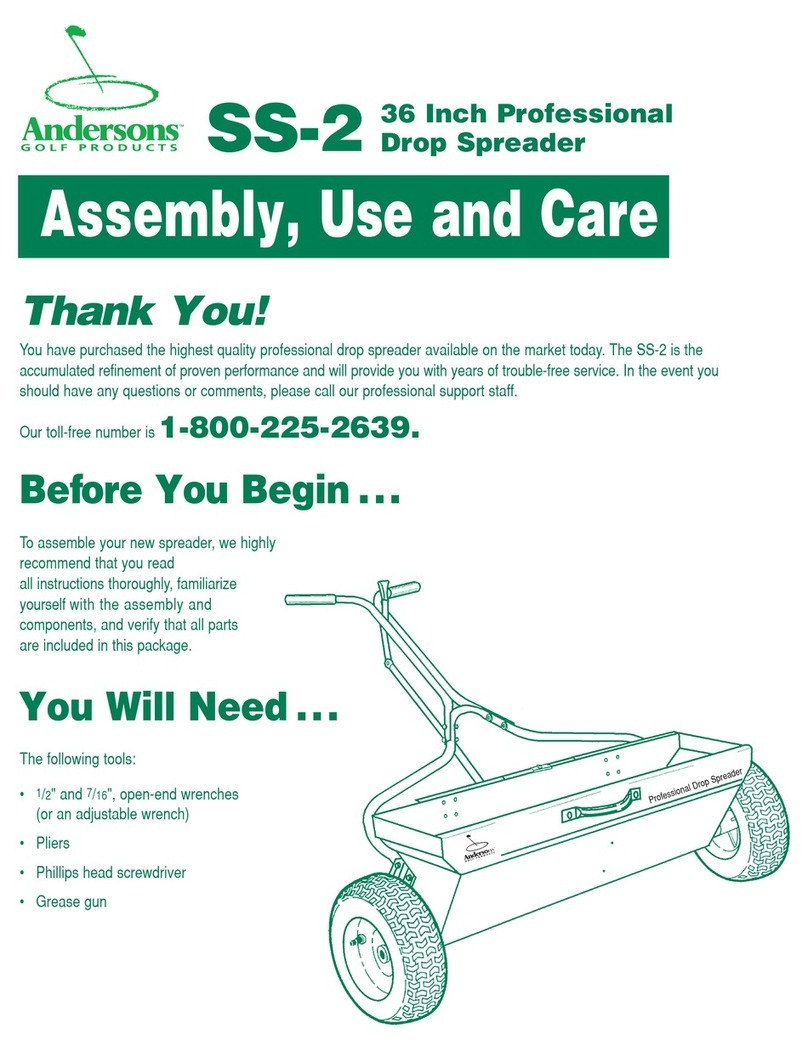
Anderson Manufacturing SS-2 Assembly & user manual

Anderson Manufacturing

Anderson Manufacturing SS-2 Assembly & user manual

manuals.online logo
manuals.online logoBrands
  • About & Mission
  • Contact us
  • Privacy Policy
  • Terms and Conditions

Copyright 2025 Manuals.Online. All Rights Reserved.

X7507840600
© 3/22 ECHO Incorporated
Operator’s
Manual
RS850W
Broadcast
Spreader
INTRODUCTION RS850W
2 X7507840600
© 3/22 ECHO Incorporated
INTRODUCTION
Specifications, descriptions, and illustrative material in this literature are as
accurate as possible. Specifications are subject to change without notice.
Illustrations might include optional equipment and accessories, and might
not include all standard equipment. Your equipment might appear slightly
different than pictured equipment.
Read and understand all provided literature.
Literature contains specifications and
information for safety, operation,
maintenance, storage, and assembly
specific to this product. Scan QR codes for
more information.
For additional literature, including safety manuals where applicable, or
questions regarding terms used in this manual, visit:
https://www.echo-usa.com/manuals
OR
https://www.shindaiwa-usa.com/manuals
RS850W SERVICING INFORMATION
X7507840600 3
© 3/22 ECHO Incorporated
SERVICING INFORMATION
Parts and Serial Number
Genuine Shindaiwa Parts and
Assemblies for your Shindaiwa
products are available only from an
Authorized Shindaiwa Dealer. When
you do need to buy parts always
have the Model Number and Serial
Number of the unit with you. For
future reference, write them in the
space provided below.
Model No. _____________________ Serial No. _____________________
Service
Service of this product during the warranty period must be performed by an
Authorized Shindaiwa Service Dealer. For the name and address of the
Authorized Shindaiwa Service Dealer nearest you, ask your retailer or call:
1-877-986-7783. Dealer information is also available on www.shindaiwa-
usa.com. When presenting your unit for Warranty service/repairs, proof of
purchase is required.
Consumer Product Support
If you require assistance or have questions concerning the application,
operation or maintenance of this product you may call the Shindaiwa
Consumer Product Support Department at 1-877-986-7783 from 8:00 am to
5:00 pm (Central Standard Time) Monday through Friday. Before calling,
please know the model and serial number of your unit.
Product Registration
To ensure trouble free warranty coverage it is important that you register
your Shindaiwa equipment on-line at www.shindaiwa-usa.com or by filling
out the product registration sheet included in this manual. Registering your
product confirms your warranty coverage and provides a direct link between
you and ECHO if we find it necessary to contact you.
Additional Literature
In addition to finding information online, information is available from your
Authorized Shindaiwa Service Dealer, or by contacting ECHO Incorporated,
400 Oakwood Road, Lake Zurich, IL 60047, 1-800-432-ECHO (3246).
SAFETY RS850W
4 X7507840600
© 3/22 ECHO Incorporated
SAFETY
Safety Information
Carefully read these instructions before use. Improper use or
failure to follow instructions can result in product failure or
injuries. For safe use of this product you must read and follow
all instructions before using.
Cancer and Reproductive Harm
www.P65Warnings.ca.gov
◆Do not allow anyone to operate the broadcast spreader
without proper instructions.
◆Do not permit children to operate the broadcast spreader.
◆Wear all personal protective equipment recommended by
chemical manufacturer.
◆Read and follow the chemical label instructions and
warnings for handling and applying the chemicals you plan
to spread – application settings provided are only a
guideline.
RS850W DESCRIPTION
X7507840600 5
© 3/22 ECHO Incorporated
DESCRIPTION
1 Handles
2 Hopper
3 Wheels
4 Adjustable Deflectors
5 Gate Control Rod
6 Gate Control Lever
7 Gate Adjustment Limiter
4
5
3
1
2
4
6
7
CONTENTS RS850W
6 X7507840600
© 3/22 ECHO Incorporated
CONTENTS
The product you purchased has been partially factory pre-assembled for
your convenience. Due to packaging restrictions, some assembly may be
necessary.
After opening the carton, check for damage. Immediately notify your retailer
or Dealer of damaged or missing parts. Use the contents list to check for
missing parts.
1 Hopper Assembly
2 Wheels
1 Upper Handle Assembly
1 Gate Control Rod
1 Control Rod Adapter
1Grate
1 Hopper Cover
1 6 mm Nut
1CotterPin
5 6 mm Flange Nuts
2 6 x 60 mm Bolts
1 6 x 50 mm Bolt
1 Metal Washer
1 Nylon Washer
1 Rear Deflector
1 Operator’s Manual
1 Warranty Statement
RS850W ASSEMBLY
X7507840600 7
© 3/22 ECHO Incorporated
ASSEMBLY
Install Wheels and Handle
1. Install left wheel and
secure with washer (A)
cotter pin (B).
2. Install right wheel and
secure with 6 x 50 mm
bolt (C) and 6 mm flange
nut (D).
A
B
C
D
ASSEMBLY RS850W
8 X7507840600
© 3/22 ECHO Incorporated
3. Install upper handle
assembly (E) into lower
handle bracket (F), and
secure with two 6 x 60 mm
bolts (G) and two 6 mm
flange nuts (H).
Install Gate Control Rod
1. Insert tab end of gate
control rod (C) into slotted
hole in gate control lever
(B). Turn rod clockwise
until it is parallel with
handle assembly.
E
H
G
F
C
B
RS850W ASSEMBLY
X7507840600 9
© 3/22 ECHO Incorporated
2. Thread 6mm nut (C) onto
end of gate control rod to
a distance of 25.4 mm (1
in) from bottom of rod.
Insert threaded end of rod
into hole in control rod
adapter (D). Then thread
6 mm flange nut (E) onto
gate control rod. Assure
nuts remain spaced as
shown.
3. Attach control rod adapter
to gate linkage (F). Secure
with 6 mm flange nut (G)
and nylon washer (H).
Tighten nut until snug,
then loosen nut 1/4 turn to
allow hinge movement.
1.0 in.
(25 mm)
C
D
E
C
F
G
H
ASSEMBLY RS850W
10 X7507840600
© 3/22 ECHO Incorporated
4. Push control rod adapter
(D) downward until gate is
fully closed.
5. Position gate control lever
fully forward, and tighten
control rod nut and flange
nut as shown.
D