manuals.online logo
Brands
  1. Home
  2. •
  3. Brands
  4. •
  5. eDecks
  6. •
  7. Outdoor Furnishing
  8. •
  9. eDecks Queen Anne User manual

eDecks Queen Anne User manual

Step 1 FRAME TO BE LAID ONTO
PAVING SLABS, OR ONTO
GRASS OR SOIL
Please make sure the frame fits the requirements for your chosen kit.
Don’t forget to check your work with a level as you go! Page 1 of 13
LAY YOUR FRAME
This may require
some cutting to fit your size
requirements
Lay out your decking frame in your chosen location on the ground
www.eDecks.co.uk
All images are for illustration only, Please see individual item listings for actual item specifications
Queen Anne Fitting Instructions
Using the decking joists provided in the kit build the perimiter first then evenly spread the remaining
decking joists inside as shown in the example above.
Use the joist screws provided in your fixing kit to secure the timbers as per method below.
METHOD FOR SCREWING JOISTS
JOISTS TOP VIEW
ANGLE SCREWCORNER FASTENING
X2 SCREWS X2 SCREWS
STRAIGHT FASTENING
JOISTJOISTJOIST
Step 2
Don’t forget to check your work with a level as you go! Page 2 of 13
RAISING THE FRAME
Lifting the frame into position
will require at least
2 - 3 peaople
Concrete can be bought
from us too!
A. Arrange the 600mm deck raisers in position
as shown in diagram A
B. Each strutt will need to be set 200mm down into a concrete base
leaving 400mm of each strutt exposed
C. Once raising strutts are securely set in concrete base lift the
assembled joist frame to be level with the strutts (400mm).
Using the screws provided fix the frame to the strutts.
www.eDecks.co.uk
All images are for illustration only, Please see individual item listings for actual item specifications
Queen Anne Fitting Instructions
FRONT
FRONT
FRONT
A.
B.
C.
400mm
200mm
200mm
400mm
FRONT
FRONT
Please make sure your
post notches line Up
Step 3
Don’t forget to check your work with a level as you go! Page 3 of 13
FITTING THE PERGOLA POSTS
& NEWELS
You are supplied with pergola posts
and newels. Accounting for the post
sitting flush with the bottom of the
base please select how high you
would like the pergola posts, please
cut accordingly .
Each Pergola Post needs securing in
each corner and depending on the
size of the kit posts may need fitting in
between.
Install posts and newels so your kit
begins to look like the below...
www.eDecks.co.uk
All images are for illustration only, Please see individual item listings for actual item specifications
Queen Anne Fitting Instructions
CARRIAGE
BOLT
PERGOLA
POST
CARRIAGE
BOLT
PERGOLA
POST
FRONT
Step 4
Don’t forget to check your work with a level as you go! Page 4 of 13
FITTING THE STRINGER STEPS
www.eDecks.co.uk
All images are for illustration only, Please see individual item listings for actual item specifications
Queen Anne Fitting Instructions
Your step stringers must be set at a
maximum of 600mm apart
Use the 50mm truss clips included
with your kit to attach the step
stringers to the decking frame
Screw into the front of your deck joist
FRONT
FRONT
Cutting will be
required around the
Posts
Step 5
Don’t forget to check your work with a level as you go! Page 5 of 13
INSTALL DECKING BOARDS
Decking boards should fit exactly to the
frame, working in the opposite direction
to the joist work, when laying the boards
make sure you leave a 5mm gap between
each board to allow room for expansion.
www.eDecks.co.uk
All images are for illustration only, Please see individual item listings for actual item specifications
Queen Anne Fitting Instructions
5mm gap
between each
board
2 screws
per board
per joist
FRONT
Run the boards for the steps in the opposite
direction to the boards for the deck, some cutting
down the length of these boards will be required to
work around the step and riser of the 4 stringers
installed in step 4.
Step 6
Don’t forget to check your work with a level as you go! Page 6 of 13
INSTALL DECKING BOARD STEPS
www.eDecks.co.uk
All images are for illustration only, Please see individual item listings for actual item specifications
Queen Anne Fitting Instructions
Cutting will be required for the fascia boards surrounding the steps.
FRONT
Step 7
Don’t forget to check your work with a level as you go! Page 7 of 13
INSTALL FASCIA BOARDS
www.eDecks.co.uk
All images are for illustration only, Please see individual item listings for actual item specifications
Queen Anne Fitting Instructions
FRONT
SecureSecure
Step 8
Don’t forget to check your work with a level as you go! Page 8 of 13
INSTALL SUPPORT RAFTERS
First secure the 3 supporting rafters to the posts.
www.eDecks.co.uk
All images are for illustration only, Please see individual item listings for actual item specifications
Queen Anne Fitting Instructions
FRONT
Step 9
Don’t forget to check your work with a level as you go! Page 9 of 13
INSTALL RAFTERS
Space the remainder of the rafters across
the top of the support rafters
www.eDecks.co.uk
Using the Pergola Clips
Provided with your kit
to secure
All images are for illustration only, Please see individual item listings for actual item specifications
Queen Anne Fitting Instructions
Attach the 6 supports as shown in the diagram below
Step 10
Don’t forget to check your work with a level as you go! Page 10 of 13
INSTALL DIAGONAL CROSS SUPPORTS
www.eDecks.co.uk
All images are for illustration only, Please see individual item listings for actual item specifications
Queen Anne Fitting Instructions
Step 11
Don’t forget to check your work with a level as you go! Page 11 of 13
INSTALL THE HANDRAILS
Pre-Building the spindles and handrails is the next step.
Accurately measure between pergola posts and cut the hand and base rails accordingly,
there should be a 125mm gap between each spindle
www.eDecks.co.uk
All images are for illustration only, Please see individual item listings for actual item specifications
Queen Anne Fitting Instructions
Then complete the handrail section
by fixing the upper part of the handrail
to the lower part of the handrail
Do this by screwing up through the
underside of the lower handrail into
the top part of the handrail
Screw into each spindle
from under the baserail
Screw through the lower
handrail into each spindle
Upper Handrail
Lower Handrail
Approx
125mm Gap
Once your handrail sections are complete - using
angle brackets please proceed to install to the kit
Step 11 Cont’d
Once this is complete - Sit back and enjoy! Page 12 of 13
INSTALL THE HANDRAILS
www.eDecks.co.uk
All images are for illustration only, Please see individual item listings for actual item specifications
Queen Anne Fitting Instructions
4 screws
per bracket
Step 12
Once this is complete - Sit back and enjoy! Page 13 of 13
FINISH!
www.eDecks.co.uk
All images are for illustration only, Please see individual item listings for actual item specifications
Queen Anne Fitting Instructions

Other eDecks Outdoor Furnishing manuals
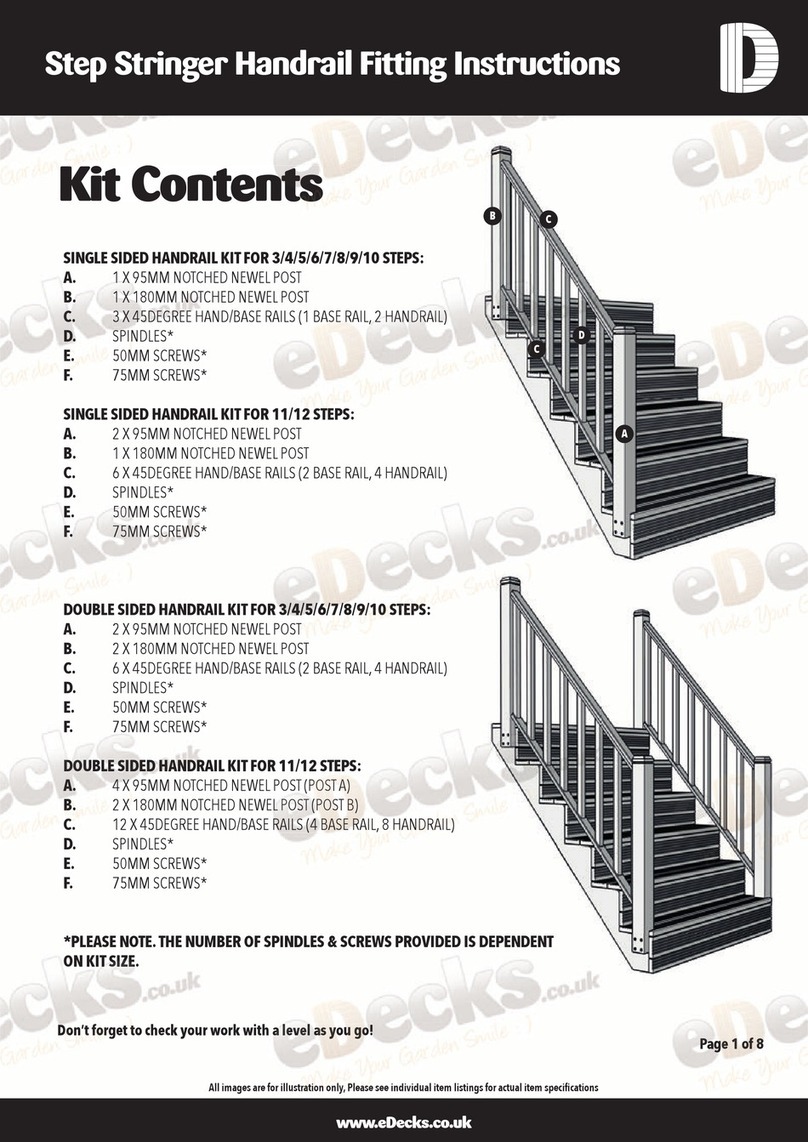
eDecks Step Stringer Handrail User manual
eDecks

eDecks Step Stringer Handrail User manual

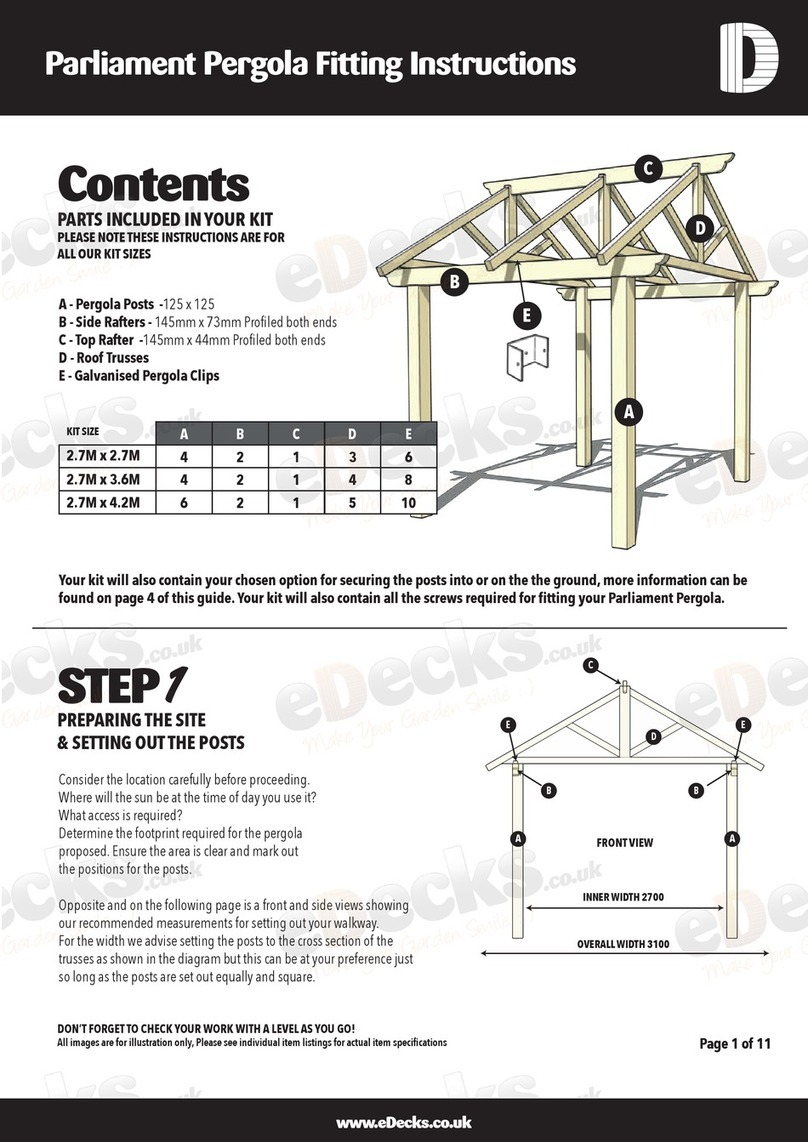
eDecks Parliament Pergola User manual

eDecks

eDecks Parliament Pergola User manual
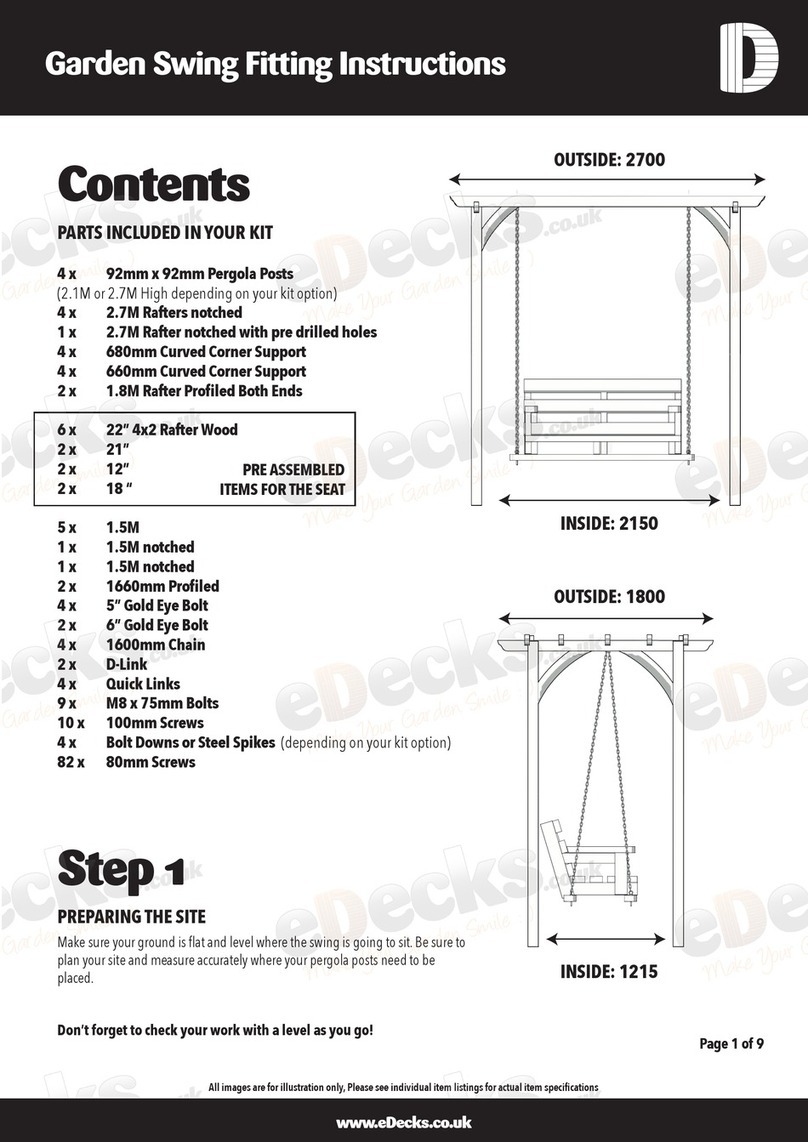
eDecks Garden Swing User manual

eDecks

eDecks Garden Swing User manual

eDecks Modern Deck User manual

eDecks

eDecks Modern Deck User manual
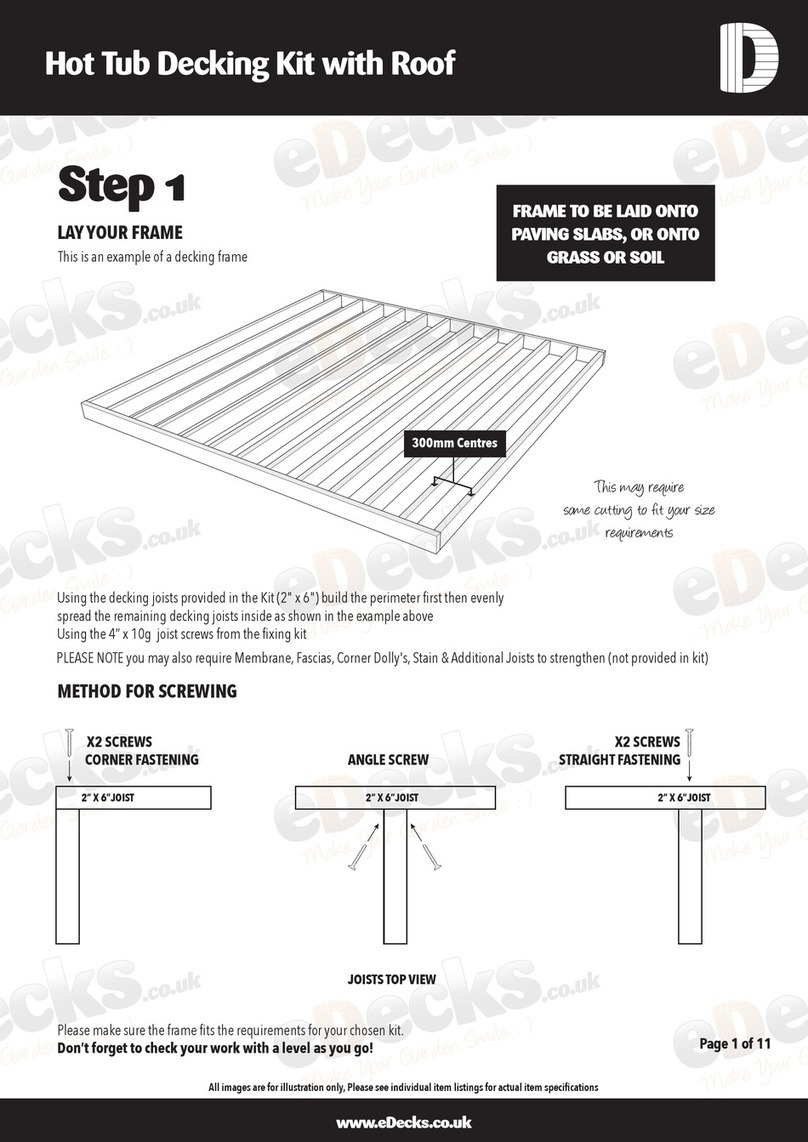
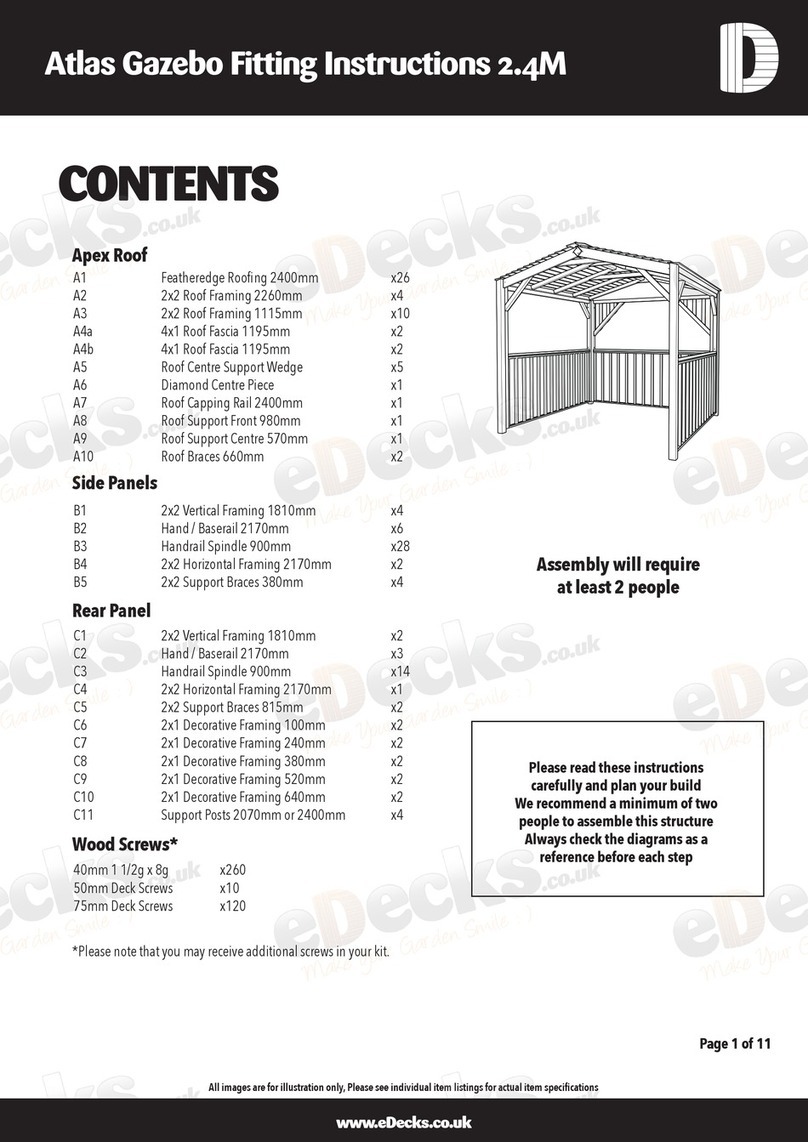
eDecks Hot Tub Decking Kit with Roof User manual
eDecks

eDecks Hot Tub Decking Kit with Roof User manual

eDecks Atlas User manual

eDecks

eDecks Atlas User manual
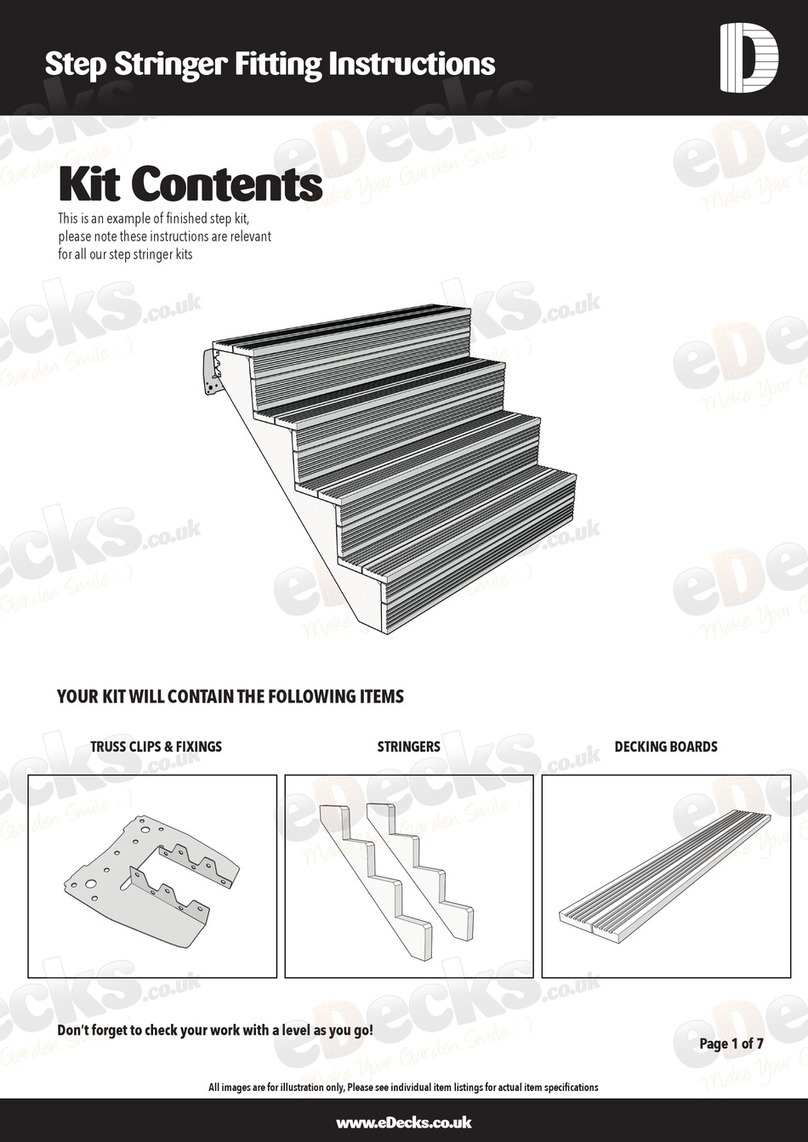
eDecks Step Stringer User manual

eDecks

eDecks Step Stringer User manual
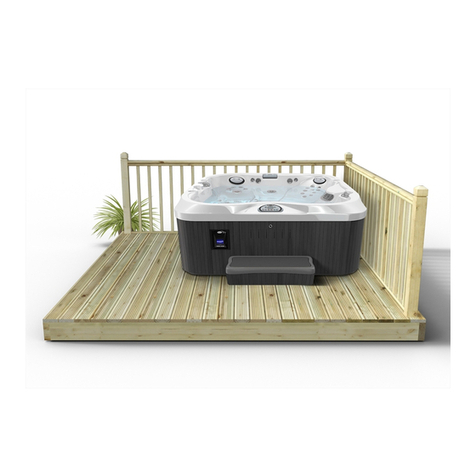
eDecks Hot Tub Decking Kit User manual
eDecks

eDecks Hot Tub Decking Kit User manual

eDecks Rosedene User manual

eDecks

eDecks Rosedene User manual

Popular Outdoor Furnishing manuals by other brands

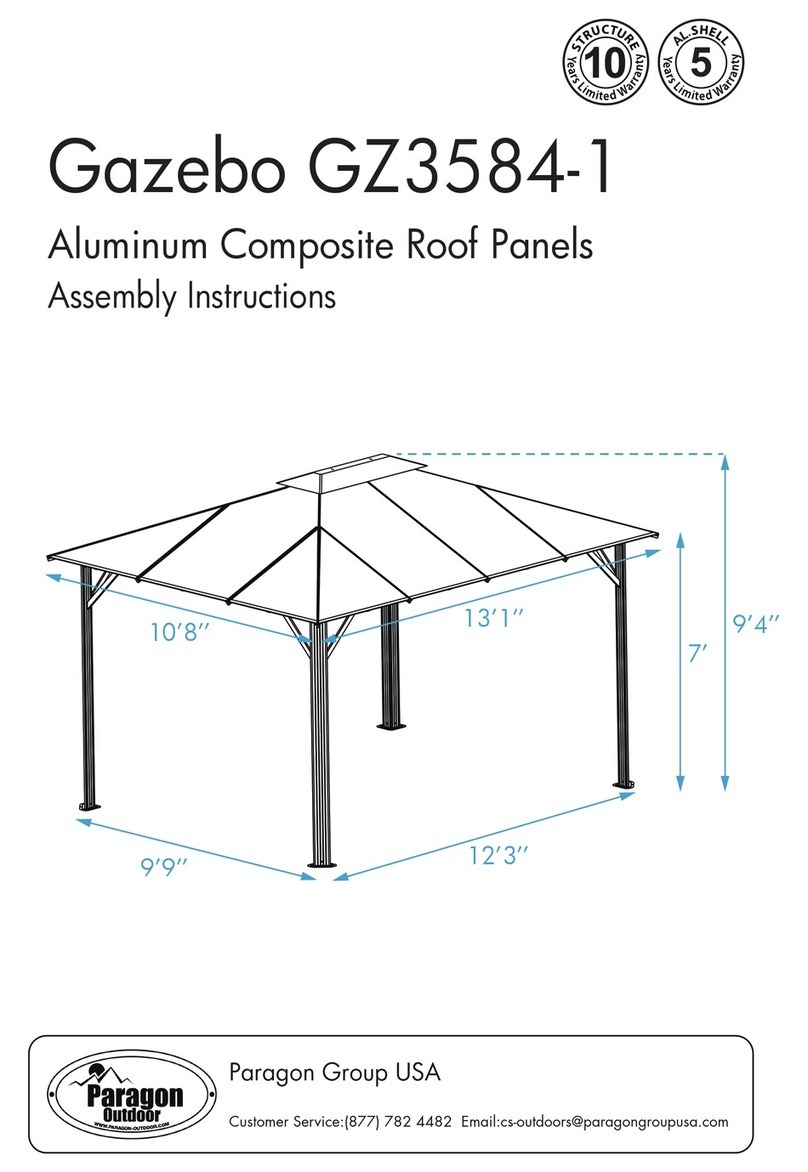
Paragon GZ3584-1 Assembly instructions

Paragon

Paragon GZ3584-1 Assembly instructions

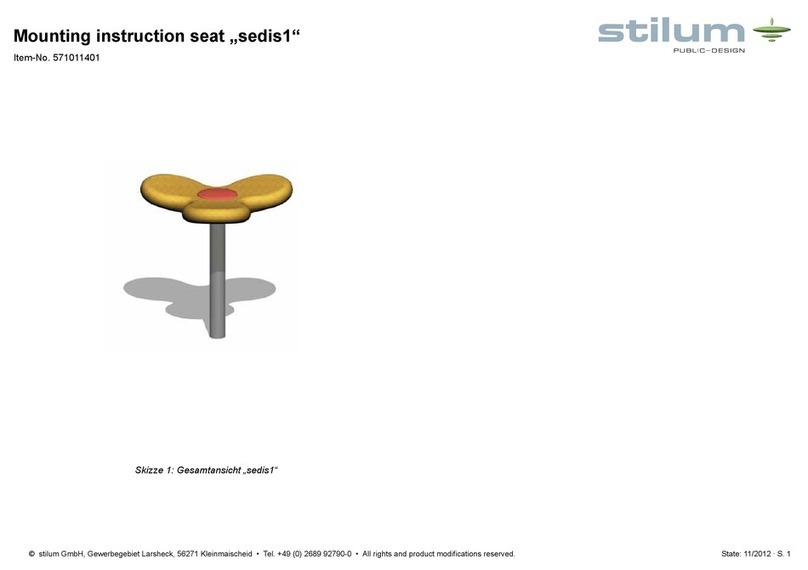
stilum sedis1 Mounting instruction

stilum

stilum sedis1 Mounting instruction

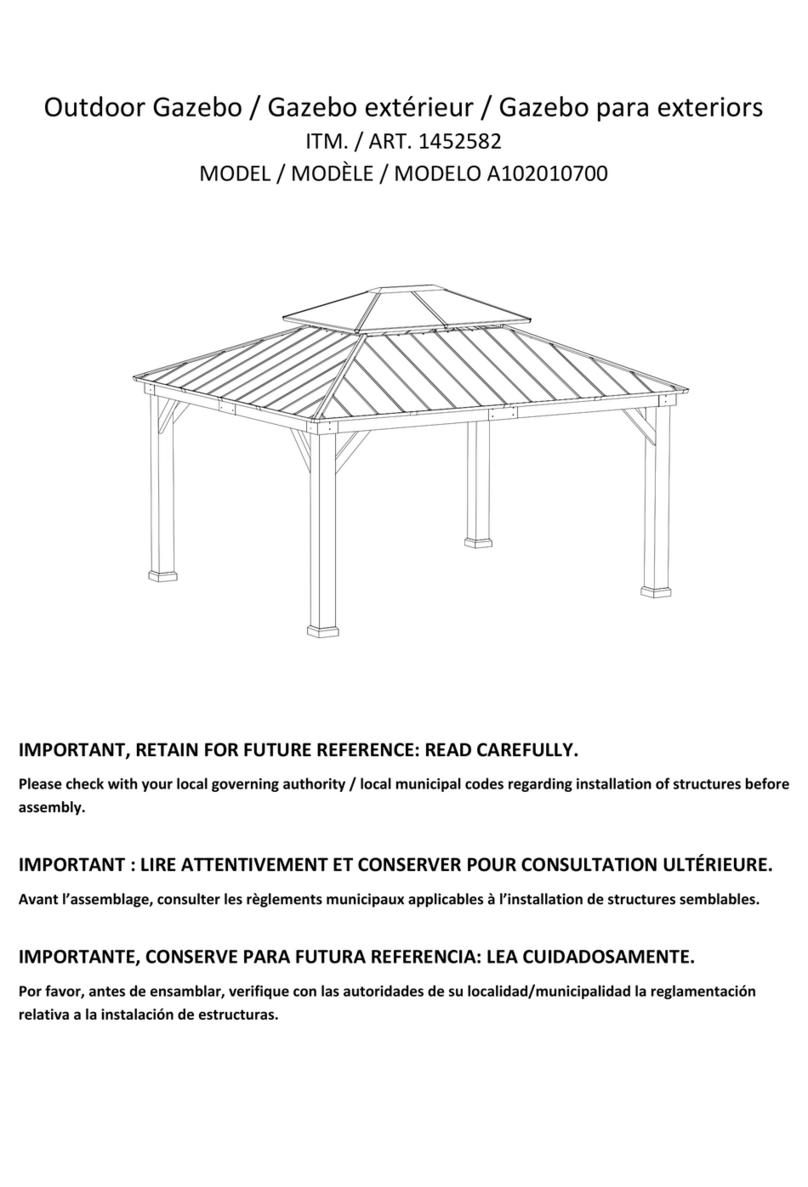
Costco 1452582 manual

Costco

Costco 1452582 manual

Konifera Matera 87954568 Assembly instructions

Konifera

Konifera Matera 87954568 Assembly instructions

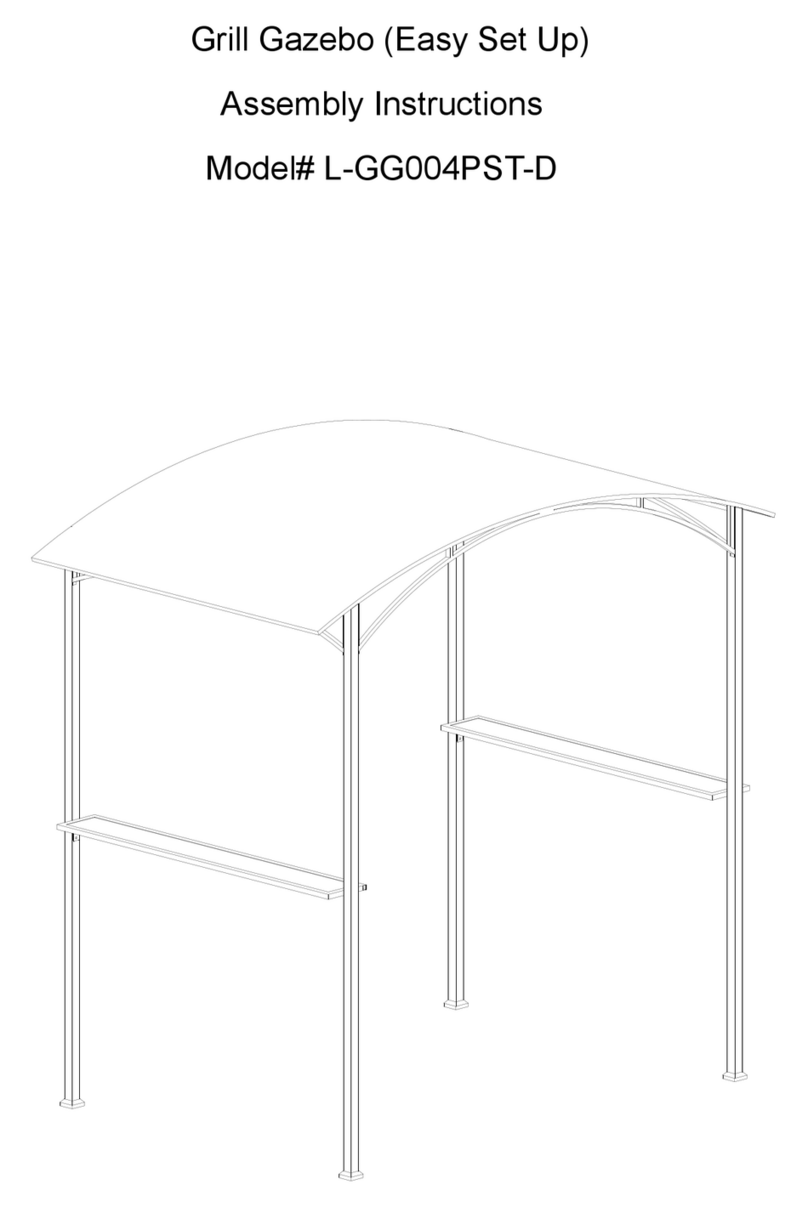
Sunjoy L-GG004PST-D Assembly instructions

Sunjoy

Sunjoy L-GG004PST-D Assembly instructions

BENITO Urban Caja empotrable H100B Anchoring instructions

BENITO

BENITO Urban Caja empotrable H100B Anchoring instructions

PHI VILLA THD7-104-344B Use and care guide
PHI VILLA

PHI VILLA THD7-104-344B Use and care guide

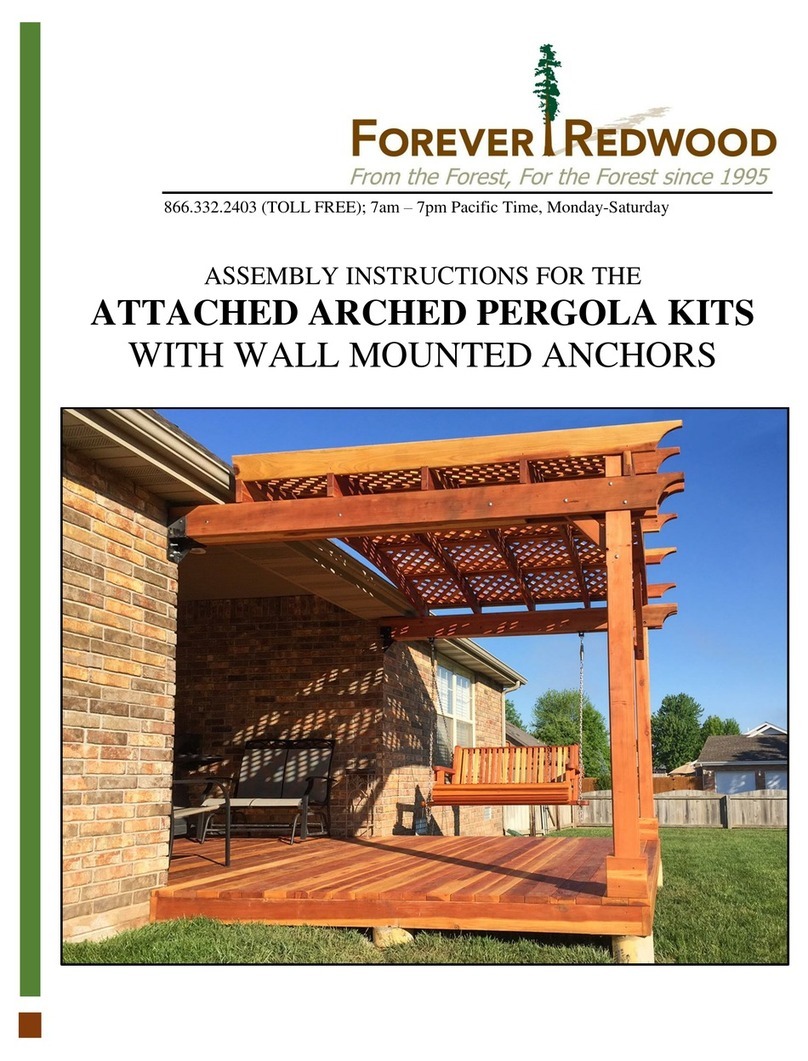
Forever Redwood ATTACHED ARCHED PERGOLA KITS Assembly instructions
Forever Redwood

Forever Redwood ATTACHED ARCHED PERGOLA KITS Assembly instructions

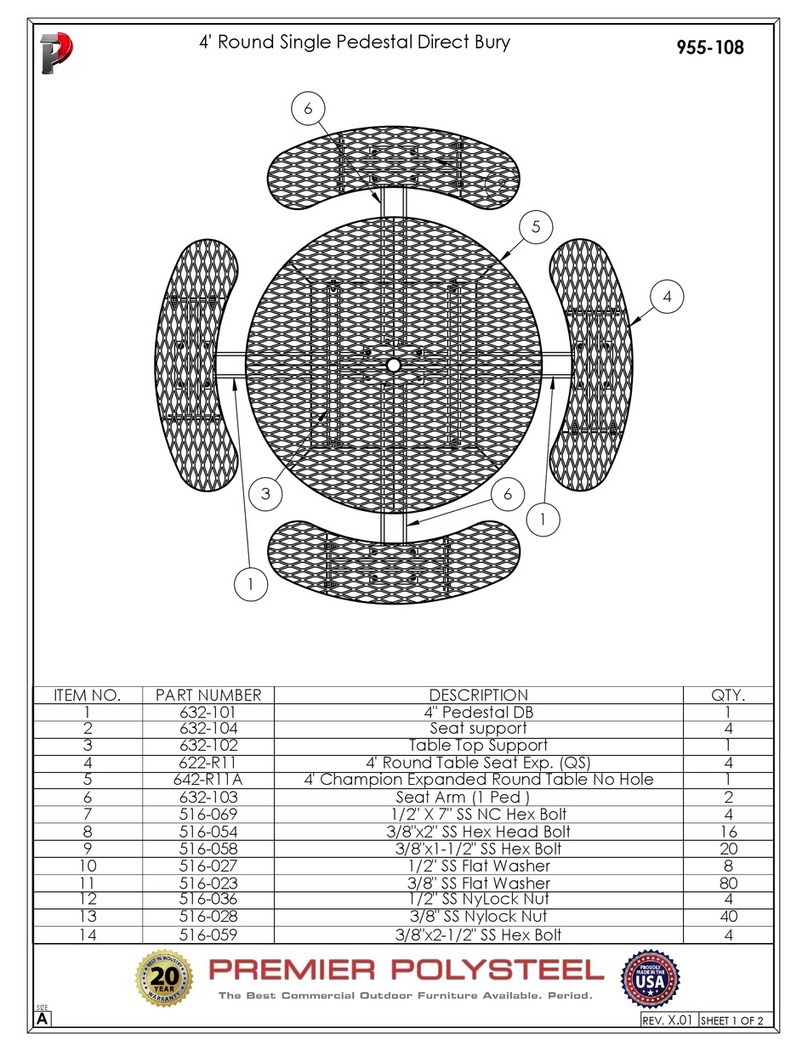
PREMIER POLYSTEEL 955-108 Assembly instructions
PREMIER POLYSTEEL

PREMIER POLYSTEEL 955-108 Assembly instructions

Safavieh Outdoor Diona PAT7510 manual

Safavieh Outdoor

Safavieh Outdoor Diona PAT7510 manual
Polyteak CLSC-ADI owner's manual

Polyteak

Polyteak CLSC-ADI owner's manual
The Louvre Lounge 3400 instruction manual
The Louvre Lounge

The Louvre Lounge 3400 instruction manual

Costway HW68672 user manual

Costway

Costway HW68672 user manual
Essential Garden L-GG076PST Use and care guide
Essential Garden

Essential Garden L-GG076PST Use and care guide

LF allen+roth L-DN1685SAL-D-ZH Assembly instructions
LF

LF allen+roth L-DN1685SAL-D-ZH Assembly instructions

Sunjoy D-CM092PST-1A Assembly instructions
Sunjoy

Sunjoy D-CM092PST-1A Assembly instructions

leco SAHARA Assembly instruction

leco

leco SAHARA Assembly instruction
Safavieh Outdoor Jesvita PAT7701-2 quick start guide

Safavieh Outdoor

Safavieh Outdoor Jesvita PAT7701-2 quick start guide

manuals.online logo
manuals.online logoBrands
  • About & Mission
  • Contact us
  • Privacy Policy
  • Terms and Conditions

Copyright 2025 Manuals.Online. All Rights Reserved.