manuals.online logo
Brands
  1. Home
  2. •
  3. Brands
  4. •
  5. eDecks
  6. •
  7. Outdoor Furnishing
  8. •
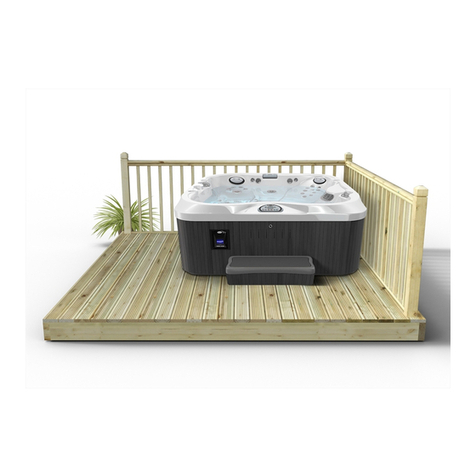
  9. eDecks Hot Tub Decking Kit with Roof User manual

eDecks Hot Tub Decking Kit with Roof User manual

Step 1 FRAME TO BE LAID ONTO
PAVING SLABS, OR ONTO
GRASS OR SOIL
Using the decking joists provided in the Kit (2" x 6") build the perimeter first then evenly
spread the remaining decking joists inside as shown in the example above
Using the 4” x 10g joist screws from the fixing kit
Please make sure the frame fits the requirements for your chosen kit.
Don’t forget to check your work with a level as you go! Page 1 of 11
METHOD FOR SCREWING
LAY YOUR FRAME
This may require
some cutting to fit your size
requirements
This is an example of a decking frame
www.eDecks.co.uk
All images are for illustration only, Please see individual item listings for actual item specifications
Hot Tub Decking Kit with Roof
JOISTS TOP VIEW
ANGLE SCREWCORNER FASTENING
X2 SCREWS X2 SCREWS
STRAIGHT FASTENING
2” X 6”JOIST2” X 6”JOIST2” X 6”JOIST
PLEASE NOTE you may also require Membrane, Fascias, Corner Dolly's, Stain & Additional Joists to strengthen (not provided in kit)
300mm Centres
Step 2
Don’t forget to check your work with a level as you go! Page 2 of 11
www.eDecks.co.uk
All images are for illustration only, Please see individual item listings for actual item specifications
Hot Tub Decking Kit with Roof
JOISTS TOP VIEW
A. SECURE AT CORNER B. SECURE AT SIDE
CARRIAGE
BOLT
NEWEL
CARRIAGE
BOLT
2” X 6”JOIST
FITTING THE PERGOLA POSTS
You are supplied with pergola posts.
To account for the roof pitch which we
recommend you set to 7° cut your
pergola posts to the following lengths
A - Front Pergola Posts - 2.7M
B - Middle Pergola Posts - 2.46M
C - Rear Pergola Posts - 2.22M
D - Rear Pergola Post - 2.31M
Each Pergola Post then needs
securing in each corner and at the
sides and rear as shown in diagrams
below.
AB C CD
B
A
Cutting will be
required
around the
Posts
Step 3
Don’t forget to check your work with a level as you go! Page 3 of 11
INSTALL DECKING BOARDS
Decking boards should fit exactly to the
frame, working in the opposite direction
to the joist work, when laying the boards
make sure you leave a 5mm gap between
each board
www.eDecks.co.uk
All images are for illustration only, Please see individual item listings for actual item specifications
Hot Tub Decking Kit with Roof
2 screws
per board
per joist
5mm gap
between each
board
Queen Mary Fitting Instructions
INSTALL DECKING BOARDS
Step 3 cont’d
Don’t forget to check your work with a level as you go! Page 4 of 11
www.eDecks.co.uk
All images are for illustration only, Please see individual item listings for actual item specifications
Hot Tub Decking Kit with Roof
Front
Step 4
Don’t forget to check your work with a level as you go! Page 5 of 11
INSTALL SUPPORT RAFTERS
www.eDecks.co.uk
All images are for illustration only, Please see individual item listings for actual item specifications
Hot Tub Decking Kit with Roof
Front
Secure the support rafters into the upright posts using 2 screws from
the inside of the structure for each post.
The rear roof rafter needs to sit at an
angle in the rear pergola post
Step 5
Don’t forget to check your work with a level as you go! Page 6 of 11
Front
Front
Back
INSTALL ROOF RAFTERS
www.eDecks.co.uk
All images are for illustration only, Please see individual item listings for actual item specifications
Hot Tub Decking Kit with Roof
Fit the rear roof rafter first which needs to sit at a slight angle in the
rear pergola post as shown in diagram below.
Secure this with 2 screws from the inside of the post.
Then equally space the remaining rafters across
the top of the support rafters as shown below.
If your kit option has handrails please assemble these prior to attaching to your newel posts (next step)
To fix the spindles you should screw into each spindle from under the baserail and through the top of the lower
handrail, space the spindles so they are evenly spaced with approx 125mm gap between each.
Screw into each spindle
from under the baserail
Do this by screwing up through the
underside of the lower handrail into
the top part of the handrail
Screw through the lower
handrail into each spindle
Upper Handrail
Lower Handrail
Approx
125mm Gap
Step 6
INSTALL HANDRAILS
Then complete the handrail section
by fixing the upper part of the handrail
to the lower part of the handrail.
Don’t forget to check your work with a level as you go! Page 7 of 11
www.eDecks.co.uk
All images are for illustration only, Please see individual item listings for actual item specifications
Hot Tub Decking Kit with Roof
Step 6 Cont’d
INSTALL HANDRAILS
Once your handrail sections are complete - using
angle brackets please proceed to install each
section to the kit
Page 8 of 11
www.eDecks.co.uk
All images are for illustration only, Please see individual item listings for actual item specifications
Hot Tub Decking Kit with Roof
Don’t forget to check your work with a level as you go! Page 9 of 11
www.eDecks.co.uk
All images are for illustration only, Please see individual item listings for actual item specifications
Hot Tub Decking Kit with Roof
Arrange the sheets loosely on the roof, and mark hole
positions and any necessary saw cuts with a felt tip
pen.
Sheets should overhang the roof by 70mm to allow
rainfall to run-off .
Cutting Sheets (if required)
If cutting is required use an angle grinder with a metal
slitting blade or fine tooth saw at a shallow angle with
light pressure.
Support the sheet to minimise vibrations.
A good tip when cutting, is to sandwich the sheet
between other sheets with the part to be removed
protruding.
If a sheet has to be cut to a finished width, make the
cut in the slope of the corrugated sheet.
Avoid drilling and cutting sheets in very cold weather.
Warm sheets will be less prone to damage. If possible
store sheets in a warm room before cutting.
Drilling Sheets
Pre-drill sheets before fixing. Please note - holes for
fixings must drilled larger than the fixing to allow for
expansion.
Typically 10mm for a 3m sheet.
Drill sheets singly with a masonry bit, using a low
speed drill and light pressure. Support the sheet
securely under each hole position when drilling.
There should be at least 5 fixings per support across
the width of the sheet.
If your kit size requires overlapping the roofing then
start with the sheets at the lowest part of the roof first
then continue to highest part of roof as shown in
diagrams above and below.
Step 7
ROOFING
Don’t forget to check your work with a level as you go! Page 10 of 11
www.eDecks.co.uk
All images are for illustration only, Please see individual item listings for actual item specifications
Hot Tub Decking Kit with Roof
Start fixing sheets
Foam Fillers are used under the sheets at all support positions to prevent roof ‘chatter’ and to support the sheets when fixed.
Use the screws, caps and washers provided to secure the sheet: the screw is sufficiently tight when the washer under its head can just be
rotated with finger and thumb.
Joining Sheets (end to end)
If sheets need to be joined end to end, ensure an overlap of at least 300mm
Use a strip of Butyl Sealing Tape to prevent dust and dirt getting between the sheets.
Step 7 Cont’d
ROOFING
Step 8
Once this is complete - Sit back and enjoy! Page 11 of 11
FINISH!
www.eDecks.co.uk
All images are for illustration only, Please see individual item listings for actual item specifications
Hot Tub Decking Kit with Roof

Other eDecks Outdoor Furnishing manuals
eDecks Modern Deck User manual

eDecks

eDecks Modern Deck User manual

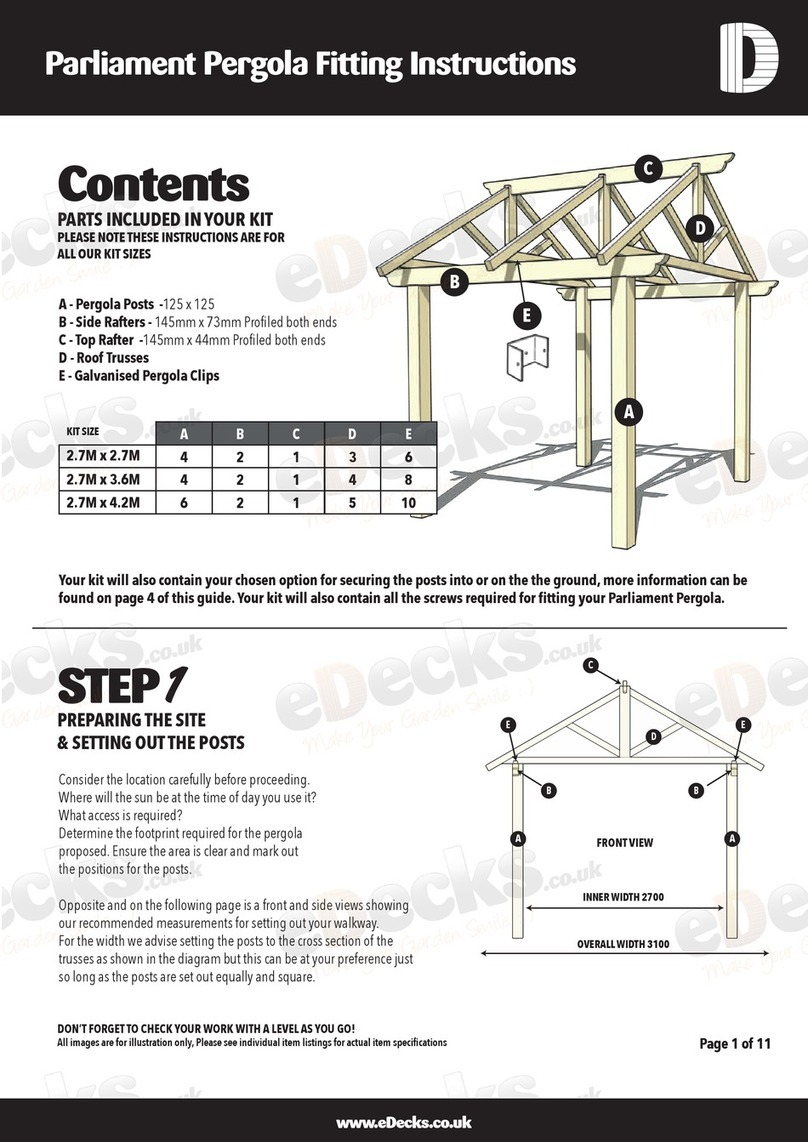
eDecks Parliament Pergola User manual

eDecks

eDecks Parliament Pergola User manual

eDecks Rosedene User manual

eDecks

eDecks Rosedene User manual

eDecks Step Stringer User manual

eDecks

eDecks Step Stringer User manual

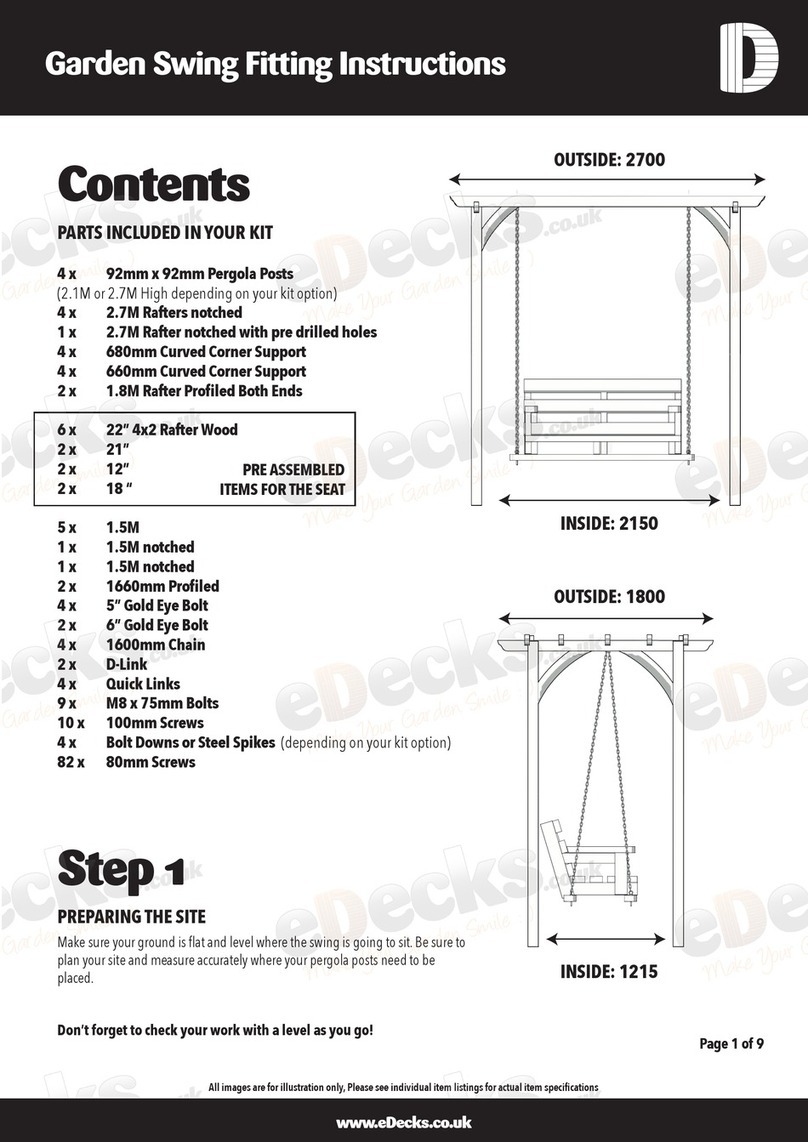
eDecks Garden Swing User manual

eDecks

eDecks Garden Swing User manual

eDecks Atlas User manual

eDecks

eDecks Atlas User manual

eDecks Hot Tub Decking Kit User manual

eDecks

eDecks Hot Tub Decking Kit User manual

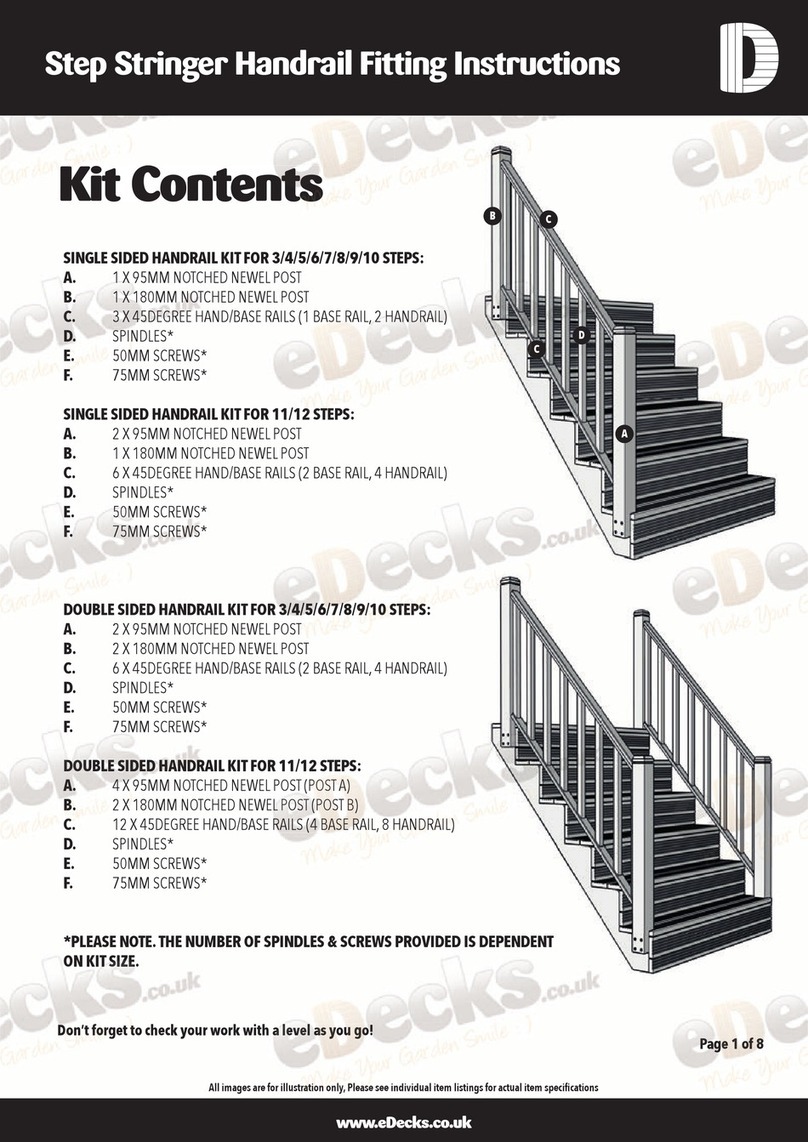
eDecks Step Stringer Handrail User manual
eDecks

eDecks Step Stringer Handrail User manual

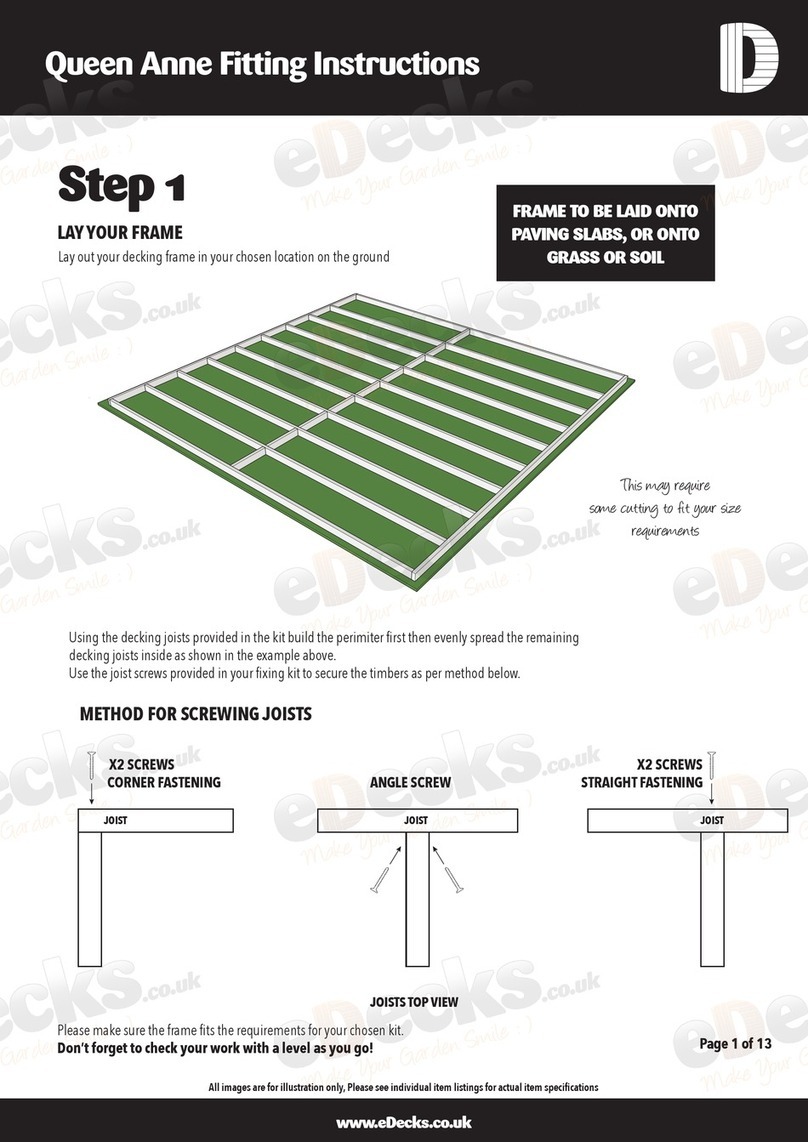
eDecks Queen Anne User manual

eDecks

eDecks Queen Anne User manual

Popular Outdoor Furnishing manuals by other brands

YOTRIO BH15-092-499-02 Assembly instruction

YOTRIO

YOTRIO BH15-092-499-02 Assembly instruction

Safavieh Outdoor PAT6759 quick start guide

Safavieh Outdoor

Safavieh Outdoor PAT6759 quick start guide

OCC Outdoors Products OCC-942SM-DV10 Mounting instructions

OCC Outdoors Products

OCC Outdoors Products OCC-942SM-DV10 Mounting instructions

TreeTop Products BC2315 quick start guide

TreeTop Products

TreeTop Products BC2315 quick start guide

U-Line H-6570 Assembly instructions

U-Line

U-Line H-6570 Assembly instructions

Forever Redwood NOAH'S ARC HAMMOCKS Assembly instructions

Forever Redwood

Forever Redwood NOAH'S ARC HAMMOCKS Assembly instructions

FourStarGroup 12504683N manual

FourStarGroup

FourStarGroup 12504683N manual

Uberhaus 72255137 Operator's manual

Uberhaus

Uberhaus 72255137 Operator's manual

Rona 20095101 Assembly instructions

Rona

Rona 20095101 Assembly instructions

Country Living AS-J-252-3R/6 owner's manual

Country Living

Country Living AS-J-252-3R/6 owner's manual

Premium Poly Patios Breezesta PT-0600 manual

Premium Poly Patios

Premium Poly Patios Breezesta PT-0600 manual

Outsunny 860-020GY manual

Outsunny

Outsunny 860-020GY manual

siena GARDEN P11694 Assembly instruction

siena GARDEN

siena GARDEN P11694 Assembly instruction

HAPPATIO HPO-ZPTY-H owner's manual

HAPPATIO

HAPPATIO HPO-ZPTY-H owner's manual

neighbor Teak Low Chair and Ottoman Assembly guide

neighbor

neighbor Teak Low Chair and Ottoman Assembly guide

Hanover High Dining Table owner's manual

Hanover

Hanover High Dining Table owner's manual

Jack-Post JPC-1001 Use and care guide

Jack-Post

Jack-Post JPC-1001 Use and care guide

supremo LEISURE Grand Right Sofa Assembly instruction

supremo LEISURE

supremo LEISURE Grand Right Sofa Assembly instruction

manuals.online logo
manuals.online logoBrands
  • About & Mission
  • Contact us
  • Privacy Policy
  • Terms and Conditions

Copyright 2025 Manuals.Online. All Rights Reserved.