manuals.online logo
Brands
  1. Home
  2. •
  3. Brands
  4. •
  5. eDecks
  6. •
  7. Outdoor Furnishing
  8. •
  9. eDecks Garden Swing User manual

eDecks Garden Swing User manual

4 x 92mm x 92mm Pergola Posts
(2.1M or 2.7M High depending on your kit option)
4 x 2.7M Rafters notched
1 x 2.7M Rafter notched with pre drilled holes
4 x 680mm Curved Corner Support
4 x 660mm Curved Corner Support
2 x 1.8M Rafter Profiled Both Ends
6 x 22” 4x2 Rafter Wood
2 x 21”
2 x 12”
2 x 18 “
5 x 1.5M
1 x 1.5M notched
1 x 1.5M notched
2 x 1660mm Profiled
4 x 5” Gold Eye Bolt
2 x 6” Gold Eye Bolt
4 x 1600mm Chain
2 x D-Link
4 x Quick Links
9 x M8 x 75mm Bolts
10 x 100mm Screws
4 x Bolt Downs or Steel Spikes (depending on your kit option)
82 x 80mm Screws
Contents
Don’t forget to check your work with a level as you go! Page 1 of 9
PARTS INCLUDED IN YOUR KIT
PRE ASSEMBLED
ITEMS FOR THE SEAT
INSIDE: 1215
INSIDE: 2150
OUTSIDE: 1800
OUTSIDE: 2700
Step 1
PREPARING THE SITE
Make sure your ground is flat and level where the swing is going to sit. Be sure to
plan your site and measure accurately where your pergola posts need to be
placed.
www.eDecks.co.uk
All images are for illustration only, Please see individual item listings for actual item specifications
Garden Swing Fitting Instructions
Step 2
Don’t forget to check your work with a level as you go! Page 2 of 9
Straight &
all same
height!
notches
perfectly
aligned!
Having measured out exactly where your posts need
to be placed - follow the instructions on the next page
for securing your posts to the ground, it is critical that
your posts are straight with the notches perfectly in
alignment.
INSTALLING THE PERGOLA POSTS
www.eDecks.co.uk
All images are for illustration only, Please see individual item listings for actual item specifications
Garden Swing Fitting Instructions
IT IS CRITICAL THAT YOUR POSTS ARE AT EXACTLY
THE SAME HEIGHT AND COMPLETELY STRAIGHT!
INSTALLING THE PERGOLA POSTS
Depending on your kit & post option you
will need to follow one of the following
options for each of the posts in your kit.
OPTION 1
Excavate holes for the pergola posts.
These need to be to a depth of
300mm (Kit option with 2.1M posts) or
600mm (Kit option with 2.7M Posts)
then fill with concrete we recommend
MetCrete to set quickly
Option 2
Bolt Down Anchors - Attach the Bolt Down
Anchor to your concrete area, drill an
8mm hole using an SDS drill bit,
ensuring the hole depth is 10mm longer
than the bolt length to allow for dust.
Remove any loose dust and fix the bolt
into place through the holes provided in
the anchor. Slot your pergola post into
the boltdown and tighten the 2 bolts at
the side of the anchor to secure. Making
sure its straight.
Option 3
Steel Spikes - Using the Mett Driving tool
and a sledge hammer or something
equivalent drive the steel spike into the
ground. Once post is in position tighten
the 2 bolts on the side of the spike to
secure post in place.
1
2
3
Step 2 Cont’d
Don’t forget to check your work with a level as you go! Page 3 of 9
www.eDecks.co.uk
All images are for illustration only, Please see individual item listings for actual item specifications
Garden Swing Fitting Instructions
Step 3
Don’t forget to check your work with a level as you go! Page 4 of 9
INSTALL SUPPORT RAFTERS
The support rafters now need fixing into
position in the posts, use 2 x 80 mm screws
per post from the inside of the post into the
support rafter
www.eDecks.co.uk
All images are for illustration only, Please see individual item listings for actual item specifications
Garden Swing Fitting Instructions
2 x 80mm Screws
Now lift and secure each roof rafter into
position so they are evenly spaced across the
support rafters, make sure the middle
rafter is the one with the 2 pre drilled
holes for the chain this should be
exactly in the middle of the structure.
Once in position secure at each side using 1
x 100mm screw into the support rafters from
the topside of the roof rafter
100mm Screws
INSTALL THE ROOF RAFTERS
Step 4
Don’t forget to check your work with a level as you go! Page 5 of 9
www.eDecks.co.uk
All images are for illustration only, Please see individual item listings for actual item specifications
Garden Swing Fitting Instructions
Now secure the curved rafters into position.
The front and back rafters need securing to
the front and back roof rafters from the
inside on the structure, using 2 x 80mm
screws at the top into the roof rafter (A) and
2 x 80mm screws at the bottom of the
curved rafter from the side into the post (B)
these should sit flush to the front of the
posts
Secure the side curved rafters with 2 x 80mm
screws at the top into the support rafters (C) and
at the bottom into the posts (D) these should sit
in the centre of the posts
INSTALL THE CURVED RAFTERS
SIDE CURVED RAFTERS - 680MM
FRONT & BACK CURVED RAFTERS - 660MM
Step 5
Don’t forget to check your work with a level as you go! Page 6 of 9
www.eDecks.co.uk
All images are for illustration only, Please see individual item listings for actual item specifications
Garden Swing Fitting Instructions
B
A
CD
The seat sides and centre come pre assem-
bled, (A) you will need to secure the 4 seat
lats at equal distances (the 2 front lats are
pre cut to fit around the arm rests) secure
each end and in the middle with 2 x 80mm
screws per lat.
(B) Then arrange the 3 remaining lats on the
back rest with a 75mm gap at the top and
100mm gap at the bottom, again using 2 x
80mm screws either end and in the middle
(C) Once your lats are secured in place turn
the bench over and affix the 2 chamfered
pre drilled lats to the bottom of the seat
with 2 x 80mm screws into both ends and
middle support.
(D) Finally screw in the 4 eye hooks ready for
the chain.
BUILDING AND INSTALLING THE SEAT
Step 6
Don’t forget to check your work with a level as you go! Page 7 of 9
www.eDecks.co.uk
All images are for illustration only, Please see individual item listings for actual item specifications
Garden Swing Fitting Instructions
A
C
D
B
100mm Gap
75mm Gap
Lastly screw the 2 eye hooks into the middle roof rafter, attach the chains, then with at least 2 people lift the seat up
and fix the chain to the eye hooks on the seat with the D shackles.
Finish
Don’t forget to check your work with a level as you go! Page 8 of 9
www.eDecks.co.uk
All images are for illustration only, Please see individual item listings for actual item specifications
Garden Swing Fitting Instructions
Don’t forget to check your work with a level as you go! Page 9 of 9
www.eDecks.co.uk
All images are for illustration only, Please see individual item listings for actual item specifications
Garden Swing Fitting Instructions

Other eDecks Outdoor Furnishing manuals
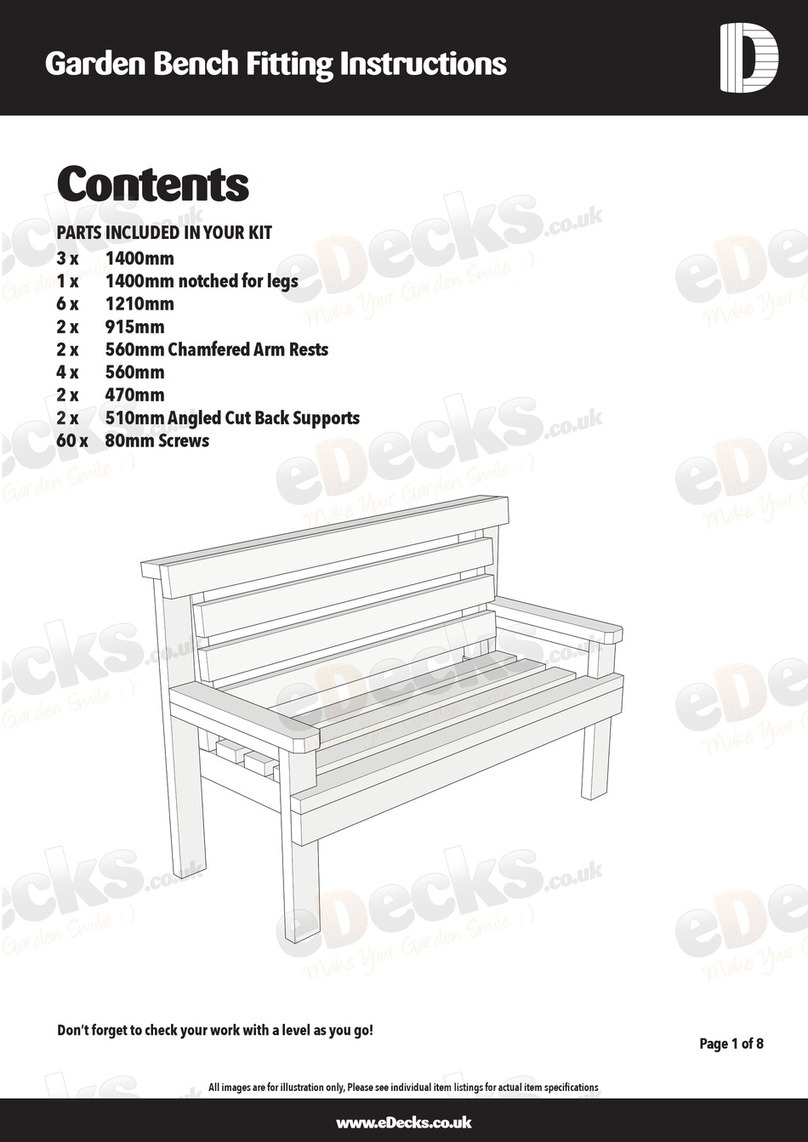
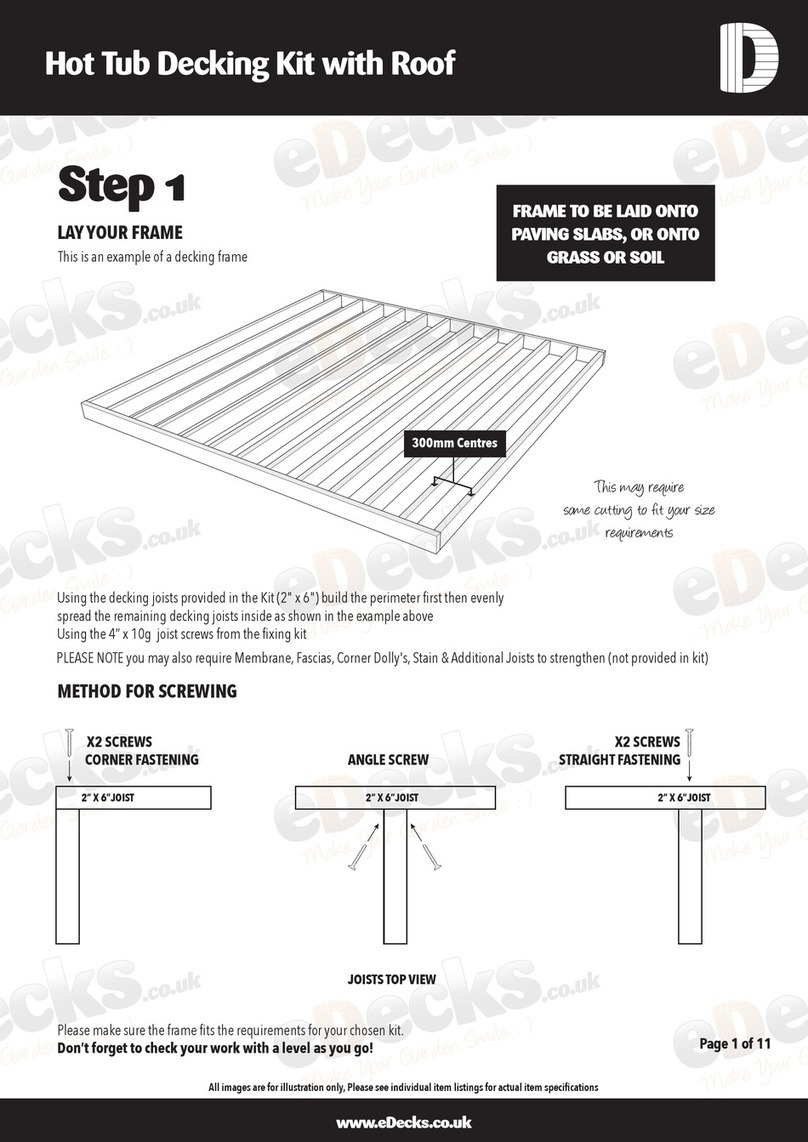
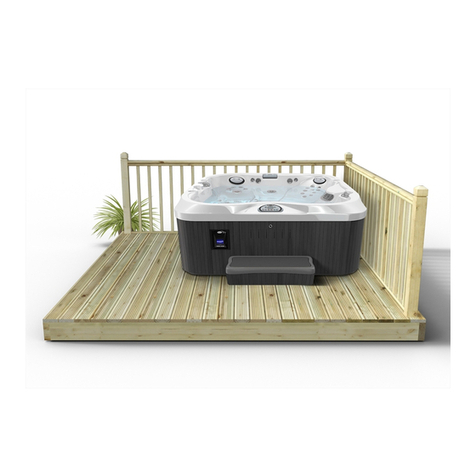
eDecks Hot Tub Decking Kit User manual

eDecks

eDecks Hot Tub Decking Kit User manual

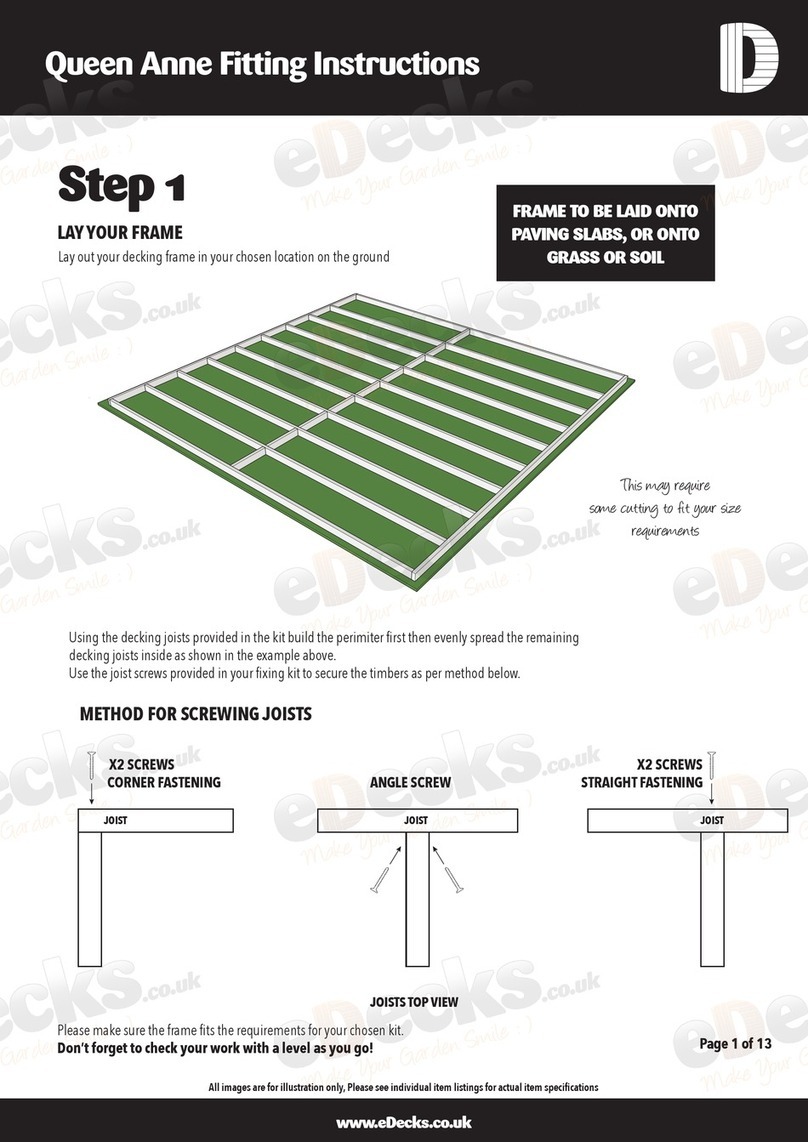
eDecks Queen Anne User manual

eDecks

eDecks Queen Anne User manual

eDecks Atlas User manual

eDecks

eDecks Atlas User manual

eDecks Modern Deck User manual

eDecks

eDecks Modern Deck User manual

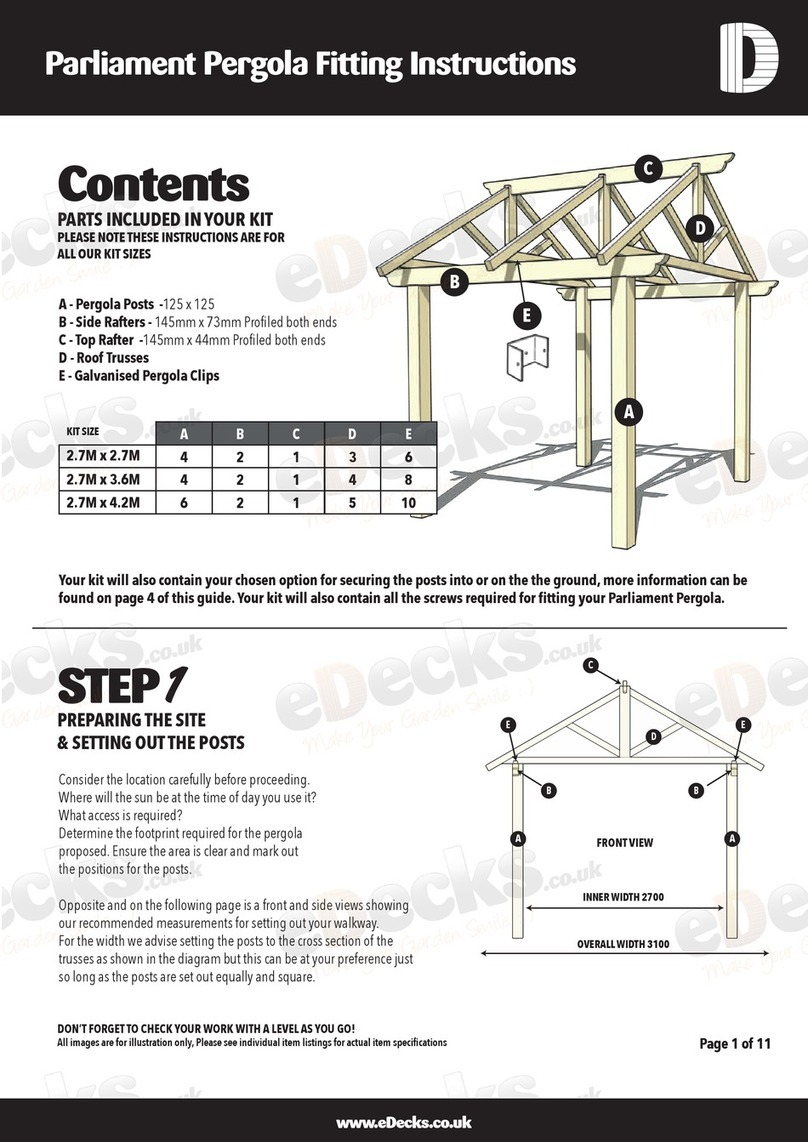
eDecks Parliament Pergola User manual

eDecks

eDecks Parliament Pergola User manual

eDecks Step Stringer Handrail User manual

eDecks

eDecks Step Stringer Handrail User manual

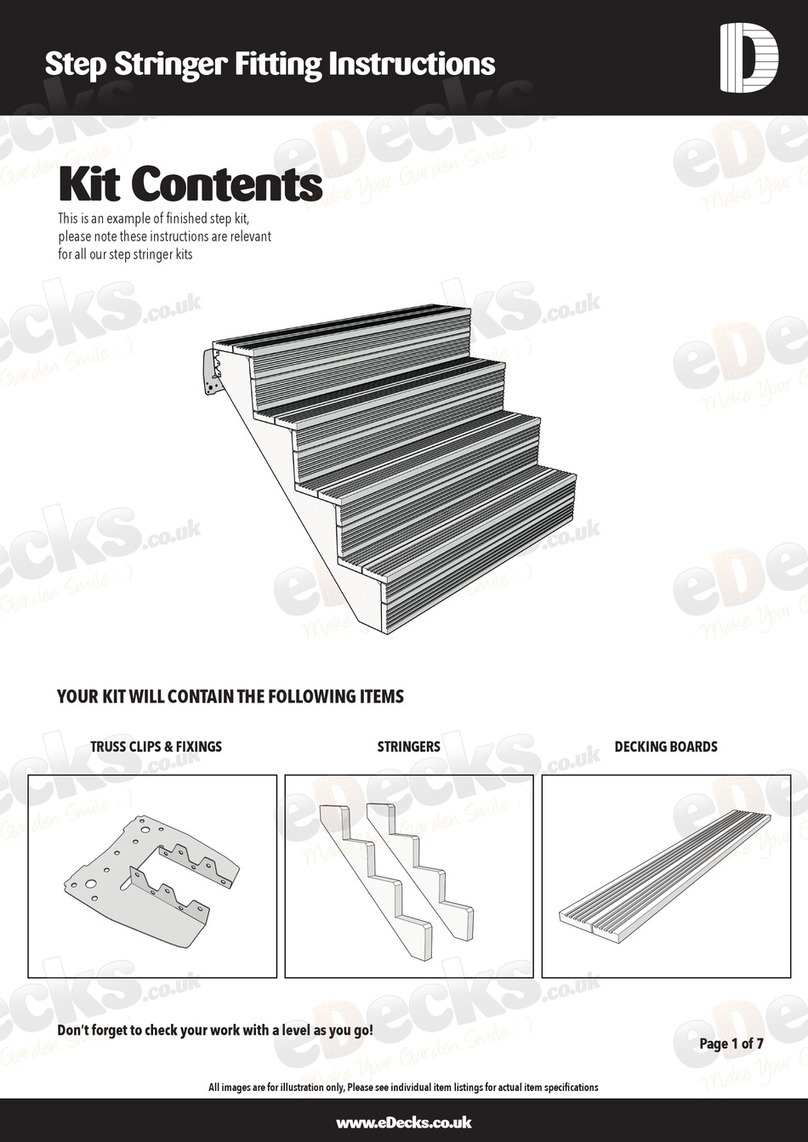
eDecks Step Stringer User manual

eDecks

eDecks Step Stringer User manual

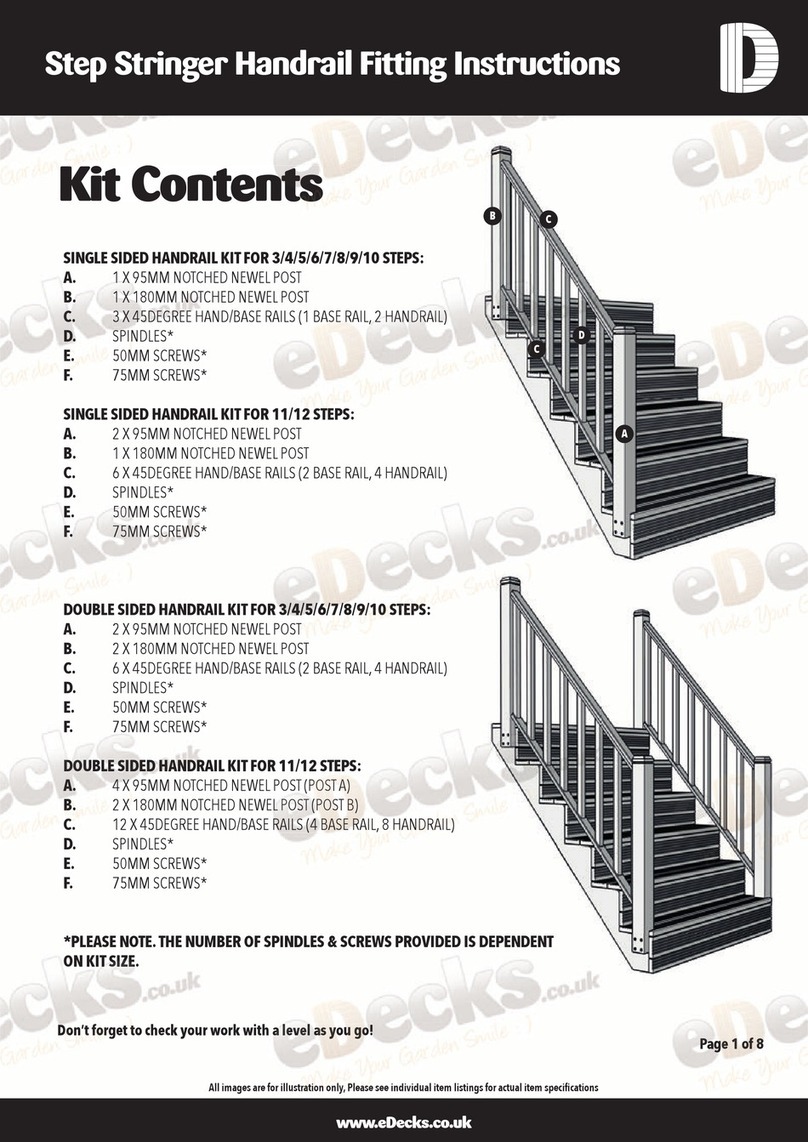
eDecks Hot Tub Decking Kit with Roof User manual
eDecks

eDecks Hot Tub Decking Kit with Roof User manual

eDecks Rosedene User manual

eDecks

eDecks Rosedene User manual

Popular Outdoor Furnishing manuals by other brands

Forest garden VENPAVNB Assembly instructions

Forest garden

Forest garden VENPAVNB Assembly instructions

Palram Palermo 3600 manual

Palram

Palram Palermo 3600 manual

Weka B607.001 ASSEMBLY, USER AND MAINTENANCE INSTRUCTIONS

Weka

Weka B607.001 ASSEMBLY, USER AND MAINTENANCE INSTRUCTIONS

RioOutdoors 4F-SH installation instructions

RioOutdoors

RioOutdoors 4F-SH installation instructions

Yardistry YM11629 Installation and operating instructions

Yardistry

Yardistry YM11629 Installation and operating instructions

Jetline Le Havre I 2185 manual

Jetline

Jetline Le Havre I 2185 manual

Poolcandy JUMBO PC3725MFL instruction manual

Poolcandy

Poolcandy JUMBO PC3725MFL instruction manual

No Butts Bin SR1555 Assembly instructions

No Butts Bin

No Butts Bin SR1555 Assembly instructions

real living GBO22-002 Assembly instructions

real living

real living GBO22-002 Assembly instructions

U-Line H-2671 Assembly instructions

U-Line

U-Line H-2671 Assembly instructions

domi LNCF0539A Assembly manual

domi

domi LNCF0539A Assembly manual

alfresia JU03600001 instructions

alfresia

alfresia JU03600001 instructions

SAMSGAZEBOS 10-OCT-E-CUPOLA Assembly instructions

SAMSGAZEBOS

SAMSGAZEBOS 10-OCT-E-CUPOLA Assembly instructions

Courtyard Creations KUS853F Assembly instructions

Courtyard Creations

Courtyard Creations KUS853F Assembly instructions

Hanover TRADDN9PCSW-8 manual

Hanover

Hanover TRADDN9PCSW-8 manual

Costway GT4027GR manual

Costway

Costway GT4027GR manual

Costway OP3672 Assembly instructions

Costway

Costway OP3672 Assembly instructions

Garden Treasures FRS10005 manual

Garden Treasures

Garden Treasures FRS10005 manual

manuals.online logo
manuals.online logoBrands
  • About & Mission
  • Contact us
  • Privacy Policy
  • Terms and Conditions

Copyright 2025 Manuals.Online. All Rights Reserved.