HIGH TECH DUAL QUAD
THROTTLE LINKAGE KIT
CATALOG
#7094
INSTALLATION INSTRUCTIONS
PLEASE
study these instructions carefully before installing your new throttle linkage kit. If you have any questions, do not hesitate to
contact our
Technical Hotline at: 1-800-416-8628.
*
DESCRIPTION:
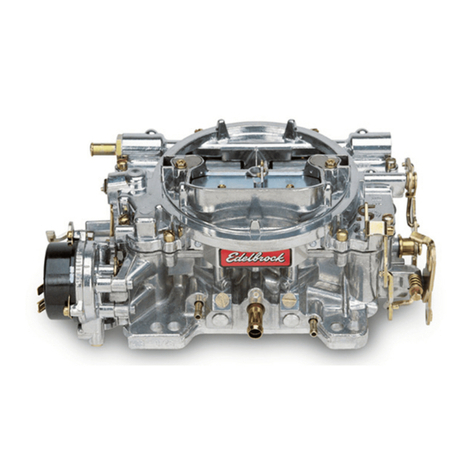
This kit fits Edelbrock dual quad manifolds #5420, #5421, #5425, #5435, and #5440 with Edelbrock Performer
Series carburetors.
KIT CONTENTS
2- 10-32Male RH Rod Ends with Locknuts 1-Aluminum Collar with Set Screw and Locknut
3- Brass Shoulder Spacers; 518" O.D., 3/16" I.D., 112" Shoulder, 2- 10-24 x 1" Socket Head Cap Screw
3/16" thick 1- 10-24 x 1-112" Socket Head Cap Screw
1- Tapered Brass Anti-Rotation Spacer; 518" O.D., 3/16" I.D., 2- 10-24Locknuts
5/32" thick 2- Throttle Return Spring Brackets
2- Brass Bearing Blocks with 10-32 Set Screw and Locknut I- Throttle Return Spring, 4-118" x 318"
1-
Stainless Steel Rod, 3" long (10-32 internal thread on one 1- Throttle Return Spring, 2-318" x 318"
end)
I- Stainless Steel Rod, 4.5" long (10-32 internal thread on one
end)
INSTALLATION
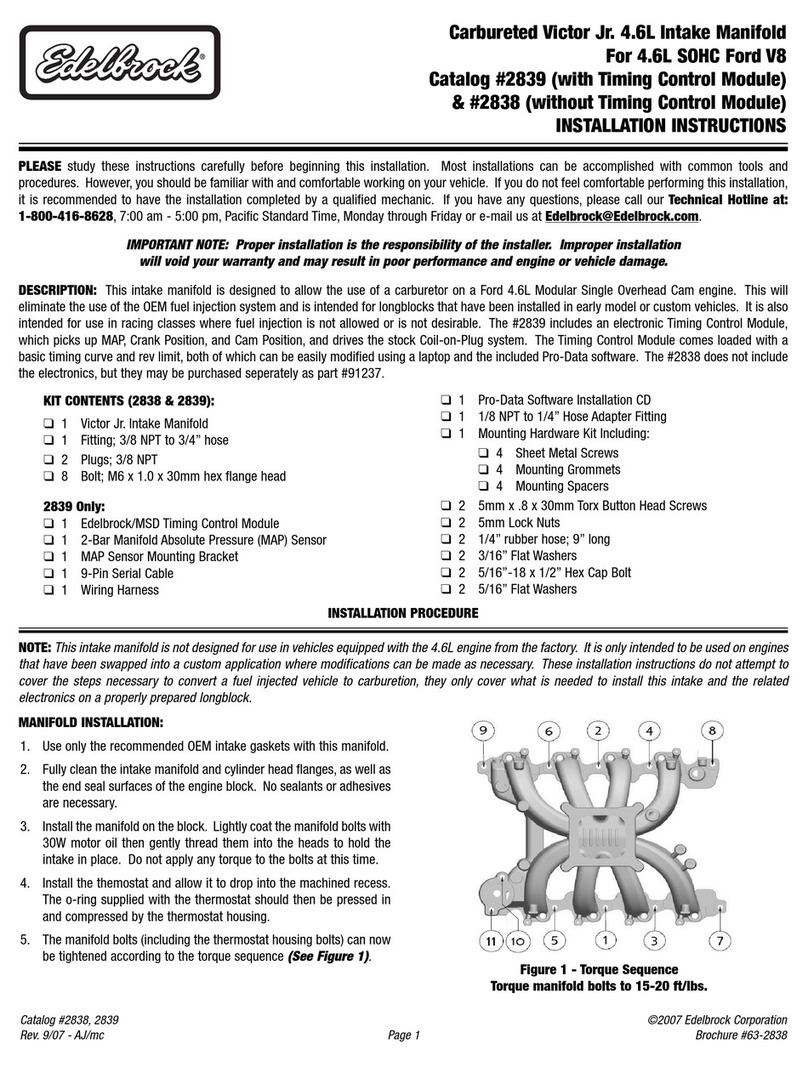
1. This kit contains all the necessary parts to operate Edelbrock
carburetors in a progressive or 1:1 type operation. Figure
1
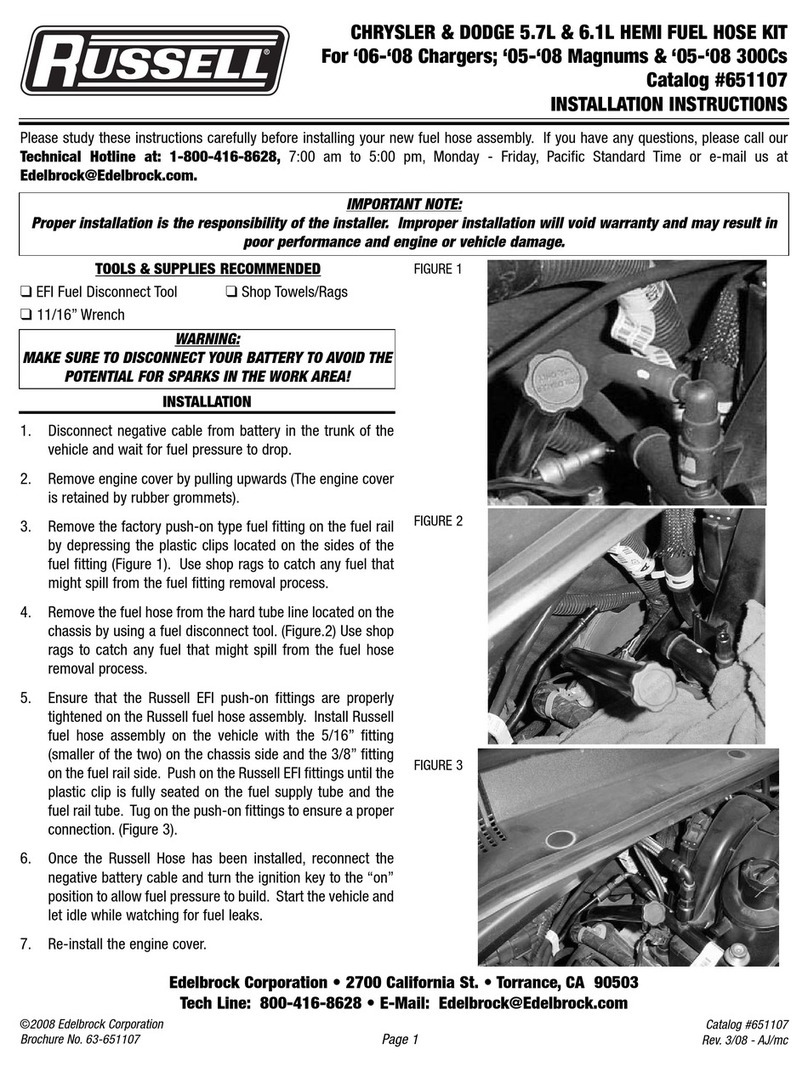
illustrates typical progressive type installation in which the rear
carburetor is the primary carb. This simplifies linkage attach-
ment to the vehicle's existing throttle linkage.
2.
Before attaching anything to the carburetors, loosely assemble
the major components of the linkage kit using Figure 1 as a
guideline. Note that the longer rod will go to the rear carb with
the flat facing down, and the short rod goes to the front carb
with the flat facing up. The brass bearing blocks should be
positioned so that the set screws will tighten against the flat of
the short rod, i.e., both bearing block set screws will be up.
Attach the aluminum collar to the long rod between the bearing
blocks with the set screw against the flat.
3. Attach the linkage assembly to the carbs with the 10-24allen
head screws and locknuts. Attach to the rear carb using one of
the brass 518" O.D. x 3/16" I.D. shoulder spacers and the
tapered brass anti-rotation shoulder spacer in the top hole of the
throttle arm (112" diameter). Note that the shoulder spacer goes
on the inside and the anti-rotation spacer goes on the outside of
the throttle arm. Attach to the front carb using the 3/16" hole
just below the large hole in the throttle arm.
ADJUSTMENT
-
NOTE:
If carburetors are full of fuel, place
rags in the carb throats to absorb the fuel discharged when
working the throttle linkage. This will prevent flooding and
possible damage to the piston rings upon start-up. Be sure to
remove the rags before starting engine.
1.
Tighten the set screw and locknut on the rear bearing block,
making sure that the bearing block is close to the end of the
shaft from the front carburetor.
2. Push the throttle arms of both carbs to WOT (Wide Open
Throttle), then adjust the aluminum collar to touch the rear
brass bearing block. Securely tighten the set screw and locknut
on the aluminum collar.
3. Let both throttle arms return to idle position, then adjust the
front brass bearing block to almost touch the aluminum collar.
Leave about .020"-.030"clearance to allow for independent
idle speed adjustment of each carburetor. Tighten all set screws,
locknuts, and bolts at this time.
4. Check for smooth operation of linkage from idle to WOT and
note that the rear carb will open about 20" before starting to
open the front carb. Both carbs should reach WOT at the same
time.
5.
IMPORTANT:
Attach a return spring to both carburetors as
shown in Figure 1.Use the return spring brackets supplied,
bending as necessary for attachment to your engine. Generally
the brackets can be attached to the intake manifold using the
existing bolts. Use the longer or shorter spring on either the
front or rear carburetor as required for your particular applica-
tion. Check for smooth operation and positive return to idle.
6. Attach existing throttle linkage to rear carburetor using the
3/16" hole below the large hole in the throttle arm. It may be
necessary to shorten your existing linkage rod or cable, or to
use an aftermarket cable mounting plate.
BEFORE STARTING ENGINE, DOUBLE-CHECK FOR
SMOOTH OPERATION OF LINKAGE FROM IDLE TO
WIDE OPEN THROTTLEAND FOR POSITIVE
RETURN TO IDLE.
OPTIONAL
1:l
INSTALLATION
If 1:l linkage is desired, assemble and attach linkage kit as
above, except that the attachment point to the front carburetor's
throttle arm will be the large 112" hole using the other two 518"
O.D. x 3/16" I.D. shoulder spacers (similar to the rear carbure-
tor). Adjust the bearing blocks to eliminate all freeplay, so that
all motion to the rear carburetor's throttle arm is transmitted
directly to the front carb's throttle arm.
0
1990Edelbrock Corp. Rev. 4/92
