manuals.online logo
Brands
  1. Home
  2. •
  3. Brands
  4. •
  5. Edelbrock
  6. •
  7. Automobile Part
  8. •
  9. Edelbrock 6606 User manual

Edelbrock 6606 User manual

Catalog PN 6606
©2002 Edelbrock Corporation Page 1 of 3 Rev. 9/02
®
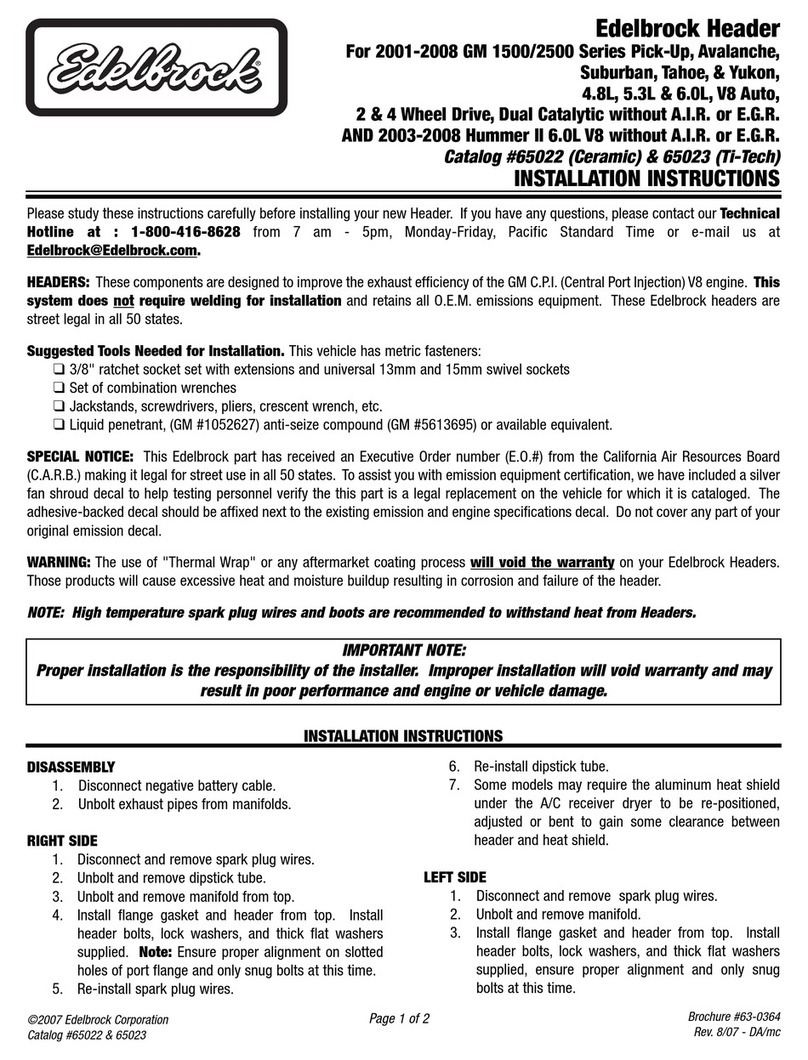
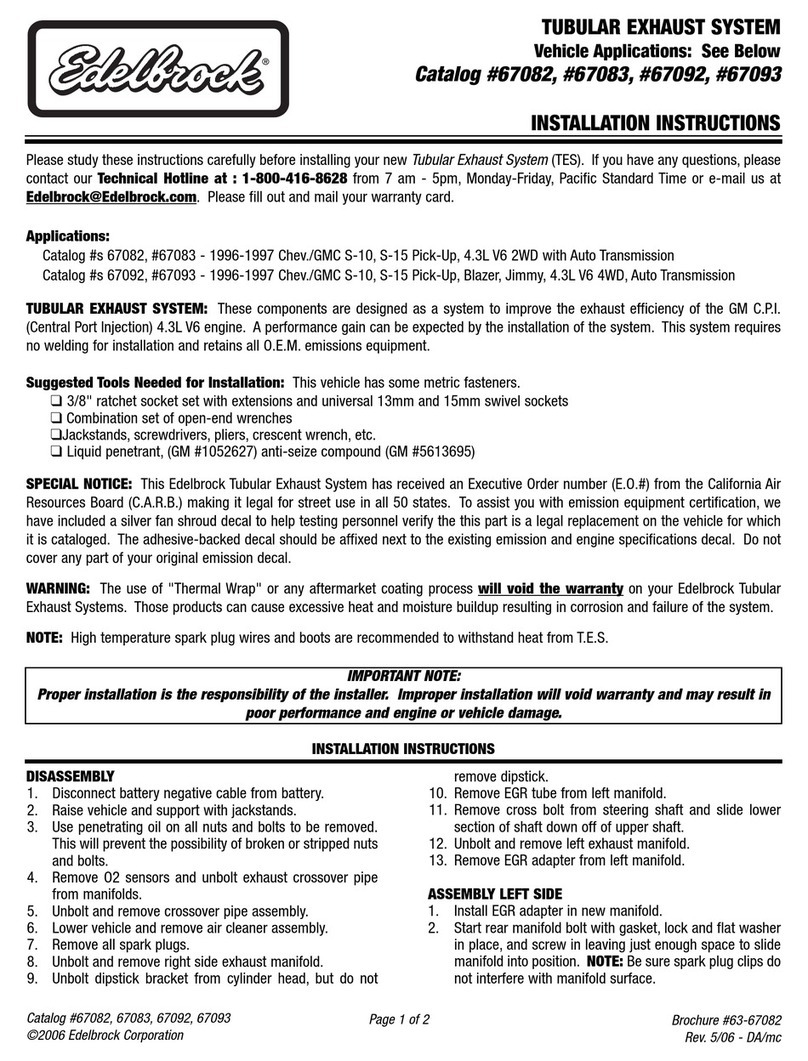
TUBULAR EXHAUST SYSTEM
Catalog #6606
For 1992 1/2 - 1999 Dodge Viper with 8.0L V10
INSTALLATION INSTRUCTION
Please study these instructions carefully before installing your new
Tubular Exhaust System
(TES). If you have any
questions or problems, please contact our Technical Hotline at : 1-800-416-8628 from 7 am - 5pm, Monday-Friday,
Pacific Standard Time or e-mail us at [email protected].
TUBULAR EXHAUST SYSTEM: This stainless steel Tubular Exhaust System header is designed to improve the exhaust
efficiency of the Chrysler 8.0L V10 engine. A performance gain can be expected by the installation of the system. This
system does require welding for installation (see note below) and retains all O.E.M. emissions equipment. These
Tubular Exhaust Systems are street legal in all 50 states.
Suggested Tools Needed for Installation: This vehicle has some metric fasteners.
❑ Mig welder (recommended) or gas welder - Professional welding is highly recommended
❑3/8” rachet socket with extensions and universal 13mm and 15mm swivel sockets
❑ Combination set of open-end wrenches, SAE and metric
❑ Jackstands, screwdrivers, pliers, crescent wrench, hacksaw, etc.
❑ 3/8” ball end allen socket
❑Liquid penetrant, (GM #1052627) and anti-seize compound (GM #5613695)
SPECIAL NOTICE: This Edelbrock Tubular Exhaust System has received an Executive Order number (E.O.#) from the
California Air Resources Board (C.A.R.B.) making it legal for street use in all 50 states. To assist you with emission
equipment certification, we have included a silver fan shroud decal to help testing personnel verify the this part is a legal
replacement on the vehicle for which it is cataloged. The adhesive-backed decal should be affixed next to the existing
emission and engine specifications decal. Do not cover any part of your original emission decal.
WARNING: The use of "Thermal Wrap" or any aftermarket coating process will void the warranty on your Edelbrock
Tubular Exhaust Systems. Those products can cause excessive heat and moisture buildup resulting in corrosion and
failure of the system. No additional thermal isolation is required, as TES are
Pro-Tech
coated for corrosion resistance and
long life.
CAUTION: Due to higher underhood temperatures generated by TES, vehicles equipped with original spark plug wires
should have them replaced with high temperature plug wires for longer life.
Note: When cleaning any Edelbrock Pro-Tech coated TES, use only soap and warm water. The use of caustic solvents
(gunk, etc.) will mar or damage the Pro-Tech coating.
Catalog PN 6606
©2002 Edelbrock Corporation Page 2 of 3 Rev. 9/02
Disassembly
1. Disconnect negative battery cable.
2. Remove side exhaust covers. NOTE: Have someone
assist you to prevent damage to side covers or body.
3. Remove two O2 sensors from stock exhaust.
4. Remove rubber mounts and bracket holding stock
exhaust system at front of side pipes. They will not
be re-installed.
5. Remove bolts holding the exhaust pipe to exhaust
manifold.
6. Remove starter.
7. Number spark plug wires and remove from spark
plugs. Lay the wires over the rear of the engine to
prevent damage to wires.
8. Remove plastic spark plug wire separators from
valve cover area.
9. Remove top of heater air box (right side).
10. Unplug wire from temperature sending unit on left
cylinder head.
11. Remove the retaining nuts securing the heat shields
to exhaust manifolds. NOTE: The right side will
come off easily. The left side will only come off after
all manifold retaining bolts have been removed and
the manifold is completely loose. You may need to
remove the front bolt that holds the water pipe to
allow you to remove the heat shield and manifold.
12. Remove stock exhaust manifolds.
13. Clean gasket surfaces on cylinder heads.
NOTE: Be careful not to damage soft aluminum.
14. Cut stock exhaust at inlet of catalytic converter.
Assembly - Left Side
1. Install upper half of header from top along with new
gasket, bolts and washers supplied.
2. The thick hardened flat washers will be used on the
three slotted holes on each header flange.
3. Start all ten bolts but leave bolts loose at this time.
4. Install lower half of header from under car. Place
outlet end over frame rail and rotate into place.
Install gasket and 3/8" Allen head bolts and self-
locking nuts supplied.
5. Tighten cylinder head flange bolts evenly.
6. Tighten connector flange bolts evenly. NOTE: It is
very important that these bolts be tightened evenly.
Assembly - Right Side
1. The right side installs basically the same as the left
side.
NOTE: Remember all flange bolts must be tightened
evenly!
Flex Coupler Installation
1. Install flex coupler and elbow assembly using band
clamp onto outlet end of header. NOTE: The catalytic
converter must remain in stock location. Therefore,
the new turnout elbows will need to be shortened to
fit onto the inlet of your catalytic converters.
2. Once you have trimmed the outlet end of the turnout
elbows tack weld the catalytic converter inlet to
elbow.
3. Recheck all alignment and critical points, such as
outlet positioning, side pipe clearance to outer
covers catalytic converter location, etc.
4. If everything is correct, remove side pipe and flex
coupler/elbow assembly and weld together.
5. Reinstall onto car.
6. Repeat for other side.
7. Reinstall two O2 sensors and tie wrap sensor wires
away from hot parts with the tie wraps supplied.
NOTE: It may be necessary to re-route or re-position
the wires for the O2 sensors to make it easier to plug
in the O2 sensors.
Final Check
1. After all bolts have been properly installed and
torqued, reconnect battery cable, sparkplug wires,
separators,etc.
2. Start car and check for exhaust leaks. DO NOT
DRIVE AT THIS TIME.
3. After letting engine fully warm up, shut off and let
engine fully cool down.
4. Re-tighten all bolts and nuts on TES (Tubular Exhaust
System) headers.
INSTALLATION INSTRUCTIONS
Catalog PN 6606
©2002 Edelbrock Corporation Page 3 of 3 Rev. 9/02
KIT CONTENTS
Catalog #6606
Qty.Description Qty.Description
1 Manifold left side (A section) #25-9201 2 Manifold port gaskets
1 Manifold right side (A section) #25-9202 2 Connector gaskets
1 Manifold left side (B section) #25-9103 12 Lock nuts, cad-plated; 3/8”-16
1 Manifold right side (B section) #25-9104 14 Socket head cap screws; 3/8”-16 x 1/4”
1 Cat. adapter left (3”) #25-9622 4 Tie wraps; 11”
1 Cat. adapter right (3”) #25-9623 20 Split lock washers; 5/16”
20 Header bolts; 5/16”-18 x 1” 6 Hardened washers; 5/16” i.d. x 3/4” o.d.
2 Coupler band clamps
Edelbrock Corporation
2700 California St.
Torrance, CA 90503
Tech Line: 1-800-416-8628
E-Mail: [email protected]
NOTE: To greatly reduced engine compartment temperature, we recommend the use of Edelbrock ceramic-coated,
stainless steel header heat shields Part #6700. These heat shields not only deflect heat out of the engine compartment
protecting underhood components, but they look great, too.
Please complete and mail your warranty card. Be sure to write the model number of this product in the “Part #____”
space. Thank you.

Other Edelbrock Automobile Part manuals

Edelbrock 2810 User manual

Edelbrock

Edelbrock 2810 User manual

Edelbrock 65272 User manual

Edelbrock

Edelbrock 65272 User manual

Edelbrock 65052 User manual

Edelbrock

Edelbrock 65052 User manual

Edelbrock 5737 User manual

Edelbrock

Edelbrock 5737 User manual

Edelbrock 77509 User manual

Edelbrock

Edelbrock 77509 User manual

Edelbrock 72279 User manual

Edelbrock

Edelbrock 72279 User manual

Edelbrock 1801 User manual

Edelbrock

Edelbrock 1801 User manual

Edelbrock Harley Nitrous Systems 63-0052 User manual

Edelbrock

Edelbrock Harley Nitrous Systems 63-0052 User manual

Edelbrock 60469 User manual

Edelbrock

Edelbrock 60469 User manual

Edelbrock 36011 User manual

Edelbrock

Edelbrock 36011 User manual

Edelbrock 1472 User manual

Edelbrock

Edelbrock 1472 User manual

Edelbrock 5766 User manual

Edelbrock

Edelbrock 5766 User manual

Edelbrock 3843 User manual

Edelbrock

Edelbrock 3843 User manual

Edelbrock SBC Vortec 283-400 c.i.d. Chevy V8 User manual

Edelbrock

Edelbrock SBC Vortec 283-400 c.i.d. Chevy V8 User manual

Edelbrock 5645 User manual

Edelbrock

Edelbrock 5645 User manual

Edelbrock 5274 5274 User manual

Edelbrock

Edelbrock 5274 5274 User manual

Edelbrock 5226 User manual

Edelbrock

Edelbrock 5226 User manual

Edelbrock 1100 User manual

Edelbrock

Edelbrock 1100 User manual

Edelbrock Automobile Parts User manual

Edelbrock

Edelbrock Automobile Parts User manual

Edelbrock 3722 User manual

Edelbrock

Edelbrock 3722 User manual

Edelbrock Honda XR400 Owner's manual

Edelbrock

Edelbrock Honda XR400 Owner's manual

Edelbrock 2162 Instruction manual

Edelbrock

Edelbrock 2162 Instruction manual

Edelbrock 3530 User manual

Edelbrock

Edelbrock 3530 User manual

Edelbrock 6601 User manual

Edelbrock

Edelbrock 6601 User manual

Popular Automobile Part manuals by other brands

Volkswagen Multivan manual

Volkswagen

Volkswagen Multivan manual

Edge Products GM Duramax 20200 installation instructions

Edge Products

Edge Products GM Duramax 20200 installation instructions

AUTOTECH 10.215.200K installation instructions

AUTOTECH

AUTOTECH 10.215.200K installation instructions

Dodge 2000 DURANGO Service manual

Dodge

Dodge 2000 DURANGO Service manual

Jonsered Front Rider FR13 Spare parts

Jonsered

Jonsered Front Rider FR13 Spare parts

Mini Mania NMB4000 instruction manual

Mini Mania

Mini Mania NMB4000 instruction manual

Blue Ox BX2412 installation instructions

Blue Ox

Blue Ox BX2412 installation instructions

KUSSMAUL 091-28-IND installation instructions

KUSSMAUL

KUSSMAUL 091-28-IND installation instructions

Vintage Air 564191 instruction manual

Vintage Air

Vintage Air 564191 instruction manual

COMP Cams COMP4-103 instructions

COMP Cams

COMP Cams COMP4-103 instructions

Murphy Engine Panels WD300-LV installation instructions

Murphy

Murphy Engine Panels WD300-LV installation instructions

Unisteer ELECTRA-STEER 8051510 installation manual

Unisteer

Unisteer ELECTRA-STEER 8051510 installation manual

SKF TBK273P quick start guide

SKF

SKF TBK273P quick start guide

Beckhoff AG2800 Documentation

Beckhoff

Beckhoff AG2800 Documentation

BENDIX D-2 GOVERNOR manual

BENDIX

BENDIX D-2 GOVERNOR manual

K&N Engineering KS-F160 instruction manual

K&N Engineering

K&N Engineering KS-F160 instruction manual

ICON 51200 instructions

ICON

ICON 51200 instructions

Air Lift LoadLifter 5000 Series installation guide

Air Lift

Air Lift LoadLifter 5000 Series installation guide

manuals.online logo
manuals.online logoBrands
  • About & Mission
  • Contact us
  • Privacy Policy
  • Terms and Conditions

Copyright 2025 Manuals.Online. All Rights Reserved.