manuals.online logo
Brands
  1. Home
  2. •
  3. Brands
  4. •
  5. Edelbrock
  6. •
  7. Automobile Part
  8. •
  9. Edelbrock 6668 User manual

Edelbrock 6668 User manual

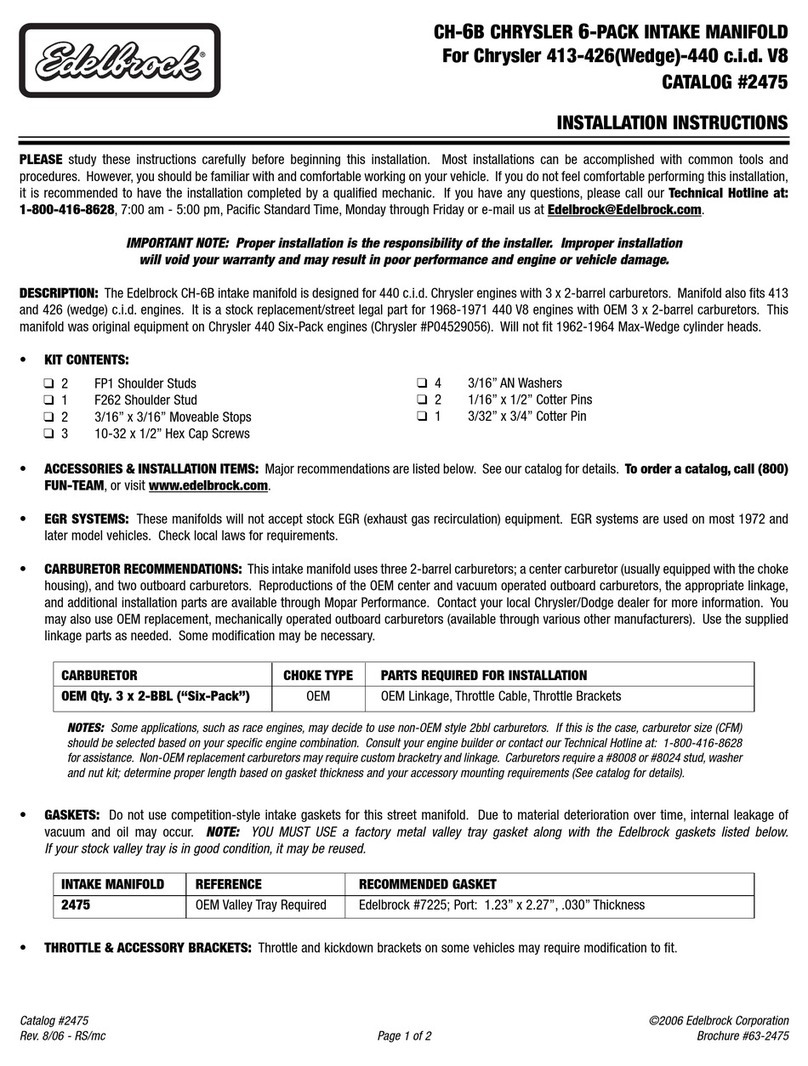
TUBULAR EXHAUST SYSTEMS #6668
INSTALLATION INSTRUCTIONS
Applications: 2000 Dodge Dakota and Durango,
5.2L & 5.9L V8, Auto Transmission, 2 & 4 WD
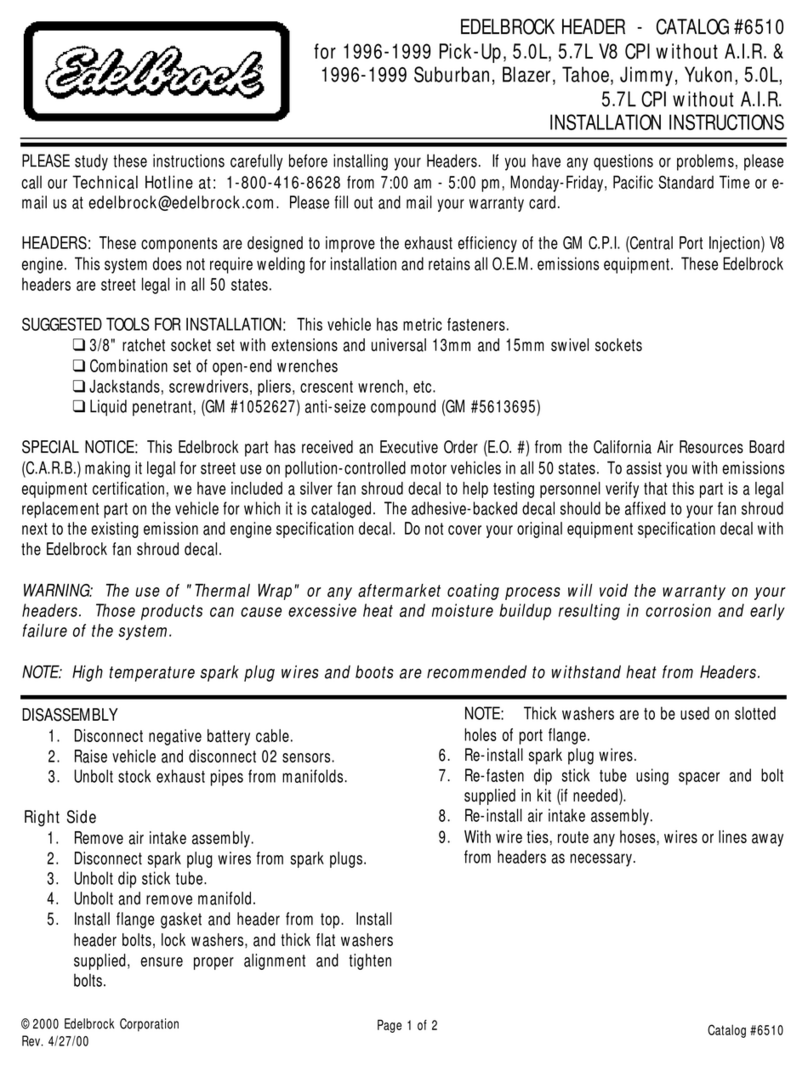
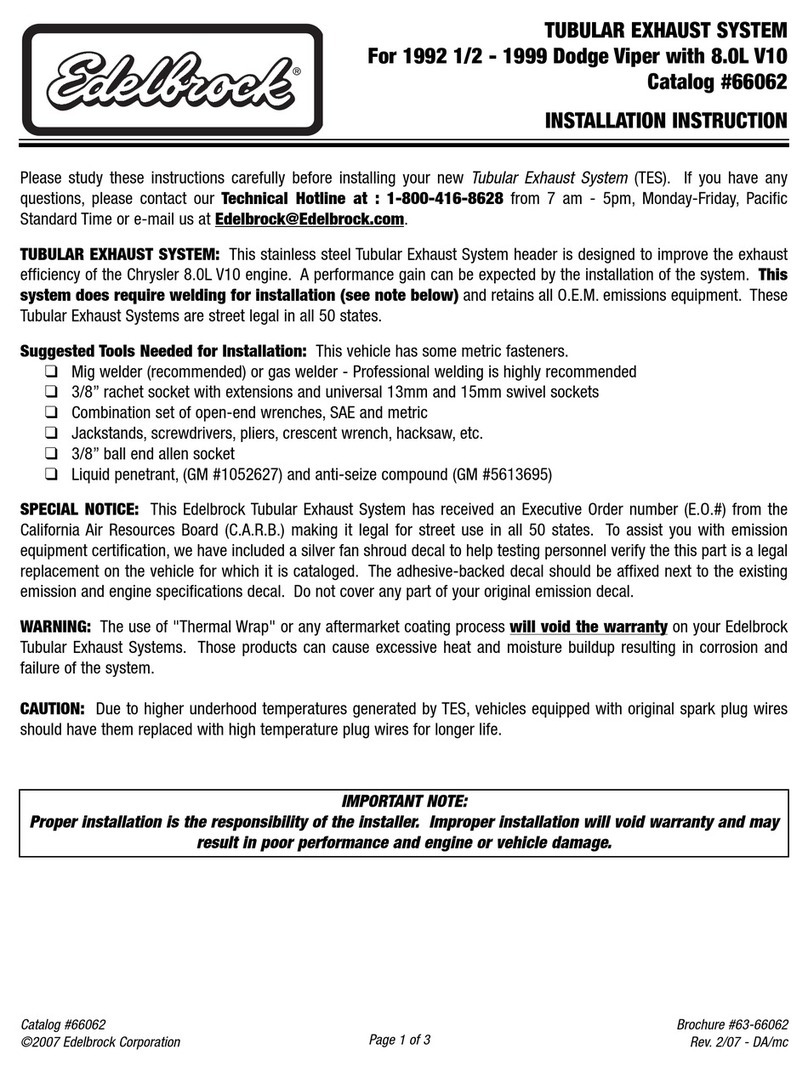
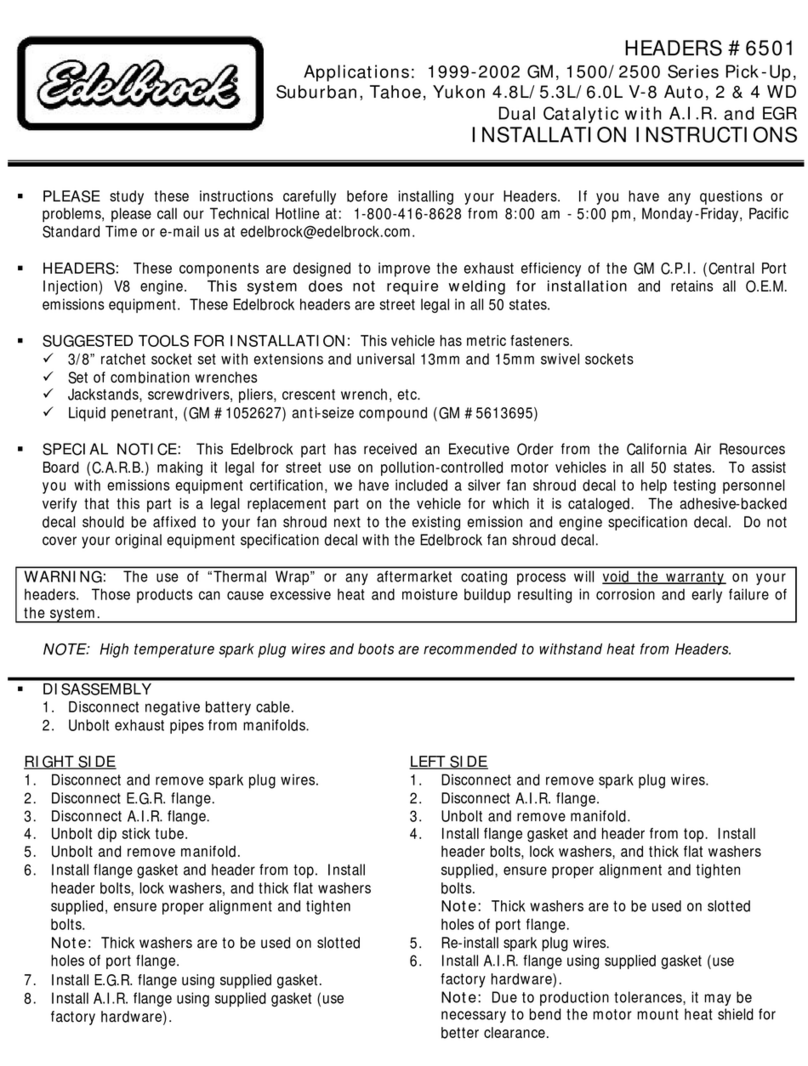
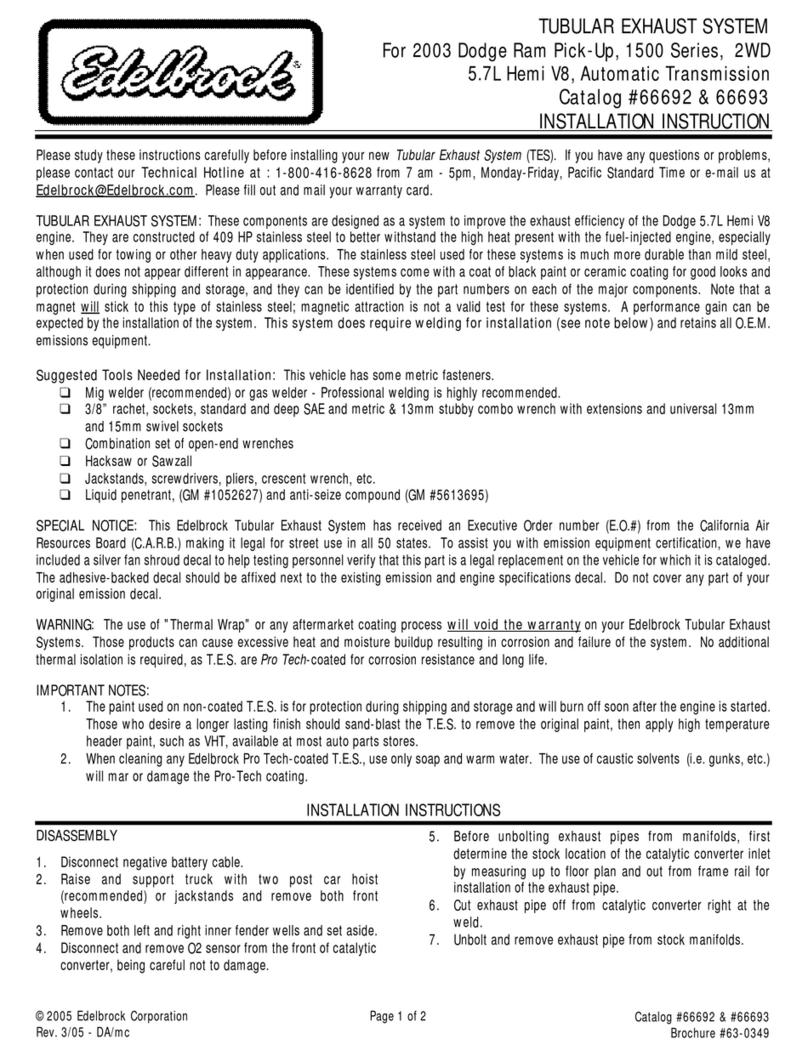
§PLEASE study these instructions carefully before installing your new Tubular Exhaust Systems (T.E.S.). If
you have any questions or problems, please call our Technical Hotline at: 1-800-416-8628 from
7:00 am -5:00 pm, Monday-Friday, Pacific Standard Time or e-mail us at [email protected].
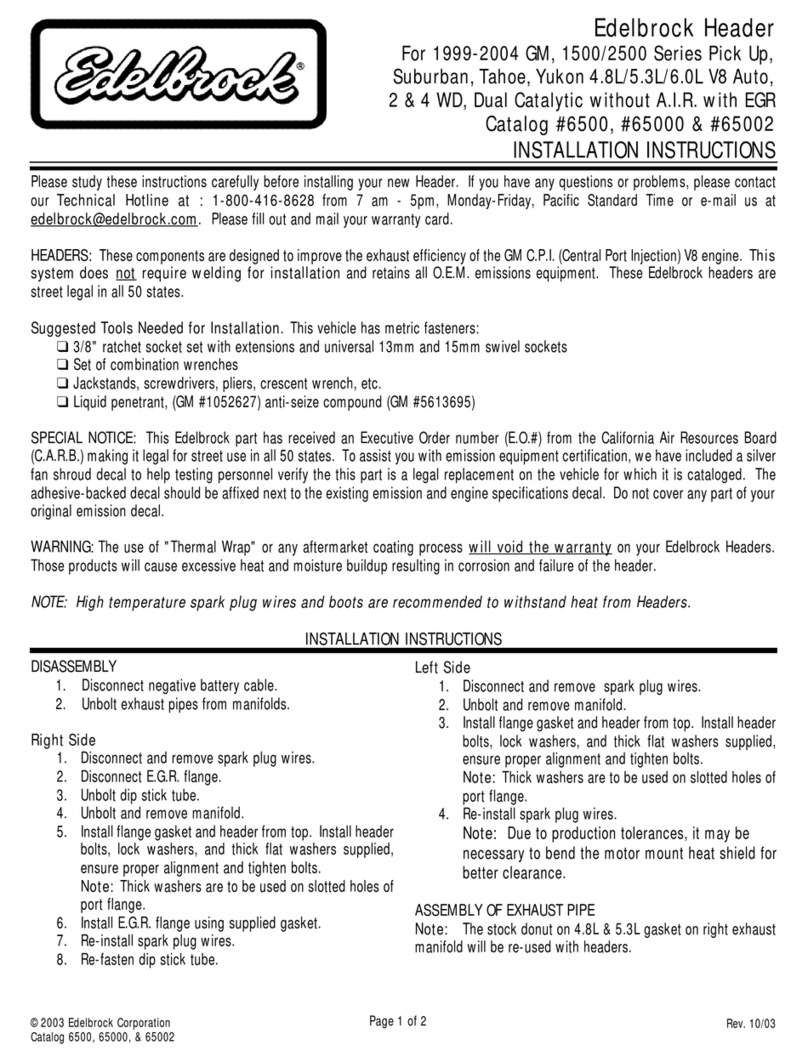
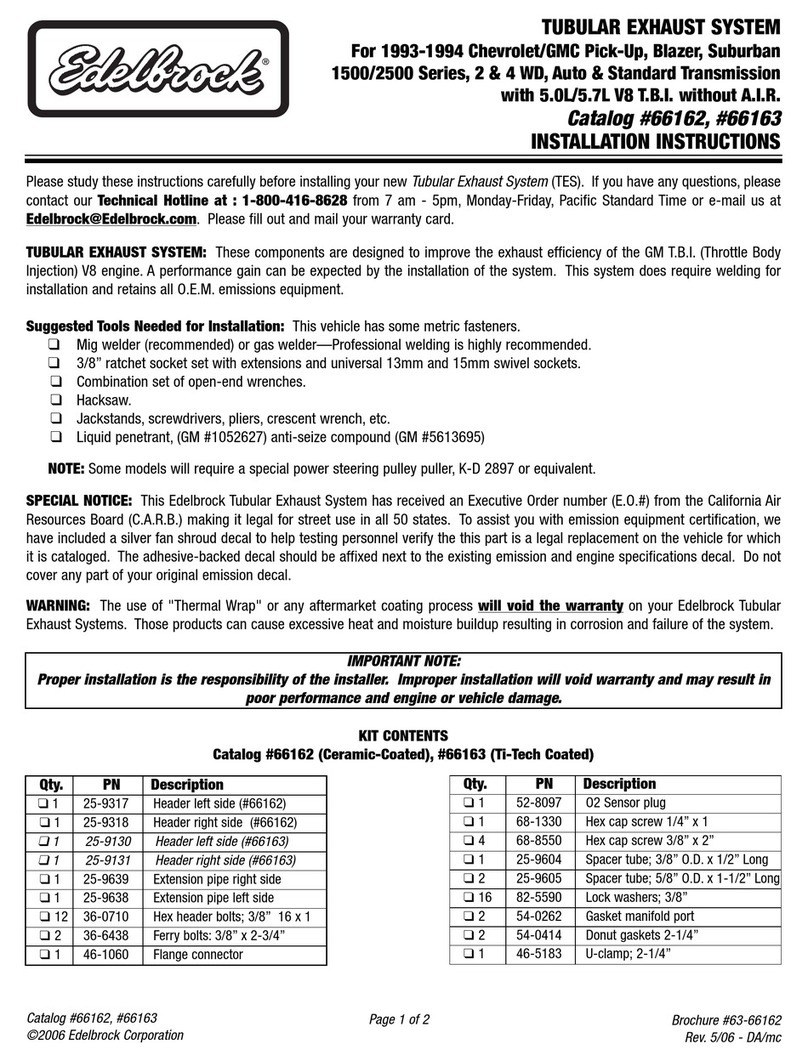
§TUBULAR EXHAUST SYSTEM: These components are designed as a system to improve the exhaust
efficiency of the 5.2L & 5.9L V8 engine. They are constructed of 409 HP stainless steel to better withstand
the high heat present with the fuel-injected engine, especially when used for towing or other heavy-duty
applications. The stainless steel used for these systems is much more durable than mild steel, although it
does not appear different in appearance. These systems come with a coat of black paint for protection
during shipping and storage. The parts can be identified by the part number on each of the major
components. Note that a magnet will stick to this type of stainless steel; magnetic attraction is not a valid
test for these systems. A performance gain can be expected by the installation of the system. Thissystem
requires welding for installation and retains all O.E.M. emissions equipment.
§SUGGESTED TOOLS FOR INSTALLATION: This vehicle has some metric fasteners.
ü3/8” ratchet socket set with extensions and universal 13mm and 15mm swivel sockets
ü12-point combination wrench set
üHack saw
üJackstands, screwdrivers, pliers, crescent wrench, etc.
üLiquid penetrant, (GM #1052627) anti-seize compound (GM #5613695)
§SPECIAL NOTICE: This Edelbrock part has received an Executive Order number (E.O. #) from the
California Air Resources Board (C.A.R.B.) making it legal for street use on pollution-controlled motor
vehicles in all 50 states. To assist you with emissions equipment certification, we have included a silver
fan shroud decal to verify that this part is a legal replacement part on the vehicle for which it is cataloged.
The adhesive-backed decal should be affixed to your fan shroud next to the existing emission and engine
specification decal. Do not cover your original equipment specification decal with the Edelbrock fan shroud
decal.
§WARNING: The use of “Thermal Wrap” or any aftermarket coating process will void the warranty on your
Tubular Exhaust System. Those products can cause excessive heat and moisture buildup resulting in
corrosion and early failure of the system.
§NOTES: The paint used on T.E.S. is for protection during shipping and storage and will burn off soon after
the engine is started. Those who desire a longer lasting finish should sand blast the T.E.S. to remove the
original paint, then apply high temperature header paint, such as VHT, available at most auto parts stores.
-High temperature spark plug wires and boots are recommended to withstand heat from T.E.S.
§DISASSEMBLY
1. Remove negative battery cable.
2. Raise vehicle and remove 02 sensor from factory Y-pipe; careful not to damage sensor.
3. Unbolt and remove factory Y-pipe and converter assembly.
4. Remove air inlet tube and air cleaner assembly.
5. Remove stock exhaust manifolds and gaskets.
6. Remove the center studs from cylinder head. (You will be using 5/16-18 x 1 header bolt in place of the
studs.)
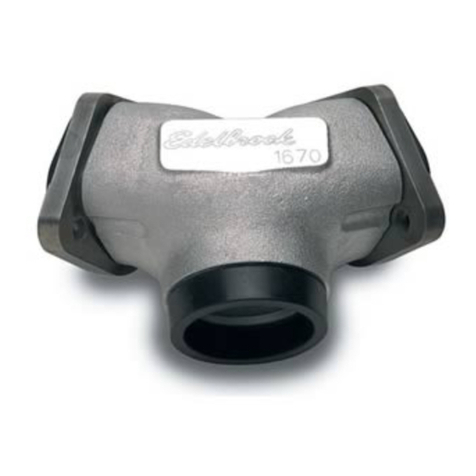
§ASSEMBLY
1. Install T.E.S. flange gaskets and manifolds from top along with header bolts, lock washers and flat
washers supplied. NOTE: The hardened flat washers in kit are to be used on the slotted flange bolt
holes.
2. Reinstall air inlet tube and air cleaner assembly.
3. Cut the OEM Y-pipe 2 3/8” forward of front weld of catalytic converter assembly. (See Figure # 1).
4. Place catalytic converter in vehicle on hanger bracket and exhaust pipe.
5. Install new Y-pipe and crossover using supplied donut gaskets and hardware.
6. Align the Y-pipe assembly with the catalytic converter inlet. Check clearance to surrounding
components. On 4-wheel drive vehicles, be sure you have adequate clearance between crossover
pipe and front drive-shaft flange and U-joint. Tack weld new Y-pipe to inlet of catalytic converter.
Carefully remove the Y-pipe and catalytic converter assembly and finish welding the Y-pipe to the
catalytic converter.
NOTE: 4-wheel drive vehicles, it will be easier to install Y-pipe assembly with the front drive-shaft
unbolted from front differential yoke.
7. Using the supplied tie wraps, you can secure the shifter cable to the transmission cooler lines as
needed; be careful not to kink cable or lines.
8. Re-install O2 sensor into new Y-pipe (use anti-seize on threads).
§FINAL INSPECTION
1. Check all hydraulic, vacuum and fuel lines to ensure there is adequate clearance to T.E.S.
components.
2. Reconnect battery.
3. At this point, it is a good idea to look over the complete installation to be sure nothing was missed.
4. Start vehicle and bring up to normal operating temperature and check for possible leaks, correct as
necessary.
5. Turn engine off and let cool then re-tighten all bolts again. (Do not do while HOT!).
§KIT CONTENTS:
1 –Manifold left side #25-9080 8 –Flat washers; 5/16”
1 –Manifold right side #25-9150 4 –Hex capscrews; 3/8” –16 x 2”
1 –Y-pipe #25-9615 2 –V8 port gaskets
1 –Crossover pipe #25-9664 2 –Donut gaskets
12 –header bolts; 5/16” –18 x 1” 1 –U-clamp; 2-/4”
12 –Lockwashers; 5/16” 2 –11” Tie wraps
4 –Lock washers; 3/8”
PLEASE complete and mail your warranty card. Be sure to write the model number of this product in the “Part
#______” space. Thank you.
Edelbrock Corporation
2700 California Street
Torrance, California 90503
2000 Edelbrock Corporation Revised 10/00
C:\WINWORD\Installation Instruction\6668-TES For 2000 Dodge Dakota & Durango.Doc
INSTALLATION INSTRUCTION
PROOFING FORM
Date:Date: 10/16/00
From:From: Dennis Allen
To:To: Jack Mayberry
Part No./Part No./
Description:Description: 6668 –TES for 2000 Dodge Dakota and
Durango, 5.2L & 5.9L V8, Auto Trans, 2 & 4 WD
Reviewed by: Date
Reviewed by: Date
Reviewed by: Date
Approved by: Date
No. of copies to be printed:
Received by: Date
F0505D

Other Edelbrock Automobile Part manuals

Edelbrock 5250 User manual

Edelbrock

Edelbrock 5250 User manual

Edelbrock 70402 User manual

Edelbrock

Edelbrock 70402 User manual

Edelbrock 67362 User manual

Edelbrock

Edelbrock 67362 User manual

Edelbrock 68512 User manual

Edelbrock

Edelbrock 68512 User manual

Edelbrock 17934 User manual

Edelbrock

Edelbrock 17934 User manual

Edelbrock Torker-Plus 265-400 User manual

Edelbrock

Edelbrock Torker-Plus 265-400 User manual

Edelbrock Super Victor Race Manifold 2928 User manual

Edelbrock

Edelbrock Super Victor Race Manifold 2928 User manual

Edelbrock 5420 User manual

Edelbrock

Edelbrock 5420 User manual

Edelbrock 5247 User manual

Edelbrock

Edelbrock 5247 User manual

Edelbrock 66042 User manual

Edelbrock

Edelbrock 66042 User manual

Edelbrock 5708 User manual

Edelbrock

Edelbrock 5708 User manual

Edelbrock 5726 User manual

Edelbrock

Edelbrock 5726 User manual

Edelbrock 5682 User manual

Edelbrock

Edelbrock 5682 User manual

Edelbrock Russell 651105 User manual

Edelbrock

Edelbrock Russell 651105 User manual

Edelbrock 6719 User manual

Edelbrock

Edelbrock 6719 User manual

Edelbrock PERFORMER-PLUS 2182 User manual

Edelbrock

Edelbrock PERFORMER-PLUS 2182 User manual

Edelbrock Edelbrock Headers 65632 User manual

Edelbrock

Edelbrock Edelbrock Headers 65632 User manual

Edelbrock 72950 User manual

Edelbrock

Edelbrock 72950 User manual

Edelbrock Predator Carburetor Owner's manual

Edelbrock

Edelbrock Predator Carburetor Owner's manual

Edelbrock 3628 User manual

Edelbrock

Edelbrock 3628 User manual

Edelbrock 2828 User manual

Edelbrock

Edelbrock 2828 User manual

Edelbrock 5671 User manual

Edelbrock

Edelbrock 5671 User manual

Edelbrock 66013 User manual

Edelbrock

Edelbrock 66013 User manual

Edelbrock Torker II 5021 User manual

Edelbrock

Edelbrock Torker II 5021 User manual

Popular Automobile Part manuals by other brands

Toyota All Toyota Models Replacement guide

Toyota

Toyota All Toyota Models Replacement guide

Gibson 69524 installation instructions

Gibson

Gibson 69524 installation instructions

AUTOTECH 10.215.352 363 installation instructions

AUTOTECH

AUTOTECH 10.215.352 363 installation instructions

Metra Electronics 99-9501B installation instructions

Metra Electronics

Metra Electronics 99-9501B installation instructions

DAB BMH - BPH Series Instruction for installation and maintenance

DAB

DAB BMH - BPH Series Instruction for installation and maintenance

ICON 51201 installation instructions

ICON

ICON 51201 installation instructions

Axxess OESWC-LAN11-RF installation instructions

Axxess

Axxess OESWC-LAN11-RF installation instructions

Siemens BACNET 125-5037 owner's manual

Siemens

Siemens BACNET 125-5037 owner's manual

Panasonic Tachometer DVOP001 operating manual

Panasonic

Panasonic Tachometer DVOP001 operating manual

Beat-Sonic SLA-23A installation manual

Beat-Sonic

Beat-Sonic SLA-23A installation manual

Holland Challenger Series Operating Instructions & Maintenance Procedures

Holland

Holland Challenger Series Operating Instructions & Maintenance Procedures

Skyjacker FJ730K installation instructions

Skyjacker

Skyjacker FJ730K installation instructions

BENDIX ET-2 ELECTRONIC THROTTLE manual

BENDIX

BENDIX ET-2 ELECTRONIC THROTTLE manual

Harbor Freight Tools Pittsburgh Automotive 95553 user manual

Harbor Freight Tools

Harbor Freight Tools Pittsburgh Automotive 95553 user manual

Vintage Air 751170 manual

Vintage Air

Vintage Air 751170 manual

Toshiba 48-1250 A instruction manual

Toshiba

Toshiba 48-1250 A instruction manual

Atmel Car Access and Tire Pressure Monitoring... brochure

Atmel

Atmel Car Access and Tire Pressure Monitoring... brochure

Volvo B21FT Installation

Volvo

Volvo B21FT Installation

manuals.online logo
manuals.online logoBrands
  • About & Mission
  • Contact us
  • Privacy Policy
  • Terms and Conditions

Copyright 2025 Manuals.Online. All Rights Reserved.