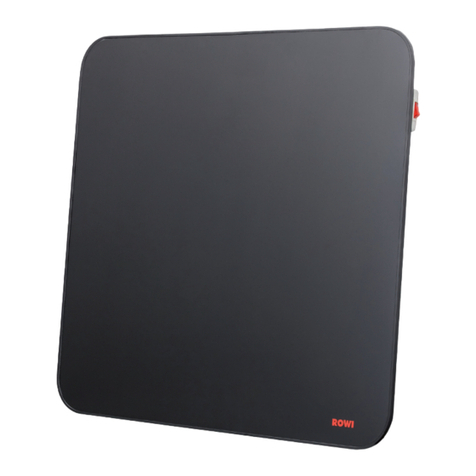
OPERATING INSTRUCTIONS
Please verify the unit is undamaged.
1. Check that the power switch at the back of the heater is OFF, and then plug the cord
into a 110V outlet.
2. Turn the power switch on. Then press the ON/OFF button on the control panel on the
top of the unit. The heater will run at high heat. You will see a large red light across
the front. If you want low heat, push the button that says Heat low/high once. Low
heat will come on. You can tell that it is low heat because the red light across the front
will be smaller. If you want cooling, push the fan button and the light across the front
will turn blue.
3. FAN: Press the FAN button on the control panel. A blue light will come on and the
PTC will stop working. Only the fan will run, producing a powerful stream of air to
cool you and your surroundings.
4. SWIVEL: When you press the SWIVEL button, the heater will oscillate automatically.
When you press it again, it will stop.
5. ON/OFF: When you press the ON/OFF button after the unit is on, the unit will shut off.
The fan will automatically blow for another 20 seconds, which helps to extend the
lifetime of the PTC.
WARNING:
When the heater is covered or blocked by an object while it is heating, the sensor will
shut the heater down. After it cools down, it can be restarted.
Don’t cover the heater or it will overheat.
Don’t touch the front screen of the unit while the heater is running.
Don’t block the air intake. Keep at least 4" of space between the air intake and other objects.
PRODUCT DIAGRAM
6. Thefrontscreenisfortheprotectionoftheuser.DONOTtouchthescreenwhile
theheaterisrunning.
7. Extremecautionisnecessarywhenanyheaterisusedbyornearchildrenorthe
disabled,orwhentheheaterisleftoperatingandunattended.
8. DONOToperateanyheaterwithadamagedcordoriftheheatermalfunctions,has
beendroppedordamagedinanymanner.Returnheatertoauthorizedservice
facilityforexamination,electricalormechanicaladjustmentorrepair.
9. DONOTangletheheatermorethan10degrees.Donotlayitdown.
10. DONOTputthisheaterwhereitmayfallintoabathtub,sinkorincontactwith
water.DONOTimmerseinwaterorotherliquids.
11. DONOTtouchthecontrolpanelorplugwithwethands.
12. DONOTruncordundercarpeting.DONOTcovercordwiththrowrugs,runnersor
similarcoverings.Arrangecordawayfromtrafficareaandwhereitwillnotbe
trippedover.
13. DONOTinsertorallowforeignobjectstoenteranyventilationorexhaustopening
asthismaycauseanelectricshockorfire,ordamagetheheater.
14. Topreventapossiblefire,DONOTblocktheairintakesorexhaustinanymanner.
DONOTuseonsoftsurfaces,likeabed,whereopeningsmaybeblocked.
15. Aheaterhashotandarcingorsparkingpartsinside.DONOTuseinareaswhere
gasoline,paint,explosiveand/orflammableliquidsareusedorstores.Keepunit
awayfromheatedsurfacesandopenflames.
16. Donotplugtheunitintoanyothercordi connecteddevicesuchasapowerstrip,
surgeprotector,multipleoutletadaptor,groundingadaptororoutleti typeair
fresheners.Plugintoa110V15amporhighergroundedcircuitreceptacleonly.Do
notplugtheheaterintoaloosefittingorbrokenreceptacle.Thisheaterisforusein
110voltoutlets.
17. Toavoidfireorshockhazard,plugtheunitdirectlyintoa110VACelectricaloutlet.
18. Todisconnectheater,turnthecontroltoOFF,thenremovetheplugfromtheoutlet.
Pullfirmlyontheplug,DONOTunplugbypullingthecord.
19. Alwaysunplugtheunitbeforemovingorcleaning,orwhenevertheheaterisnotin
use.
20. Useonlyforintendedhouseholdusesasdescribedinthismanual.Anyotheruse not
recommendedbythemanufacturermaycausefire,electricshock,orinjury.The use
ofattachmentsnotrecommendedorsoldbyauthorizeddealersmaybe hazardous.
21. Alwaysuseonadry,levelsurface.
22. DONOTuseoutdoorsoronconstructionsites.
23. WARNING:Toreducetheriskoffireorelectricshock,DONOTusethisunitwith
anysolidi statespeedcontroldevice.
24. DONOTattempttorepairoradjustanyelectricalormechanicalfunctionsonthis
unit.Doingsowillvoidyourwarranty.Theinsideoftheunitcontainsnouser
serviceableparts.Qualifiedpersonnelshouldperformallservicing.
25. Whencleaningthesurfaceoftheheater,makesureitisturnedoffandcleanwitha
softclothandsoap.
26. Don’tusetheheaterindustyareas.
27. Savetheseinstructions.
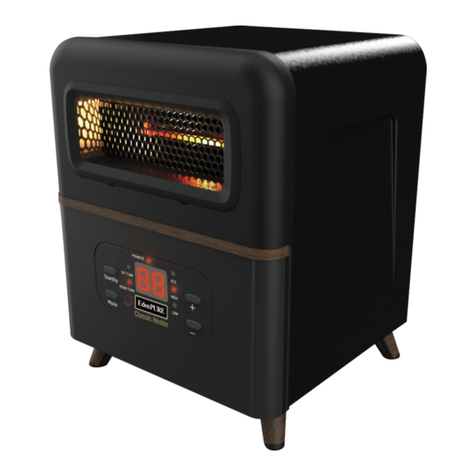
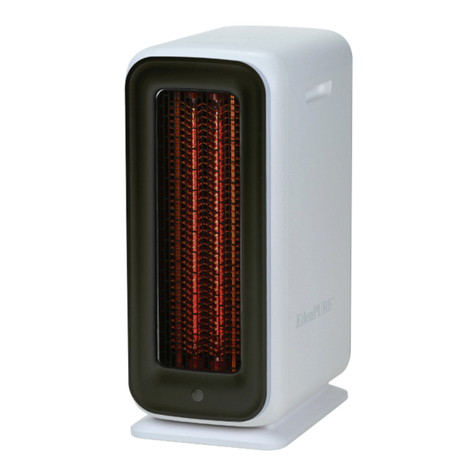
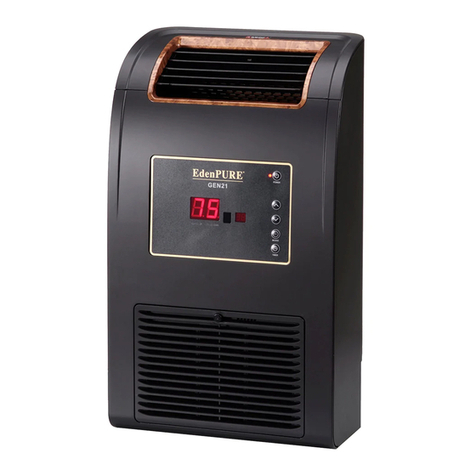
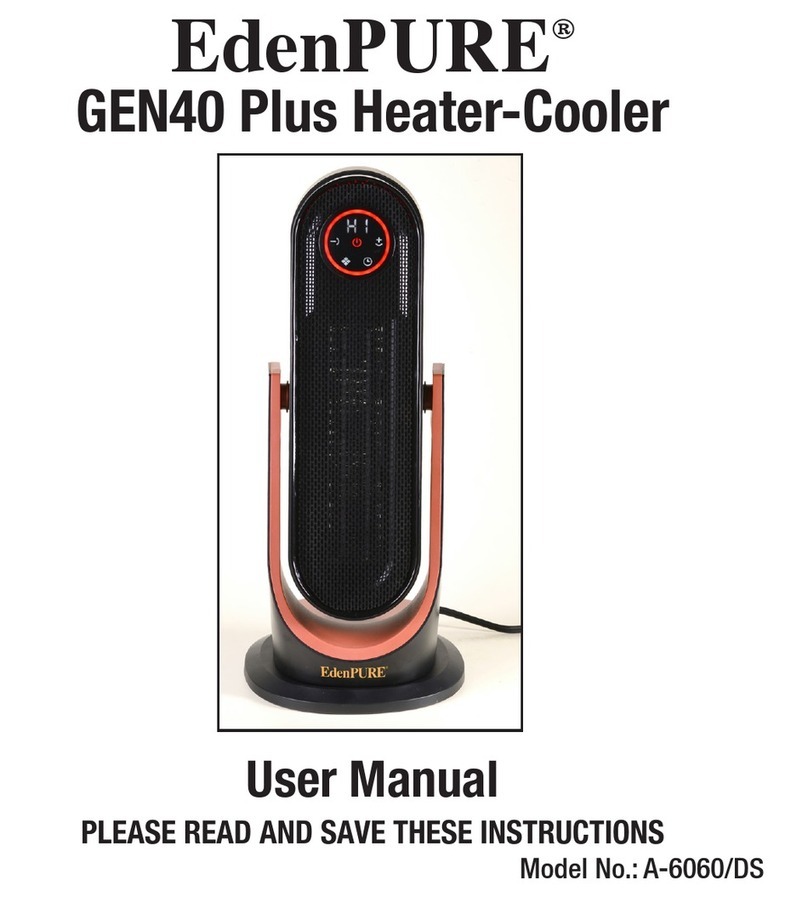
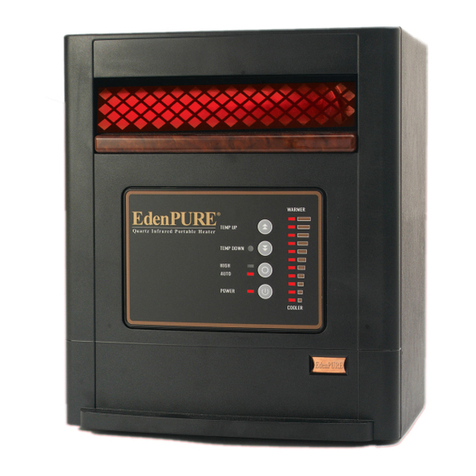
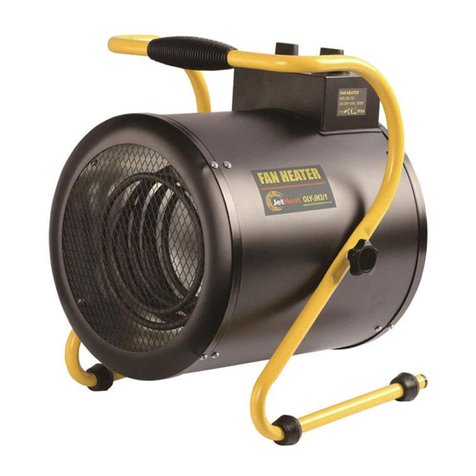
Thank you for choosing the EdenPURE®GEN70 Super Personal Heater/Cooler. This owner’s
manual will provide you with valuable information necessary for the proper care and
maintenance of your new product. Please take a few minutes to thoroughly read the instructions
and familiarize yourself with your new heater.
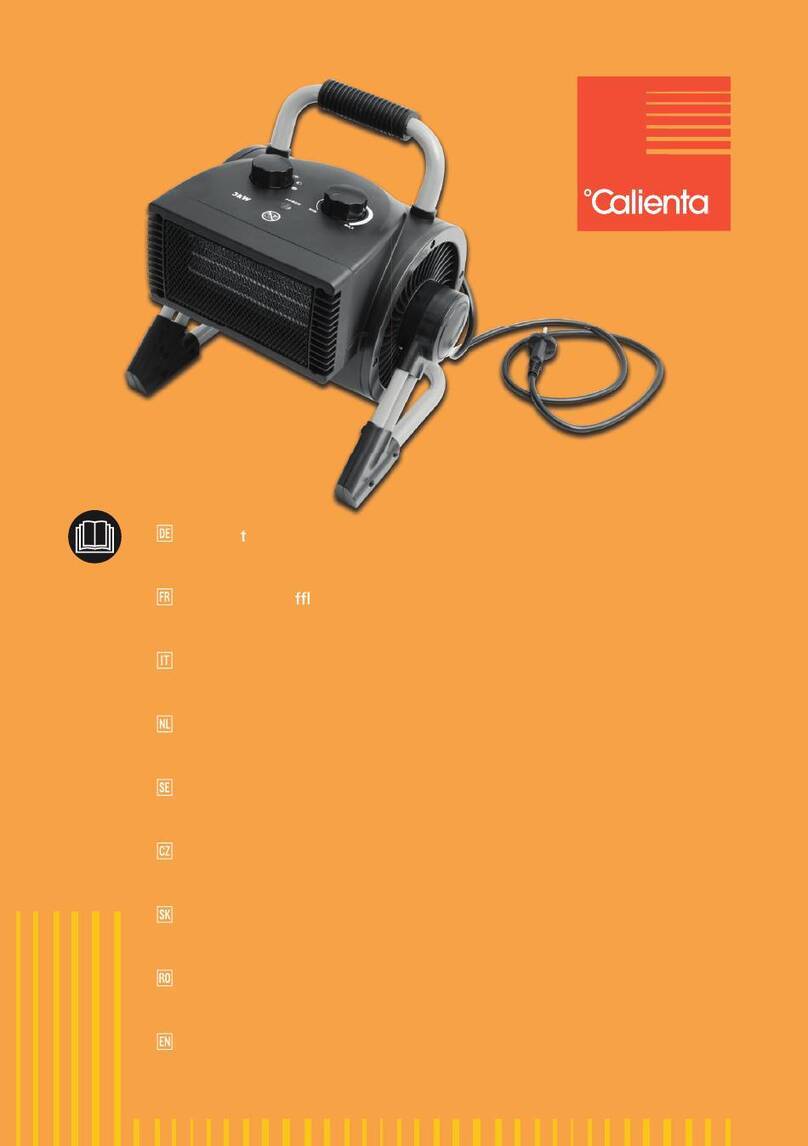
This heater is equipped with a light-touch button and front indicator light (red as the heater, blue
as the fan). It has a large fan to quietly provide heat. The heater has a swivel function that
allows it to heat a wider area. It has a handle on the back for easy carrying.
The EdenPURE®GEN70 Super Personal Heater/Cooler uses the PTC as the thermal unit, which
enables the unit to heat up quickly, have a high conversion rate and no exposed flames so it’s
suitable for your home or office.
SPECIFICATIONS
Name: EdenPURE®GEN70 Super Personal Heater/Cooler
Model: A6042; DH-QN02
Electric Shock Class: II
Rated Voltage: 120V
Rated Power: 450W/950W
Rated Frequency: 60Hz
IMPORTANT INSTRUCTIONS
WARNING
IMPROPER USE OF THIS HEATER COULD RESULT IN RISK OF FIRE, ELECTRIC SHOCK,
AND INJURY TO PERSONS
WARNING
ANY REQUIRED SERVICE SHOULD ONLY BE
PERFORMED BY AN AUTHORIZED SERVICE REPRESENTATIVE AND ANY
OTHER REPAIRS ATTEMPTED BY ANYONE OTHER THAN AN AUTHORIZED
SERVICE REPRESENTATIVE WILL VOID THE WARRANTY.
FOR AUTHORIZED SERVICE, CALL 1-800-225-6595 OR VISIT WWW.EDENPURESUPPORT.COM
WARNING
RISK OF ELECTRICAL SHOCK DO NOT OPEN
NO USER-SERVICEABLE PARTS INSIDE
1. Read ALL instructions before using the EdenPURE® GEN70 Super Personal
Heater/Cooler.
2. CAUTION: Risk of Electric Shock: DO NOT open or try to repair the heater yourself.
3. This heater may get hot when in use. To avoid burns, DO NOT let bare skin touch
hot surfaces.
4. Keep combustible materials such as furniture, pillows, bedding, paper, clothes and
curtains at least 3 ft. from the front, sides and rear of the heater.
5. DO NOT place towels or other objects on the heater.
234


