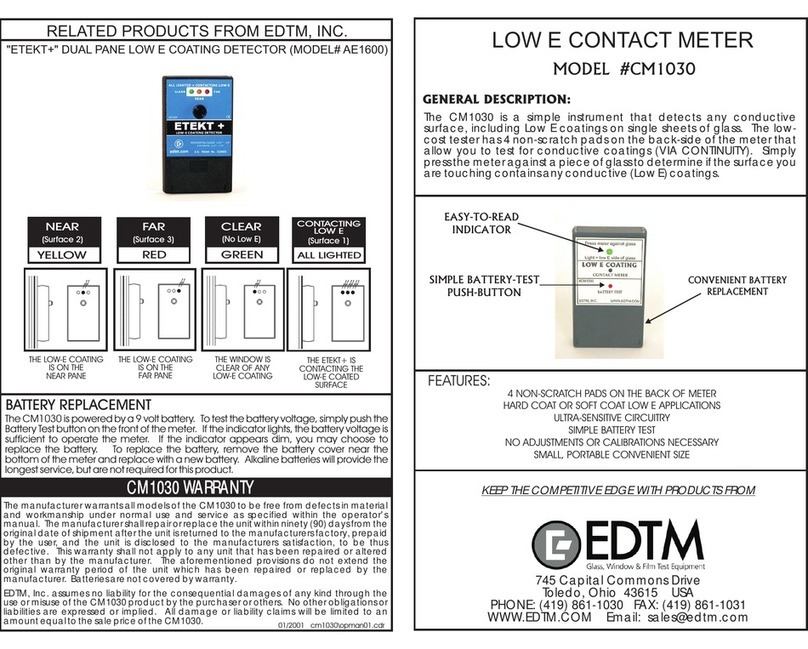
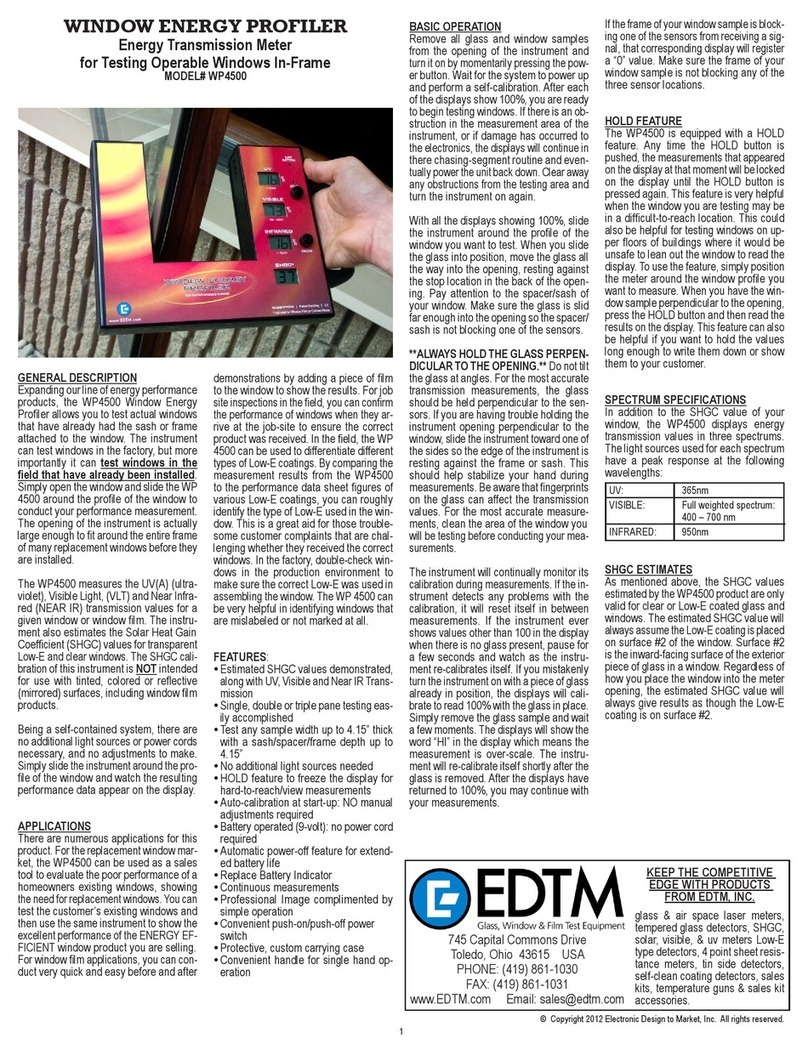
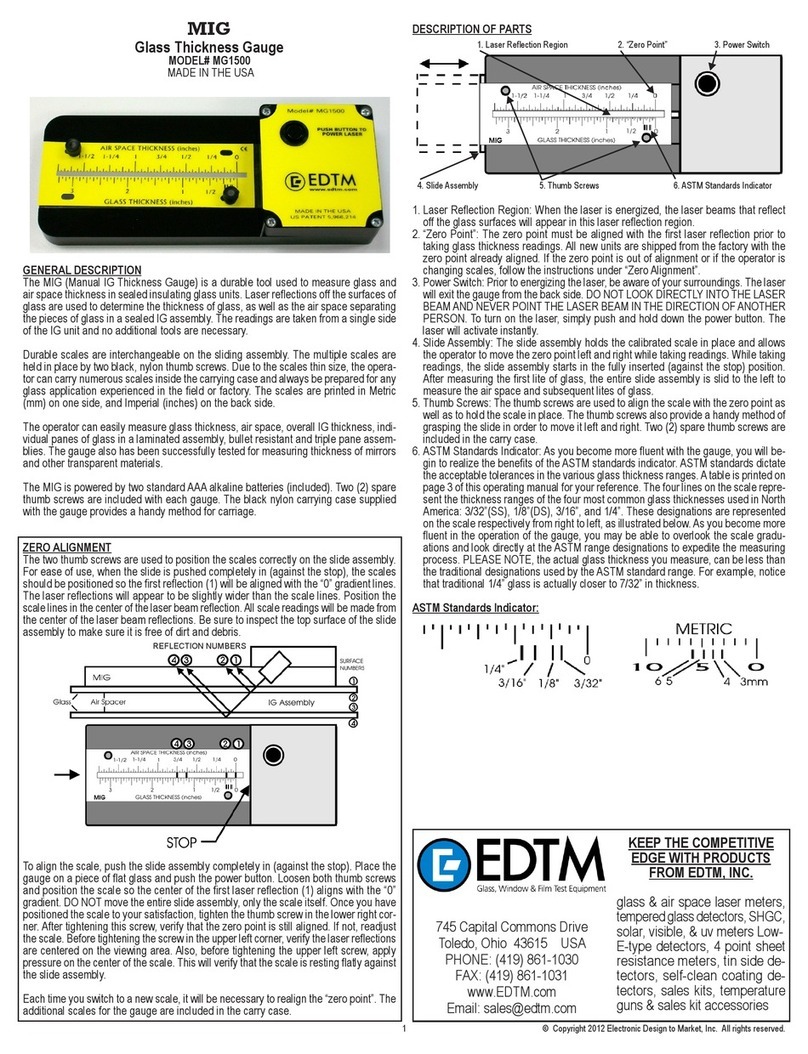
EDTM TINT-CHEK PRO TC3800 User manual

CALIBRATIONSTANDARDS(PART#TC3811)
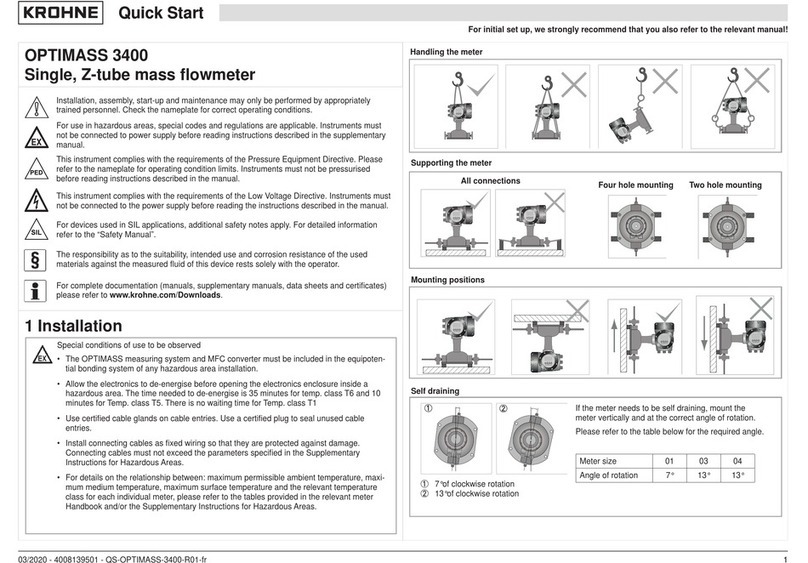
Two light transmission test standards accompany each meter. The
standards have VLT values of approximately 27% and 59%. The actual
calibrated value of each standard is indicated on each sample. The
standardswere createdusing a NISTtraceablesource. Usethe standards
to verify that your meter measures the VLT values within +/- 2% of their
indicated values. You should regularly verify that your meter is operating
within specifications. Before using the standards, ensure they are clean
and not scratched. Blow off any dust that may appear on the surface, and
remove any finger prints with a micro-fiber cloth. If the meter measures
outsidethe+/-2% range,pleaseinspectthecleanliness of thereflectorarea
of the REFLECTOR unit, and use compressed air to blow off the back side
of the INSTRUMENT unit as well. If problems still exist, contact the
manufacturerforapossiblesolution. When testing with the calibration
standards, conduct your
measurement in the same
manner as testing an actual
window. When not in use, store
the calibration standards in the
re-sealable bag they were
packaged in, and keep them
inside the carrying case for best
protection. If the calibration
standards become scratched or
damaged, replacement sets can be ordered from the manufacturer. The
partnumberforthereplacementstandardsetisTC3811.
WARRANTY
ThemanufacturerwarrantsallmodelsoftheTC3800tobefreefromdefects
in material and workmanship under normal use and service as specified
within the operator's manual. The manufacturer shall repair or replace the
unit within twelve (12) months from the original date of shipment after the
unit is returned to the manufacturer's factory, prepaid by the user, and the
unit is disclosed to the manufacturer's satisfaction, to be thus defective.
This warranty shall not apply to any unit that has been repaired or altered
other than by the manufacturer. The aforementioned provisions do not
extend the original warranty period of the unit which has been repaired or
replacedbythemanufacturer. Batteriesarenotcoveredbywarranty.
The manufacturer assumes no liability for the consequential damages of
anykind through theuse ormisuseoftheTC3800 productby thepurchaser
or others. No other obligations or liabilities are expressed or implied. All
damageor liability claimswillbelimited toan amountequaltothe saleprice
oftheTC3800, as established bythemanufacturer.
TINT-CHEK PROUSER GUIDE Model# TC3800
S
Wavelength............................ 550 Nanometers
Resolution.............................. 0.1%
Accuracy................................ +/- 2 Percentage Points
Repeatability ......................... 1 Percentage Point
Measurement Range............. 0 to 100% Light Transmission
Operating Temperature......... 0 F to 122 F (-17 C to +50 C)
Storage Temperature............ -4 F to 158 F (-20 C to +70 C)
Light source.......................... LED
Powered by ......................... 9V Alkaline Battery (Supplied)
Sample Thickness................ 0 to 0.25 inches (0 to 6.5 mm)
Minimum Sample Size.......... 1 inch x 1 inch (25 x 25mm)
Instrument Dimensions......... 5.1 x 2.6 x 2.0 inches (130 x 65 x 52mm)
Instrument Weight................. 0.78 pound (0.35kg)
PECIFICATIONS
BATTERYREPLACEMENT
This instrument is powered by a single 9-volt alkaline battery (included).
When the battery voltage is getting low, the battery indicator will illuminate.
The instrument is still operable at this point, however it is recommended
that the battery be replaced soon. Alkaline batteries are recommended for
thisproduct.
The TINT-CHEK PRO Window Tint Meter tests the Light Transmission %
(VLT) of automotive windows, as well as flat glass applications. The two-
piece design allows for testing of the windshield, as well as rear and side
windows. The two piece instrument consists of a REFLECTOR unit and an
INSTRUMENT unit that self-calibrates at start-up. The INSTRUMENT unit
contains all of the electronics and is battery powered. The REFLECTOR
unit does not contain any electronics and simply houses the reflector and
magnetstohelpinaligningthetwoenclosurestogetherformeasurements.
INSTRUMENT
UNIT
REFLECTOR
UNIT
745 Capital Commons Drive
Toledo, Ohio 43615 USA
PHONE: (419) 861-1030
FAX: (419) 861-1031
WWW.EDTM.COM
Email: [email protected]
TINT-CHEK.COM EDTM.COM
MADE IN THE USA

Clean the window area being tested.
Dirty glass can affect the accuracy of
yourresults.
Place both units of the instrument
together, back-to-back, with no glass
between them. Allow the magnets to
help align the two units, and then turn
thepoweron.
Wait for the instrument to register a
value of 100% on the display, and then
pullthetwoinstrumenthalvesapart.
Place the reflector unit on the inside of
the window being tested. Push the
reflector enclosure FIRMLY against the
window so the suction cups secure the
enclosureinplace.
Place the instrument unit on the exterior
ofthe windowbeingtested. Again allow
the magnets to help align the two
instrumenthalves.
Oncetheinstrumentunitisinposition,
momentarily press and release the
power switch to view the Light
Transmissionresults(VLTvalue).
After registering the VLT value, remove
the instrument from the window and it
will automatically power off, clearing
your VLT value from the display after a
short delay. Repeat the process from
Step 1 if you would like to confirm the
ac cu r ac y o f y our p r ev iou s
measurement.
OPERATINGTIPS
Makesurethetwoenclosuresfit
togetherproperlywhenyoubegin.
Theedgesofthesuctioncupsshould
notbebentoralteredinanyway. You
willnoticethefeltpadsontheback
oftheenclosuresarecontouredsothey
donottouchthesuctioncupswhen
thetwoenclosurehalvesareplaced
togetherproperly.
When testing the rear window of automobiles, take notice of the defrost
lines that are printed on the interior of the window. Suctions cups will NOT
stickif theyarepositioned onthedefrost lines. If youcannot findalocation
where both suction cups will miss the defrost lines, rotate the reflector unit
90degreestopositionbothsuctioncupsinbetweenthelines.
Whenyour instrumentisnot beingused,please storeitin thecarryingcase
that was included. This will protect the product and keep it from getting
damagedor dirtywhilebeingstored. Aswith anytestequipment,we donot
recommend storing the instrument in your automobile overnight during
extremetemperatureseasons.
If at any time during the operation of the instrument you want to power the
unitoff,pressANDHOLDthepowerswitchandtheunitwillshutoff.
OPERATING TIPS . . . Continued
The reflector area must be properly maintained
in order for the instrument to continue providing
accurate results. Use compressed air to blow off
any dust that may accumulate over time. If there
are smudges on the reflector that can not be
removed by air, use a micro-fiber cloth to wipe
the lens clean.
1.
2.
3.
4.
5.
6.
7.
KEEP THIS REFLECTOR
AREA CLEAN
TROUBLESHOOTING
Incorrectusageorthe encounter ofunexpectedconditions while testingcan
resultinthefollowingERRORCODES:
E1: Themeasured VLTvalue isLESSTHAN the allowedpercentage. The
E1error may occurifthe instrument isnotproperlyaligned withthereflector
atstart-up orduringthe actualmeasurement. Itcan alsooccurif youtakea
measurementwithoutplacingitonglass,orareholdingtheinstrumentaway
from the glass surface or in free air. To fix this problem, turn the instrument
off and make sure it is properly aligned with the reflector, with no glass in
between the two enclosures. Now turn the instrument on and conduct a
newtest.
E2: Themeasured VLTvalue isGREATER THANtheallowed percentage.
The E2 error may occur if the instrument is not properly aligned with the
reflector at start-up, or placed against a different surface other than the
reflector at start-up. To fix this problem, turn the instrument off and make
sureit isproperlyaligned with thereflector,with noglassin between thetwo
enclosure. Turntheinstrumentonandconductanewtest.
E3: Thestartingvaluethatwasobtainedonthe reflector unittocalibrate the
deviceat 100%was differentthanexpected. Make sure youproperlyalign
the two enclosures at start-up. Also make sure the lens of the reflector is
clean. Use compressedairto blow offdust, oramicro-fiber clothto remove
smudges.
Quick-Start Directions
Steps 2 & 3Steps 5 & 6 Step 4
NO
YES
o
ROTATED 90
Other EDTM Measuring Instrument manuals
