manuals.online logo
Brands
  1. Home
  2. •
  3. Brands
  4. •
  5. ekwb
  6. •
  7. Computer Hardware
  8. •
  9. ekwb EK-FB ASUS R5-E10 Guide

ekwb EK-FB ASUS R5-E10 Guide

All disclosures, notices and warranty conditions are being written on EKWB web page. Please check terms of use. Published on July 20th 2016
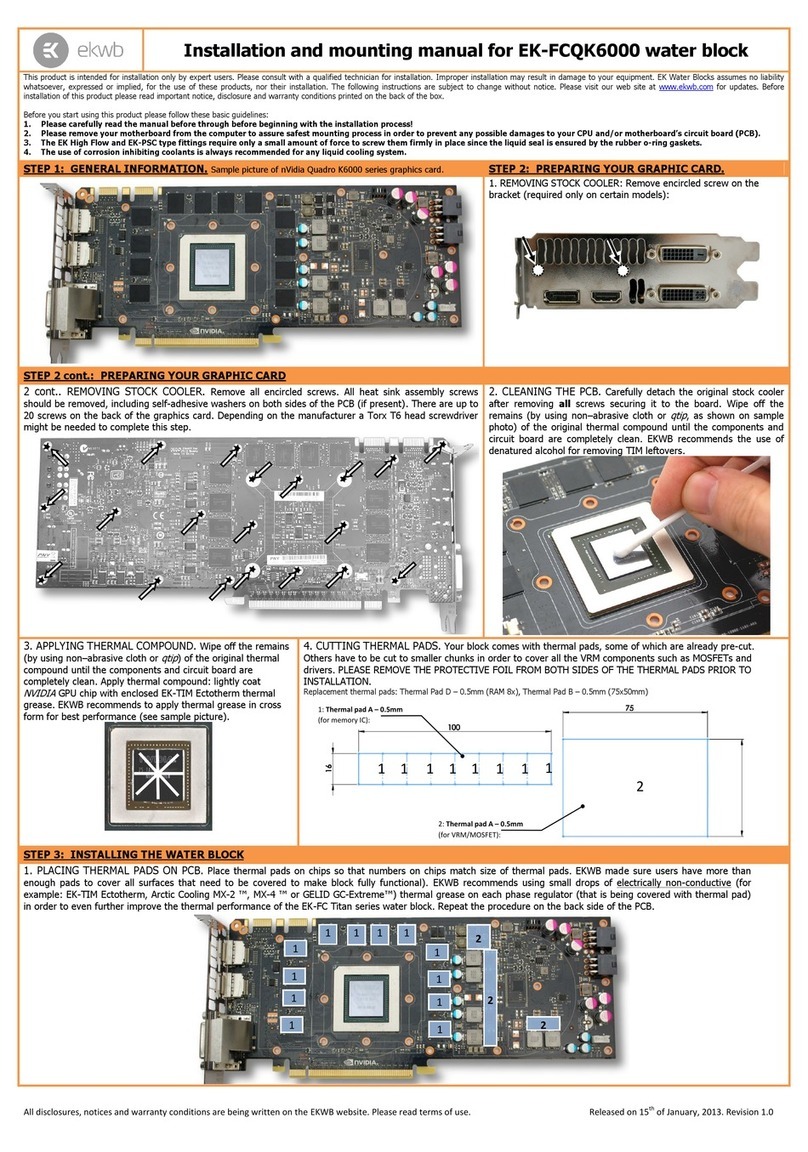
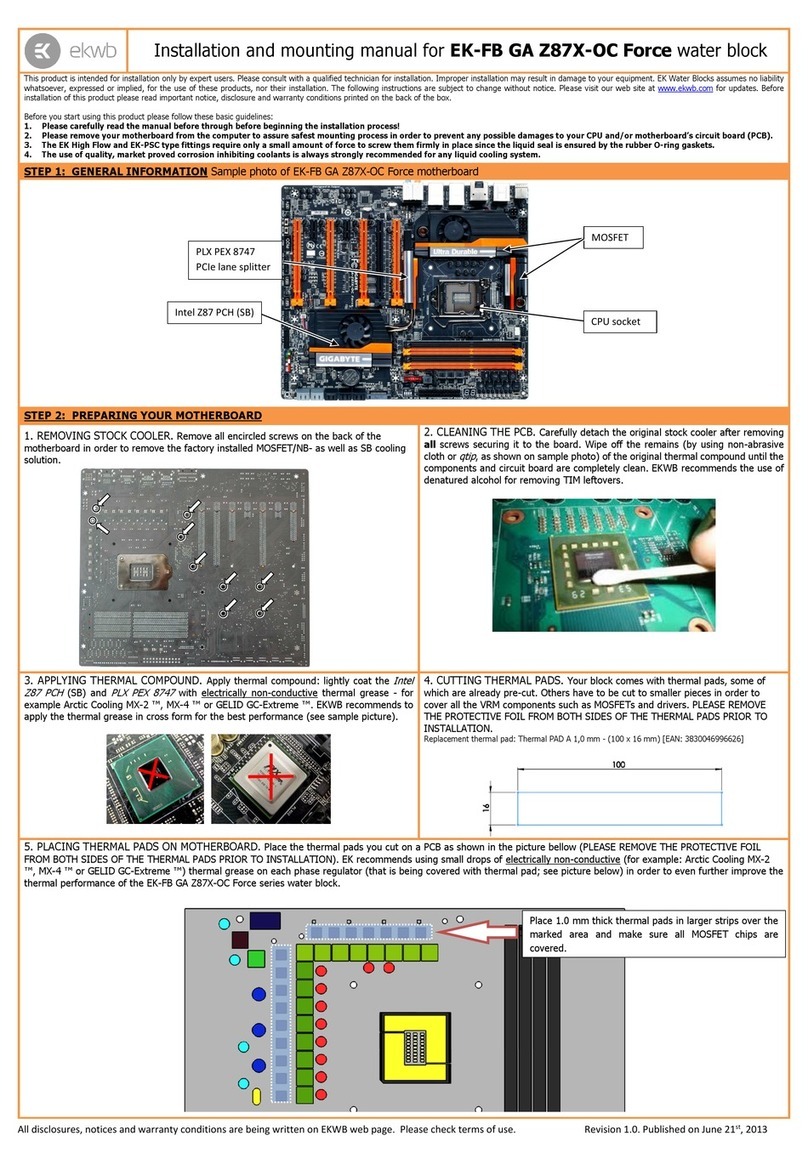
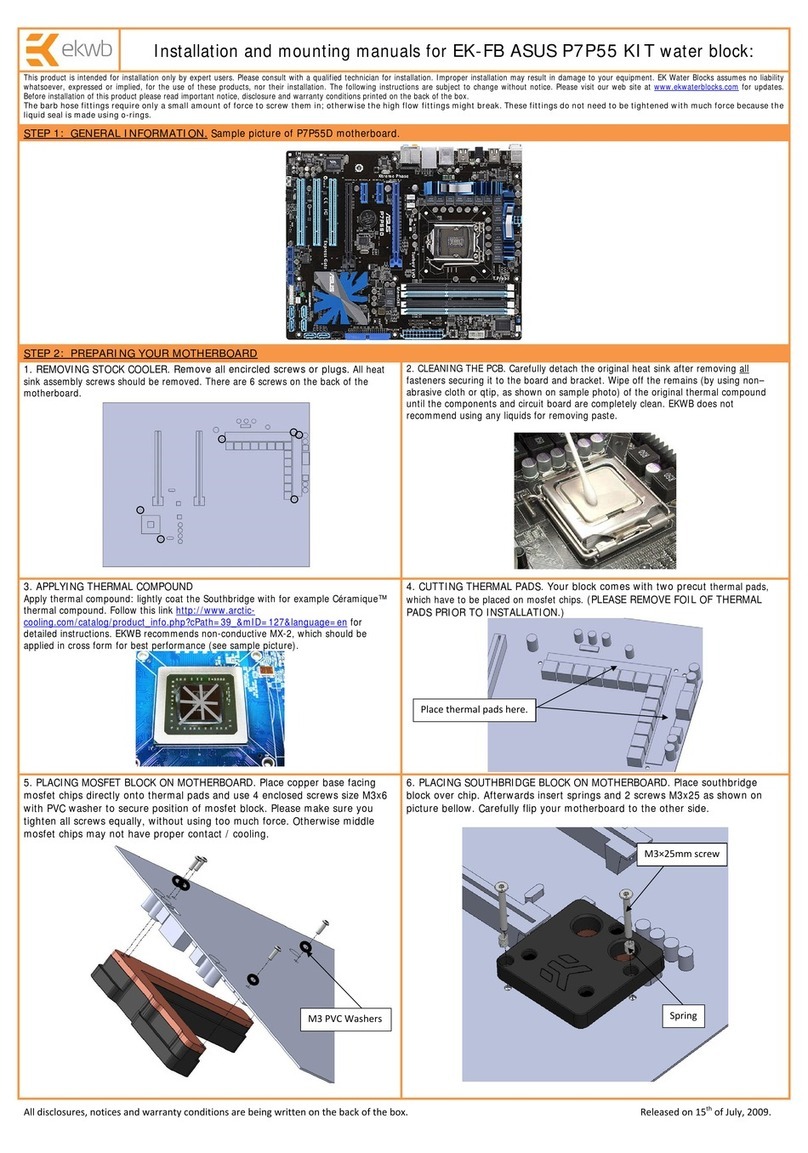
This product is intended for installation only by expert users. Please consult with a qualified technician for installation. Improper installation may result in damage to your equipment. EK Water Blocks assumes no liability
whatsoever, expressed or implied, for the use of these products, nor their installation. The following instructions are subject to change without notice. Please visit our web site at www.ekwb.com for updates. Before installation
of this product please read important notice, disclosure and warranty conditions printed on the back of the box.
Before you start using this product please follow these basic guidelines:
1. Please carefully read the manual before through before beginning with the installation process!
2. Please remove your motherboard from the computer to assure safest mounting process in order to prevent any possible damages to your CPU and/or motherboard’s circuit board (PCB).
3. The EK High Flow and EK-ACF type fittings require only a small amount of force to screw them firmly in place since the liquid seal is ensured by the rubber O-ring gaskets.
4. The use of quality, market proved corrosion inhibiting coolants is always strongly recommended for any liquid cooling system.
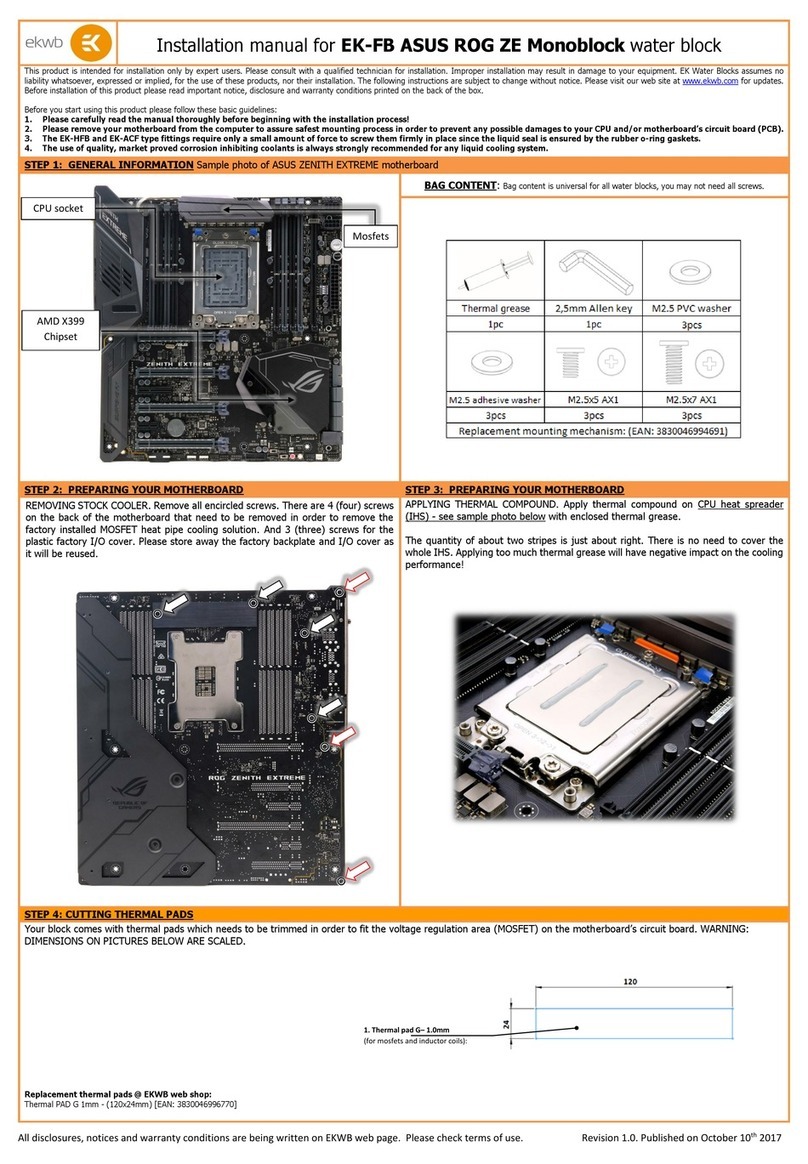
STEP 1: GENERAL INFORMATION Sample photo of ASUS Rampage V Edition 10 motherboard
BAG CONTENT: Bag content is universal for all water blocks, you may not need all screws.
STEP 2: PREPARING YOUR MOTHERBOARD
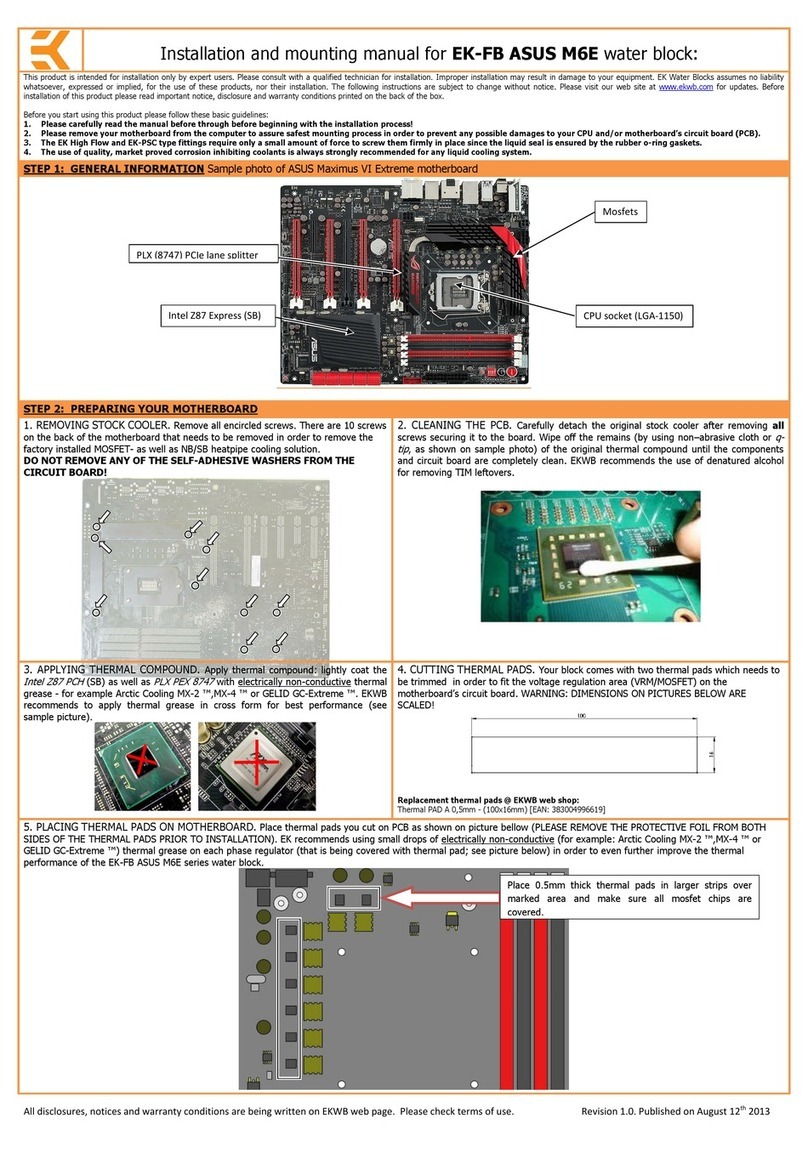
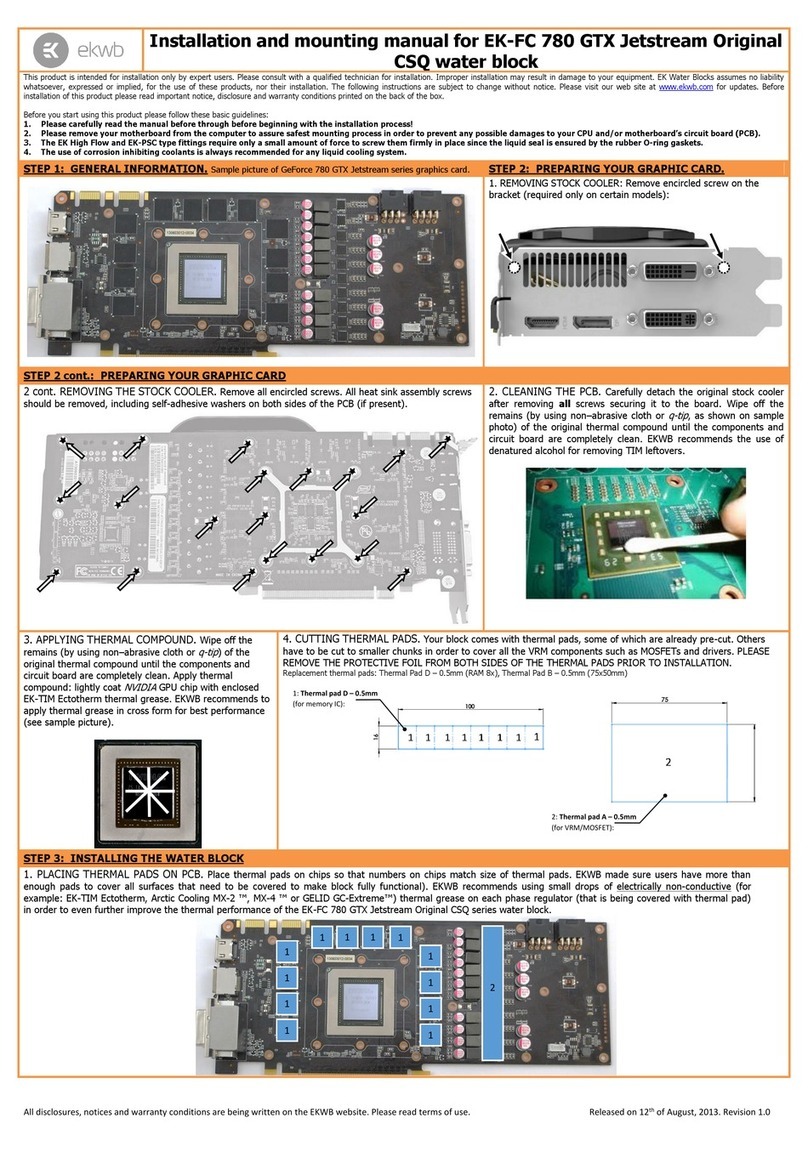
1. REMOVING STOCK COOLER. Remove all encircled screws. There are 4 screws on the front (picture on the right) of the
motherboard that needs to be removed first in order to remove the factory installed backplate. You must also remove all 12 screws
from the back side (picture on the left) in order to remove SB/MOSFET heat pipe cooling solution. Be careful to disconnect all the
electrical connection as well.
2. CLEANING THE PCB. Carefully detach the original stock cooler after removing all
screws securing it to the board. Wipe off the remains (by using non–abrasive cloth or
qtip
, as shown on sample photo) of the original thermal compound until the components
and circuit board are completely clean. EKWB recommends the use of denatured alcohol
for removing TIM leftovers.
3. APPLYING THERMAL COMPOUND. Apply thermal compound: lightly coat the
Intel X99
PCH
(SB) with electrically non-conductive thermal grease –EK-TIM Ectotherm (enclosed)
EKWB recommends to apply thermal grease in cross form for best performance (see sample
picture).
4. APPLYING THERMAL COMPOUND. Apply thermal compound on CPU heat spreader (IHS) - see sample photo on right with
enclosed EK-TIM Ectotherm thermal grease.
The quantity of about two rice grains is just about right. There is no need to cover the whole IHS. Applying too much thermal
grease will have negative impact on the cooling performance!
5. CUTTING THERMAL PADS. Your block comes with thermal pads which needs to be trimmed in order to fit
the voltage regulation area (VRM/MOSFET) and few other elements on the motherboard’s circuit board.
WARNING: DIMENSIONS ON PICTURES BELOW ARE SCALED.
6. PLACING THERMAL PADS ON MOTHERBOARD. Place thermal pads you cut on PCB as shown on picture
bellow (PLEASE REMOVE THE PROTECTIVE FOIL FROM BOTH SIDES OF THE THERMAL PADS PRIOR TO
INSTALLATION). EK recommends using small drops of electrically non-conductive (for example: Arctic Cooling
MX-2 ™ or MX-4 ™) thermal grease on each phase regulator (that is being covered with thermal pad; see
picture below) in order to even further improve the thermal performance of the EK-FB KIT ASUS R5E series
water block.
Replacement thermal pads @EKWB webshop:
Thermal PAD F 0,5mm - (120x16mm) (EAN: 3830046996725)
Thermal PAD F 1,0mm - (120x16mm) (EAN: 3830046996732)
2: Thermal pad F –1mm
(for MOSFETS )
1: Thermal pad F –0.5mm
(for VRM inductor coils)
1
2
Installation and mounting manual for EK-FB ASUS R5-E10 monoblock:
X99 PCH (SB)
CPU socket
Mosfets
All disclosures, notices and warranty conditions are being written on EKWB web page. Please check terms of use. Published on July 20th 2016
STEP 3: PREPARING YOUR WATER BLOCK
STEP 4: ATTACHING BLOCK TO MOTHERBOARD
Prior to fastening the screws please make sure the mounting holes on the motherboard’s circuit board are aligned with the water block.
A) Mosfet part: Use two (2) M2,5x7 AX1 screws with PVC washers. Tighten the screws evenly. Do not use excessive force when tightening the screws!
B) CPU part: Use four (4) thumb nuts and washers.
C) SB part: Use five (5) M2,5x5 AX1 screws with PVC washers. Tighten the screws evenly. If you wish to install factory backplate you should remove the encircled screw and replace it with one M2,5x7 AX1 screw. Do
not use excessive force when tightening the screws!
Use the enclosed screws and washers as shown in picture below:
STEP 5: POSITIONING FITTINGS AND CONNECTING TO WATER CIRCUIT
For the EK-FB ASUS R5-E10 Monoblock series water block to operate properly the G1/4 port nearest to the right edge of the water block MUST BE USED AS THE INLET PORT. EK recommends the use of EK-ACF fittings.
When using fittings other than EK-ACF series please use hose clamps or appropriate substitute to secure the tubing to the barb. The use of biocide containing and corrosion inhibiting coolant is always recommended for any
liquid cooling system.
REQUIRED TOOLS:
scissors philips screwdriver thermal grease
Tubing
EK-ACF fitting
IMPORTANT: USE
THIS OPENING AS AN
INLET PORT!
Monoblock
PVC washers (7pcs)
PLACING MONOBLOCK ON THE MOTHERBOARD:
From the backside there is a protective sticker which covers the
mounting holes for the water block. You should take a pointy
object (small screwdriver) and punch 4 holes through it (see
picture on the left). Be careful not to damage the PCB.
Place the monoblock with preinstalled standoffs gently to the
motherboard or vice versa. Make sure that mounting holes are
aligned.
You mustn’t forget to install seven (7) self-adhesive PVC washers
under each and every standoff if the stock-glued washers are not
present on the PCB.
Be careful not to double the washers!!!!
The locations are shown on the picture on the left. Skip to STEP 4
on how to fasten the Monoblock to the motherboard using the
enclosed screws and washers.
Motherboard
Holes to be punched through
M2.5 PVC washer
ASUS Factory backplate
M2.5x7 AX1 screw
M2,5x5 AX1 screw
M3 PVC washer
Thumb nut

Other ekwb Computer Hardware manuals

ekwb EK-Loop User manual

ekwb

ekwb EK-Loop User manual

ekwb EK-FB KIT GA P67A UD7 Manual

ekwb

ekwb EK-FB KIT GA P67A UD7 Manual

ekwb EK-MOSFET ASUS M6G Guide

ekwb

ekwb EK-MOSFET ASUS M6G Guide

ekwb EK-PRO GPU WB AMP-Trinity RTX 4090 Ni+Inox User manual

ekwb

ekwb EK-PRO GPU WB AMP-Trinity RTX 4090 Ni+Inox User manual

ekwb EK-PRO GPU WB RTX 30 0 Series User manual

ekwb

ekwb EK-PRO GPU WB RTX 30 0 Series User manual

ekwb EK-FC980 GTX Ti WF3 Manual

ekwb

ekwb EK-FC980 GTX Ti WF3 Manual

ekwb EK-Quantum Momentum2 ROG Strix Z690-I Gaming D-RGB -... User manual

ekwb

ekwb EK-Quantum Momentum2 ROG Strix Z690-I Gaming D-RGB -... User manual

ekwb EK-Quantum Velocity Ryzen Edition UNC Standoffs -... User manual

ekwb

ekwb EK-Quantum Velocity Ryzen Edition UNC Standoffs -... User manual

ekwb EK-FB KIT GA X79 (UD7) Guide

ekwb

ekwb EK-FB KIT GA X79 (UD7) Guide

ekwb EK-Nucleus AIO CR360 Lux D-RGB User manual

ekwb

ekwb EK-Nucleus AIO CR360 Lux D-RGB User manual

ekwb Ultra Monoblock EK-FB GA X99 User manual

ekwb

ekwb Ultra Monoblock EK-FB GA X99 User manual

ekwb EK-FCW8100 Guide

ekwb

ekwb EK-FCW8100 Guide

ekwb EK-FB ASUS M6I Guide

ekwb

ekwb EK-FB ASUS M6I Guide

ekwb EK-FB KIT GA-X99 SOC Champion Series Manual

ekwb

ekwb EK-FB KIT GA-X99 SOC Champion Series Manual

ekwb EK-FC Radeon Vega Strix Backplate Manual

ekwb

ekwb EK-FC Radeon Vega Strix Backplate Manual

ekwb EK-FB ASR Z77 Extreme11 Guide

ekwb

ekwb EK-FB ASR Z77 Extreme11 Guide

ekwb MSI MPG Z490 Carbon EK X User manual

ekwb

ekwb MSI MPG Z490 Carbon EK X User manual

ekwb MSI MPG X570S Carbon EK X User manual

ekwb

ekwb MSI MPG X570S Carbon EK X User manual

ekwb EK-Vector Strix RTX 2070 Backplate Guide

ekwb

ekwb EK-Vector Strix RTX 2070 Backplate Guide

ekwb EK-Vector FTW3 RTX 2080 Ti User manual

ekwb

ekwb EK-Vector FTW3 RTX 2080 Ti User manual

ekwb EK-QuantumX Loophole Distroplate D5 PWM User manual

ekwb

ekwb EK-QuantumX Loophole Distroplate D5 PWM User manual

ekwb EK-Pro RTX A5000 User manual

ekwb

ekwb EK-Pro RTX A5000 User manual

ekwb 3831109831618 Guide

ekwb

ekwb 3831109831618 Guide

ekwb EK-FC580 DCII Manual

ekwb

ekwb EK-FC580 DCII Manual

Popular Computer Hardware manuals by other brands

COUGAR AIRFACE PRO RGB user manual

COUGAR

COUGAR AIRFACE PRO RGB user manual

Seagate ST8741J Maintenance manual

Seagate

Seagate ST8741J Maintenance manual

Altera Cyclone IV GX Reference manual

Altera

Altera Cyclone IV GX Reference manual

Active Silicon AS-CIB-IP-001-A quick start guide

Active Silicon

Active Silicon AS-CIB-IP-001-A quick start guide

FOLSOM ImagePro-HD Brochure & specs

FOLSOM

FOLSOM ImagePro-HD Brochure & specs

Meridian Digital Audio Processor Meridian 518 user manual

Meridian

Meridian Digital Audio Processor Meridian 518 user manual

Cypress CY8CKIT-031 Guide

Cypress

Cypress CY8CKIT-031 Guide

COUGAR MX360 RGB Assembly

COUGAR

COUGAR MX360 RGB Assembly

Nuvoton NUC502ADN user manual

Nuvoton

Nuvoton NUC502ADN user manual

Dolphin PXH812 user guide

Dolphin

Dolphin PXH812 user guide

Rittal LCU CW Assembly and operating instructions

Rittal

Rittal LCU CW Assembly and operating instructions

iXsystems TrueNAS ES12 Basic Setup Guide

iXsystems

iXsystems TrueNAS ES12 Basic Setup Guide

Extron electronics DMP Plus Series Configuration guide

Extron electronics

Extron electronics DMP Plus Series Configuration guide

Advantech SOM-7583 user manual

Advantech

Advantech SOM-7583 user manual

NEC IE-784000-R user manual

NEC

NEC IE-784000-R user manual

IBM International ISDN user guide

IBM

IBM International ISDN user guide

Fastwel CPC505 user manual

Fastwel

Fastwel CPC505 user manual

Roland WM-1 owner's manual

Roland

Roland WM-1 owner's manual

manuals.online logo
manuals.online logoBrands
  • About & Mission
  • Contact us
  • Privacy Policy
  • Terms and Conditions

Copyright 2025 Manuals.Online. All Rights Reserved.