General Instructions
Safe and Efficient Use
Product Care
To prevent fire or shock hazard, do not expose this product to
rain or moisture.
In the event of a malfunction(burning smell, etc.), immediately
stop operation, disconnect the power supply plug, and consult
authorized service personnel.
No user serviceable parts inside, always consult authorized
personnel for repairs.
Take care not to damage the power cord.
Do not make any inflammable liquids, water or metal objects
enter the unit.
This product must be earthed.
Do not dismantle or modify the unit.
Place this unit in a stable location.
Do not use the unit in places subject to excessive humidity,
vibration or bumps.
Unplug the power plug from the sockets when not using the
unit for extended period.
Provide occasional ventilation during use.
This product is intended for indoor use only.
Please read through this operating instructions before installing or using your new
product. After you have finished reading the instructions, put them away in a safe
place for future reference.
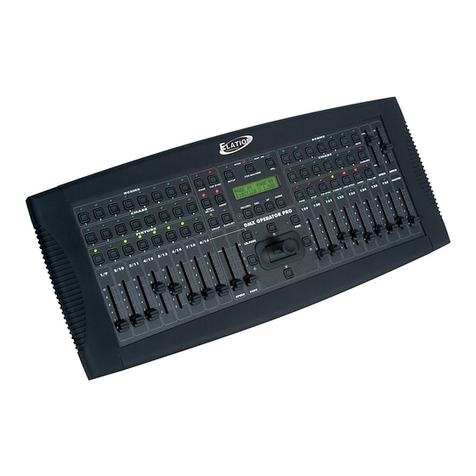
1. Overview
1.1 Right Panel
1. Segment LED Display: To show the current activity, correlative values and
function state.
2. DMX In:
3. DMX Out:
4. Local Dim(HTP): To adjust
5. External Remote Jack: For connecting the remote(Sold separately).
6. Menu Button: Press this button to scroll through the main menus. The main
menus include:
7. Up/Down Button:
3-pin XLR male socket, used to receive DMX data.
3-pin XLR female socket, used to send DMX data.
channel lighting intensity and comply with HTP
principle(Highest takes precedence).
Each tap will increase/decrease the value once. Pressing and
holding down will increase/decrease quickly. Or press Up/Down buttons to
change Dim/Switch.
33
22
*Special Note: For reducing signal errors and avoiding signal transmission problems
and interference, it is always advisable to connect 120 ohm impedance DMX signal
cable and DMX terminator for signal connection.
1
2
3
4
5
6
7
