INTRODUCTION AND WARNINGS
1
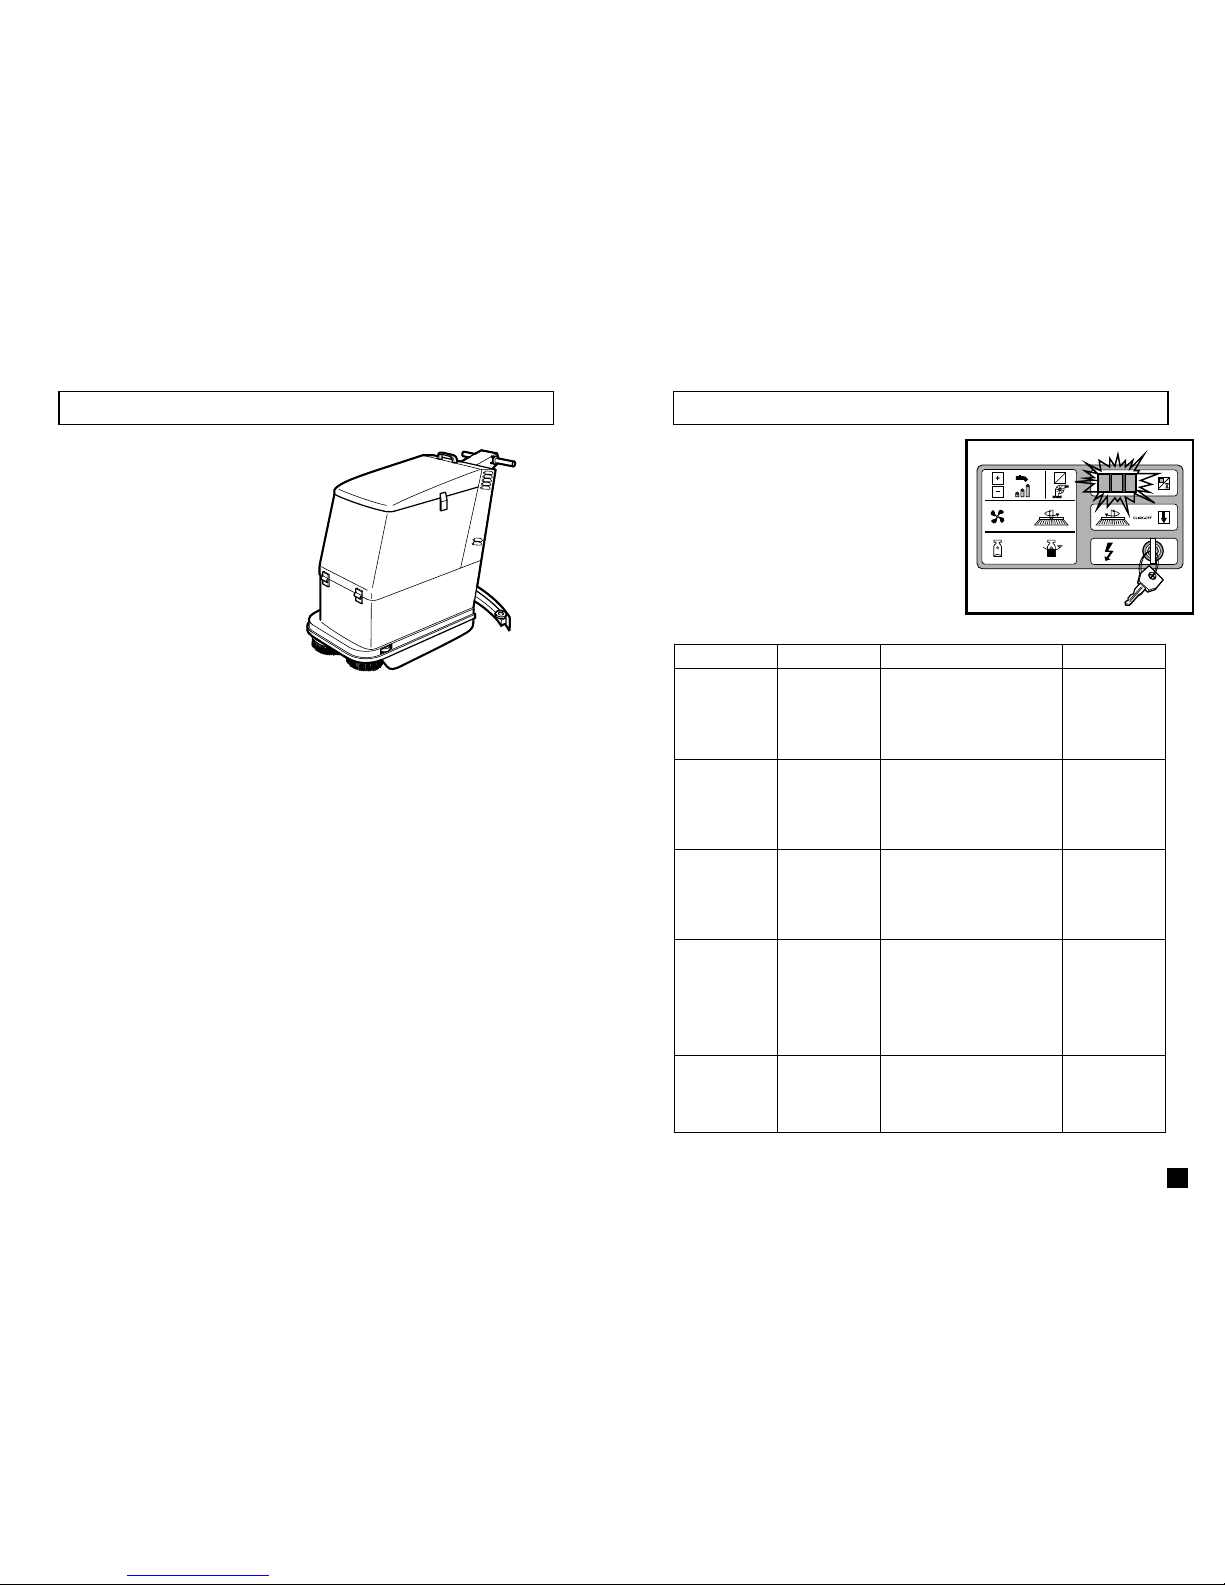
INTRODUCTION
This manual is a guide to the efficient use of the machine and also contains practical information concerning the
functioning, adjustments and user maintenance of your new scrubber/drier. Your machine has been designed and
constructed to ensure maximum performarnce and ease of operation in a wide variety of applications. Before delivery, the
machine has been tested in our factory and by our distributor to ensure that it is delivered to you in perfect condition. To
maintain the machine in this condition and guarantee functioning without problems, it is essential that the periodic
maintenance operations indicated in this manual are properly carried out. Before using the machine, carefully read this
manual and keep it within easy reach for your future reference. Indications of “LEFT” and “RIGHT” are as seen from the
operator position. If you should need any further information concerning the machine, please do not hesitate to contact
either Electrolux Euroclean or our local distributor.
MODIFICATIONS AND IMPROVEMENTS
Electrolux Euroclean aim toward continuous improvement of its machines and reserves the right to carry out modifications
and improvements whenever necessary without being obliged to update machines which have been sold previously.
SAFETY
You too can avoid accidents.
No accident prevention programme is effective without the total co-operation of the person directly responsible for the
functioning of the machine. The majority of accidents which may occur either during work or transferring the machine from
site to site are caused by the non-observance of the most elementary safety rules. An alert and cautious operator is the best
guarantee against accidents and is more effective than any other part of an accident prevention programme.
The machine must be switched off and disconnected from either its battery or mains supply before any servicing or
adjustment of operational parts be carried out. Ensure that any assistant is clear of the machine and that covers are closed
before switching on.
GENERAL SAFETY RULES
The rules below have to be followed carefully in order to
avoid damages to the operator and to the machine.
- Read the labels carefully on the machine; Do not cover
them for any reason and replace them immediately if
damaged.
- The socket for the power supply must be fitted with a
standard earthing (ground) system.
- With the brushes in working position, avoid touching or
passing over the mains cable. Avoid damaging by
squashing, bending or stressing.
- Where there is damage to the mains cable, stop the
machine, take off the plug from the mains system, and
replace the damaged cable immediately by calling the
Electrolux Service department.
- Do not mix different detergents, avoiding harmful odours.
- Do not place any liquid containers onto the machine.
- The storage temperature has to be between +15°C and +
55°C.
- The perfect operating temperature should be between 0°
C and 40° C.
- The humidity should be between 30 and 95%.
- Do not use the machine in explosive atmosphere.
- Do not use the machine as a means of transport.
- Do not use acid solutions which could damage the
machine.
- Avoid working with the brushes when the machine stands
still, in order to prevent floor damages.
- Do not vacuum iflammable liquids.
- In case of fire, use a powder extinguisher. Do not use
water.
- Do not strike shelvings or scaffoldings, where there is
danger of falling objects.
- Adapt the utilization speed to the adhesion conditions.
- Do not exceed over the limit gradient stated, to avoid
conditions of instability (2% max).
- The machine has to carry out simultaneously the
operations of washing and drying. Different operations
have to be carried out in areas which are not permitted
for the passage of non employed staff. Signal the areas
of moist floors with suitable signs.
- If the machine does not work properly, check by
conducting simple maintenance procedures. Otherwise,
it is better to ask for technical service.
-Where parts are required, ask for ORIGINAL spare parts
to an agent and/or to an authorized dealer.
- For any maintenance operation take off the power supply
from the machine.
- Do not take off the pieces which require the use of tools
to be removed.
- Do not wash the machine with direct water jets or with
high water pressure not with corrosive material.
- Every 200 working hours have a machine check through
a service department.
- The machine should not be abandoned, because of the
presence of toxic-harmful materials (batteries, oil etc.).
This disposal must be subject to the rules which provide
for its scrapping in appropiate centres.
- The machine does not cause any harmful vibrations.
24
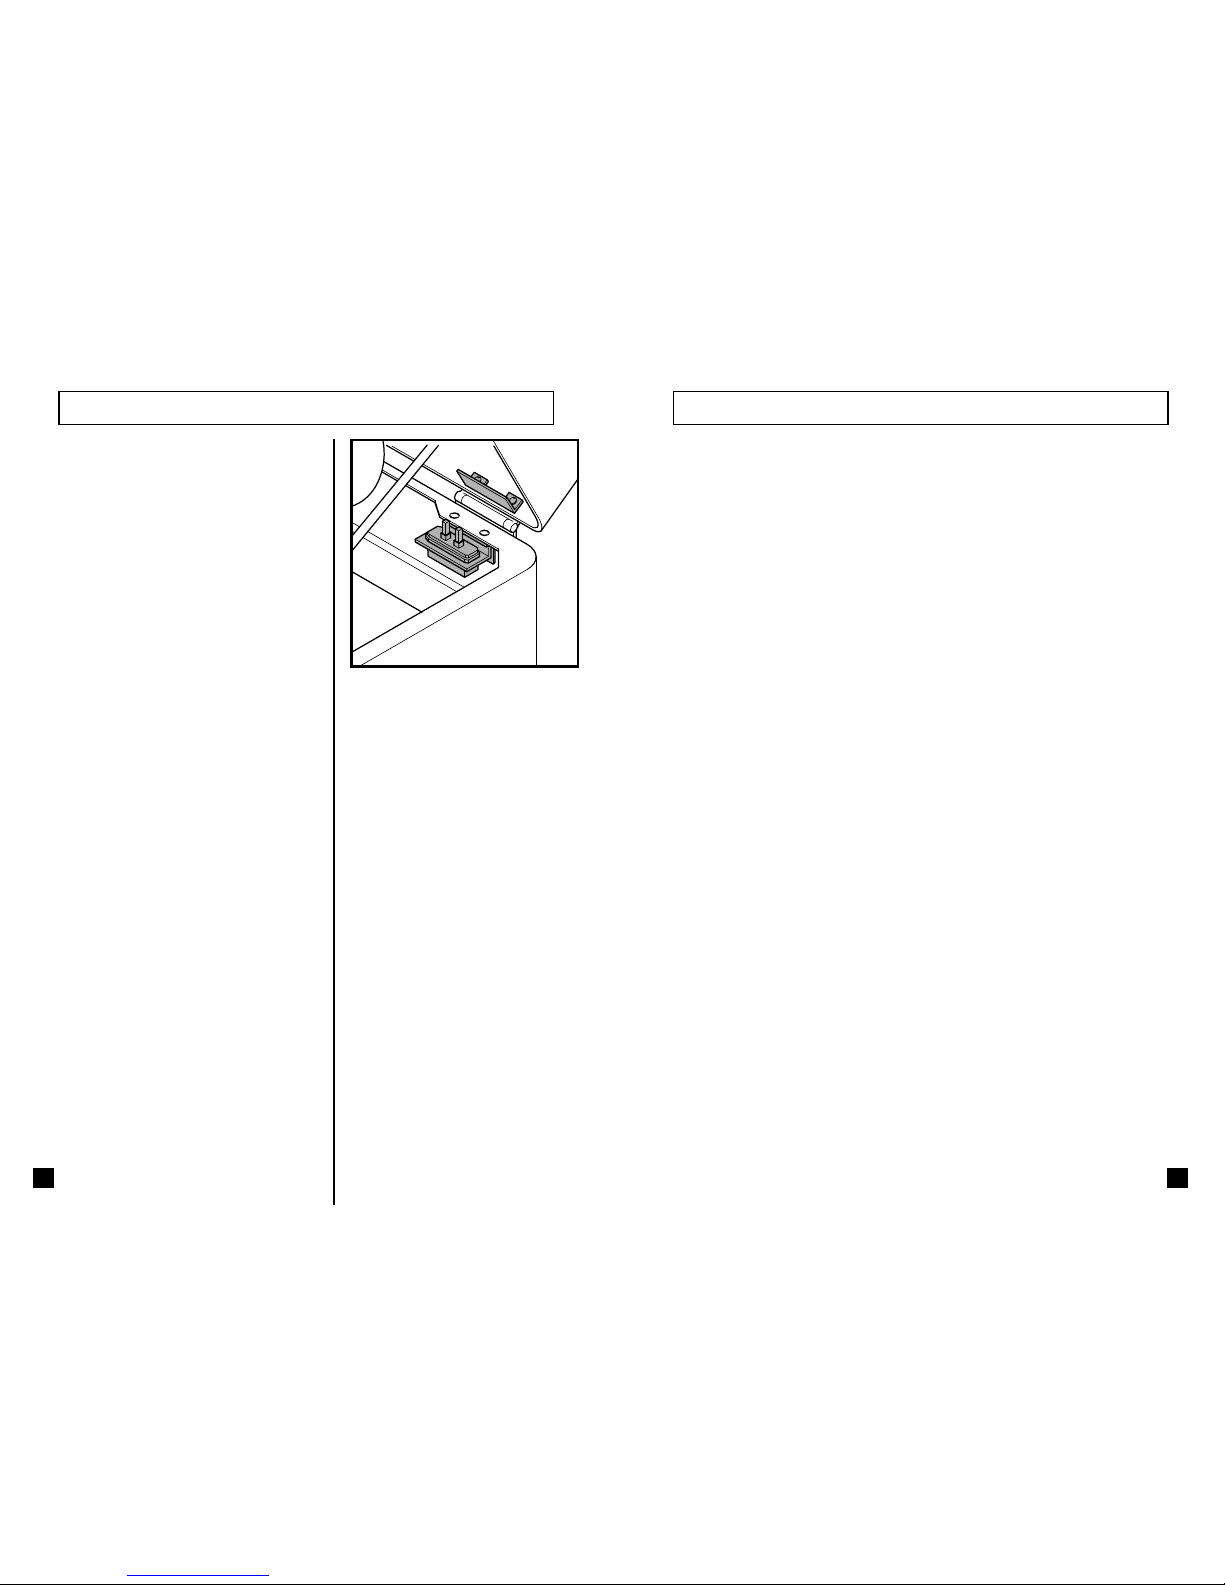
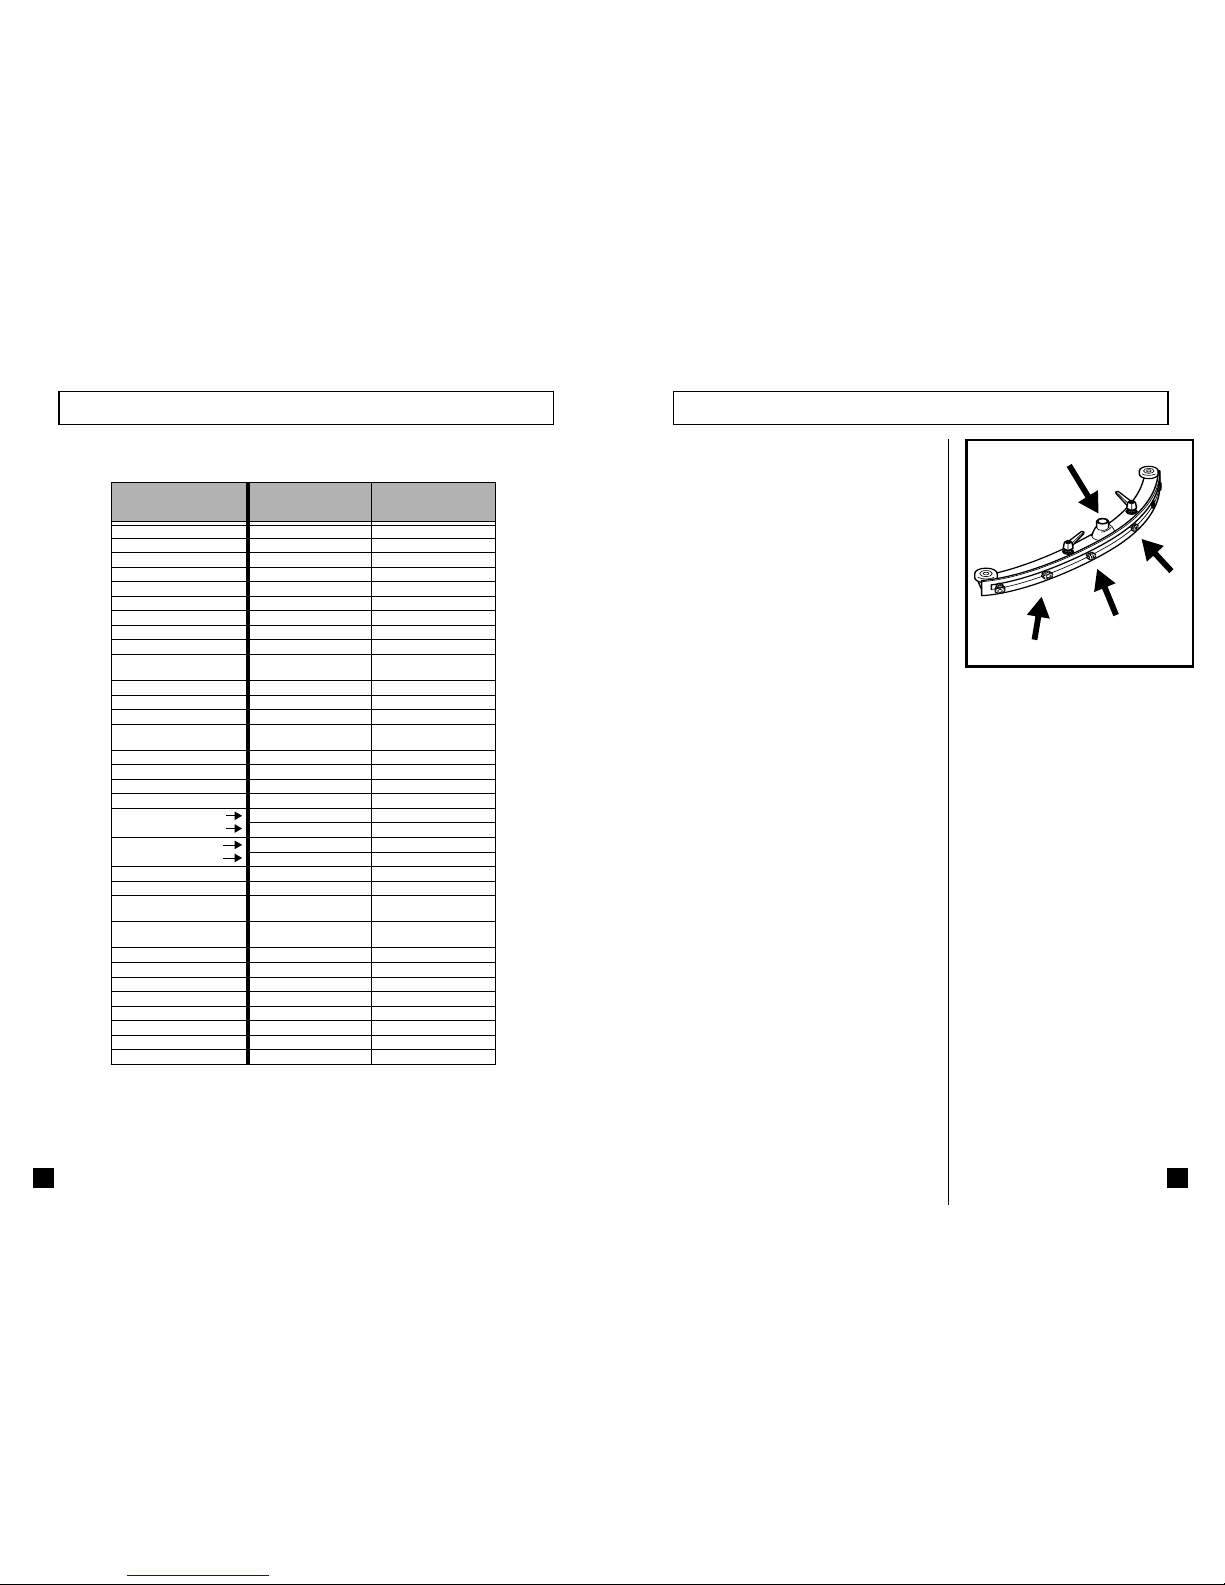
SAFETY FEATURES
For all models:
Safety micro switch:
Micro switch to shut off all the functions when the
tank unit is in the upright position. (SEMKO
APPROVAL).