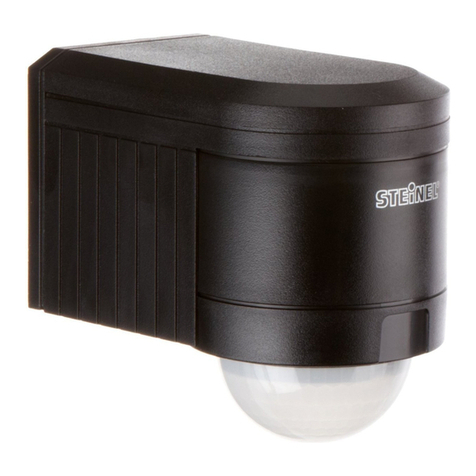
Electronics Line EL-2650XL User manual

EL-2650XL
Distance of Detector
from Wall (D)
5cm 25cm 50cm
Distance of Door/Window
from Detector (W)
Up
to
2m*
+2 0 -1
4m +2 0 -1
6m +2 0 0
8m +2 +1 0
9m +2 +1 0
Table 1: Recommended PCB
Adjustment Scale Settings for Wall
and Ceiling Mounting
* It is not recommended to mount the unit less
than 40cm away from the path of entry
protected by the detector.
The EL-2650XL is a wireless PIR sensor that is able to distinguish between permitted and non-permitted motion. This allows the occupants free movement
within the premises while detecting intrusion via doors or windows. The sensor implements a feature to combat the problem of multiple transmissions, which
drastically reduce the life of the batteries. After a transmission is made, the EL-2650XL initiates a delay of approximately three minutes during which
transmissions will not be sent. The sensor operates in two selectable modes: Curtain and Directional.
Location of Detector
Consider the following before mounting the sensor:
•Select a location from which the pattern of the sensor is most likely to be crossed by a
burglar, should there be a break in.
•Avoid a location that comes in direct contact with radiators, heating/cooling ducts or air
conditioners.
•Do not place bulky objects in front of the sensor.
Caution: Do not install the sensor above beds, sofas, desks or in any area that people
are likely to spend continued periods of time. If the occupant does not move within the
delay time, an alarm will be generated when moving away from the protected area.
Installation Instructions
1. To open the housing, remove the cover screw and, using a flathead screwdriver, press the
locking tab at the side of the unit. Remove the printed circuit board (PCB) by unscrewing the
PCB screw.
Note: Do not touch the face of the PYRO sensor.
2. Set the receiver to Registration mode. Apply battery power by removing the isolator that
separates the battery from the contacts on the battery holder. The sensor turns on and
sends four transmissions in order to be registered with the system. Wait for the receiver to
indicate that the transmitter has been registered successfully. Alternatively, the EL-2650XL
can be registered to the receiver by manually entering the transmitter's serial number.
Note: The receiver allocates a transmitter number to each registered unit. Write this
number and the number of the zone on the sticker provided. Affix the sticker inside the
front cover for future reference.
3. After a warm-up period of 130 sec. indicated by both LEDs' blinking, the sensor automatically
enters Radio Mode for 4 minutes approximately and sends transmissions every 8 seconds,
then it enters Regular mode – see Operation and Adjustment, Selectable Operation Modes.
4. Knock out the mounting holes and test the transmitter from the exact mounting position
before permanently mounting the unit. The EL-2650XL can be wall or ceiling mounted.
Note: The "Alarm" arrow on the PCB (See figures 1 and 2) must point inward (i. e.
towards the protected area). The recommended height is 2.2 m. Note: If you choose
mounting height other than recommended (which is not advised), please perform a
walk test to check the lens coverage. The recommended mounting height is the best in
terms of detection area.
5. Attach the base to the wall with two screws. If using the rear tamper switch, insert a screw
into the rear tamper hole (see Figure 6) instead of the lower mounting hole. When the
detector is removed from the wall, the screw causes the tamper release to break away from
the back cover and the rear tamper switch is released.
6. Mount the PCB at the required setting using the horizontal adjustment scale and tighten the
PCB screw – see Operation and Adjustment, PCB Adjustment. Attach the front cover and
replace the cover screw.
Operation and Adjustment
PCB Adjustment
PCB adjustment enables you to angle the infrared beams by changing the position of the pyro element in relation to the lens. To adjust the PCB, loosen the
PCB screw and slide the PCB to the required position using the PCB adjustment scale as a guide. After adjusting the board, tighten the PCB screw. Slide the
board towards -2 to position the beams closer to the wall. Slide the board towards +2 to position the beams further away from the wall. For the correct PCB
adjustment, you must take into account the distance of the detector from the wall and the distance of the protected door/window from the detector – see
Table 1 (below). The settings in Table 1 as illustrated in Figure 3 are relevant both to wall and ceiling mounting.
Figure 3: A typical installation where the detector is 5cm from the wall and 2m from the protected window. The top two
diagrams show the lens coverage pattern for the detector when incorrectly adjusted to -2 and 0. The bottom diagram shows
the PCB correctly adjusted to +2.
Figure 1: EL-2650XL (Cover Off)
Figure 2: Correct Placement of the Detector
LED
Indicator
PCB
Screw
Tamper
Switch
Pyro
Sensor
Mode
Jumper
Alarm
Delay
Jum
p
er
Battery
Holder
LED
Jumper
PCB
Adjustment
Scale

Contacting Electronics Line
A
ll data is subject to change without prior notice. In no even
t
shall Electronics Line 3000 Ltd. (EL3K) be liable for an amount in
excess of EL3K.’s original selling price of this product,
f
or an
y
loss or damage whether direct, indirect, incidental, consequential
or otherwise arising out of any failure of the product. Hereby,
Electronics Line 3000 Ltd. declares that this transmitter is in
compliance with the essential requirements and other relevan
t
provisions of Directive 1999/5/EC.
International Headquarters:
Electronics Line 3000 Ltd.
14 Hachoma St., 75655
Rishon Le Zion, Israel
Tel: (+972-3) 963-7777
Fax: (+972-3) 961-6584
All rights reserved
No part of this document may be reproduced in any form without the prior written permission from the publisher
Electronics Line Ltd. 3000 07/2012 5INZI0515C D
Walk Test
A walk test determines the coverage pattern of the detector. To perform this
test, walk across the scope of the detector according to the detection pattern
selected. Confirm that the LEDs activate and deactivate as described in
Table 4. To launch the Walk Test from the Radio mode, after any
transmission indicated by LED blinking, press the tamper switch and hold it
until the green LED turns on then off (see Figure 4, step 1). Release the
Tamper switch and wait until the red LED turns on and then off (see Figure 4,
step 2). Press the Tamper switch once again. Both LEDS are lit momentarily
(see Figure 4, step 3). The sensor enters the Walk Test mode for 4 minutes.
During the Walk Test, wait for twenty seconds between movements. To
launch the Walk Test from the Normal mode: Just open the sensor housing:
the tamper is triggered and the sensor enters the Walk Test mode for 4
minutes. Walk test should be performed weekly.
Note: In Walk Test mode there are no delays.
Selectable Operation Modes
The sensor operates in two operation modes. In Directional Mode, crossing the infrared beams is alarm-
protected in one direction only. The protected direction is shown by the arrow printed on the PCB. In case of
crossing the beams from the non-permitted side (ALARM), red LED is lit for a second. In case of crossing
the beams from the permitted side (NO ALARM), green LED is lit for a second and the Alarm delay (see
below) starts to count down. In Curtain mode, crossing the beams is alarm-protected in both directions. The
Operation mode (Directional/Curtain) is selected using the Mode Jumper – see Table 2.
Alarm Delay
The Alarm Delay is a feature designed to allow the occupant to move freely within the protected area
without triggering a false alarm. When approaching the protected wall, an alarm is not generated because
the sensor’s beams are crossed from the permitted direction. After detecting permitted motion, the sensor
counts down the Alarm Delay time. This timer is re-triggered every time the sensor detects motion. During
the Alarm Delay, the sensor permits motion in both directions. The duration of the alarm delay is selected
using the Alarm Delay Jumper – see Table 3.
LED Indication
The LED indicator turns red to indicate non-permitted motion and green to indicate motion detection in either
direction. In the event of an alarm, the LED turns red. To disable the LED, remove the LED Jumper, JP1
located next to the LED indicator – see Table 4.Note: Do not disable the LED until you have successfully
walk tested the sensor.
PIR Supervision
The circuit operation of the PIR is checked once per hour. In the event of PIR failure the red LED flashes.
Battery Replacement: Open the housing by removing the front cover (see Installation Instructions), replace the battery, and close the front cover.
Note: Close the front cover immediately after each battery replacement.
Signals and Messages:
In case of a low battery (2.5 V and below), the sensor low battery condition is reported to the Control System and low battery message is displayed.
When the rear tamper switch is released, the sensor sends a tamper condition to the Control System that generates tamper alarm.
Technical Specifications
Antenna: Built-in Internal Whip
Frequency: 868.35, 433.92, or 418 MHz
Power: 3.6V ½ AA Lithium Battery
Caution: Fire, explosion and severe burn hazard!
Do not recharge, disassemble or heat above 100°C.
Current Consumption: 30mA (transmission), 20µA (standby)
Pyroelectric Sensor: Quad Element
Maximum Range: 9m
Operating Temperature: -20º to 60ºC
LED indicator: Jumper Selectable
RFI Immunity: 10V/m
Fire Protection: ABS Plastic Housing
Dimensions: 90 x 50 x 40mm
Ceiling Mounted
Wall Mounted
Alarm Delay
Jumper JP2
Jumper
Position
1 minute Removed
4 minutes Installed
Table 3
Mode
Jumper JP3
Jumper
Position
Curtain Removed
Directional Installed
Table 2
LED Indication
Red Non-permitted
motion
Green Permitted
Motion
Table 4
Rear tamper
mounting hole
Figure 6: Rear Tamper Release
Figure 4: Launching the Walk test from Radio Mode
Other Electronics Line Security Sensor manuals

Electronics Line
Electronics Line EL-4755 User manual
Electronics Line
Electronics Line EL-2800 User manual
Electronics Line
Electronics Line EL-4607 User manual
Electronics Line
Electronics Line EL-4800 User manual

Electronics Line
Electronics Line EL5845 User manual
Electronics Line
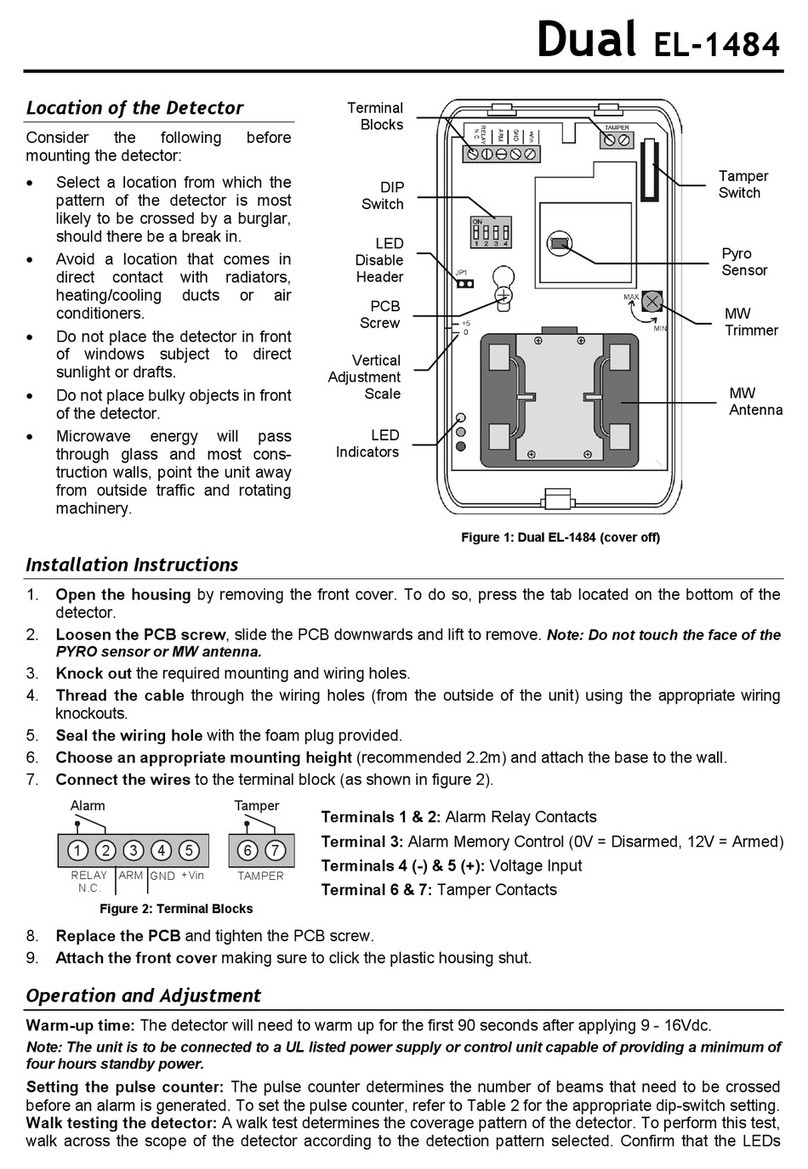
Electronics Line EL-1484 User manual
